Whole Wheat Cookie CakeSo I’ve still been busy taking care of a bunch of stuff for the wedding. The invitations arrived last weekend and I spent about 6 hours assembling and stuffing them. I’d like to say Nate helped. In his defense, he was working on his wedding video…and I’m a bit of a control freak so I probably would have ended up yelling at him anyway :)

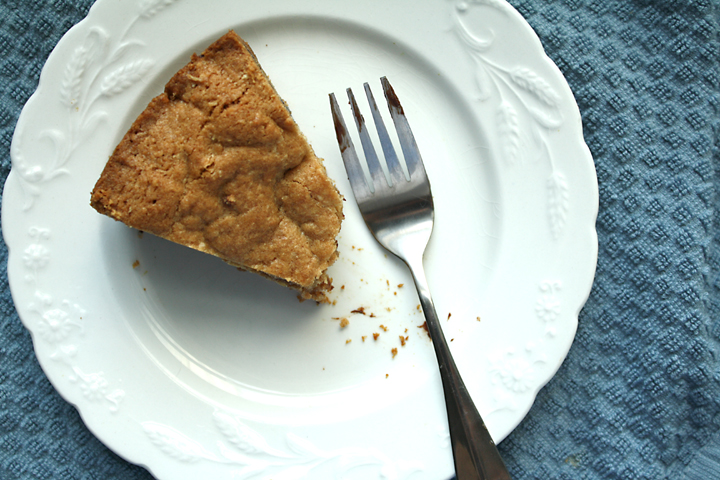
Whole Wheat Cookie Cake2

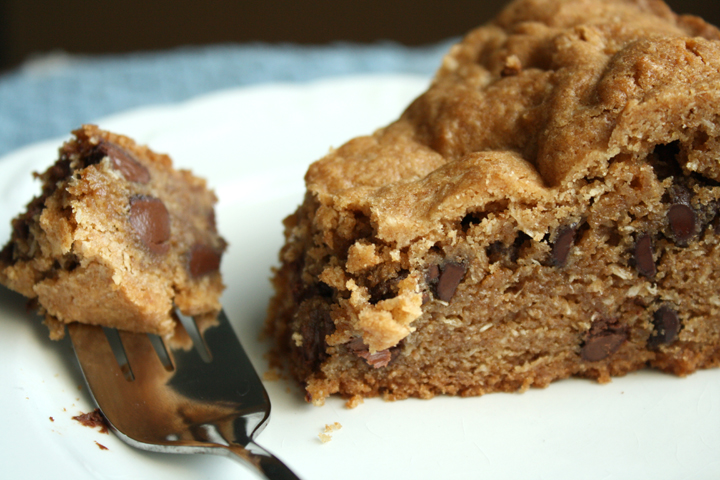
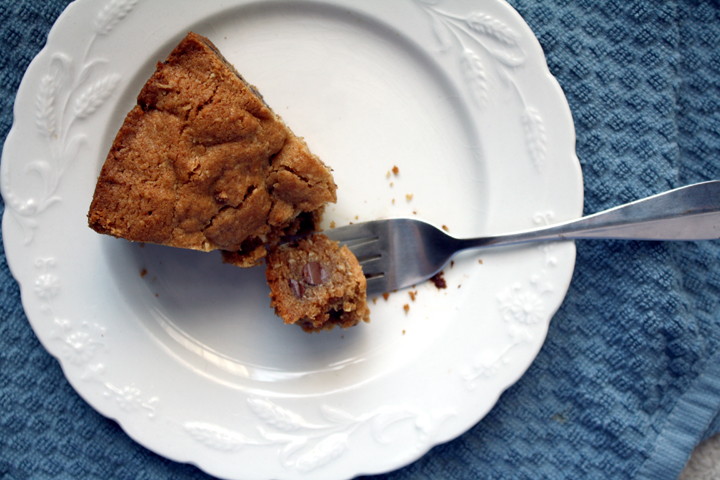
After my last few healthy posts, I figured you guys might be itching for something a little bad. While this recipe may fool you with “whole wheat” in the name, It has a decent amount of butter and chocolate.

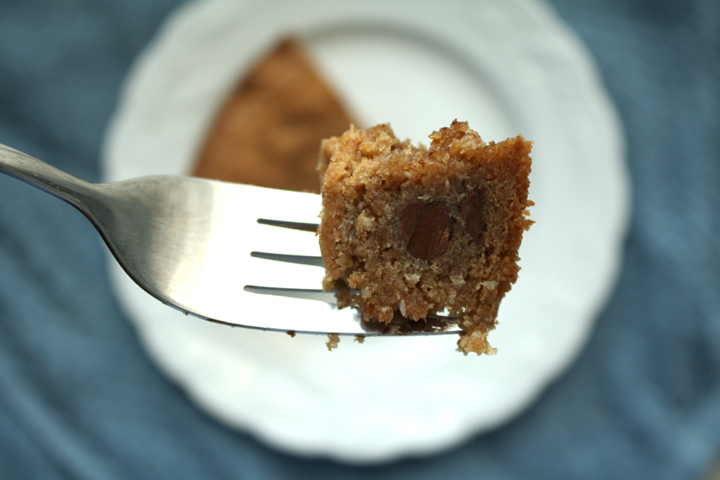
That’s not to say that it doesn’t have its benefits. The whole wheat flour and coconut add a little fiber. And really, you should indulge now and then anyway.

Whole Wheat Cookie Cake3

Nate was lacking on desserts in the apartment so I thought I’d do something nice. This is a cinch to mix up and will bake up in no time.

I was extremely sad that I didn’t have a little vanilla ice cream to eat with this when it was warm from the oven. But even so, it was outstanding- dense, gooey, everything you’d want in a giant cookie cake!

Whole Wheat Cookie Cake4

I can’t take credit for this recipe. I got it off the site Bran Appetit. The recipe below makes a couple very small changes.

Whole Wheat Chocolate Chip Cookie Cake

Print this recipe!

VERY slightly adapted from Bran Appetit

Serves 16 (if you can stand to only eat a small piece)

8 oz. butter, softened, plus 2 Tbsp for buttering your pan
1 and 1/4 cups brown sugar
3/4 cup sugar
2 tsp vanilla extract
2 eggs
3 cups whole wheat flour
1 and 1/2 tsp baking powder
3/4 tsp baking soda
1 tsp salt
2 cups semi-sweet chocolate chips
1 cup shredded unsweetened coconut

Preheat oven to 350 degrees. Grease a 9 inch springform pan.

Dump the 8 oz. of butter into a large bowl (stand mixer or other big bowl) and pour in the brown sugar and sugar. Beat together for 3-5 minutes until the mixture is light and fluffy.

Beat in the vanilla, then add the eggs, one at a time, to the butter and sugar mixture.

Pour the flour, baking powder, baking soda, and salt into the bowl and mix into the butter.

Once the dough has come together, add the chocolate chips and coconut and beat the mixture for another minute until the chips are mixed into the dough.

Dump your dough into your pan and press into an even layer.

Bake at 350 degrees for 35-40 minutes until the top is golden and a toothpick comes out clean (or a little wet).

Let the cookie rest for at least 10 minutes before serving.


Crispy Peanut Butter Bars

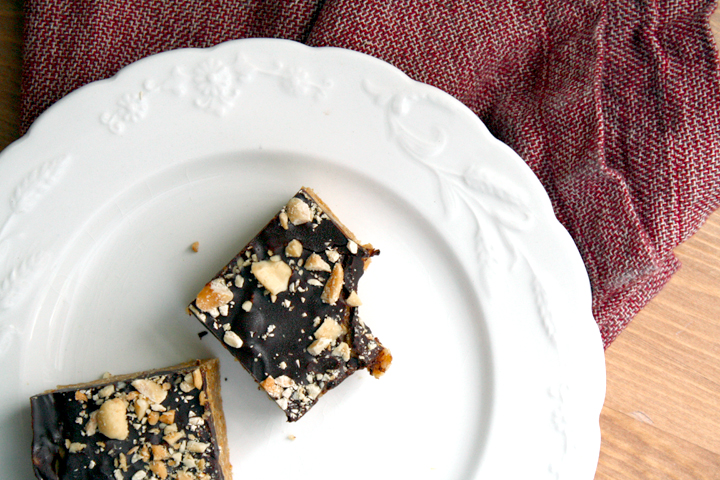
Yep, I’m back with another oven-free recipe. You do need to turn on the stove but only for all of 10 minutes max.

I found this recipe at one of my favorite sites: Serious Eats. Their recipes are, from my experience, well-tested and reproducible.

Crispy Peanut Butter Bars

I made these for a little impromptu dinner party I had. One of my friends came over because she is contributing to the little video Nate is making to show at the wedding. I can’t wait to see the finished product…it’s going to be amazing :)

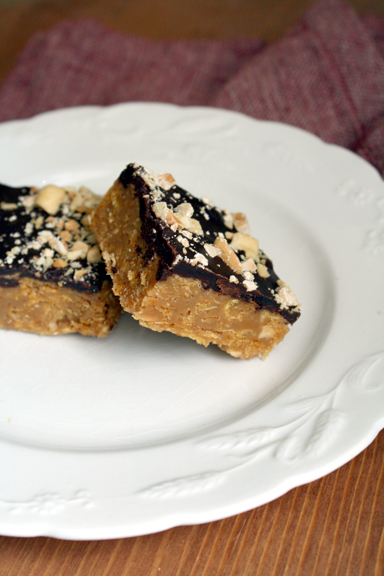
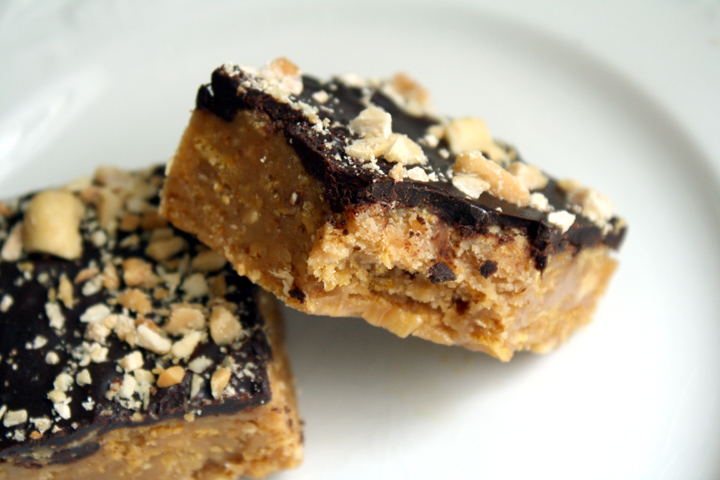
Anyway, these are seriously awesome, and incredibly rich. I sent my friend and her husband home with extras to take to their 4th of July party and they were thrilled. Mostly because we were too full from dinner to really enjoy them that night.

Crispy Peanut Butter Bars

They’re kind of somewhere in between a rice krispie treat and a buckeye ball. You have to keep them refrigerated but they stay soft straight out of the fridge and they stick together really well.

Speaking of sticking together, here’s a little something my soon to be mother-in-law shared with me. I knew I liked elephants for a reason! You have to watch til the very end…sooooo cute!!!: http://www.youtube.com/embed/f_gBWPs4r3U

Crispy Peanut Butter Bars

No-Bake Crispy Corn Flake Chocolate Peanut Butter Bars

From Serious Eats

Print this recipe!

makes 16 (2 inch)squares

4 tablespoons (1/2 stick) unsalted butter
1 cup creamy peanut butter
1/2 cup light corn syrup
1/3 cup light brown sugar
Pinch salt
4 cups corn flakes, lightly crushed
1/3 cup salted peanuts, chopped and divided
1 teaspoon pure vanilla extract
4 ounces bittersweet chocolate, finely chopped

Line 8- by 8-inch baking pan with foil. In medium saucepan over medium heat, melt butter. Add peanut butter, corn syrup, brown sugar, and salt and continue to cook, stirring, until melted and smooth.

Stir in corn flakes, 1/4 cup peanuts, and vanilla until just combined. Spoon into prepared pan and smooth top.

In heatproof bowl over pan of barely simmering water (or in microwave), heat chocolate until just melted. Spread over top. Sprinkle with remaining chopped peanuts.

Chill until firm, about 2 hours. Remove from pan and cut into 2-inch squares.

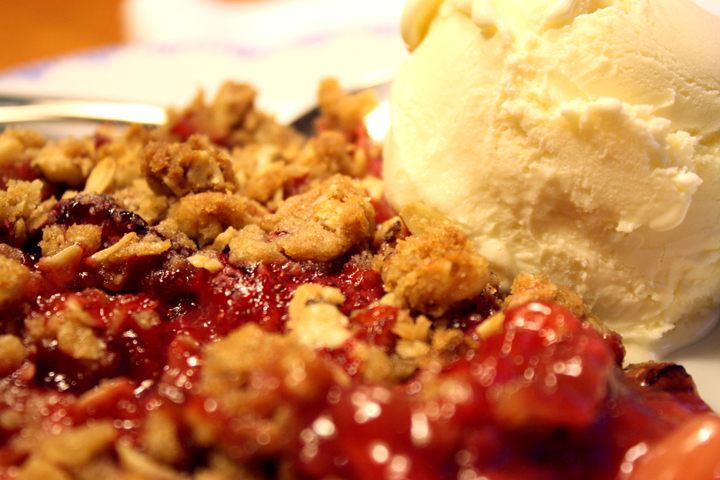
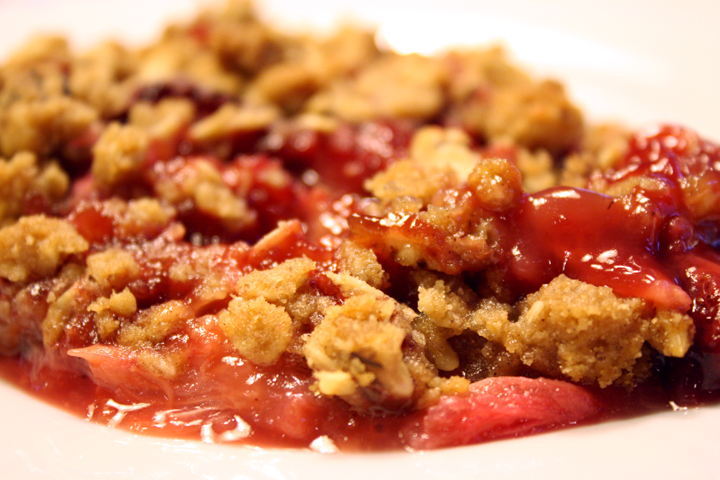
Rhubarb Strawberry Crisp

There are so many senses that bring back memories: sights, smells, tastes. Seasons bring back memories for me too. When the weather gets warm I immeditately think back to the summers of my childhood on Martha’s Vineyard.

Unfortunately, I have to work during the summer now and I don’t have long sunny days filled with going to the beach, running around outside, and farmer’s markets. But even so, as soon as I walk out of the office and the warm breeze hits my face, it brings me that feeling of calm and happiness that I used to feel back in my carefree Vineyard days.

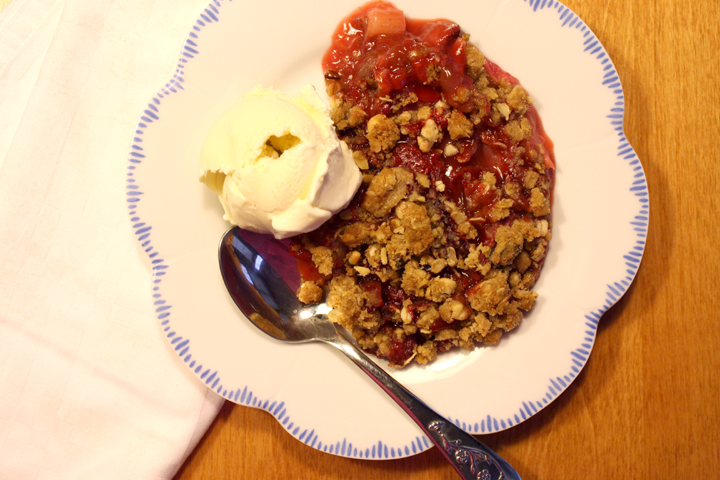
Rhubarb Strawberry Crisp

There were certain recipes that, for some reason, we only made during these summers. Maybe it’s because they’re warm weather foods, but maybe it’s because we wanted them to be forever associated with our wonderful summers.

Rhubarb Strawberry Crisp

So as soon as the temperatures reach the 70s and the air gets sticky and hot, I bring out my mom’s recipe boxes and pull out our usual summer rotation of recipes: Brad’s Salsa, Michigan Blueberry Pie (I’ll have to make that soon and post it!), and especially her Rhubarb Strawberry Crisp- the epitome of a summer dessert.

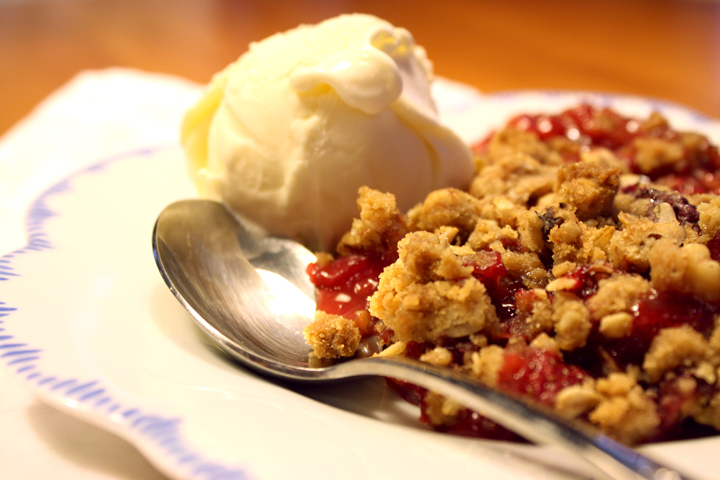
Rhubarb Strawberry Crisp

This dessert is best served with a hefty scoop of vanilla ice cream that melts into it. There’s really no better way to end a warm weather meal! When I take a bit of this and close my eyes, I’m instantly transported to our deck in Martha’s Vineyard, bathing suit still damp, covered in sand, sleepy from a long day in the sun and a belly full my mom’s best summer recipes.

Rhubarb Strawberry Crisp

Print this recipe!

Serves 6-8

Ingredients:

4 cups sliced rhubarb
4 cups whole, stemmed strawberries
1 cup sugar
1 1/3 cups flour, separated
1/2 tsp cinnamon
1 cup packed brown sugar
1/2 cup regular oats
3/4 cup chopped nuts (any kind)
8 Tbsp unsalted butter, cold, in small pieces

Preheat oven to 275. Butter a baking/casserole dish (9×13 is fine).

Combine fruits, sugar, 1/3 cup flour, cinnamon. Put in dish.

Combine 1 cup flour and rest of ingredients with fingers until crumbs form. Sprinkle over fruit.

Bake 35-45 minutes.

chocolate souffle

Pardon the iphone pics…

Nate went to California this weekend with his mom, to visit his brother who lives there. I wish I could have gone but I hate having to take a red eye and having such a long flight for such a short trip.

I knew that I should spend the weekend doing some wedding-related projects, but I also decided to sign up for a souffle baking class! I’ve made a chocolate souffle before but I figured I could use a few pointers, and I had a coupon for half-off. I can’t refuse a deal!

The class was through DessertTruck Works. Dessert Truck used to be an actual truck that drove around NYC, dispensing tasty treats out its window. I guess their business grew so much that they decided to open a store. I saw them on the Food Network once in a Throdown with Bobby Flay…and they won!

chocolate souffle

My friend did it with me and had a great time. We got to catch up and eat chocolate…what could be better ;)

I did learn a few things. There are 3 different types of meringue: French, Swiss, and Italian. They differ in that French is the least stable is is simply whipped egg whites with sugar. Swiss is slightly more stable because the whites are cooked with the sugar over a water bath. Finally, Italian is the most stable and involves pouring a boiling sugar syrup into the whites while they’re being whipped.

French meringue is therefore the simplest, quickest and easiest. Because the teacher wanted to show us how to make souffle without any fancy appliances, we had to whip the egg whites by hand. My friend and I switched off whipping and my arm is still SO sore! I told the teacher that she should have an exercise class that consists of different cooking techniques. Kneading dough without a KitchenAid made my arms and abs extremely sore the last time I did it!

chocolate souffle

I also learned that you should run your finger around the inside rim of the ramekin so that the souffle doesn’t get stuck on the sides as it begins to rise, and thus has an easier time rising. This will prevent slanted souffles and also cracks on top. Good to know :)

Souffles were a perfect recipe for a 1.5 hour class because you assemble and cook them in a very short amount of time. They only have to bake for 10 minutes when made in small ramekins.

I highly recommend this recipe. It was the perfect texture, not too sweet and very chocolatey. We got to eat it with a Creme Anglaise they had that was perfect with it.

*They gave this recipe out and already had everything measured for us, so sorry it’s in grams instead of cups. If I make it again I’ll update the recipe.

Chocolate Souffle

From DessertTruck Works!

Print this recipe!

makes Five 4 oz. ramekins

Ingredients:
approx. 4 Tbsp of softened unsalted butter (for ramekins)
approx. 1/2 Cup of granulated sugar (for ramekins)
250 g egg whites
120 g granulated sugar
3 g cream of tartar or lemon juice
150 g 70% dark chocolate
35 g egg yolks

Preheat your oven to 375 degrees F. Using a brush, generously brush the interior of the ramekins with softened butter, ensuring that the entire interior is buttered. Coat the butter with sugar, knocking out any excess sugar.

Using a double-boiler, melt the chocolate over simmering water, stirring occasionally.

Place the egg whites, the cream of tartar or lemon juice and a pinch of sugar in a large bowl. Using a whisk or an electric mixer with a whisk attachment, whip the whites and gradually add the rest of the granulated sugar. Whip the whites until you get stiff peaks. You now have a meringue.

Stir in about one-third of the meringue into the melted chocolate. Then fold this mix into the remaining meringue, making sure you use a rubber spatula at this point.

Now fold in the egg yolks into approximately one-third of the chocolate-meringue mixture. Fold in the rest of the chocolate-meringue mixture into the mix with the yolks.

Spoon or pipe the souffle mix into your ramekins. Level the tops of each ramekin so that the souffle mixture is even with the top of the ramekins.**Note, at this point you can refrigerate or freeze your souffles for baking at another time. If you refrigerate them, just take them out of the fridge 15 minutes before you plan to bake them.

Run your thumb along the inside edge of each ramekin rim. Bake the souffles on the middle rack until they have risen, formed a crust on top, but are still jiggly in the center, approximately 10 minutes.
Serve immediately.

I’m the most indecisive person you’ve ever met. My family and Nate can certainly vouch for that.

Chocolate Fudge Cheesecake

I rarely buy things for myself, so when I do you can imagine how long I spend deciding exactly what item I want. I will literally stand in a department store with a blue shirt and a red shirt in each hand, looking back and forth for a good 30 minutes to figure out which one I really want.

I’m not exaggerating.

At restaurants I will agonize over what to order because everything sounds so good and I know I can only get one thing. I usually make the waiter go to everyone else and take my order last just so I have that extra 1 minute to finalize my choice.

It’s like making decisions paralyzes me.

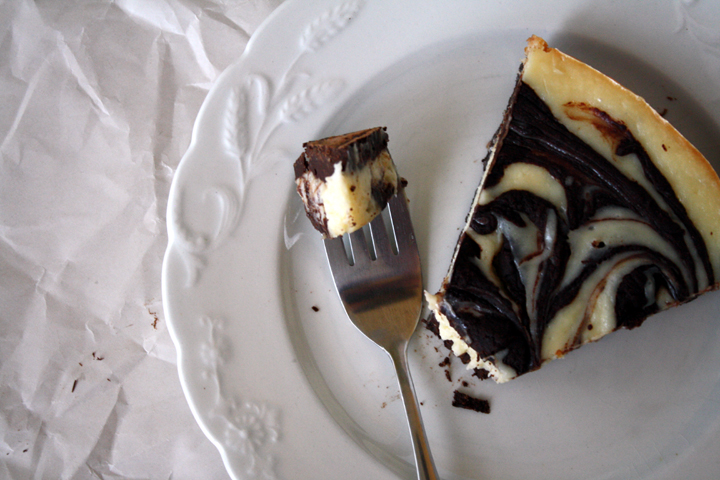
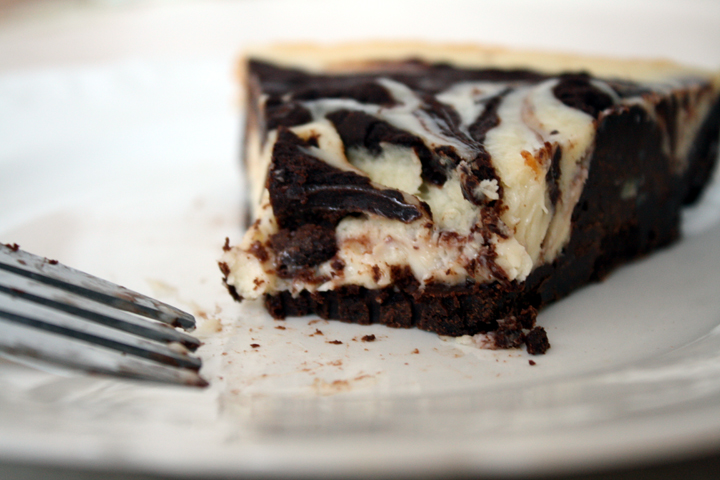
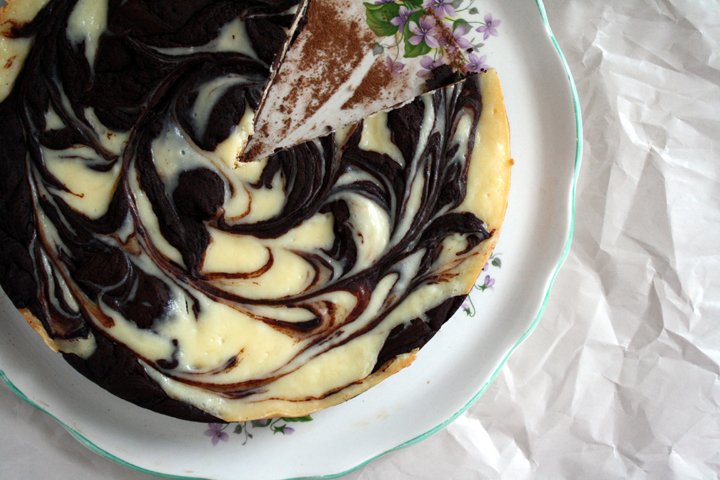
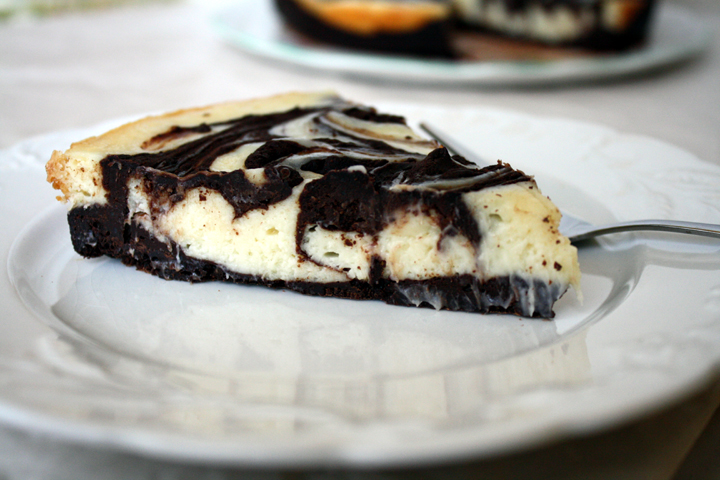
How do you choose what to have??! Well with this recipe you don’t have to. There’s a super dense chocolate layer for the chocoholic in all of us, and then there’s the tangy cheesecake marbeled throughout for those of us cheesecake lovers!

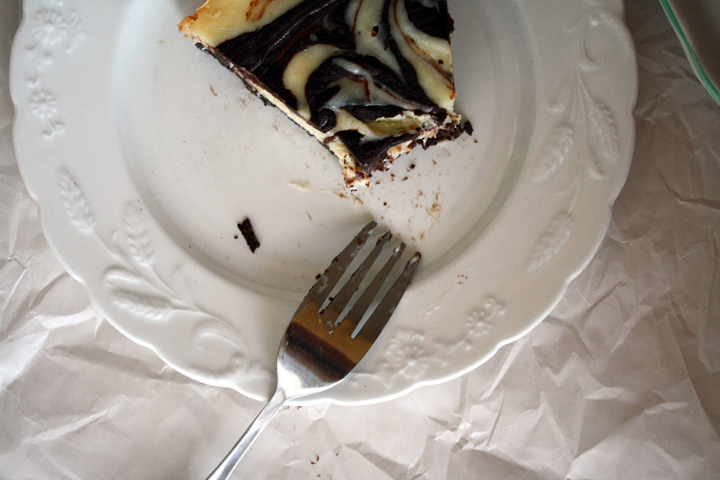
This is not for the faint of heart. If you like serious chocolate desserts than this is for you. Nate could barely finish his slice…although it could be because it was a large slice and we had just had a giant mac and cheese dinner. Man, I wish I had his metabolism…

Marbled Chocolate Fudge Cheesecake

slightly adapted from Baker Street

Print this recipe!

makes one 9″ round cake

For the vanilla batter:
8 oz. cream cheese, softened to room temperature
2/3 cup granulated sugar
1 large egg
1 tsp. pure vanilla extract

For the chocolate batter:
8 oz. bittersweet chocolate, finely chopped
1 stick (8 Tbsp) unsalted butter, cut into pieces
3 large eggs
1/3 cup granulated sugar
1 Tbs. dark rum or espresso
1 tsp. pure vanilla extract
1 Tbsp flour
Pinch table salt
Cocoa powder for dusting

Preheat the oven to 300°F.

Lightly grease a 9 inch round cake pan and /or line the bottom with parchment.

Make the vanilla batter:
In a medium bowl, beat the softened cream cheese with an electric mixer until smooth.

Add the sugar and continue beating until well blended and no lumps remain. Add the egg and vanilla and beat just until blended. Set aside.

Make the chocolate batter:
In a medium bowl, melt the chocolate and butter in a large metal bowl over a pan of simmering water or in the microwave.

Whisk until smooth and set aside to cool slightly. With a stand mixer fitted with the whip attachment (or with a hand mixer), beat the eggs, sugar, rum or espresso, vanilla, and salt on medium high until the mixture is pale and thick, 3 to 4 min.

With the mixer on low, gradually pour in the chocolate mixture and continue beating until well blended. Beat in the flour.

Spread about half of the chocolate batter in the bottom of the pan. Alternately add large scoopfuls of each of the remaining batters to the cake pan.

Using a knife or the tip of a rubber spatula or a toothpick gently swirl the two batters together so they’re mixed but not completely blended.

Tap the pan against the countertop several times to settle the batters.

Bake until a pick inserted about 2 inches from the edge comes out gooey but not liquid, 40 to 42 min.; don’t over bake.

The top will be puffed and slightly cracked, especially around the edges. It will sink down as it cools. Let cool on a rack until just slightly warm, about 1-1/2 hours. Let cool completely. Cover and refrigerate until very cold, at least 4 hours or overnight, or freeze.

Remove cake from fridge one hour before serving. Loosen the cake from the pan by holding the pan almost perpendicular to the counter; tap the pan on the counter while rotating it clockwise. Invert onto a large flat plate or board. Remove the pan and carefully peel off the parchment. Sift some cocoa powder over the cake (this will make it easier to remove the slices when serving).

Let sit until cake warms to room temperature before serving. (or eat it cold if you like that!)

Invert again onto a similar plate so that the top side is up.