I had a wonderful couple weeks off of work. I still haven’t caught up on my blog reading and at this point it seems seriously overwhelming….I think I may follow a few too many blogs on feedly but it’s just so hard to eliminate some when there are so many good ones!
For Christmas we went down to Nate’s moms, as I told you guys last week, and I got some great Christmas presents that can be used in the kitchen! I got a scone pan (I’ll let you know how it works), a donut pan (expect a recipe using this when I break it in!), an Alice Waters cookbook and the Flavor Bible. The Flavor Bible is something I read about on another blog and it tells you all kinds of awesome flavor combos to help develop recipes. I can’t wait to get into it.
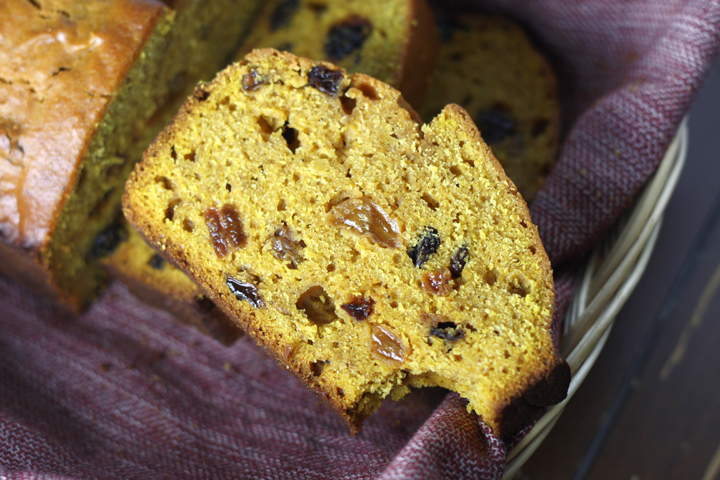
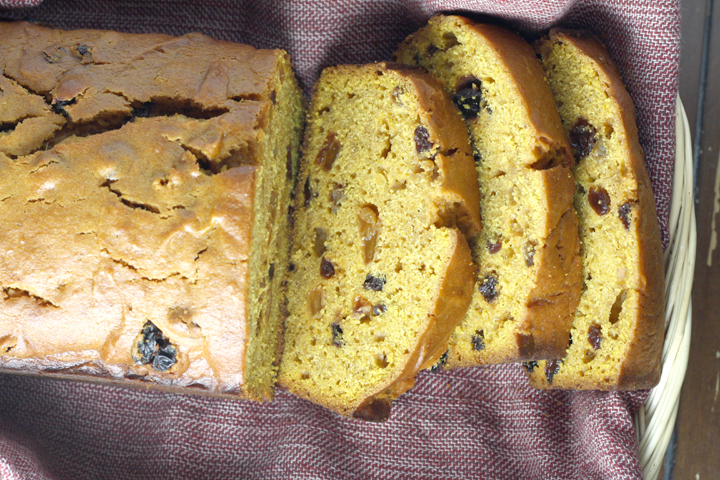
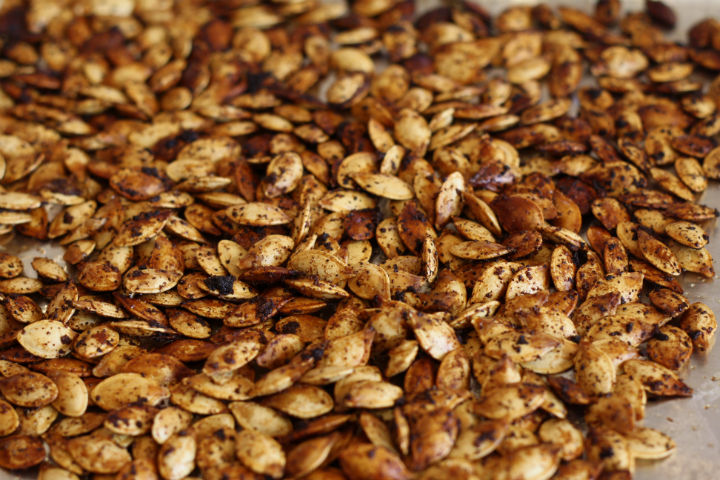
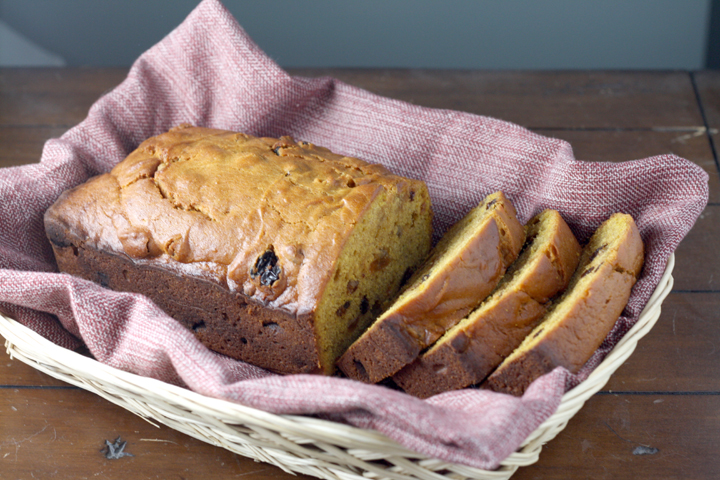
[caption id="attachment_5079" align="aligncenter" width="720"]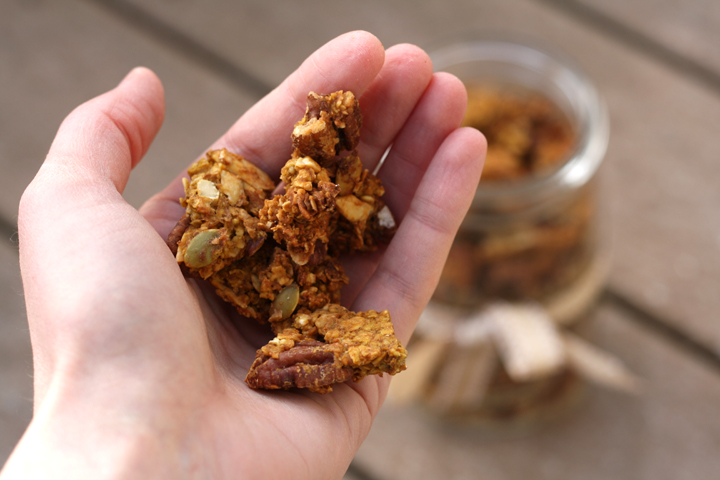 Nice big chunks![/caption]
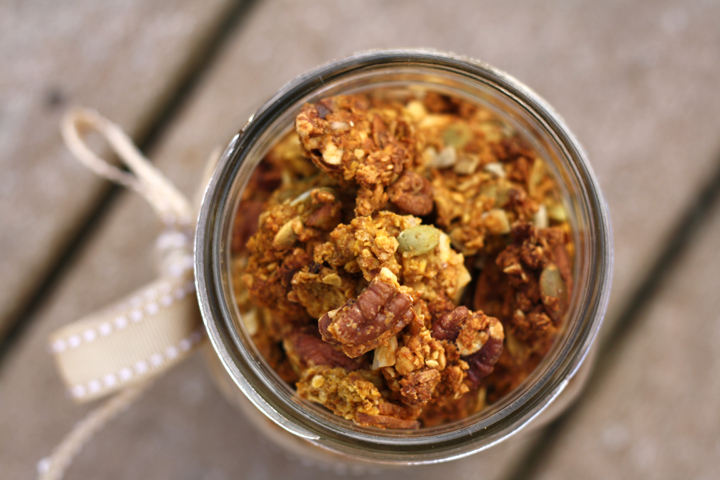
A present that I gave rather than received, however, is this Pumpkin Spice Granola. My mother-in-law eats granola for breakfast every single day (you can see where Nate gets his routine eating habits from) and she told me that she specifically likes nuts and seeds in her granola but no dried fruit, and that she likes the kind that has big clumps. According to her, this combo is quite hard to find, so I thought making her some would be the perfect Christmas present.
I also gave her one of the awesome paperweights we made when we went glass-blowing for Nate’s bday present. I forgot to tell you guys about that!
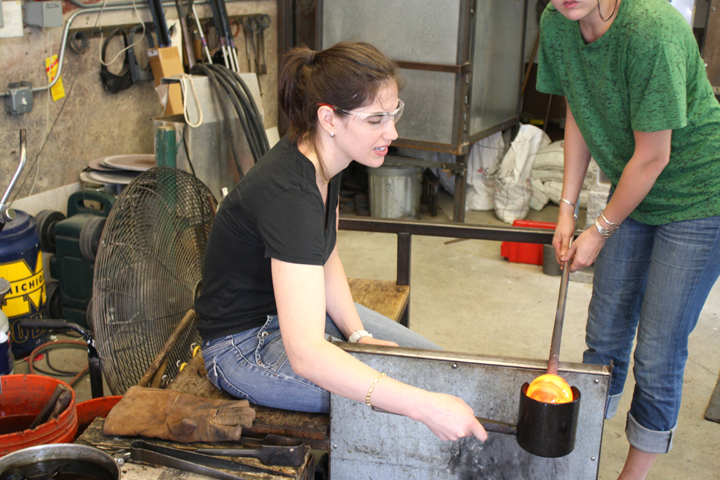
We went up to Beacon, NY to this awesome little shop call Hudson Beach Glass. For Nate’s bday I got us a lesson to do together, which really involved each of us separately making a paperweight while the other person watched.
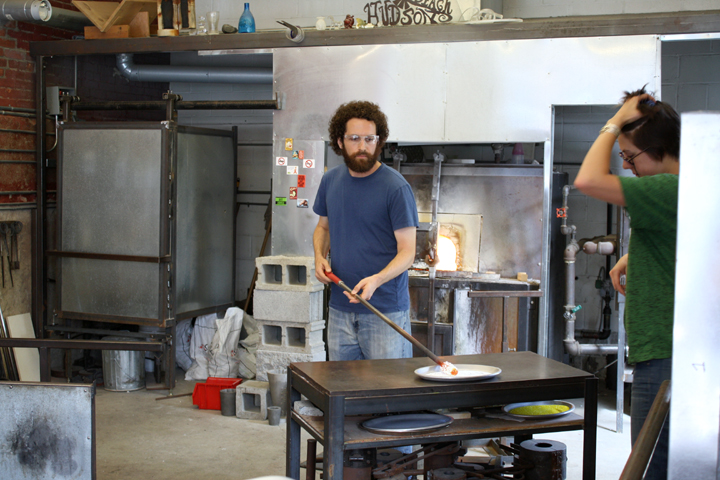
Nate went first. We were allowed to chose the style of paperweight we wanted, and we both chose the kind that has that swirl inside.We got to choose 2-3 colors to swirl. Nate chose red and gold, while i chose purple, blue and green. The pic of him above is putting the first color on his glass. Because he only chose two colors, he had to put a white background color so those colors would stand out better.
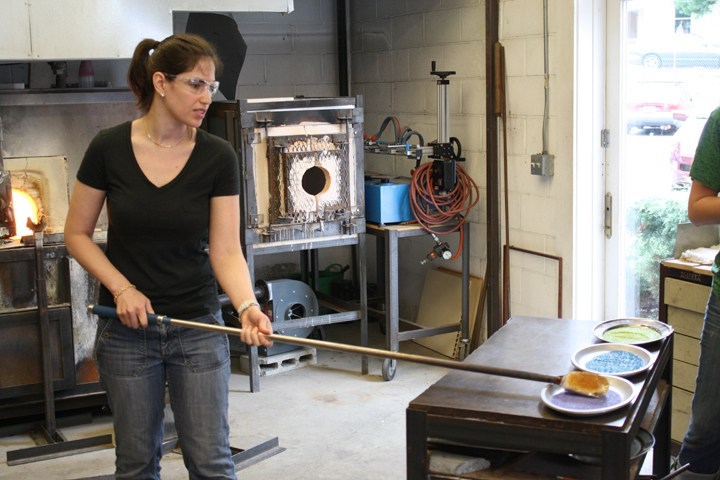
And here’s me with my three colors.
After the colors go on and you melt them in the hot furnace, you twist them together:
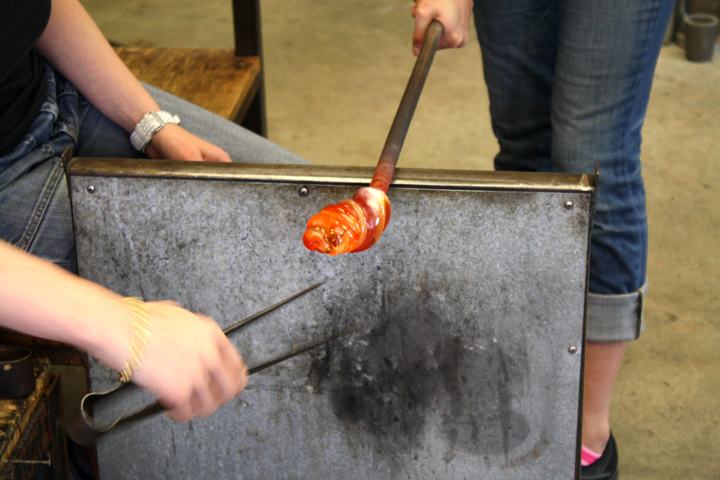
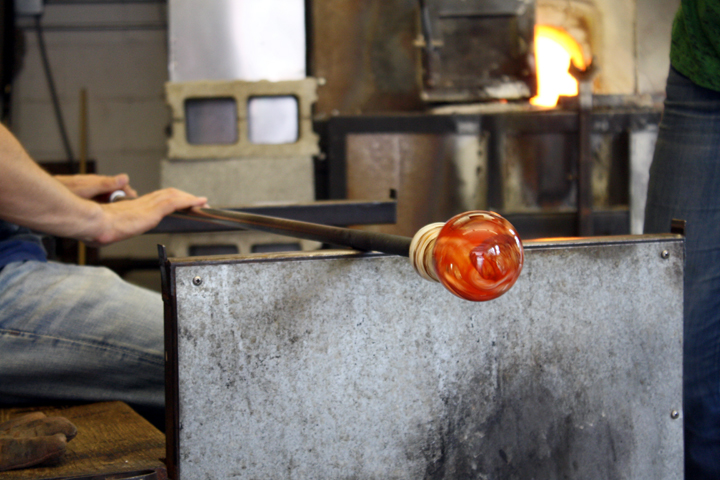
After twisting the colors together, you smooth the glass out using this wooden cup so it ends up round.
And here’s Nate’s finished piece right before it went in the oven to slowly “cool” from the super hot temp it was to, eventually, room temp. You can’t see the true colors until it has cooled. The red you see now is mainly the hot glass that would eventually become clear.
So pretty, right?!
It was super fun and our teacher, Kathleen, was so knowledgeable and cool. I highly recommend it! Sorry I didn’t take a pic of the finished paperweights but they looked kind of like this but multicolored in the colors we chose.

But back to my granola! I read that the trick for clumpy granola is to add an egg white before baking and not to stir it! Halfway through I gave the giant clumps a flip and then just left it alone. Obviously you can alter the ingredients you put in this (dried fruit, more or less sugar, etc).
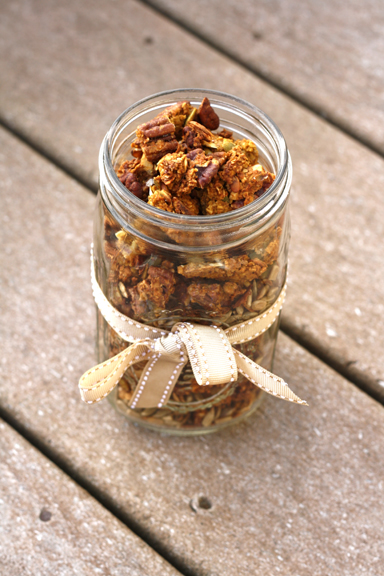
It’s great served with yogurt or milk!
[yumprint-recipe id='20']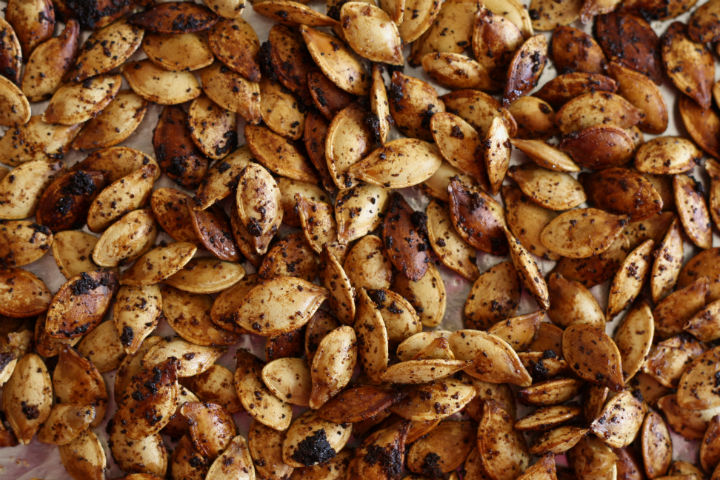
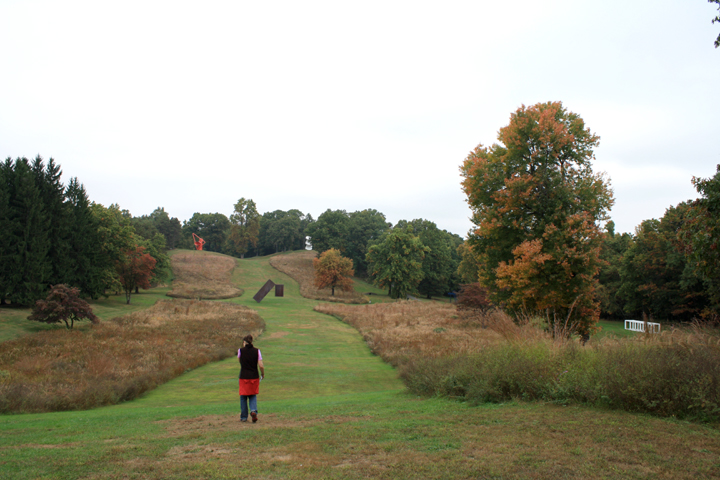 Storm King Sculpture Park- not sure what I’m doing…[/caption]
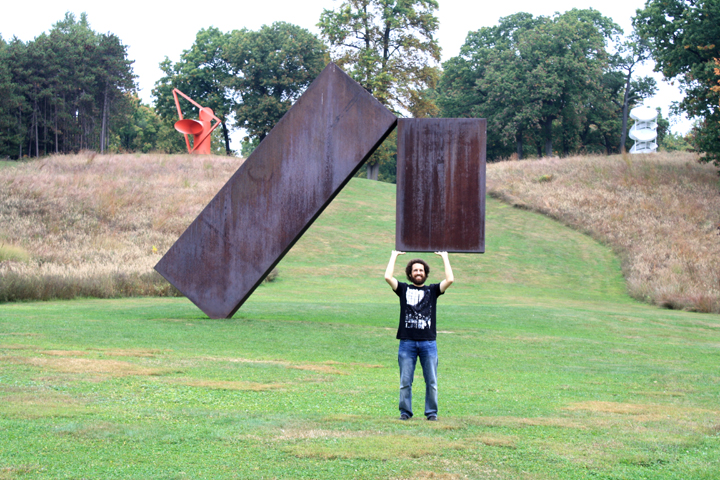
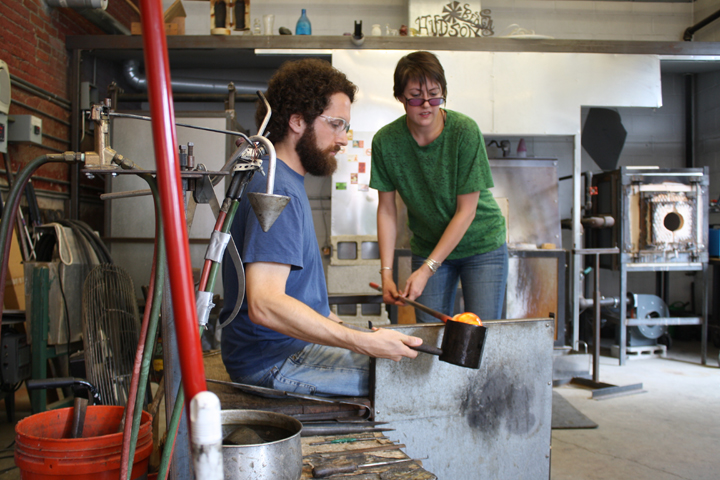
 Nate hard at work again! I wish he helped that much at home ;)[/caption]