21. March 2013 · 54 comments · Categories: life · Tags: ,

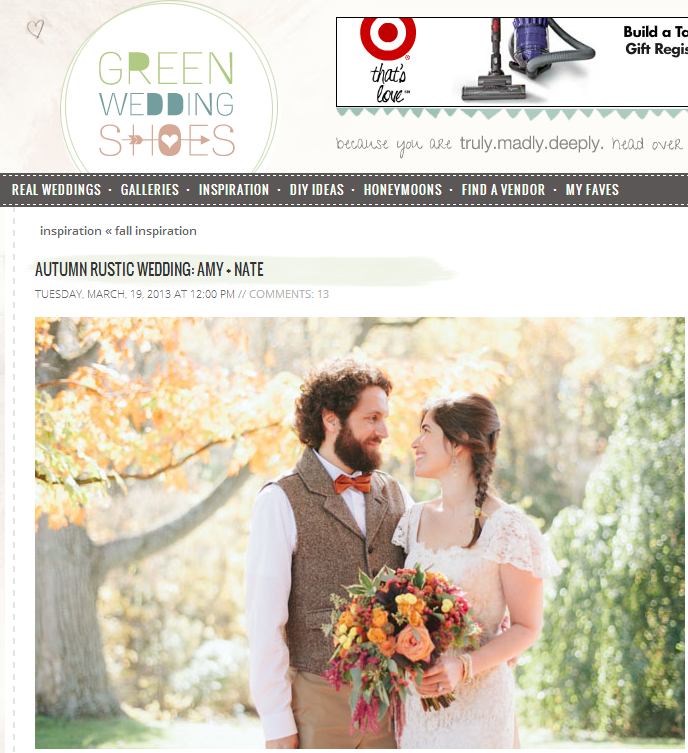
Remember how I told you our wedding was going to be featured on Green Wedding Shoes? Well they posted the feature on Tuesday!!

gws

I’m so so excited. You can see the feature by clicking here. There are a TON more photos than either I’ve shared here or that the photographer posted on her site. Still not many details of all my projects, but you can get a closer view of the cake topper I made. Go check it out :)

 
Next on the agenda- my pet portrait business! If you’d like a custom portrait, email me at elephanteats@gmail.com for pricing information.

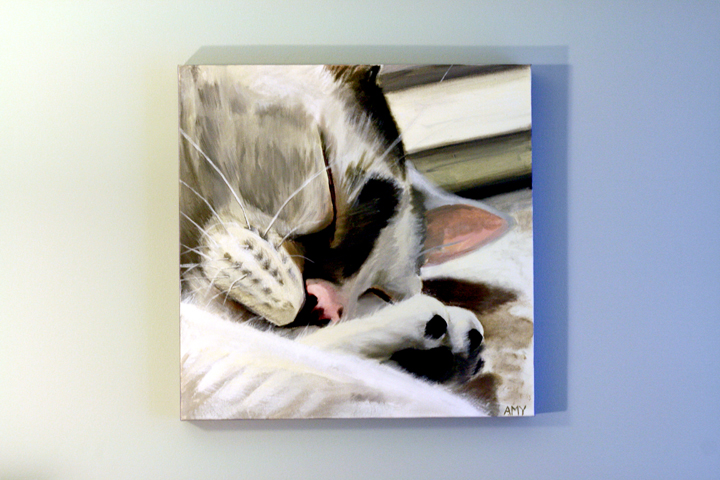
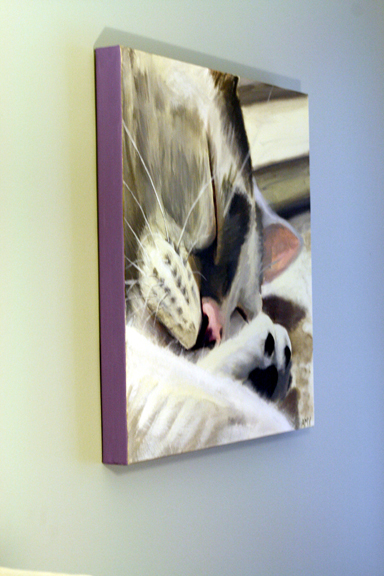
Since I’ve devoted my last 3 paintings to dogs, and I’m trying to expand my little pet portrait business, I finally found to time to paint my adorable kitty- L.C.! My first foray into the feline world.

Custom Cat Painting

We affectionately refer to her as “foot face,” and I think you can see why from the pose. When she sleeps, she often has one or both of her back feet in her face. Sometimes her front paws too.

Custom Cat Painting

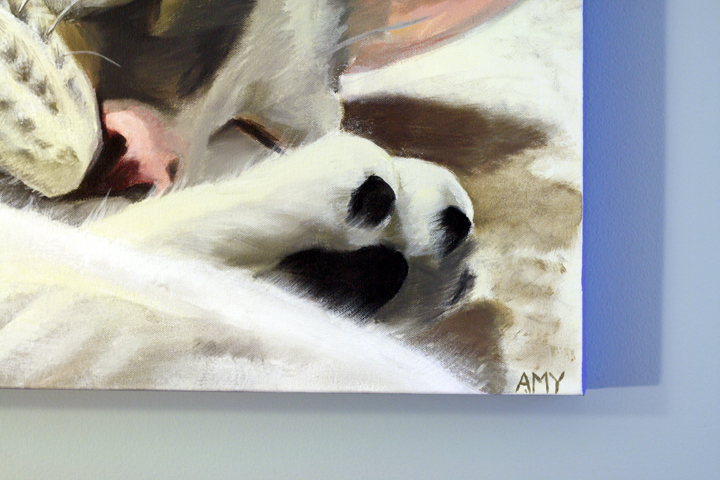
so fluffy!

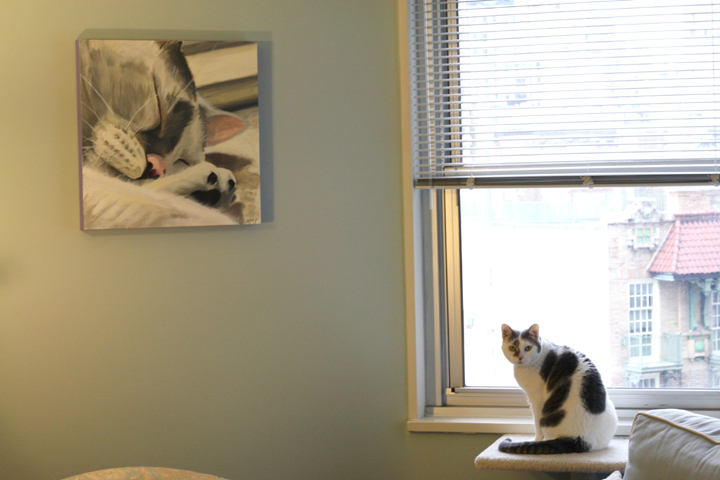
This painting I decided to go a little larger than my other ones. It’s almost double the size (20″x20″), and I love it! Here it is with the subject herself, for size comparison. :)

Custom Cat Painting

I think she’s pretty pleased to have her portrait hanging on our wall.

I love painting these on 1 inch deep canvases so I can put a coordinating or contrasting color on the edges.

Custom Cat Painting

Hope you guys like it :)  Please send anyone you know who wants a custom pet portrait my way!

I’ll be back next week with a new recipe :)

As I said in my last post, my husband is gone for the next few weeks, and as much as I want to spend every day cooking things I love (that I know he hates), a girl can only eat so much.

And so, while I’m finishing up some leftovers, I’m going to share a tutorial of the signs I made for my wedding.

But first I want to tell you that our wedding is going to be featured on the awesome wedding blog Green Wedding Shoes!!! I’m so so excited. It’s not going to be til March, but I’ll be sure to post the link when it happens.

(Here’s where I shared some wedding photos, in case you missed)
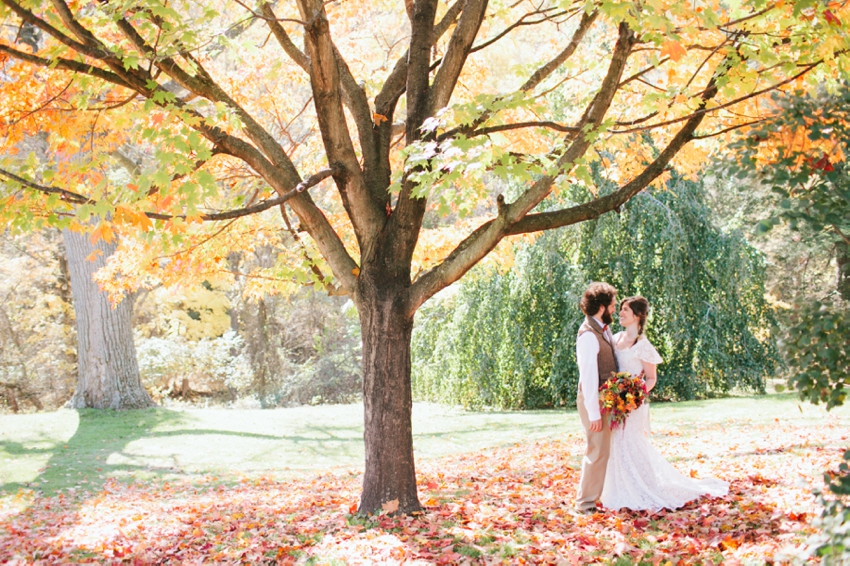
courtesy Jodi Miller Photography

courtesy Jodi Miller Photography

Anyway, I had seen lots of wedding signage around the internet, but I got it in my head that I wanted my signs to be made out of an old picket fence.

Lucky for me, I found one laying on the side of the street on my way home from work one day.  I stood there mentally calculating how to dismember the partially deconstructed fence and then tried to figure out how I’d carry the pieces to my apartment that was a couple blocks away. The superintendent of the building that discarded the fence saw me assessing the goods. I told him that it was for a project for my upcoming wedding,and he asked if I wanted a newer fence he had in the basement.
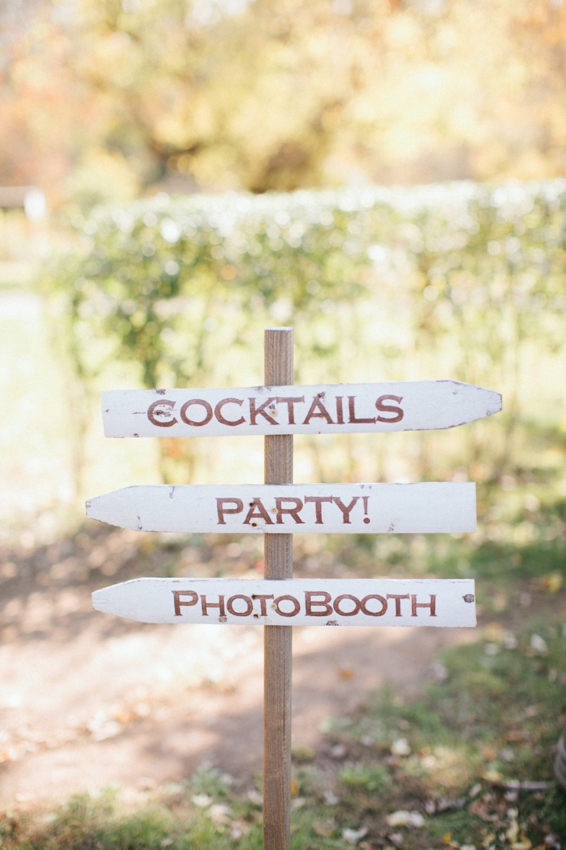
DIY picket fence wedding signage

courtesy Jodi Miller Photography

I told him that I actually preferred the old, decaying fence to the new one he was offering, and I saw in his eyes that he obviously  took me for an idiot. Despite that, however, he offered to take the old fence apart for me and remove the nails. As he spent the next 15-20 minutes dismembering the fence, he told me that he too was engaged, and that his wife would kill him if she knew he was helping someone else on their wedding project instead of helping with his own wedding :)

I offered to pay him for his troubles but he refused. I walked away with exactly what I had been searching for, and I can’t tell you how happy I was. I think I grinned the whole way home.

If you can’t find an old fence to do this with (which really adds to the rustic charm), I guess you could try distressing some wood yourself, although it’s way more effort. You can easily find people giving away old fences on Craigslist.

Anyway, here’s what I did:

First I went to home depot and got some wooden posts that are 2 in  (i think?) square and like 8-10 feet long. I had home depot cut them for me into sign height. Sorry I don’t have the exact info- I couldn’t find the item on their website. You’ll see it, thought, if you go to their lumber area. It’s basically the smallest size lumbar you’ll see.

I took some walnut stain and brushed it on, then wiped the excess off with a towel. I wanted them to have a brownish finish, so I used Walnut stain. I used a weatherproof spray polyurethane on top, once the stain was dry.

Next, I took the filthy picket fence outside and hosed it down. I wanted it to look weathered, but not dirty. I then let it dry for a day, since the old wood really absorbed the water.
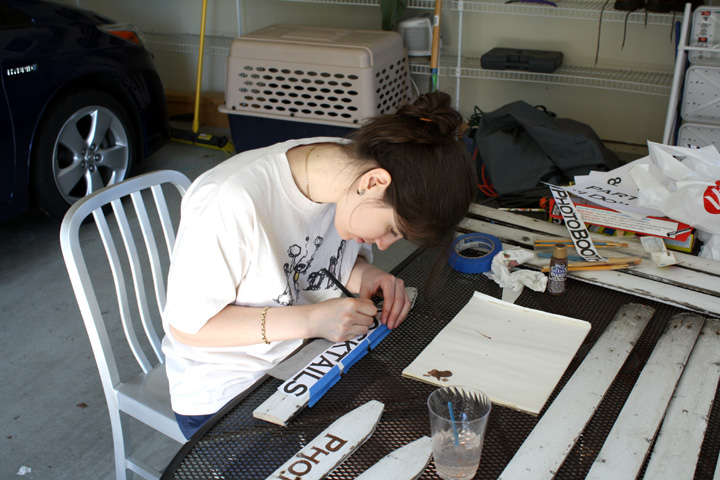
IMG_5907sm

I found a font I liked and printed out the words I wanted so they were almost as tall as the fence was wide- I wanted about 1/4-1/2″ space above and below the words. I placed the longest word I needed on the fence to see how long I should cut them. I centered it and left some room on each side. I then cut all the fence pieces to this length, using a hand saw.

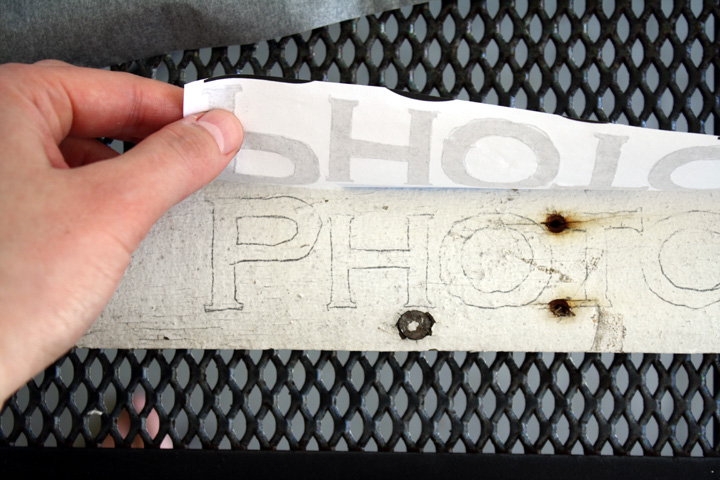
Next I arranged the pieces facing the directions I wanted (depending on where they needed to point in real life), and one at a time I traced over the letters using transfer paper.

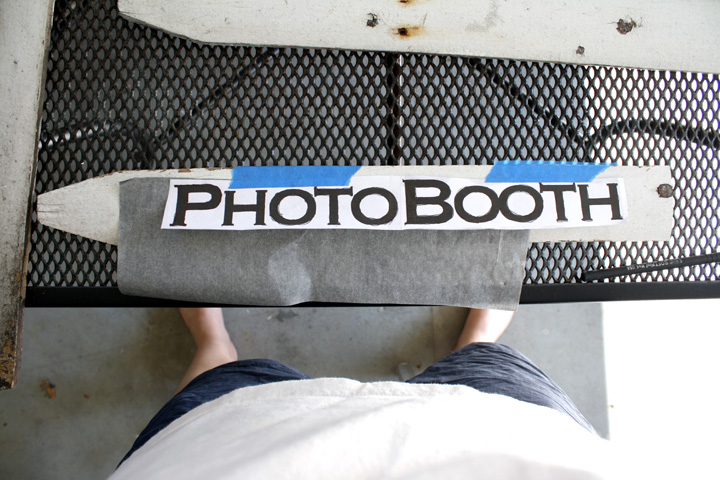
IMG_5903sm

DIY picket fence wedding signage


I then VERY carefully painted within the lines with a teeny brush and some craft paint. I had to go over each letter twice because the paint wasn’t very thick- definitely annoying. If you do this, test the paint somewhere to see it’s coverage and use a more expensive, thicker paint if you can, to save yourself some time.
IMG_5906sm

Once everything was dry, I gave them all 2-3 coats of the weatherproof poly spray, allowing several hours in between each coat. I’m pretty impatient so I probably didn’t wait as long as I should have, but I knew these wouldn’t be outdoors for more than a day, and it most likely wouldn’t rain.

DIY picket fence wedding signage

Then I arranged the signs on each post the way I liked and, since the wood was old and I didn’t want it to splinter, I drilled a pilot hole through both the sign and post. I then screwed them together with some deck screws that were slightly shorter than the fence + post combined thickness.

And, done! I completely love how they turned out :)

I put several non-directional signs leading down the driveway that said “Amy & Nate” “Tie the Knot” “10-21-12 <3.” They were spaced about 10-20 feet apart.
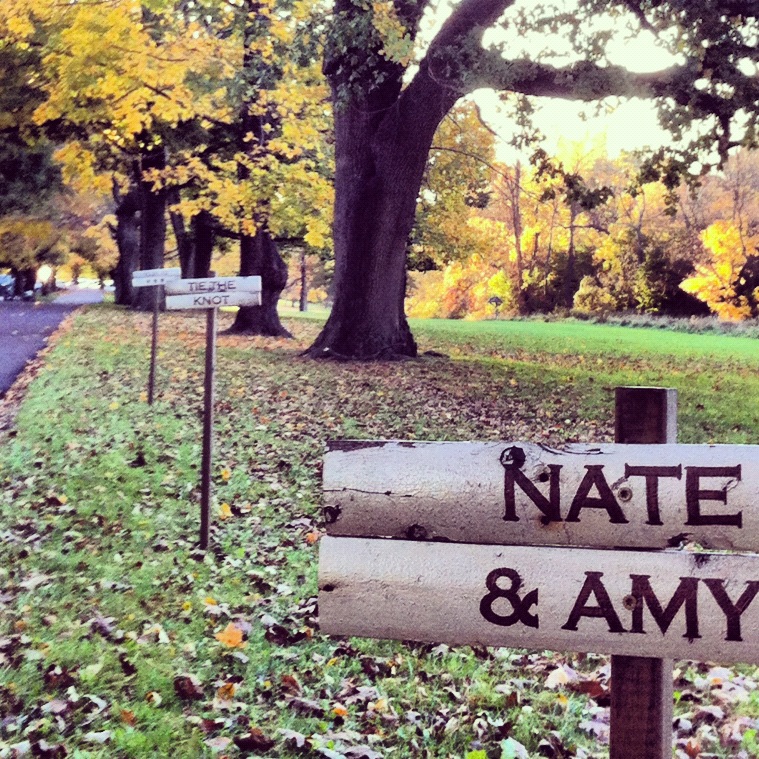
wedding fence signs

Then I had one directional sign (first picture of the post), since not everything was in the same building.

And finally I had an “I Do” sign in front of the orchard where the ceremony was held.
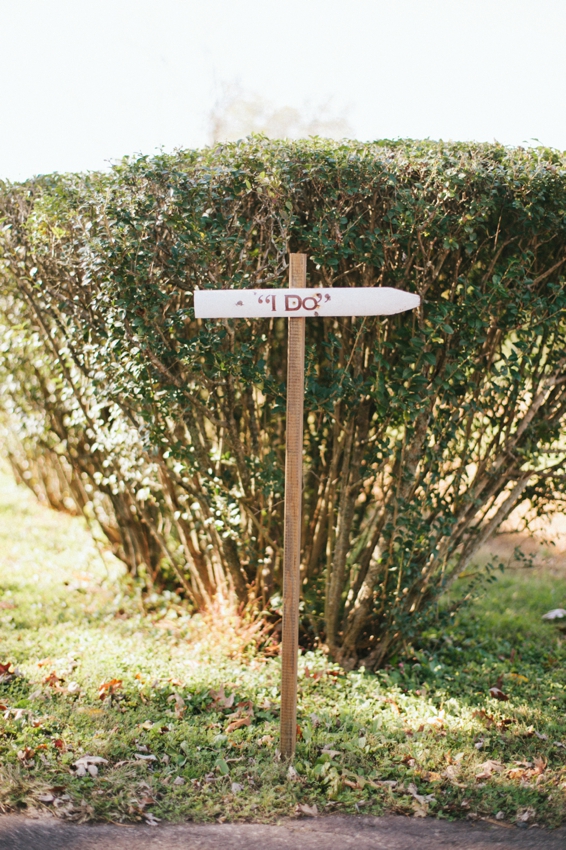
DIY picket fence wedding signage

courtesy Jodi Miller Photography

I had so many fence pieces left over that I used them for one more project! Here’s a sneak peek- My how-to will come soon.
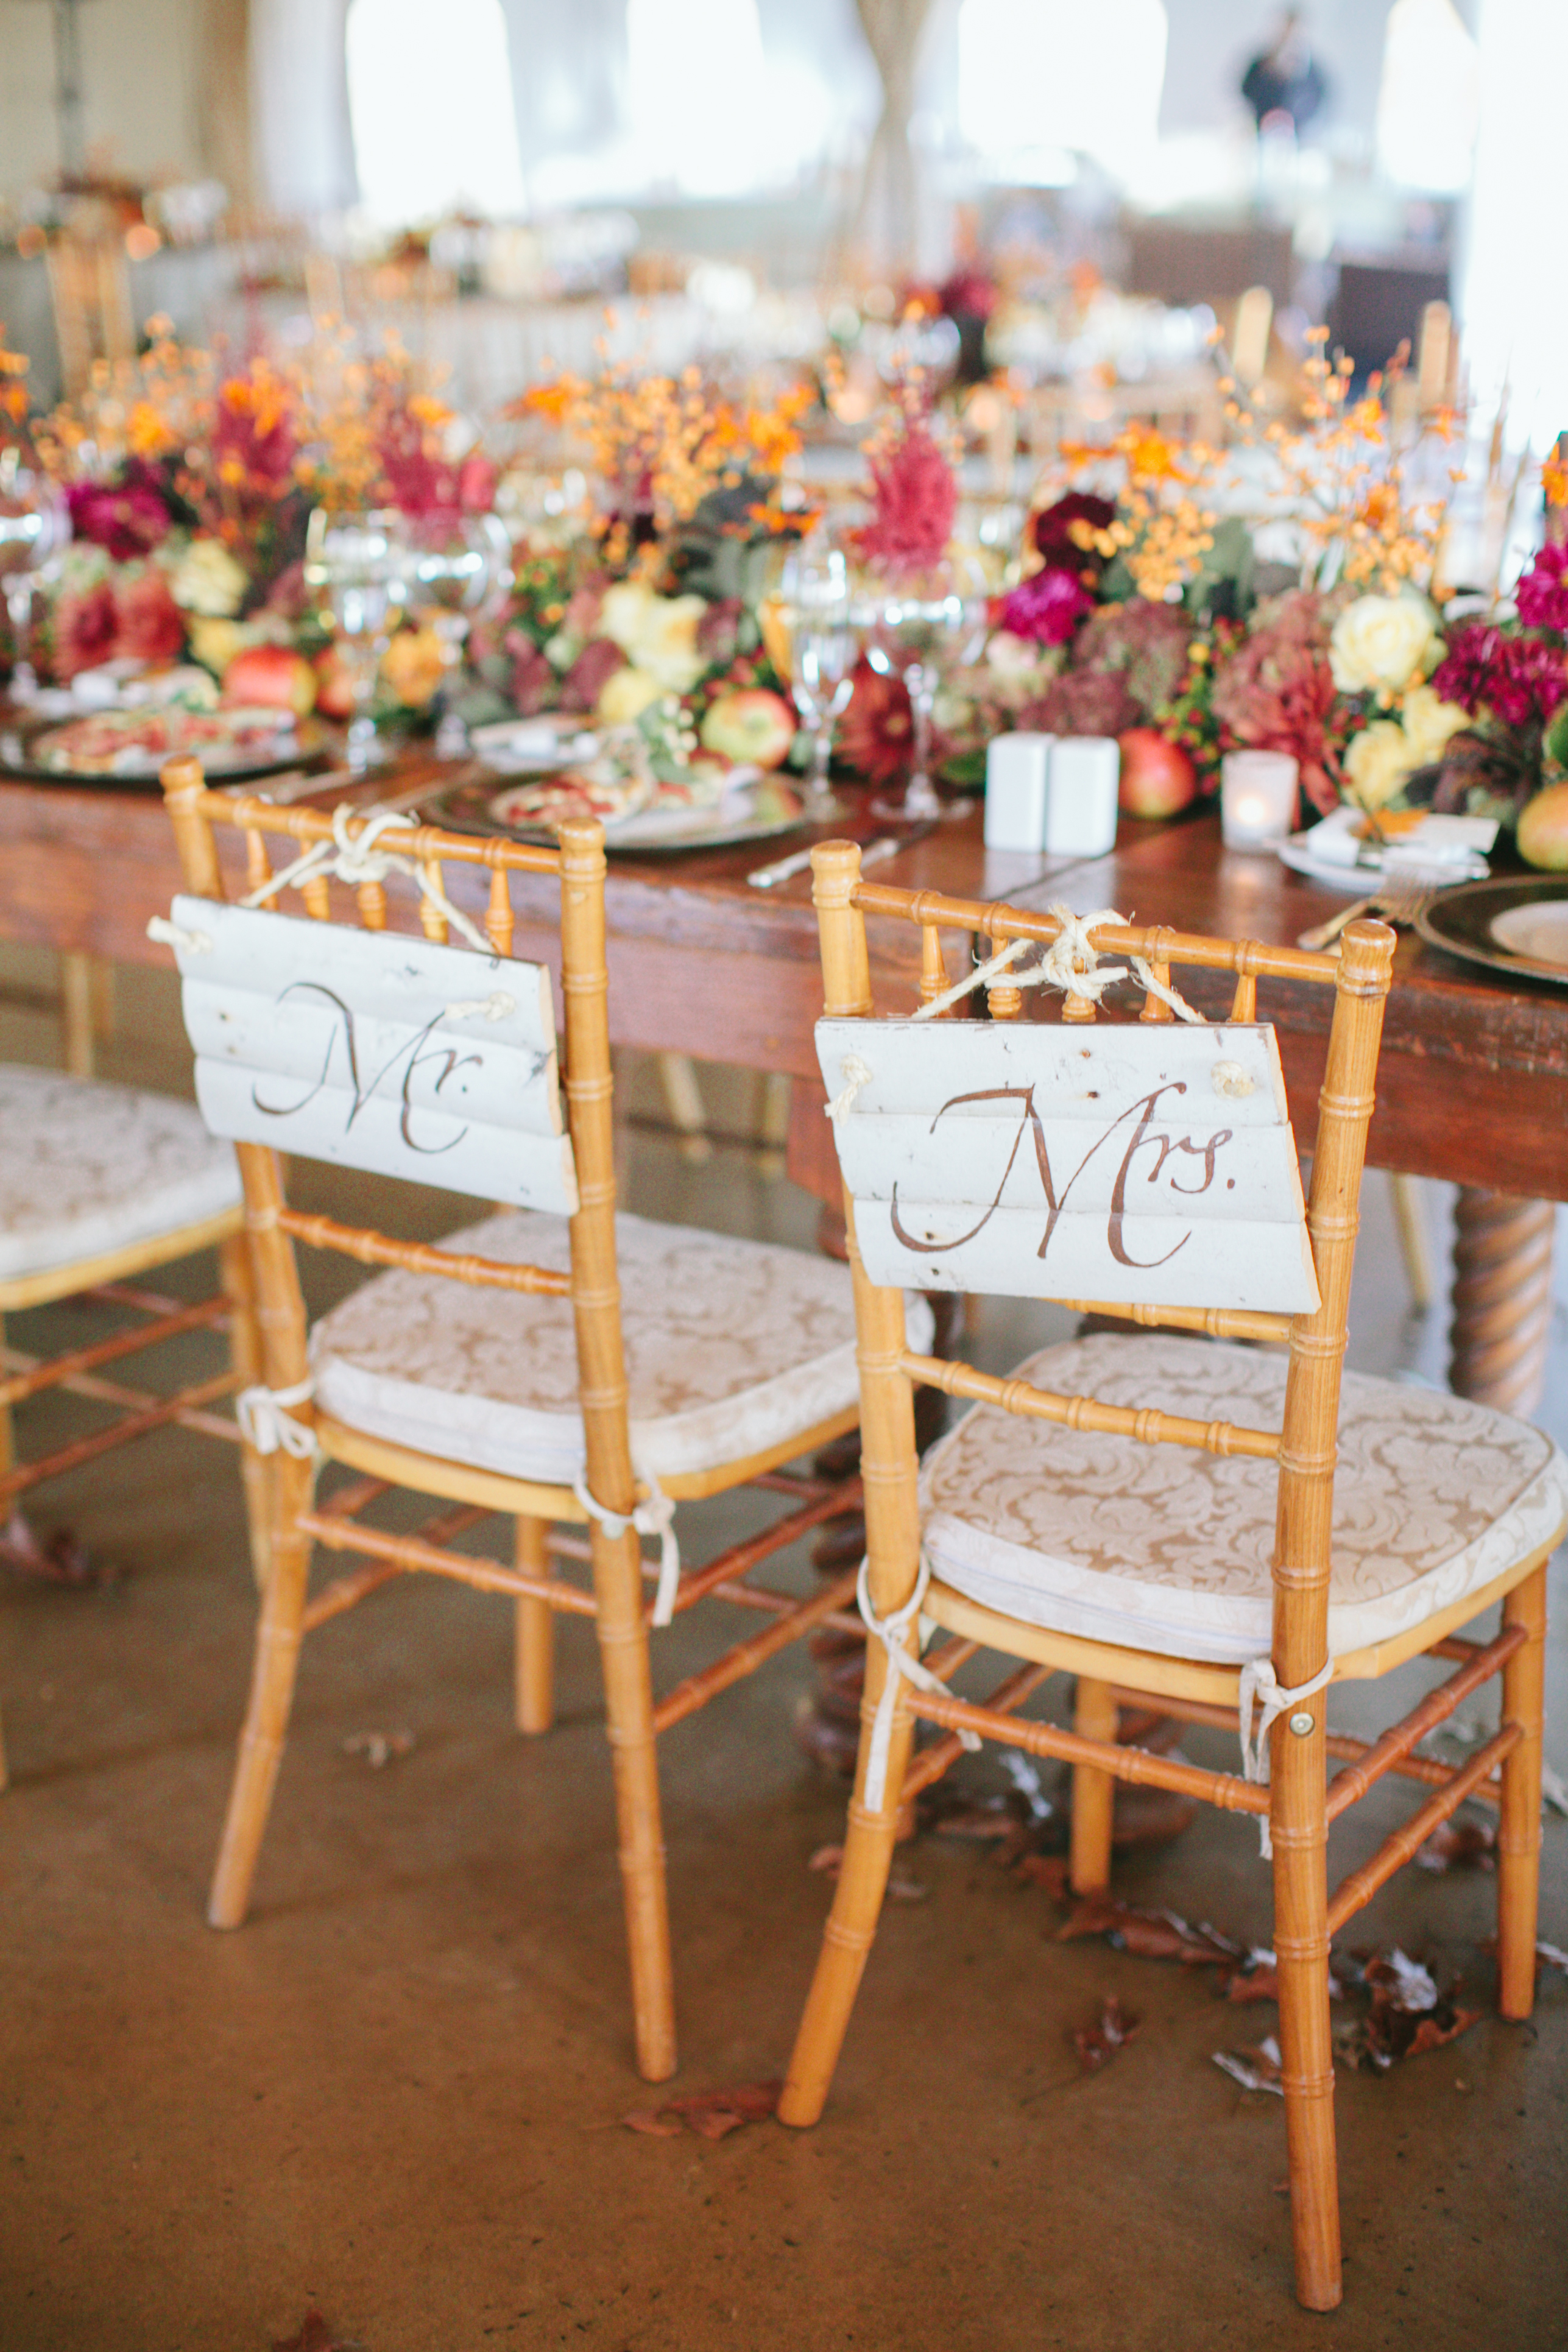
Amy + Nate; October 21, 2012; John J. Audubon Center

courtesy Jodi Miller Photography
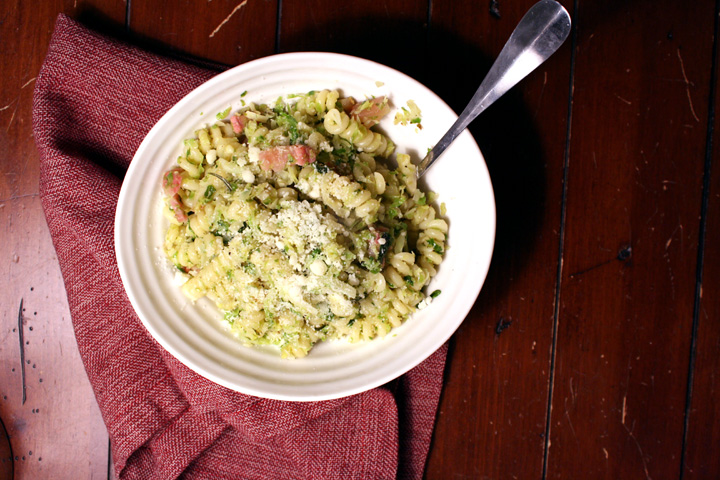
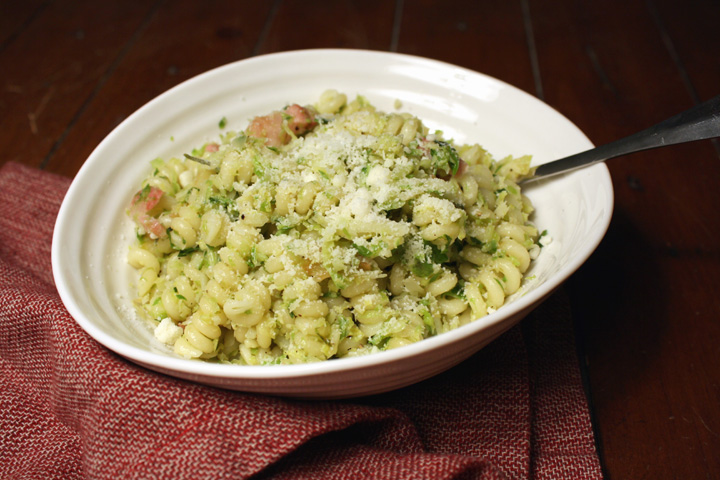
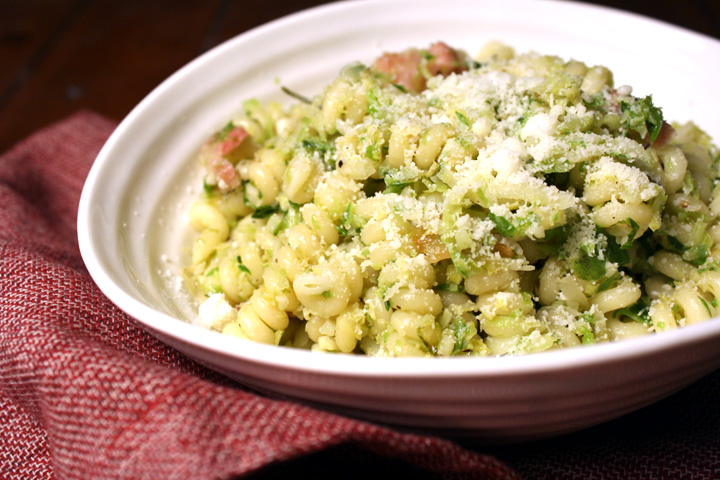
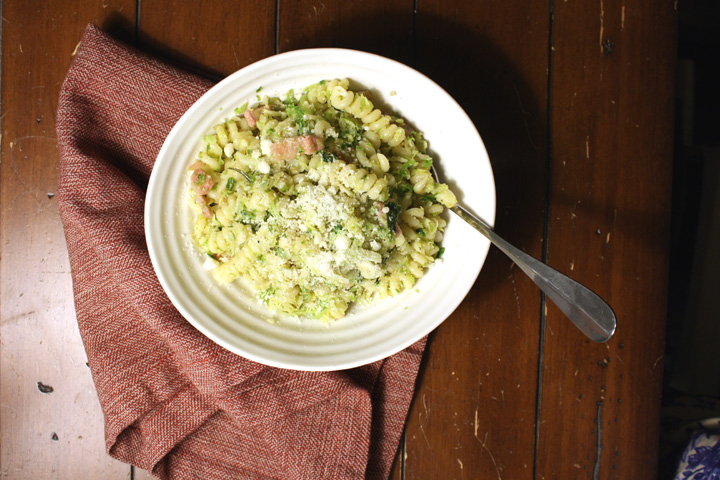
Brussels Sprout Pancetta Pasta

I’m exhausted! I finally finished my wedding thank-you notes. But I’m mostly tired because I just spent 2 straight days baking Christmas cookies. I usually bring them to work and hand out to any friends we can find a time to see before the holidays.

My aunt kindly lets me “borrow” her kitchen for a weekend since she has two ovens and a lot of room. It makes for some fun time to catch up with her while I get everything done.

I like to go all out when I do these cookies. I usually make at least 8 varieties, and I like a good mix of shapes and flavors. I think this year I may have gone a little too far. Some of these recipes were more complicated than I realized, and given my strict timeline I barely had time to eat during the baking extravaganza.

Brussels Sprout Pancetta Pasta

At one point I literally felt like I was going to faint. I texted this to Nate (since he was back in NY at our apt) and he replied “You don’t have to be a hero. It’s just Xmas cookies. You ain’t a cat surgeon.” L.C. is thankful for that, I’m sure. And my husband is obviously a wise, wise man.

I ended up finishing all but one type of the cookies that I needed to make. That’s a no-bake one so I can do it back at my apt. All-in-all, a productive two days!

Is it weird that I woke up with sore muscles today? I guess standing for 12 hours will do that to you, not to mention mixing by hand since there was no kitchen aid mixer (I did use a handheld mixer for some stuff).

Anyway, speaking of Nate and his sage advice, I think I’ve mentioned this before but periodically, he will email me recipes from the NYTimes that he “advises” me to make. I appreciate when he does this since the NYTimes recipes are usually very reliable (I’m trying not to hold it against them that they overlooked our wedding announcement!).

Brussels Sprout Pancetta Pasta

So when Nate sent me a recipe the other day for Penne with Brussels Sprouts and Pancetta, I knew that it would be as delicious as it sounded.

There are many foods Nate doesn’t eat, despite the fact that he claims to not be a picky eater, but luckily for me he happens to love brussels! After discovering what is now one of our annual family Thanksgiving recipes, my family has decided that brussels are much tastier when shredded. So when I saw this recipe I had no doubt it would be a winner.

Brussels Sprout Pancetta Pasta

Penne with Brussels Sprouts and Pancetta

Slightly adapted from the NYTimes

Print this recipe!

Serves 4

Sea salt
16 ounces penne
3 tablespoons extra virgin olive oil, more for drizzling
6 ounces pancetta, diced
2 large rosemary sprig
8 garlic cloves, smashed and peeled
Freshly ground black pepper
20 ounces fresh brussels sprouts, thinly sliced or shredded (i used the shredding plate on a food processor)
4 teaspoons butter
Fresh lemon juice, for serving
Freshly grated pecorino cheese (optional)

Bring large pot heavily salted water to a boil. Add the penne and cook until pasta is just al dente (do not overcook).

Meanwhile, heat large sauté pan over high heat and add the olive oil. When oil is hot, add the pancetta and rosemary, and sauté until the fat on the pancetta starts to turn translucent and very lightly brown, about 1 minute.

Add the garlic,and freshly ground black pepper to taste, and sauté until garlic and pancetta turn richly brown, about 3 minutes. Add the brussels sprouts, a large pinch of salt and a splash of water to pan, and sauté until sprouts just start to soften, about 2 minutes. Spread sprouts mixture in pan and press down to flatten. Let it sear for a minute, then stir it up and repeat. This helps brown the sprouts. Add the butter, and sauté for another minute.

Drain penne and add it to pan with brussels sprouts mixture. Cook, tossing, until everything is well mixed. Spoon into pasta bowls and top with a drizzle of oil and lemon juice, and a little cheese if you like.


12. November 2012 · 46 comments · Categories: life · Tags: ,

I PROMISE I will have a food post up later this week, but I just couldn’t wait any long for this…

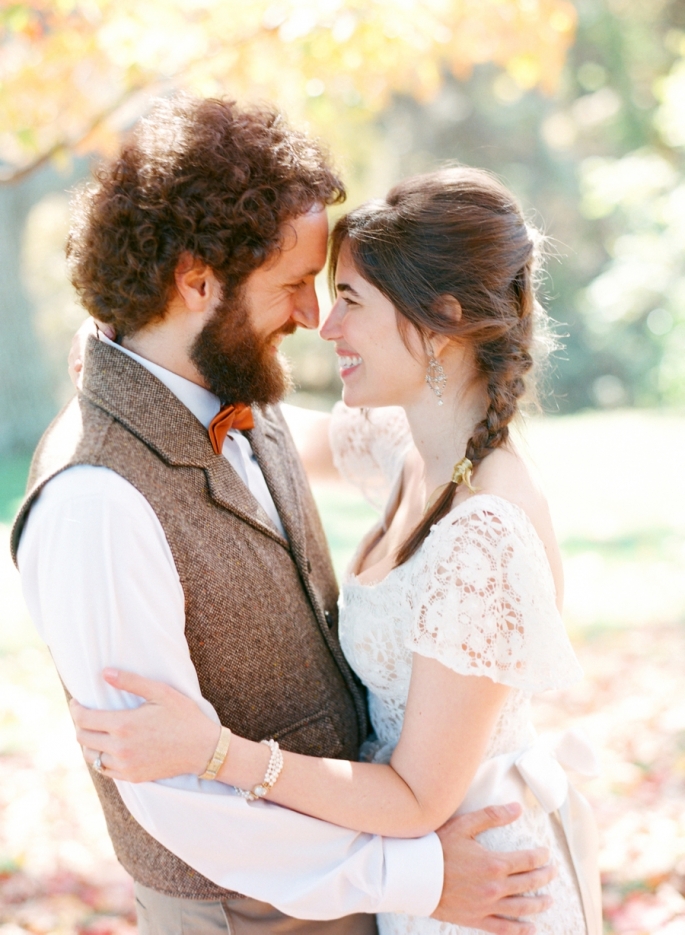
by Jodi Miller Photography

First off, how awesome is this pic the photographer took?! I love it so much. She just posted this little sneak peek but I’m so excited to see the rest!!!

Ok, so I don’t know how you’ve been feeling, but I’ve been SO anxious to show you this video Nate made to play at the wedding for all our guests. I know I’ve hinted at it a lot, but couldn’t really reveal it until the wedding.

Also, I don’t think there’s a way to acurately describe this amazing video in words. It’s just something you have to see for yourself.

I just want to say how proud I am of my husband (I love saying that word!). I think you’ll see why after you watch. Honestly, I knew Nate went to school for film but I really had no idea how creative and talented he was until I saw the process of him dedicating his free time to making this video. It was something that he could contribute to the wedding, when I essentially did all the planning. This video is so much more than any decisions or ideas I had regarding the wedding, because this video will be around forever and every time I watch it, it will remind me of our wedding day, and of how much Nate loves me and how perfect we are for each other.

To most of you, who don’t really know me, hopefully this will give you a little glimpse into who I am and who Nate is. There are some things that may not really make sense, but I think the video does a good way of explaining the strange dating life I had before Nate, and gives you a glimpse into the weirdo quirkiness that defines each of us ;)

So without further ado, here is Nate’s video. Make sure you enlarge it to full screen and turn the volume up. I hope you all love it as much as I do :)

(I swear I don’t normally say “like” as much as I do in this video)

Carota Wedding Video from Nathaniel Carota on Vimeo.

The little stop-motion at the end are the cake toppers that I made! So cute.

I’m back from my honeymoon!…and just in time for a Pinterest Challenge!

I promise I’ll be back with honeymoon details and my regularly scheduled FOOD programming shortly….

Two of my favorite DIY blogs do something every season called a Pinterest Challenge. The goal of the Pinterest Challege, is to make one thing each season that’s inspired by all the gorgeous stuff that we’ve pinned on  Pinterest!

This month, the challenge is hosted by: SherryKatieCarmel, and Sarah

You may remember I participated in this challege last summer and made myself a jewelry holder! I also participated in the winter and made a lovely button bird for Nate’s mom’s Xmas present :)

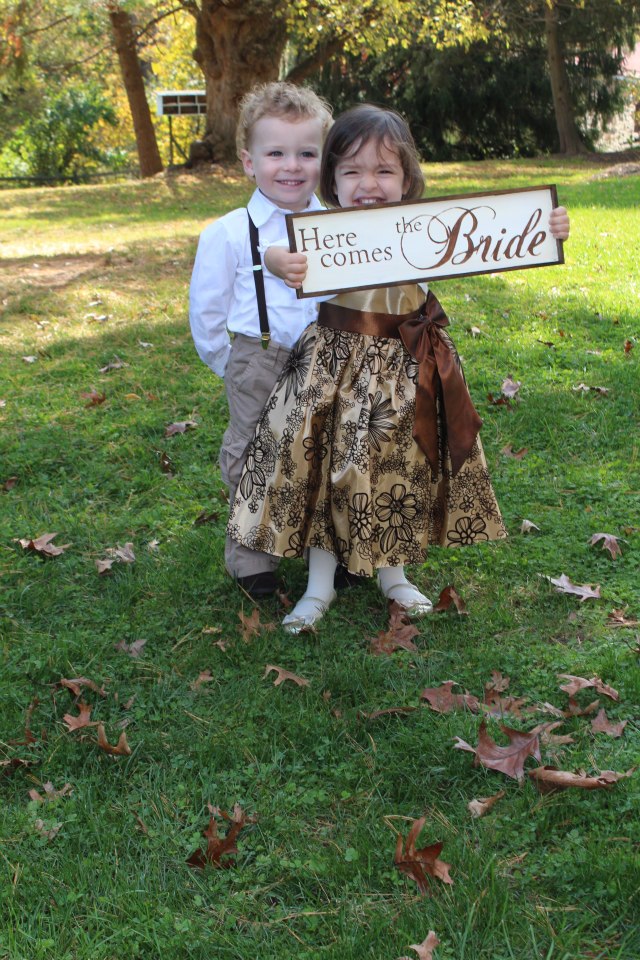
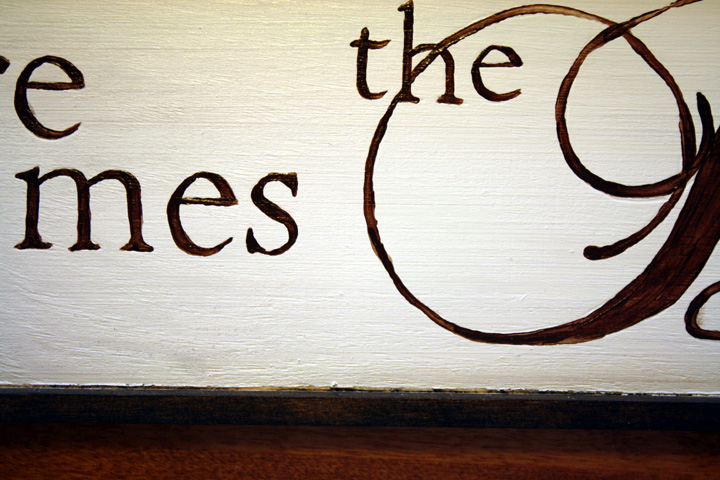
This time around, I had been stockpiling projects from the wedding, which I will be sharing with you over the coming months. But the one I thought I’d share first is my “Here Comes the Bride” sign for our flower girl.

FlowerGirlSign

Before I go into to my inspirations for this project…HOW FREAKING CUTE ARE MY FLOWER GIRL AND RING BEARER?! Omg, I can’t stand it.

Anyway, I knew I wanted to do something different for my flower girl. I had seen these signs around the web and thought it was cuter, and cheaper than going with a basket that my florist was going to charge me for.

These were some ones I saw:

http://pinterest.com/pin/68117013084590660/

 Since my flower girl is only 2 1/2 years old, I knew I needed something light weight. I also wanted something that would be easy to read. I contemplated fabric but it’s a pain to paint on and would flap around if it was windy.

I wanted to use wood but thought it would be too heavy for her to carry. So my first go-round, I got some poster board, and spent an unecessarily long time making it look like wood and then painting the words on it. But when i was done I just wasn’t happy with it. It didn’t look like wood because you could see the styrofoam on the edges. I hated to waste it but I wanted it to be perfect.

So I headed to Michaels to try to find a piece wood that was light enough for a kid to hold. I spent a long time there examining all the options…a LONG time. I tend to have a hard time making decisions. Luckily my aunt was with me to encourage me to pick something.

I found this weird, VERY lightweight piece of framed balsa (?) wood. We asked a random kid at Michaels to hold it to see if it was too heavy but it passed the test! I forgot to take a pic but you can get the idea from the finished product. It was 14.5″ x 17.25″ and is in the section with all their wood frames.

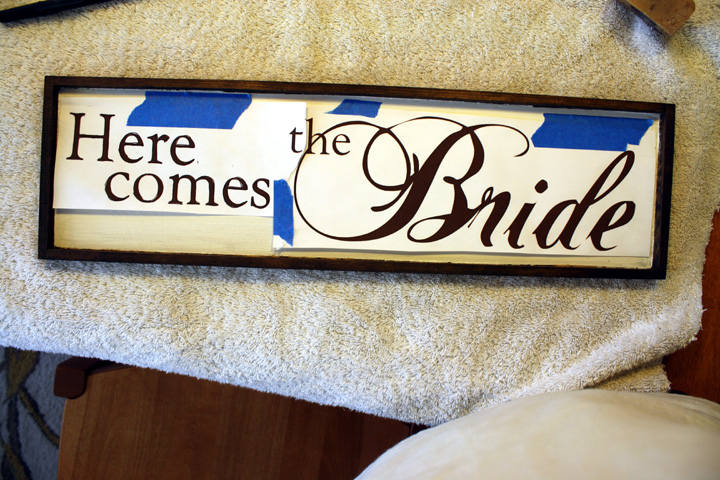
I used photoshop to make the words fit inside the dimensions of the frame and to play around with fonts I liked. After much deliberating (and pestering Nate for his opinion…apparently he doesn’t have one) I made a decision and saved the file as a .jpg. If anyone would like this file as a .psd or .jpg, let me know.

Because a lot of my wedding projects involved an old white picket fence and brown paint, I thought I’d go that same route color-wise.

The first thing I did was stain the back sides and inside edges of the frame with a dark walnut stain I had. I taped off the inside while doing it, put the stain on with a brush and then wiped off excess with a paper towel.

After that dried for a day, I taped off the inside edges and painted the inside main surface with plain old white paint. I had some leftover from a furniture project.

Once the paint was dry, I printed out my letters on two pieces of paper since it didnt fit on one and taped it onto my wood.

The next problem was getting the letter transfered somehow so I could paint them. I didn’t want to freehand it. I had some charcoal transfer paper leftover from my wedding signage project (that I’ll be sharing with you soon), so first I tried that. It was just messy.

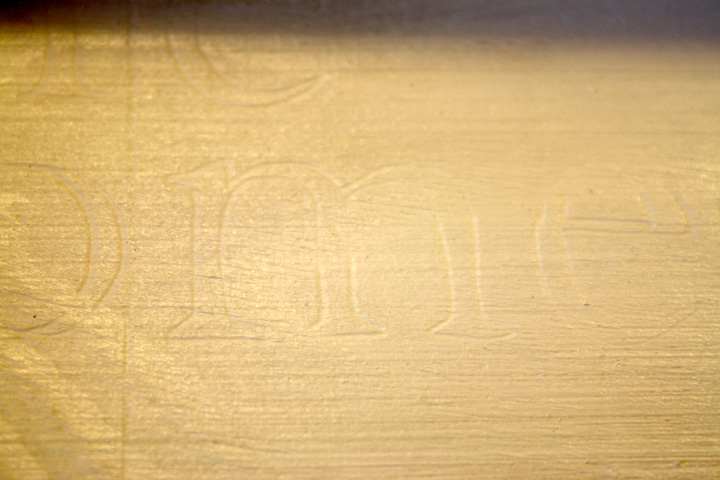
The next thing I tried was something i had seen online. Since the wood was so soft, I just pressed really hard with a pen while tracing all of the letters and a faint outline appeared on the wood.

After I finished this, I went to town with my leftover brown paint and slowly and VERY carefully painting in the lines. I went over everything twice because the craft paint I used was kind of watery.

The painting part wasn’t perfect, but it was definitely good enough.

I’m SO pleased with the result…and especially with my lovely model :) It was worth the time that went into it, which honestly wasn’t all that long.

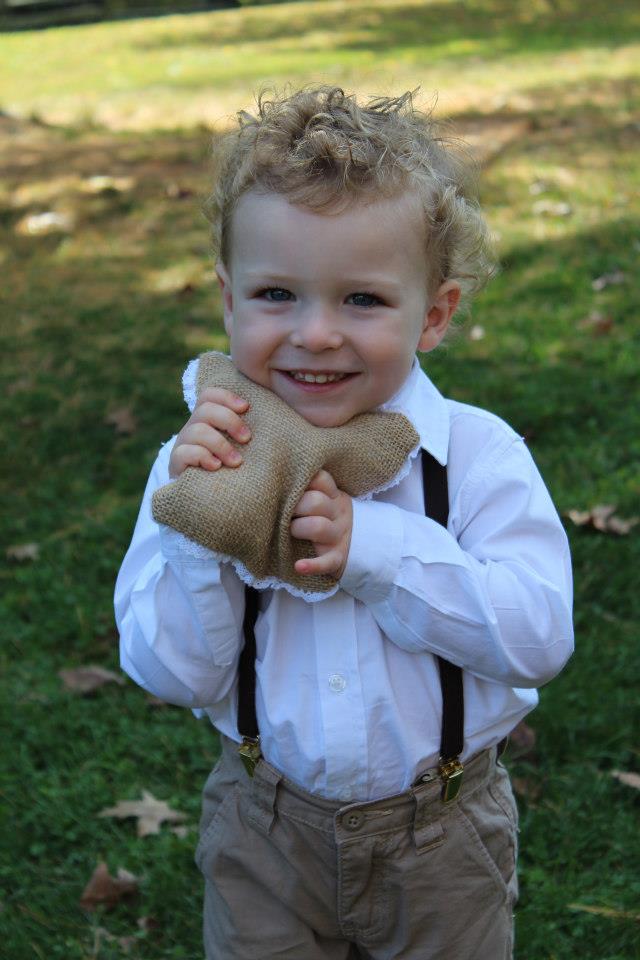
Also, for a bonus, I won’t be doing a post on the ring bearer pillow I made (also inspired by pinterest), since I just sewed some burlap with lace, but how cute is my ring bearer??

His suspenders, shirt, and khakis match the groomsmen! :)

Here’s another shot of the pillow up close:

P.S. Go check out the owl pumpkin I carved this Halloween and entered in Movita’s Pumpkin Carve-off 2012! It made it to the finals but sadly didn’t win :(