As I mentioned in my last post, Nate and I have had quite a lot happening around here lately.
Some of you may have already know based on my comments on other blogs, but I officially got a new job offer! I was kind of passively looking because while my current job wasn’t horrible, it also wasn’t ideal. I’m so so excited for this new opportunity! There seems like there will be more room for growth. Althought I’m still working at my “old” job for another couple weeks, I have a new hire appt tomororw and I get my new ID badge and stuff!
This new job is the first place I’ll have worked where the people there will only know me by my married name :) At my current job they still refer to me by my old name, and it’s kind of annoying me at this point that they can’t remember. Although maybe I shouldn’t be so harsh because I was initialling a document the other day and used my old initials and totally didn’t even notice…it even took me another minute to realize after Nate said “oh, come on, Amy!”
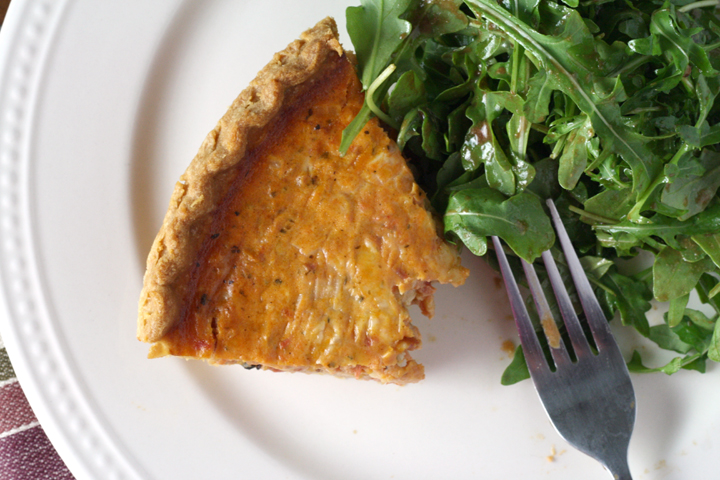
So what does this all have to do with this recipe? Well, just that if you’re busy you shouldn’t assume because a recipe’s title contains the word “quiche” that it will be quick to make. I mistakenly went to prepare this at around 7pm the other night thinking I could whip it right up. It wasn’t until I actually read the recipe (after having already started it) that I realized you have to essentially make a homemade tomato sauce before assembling the quiche. And if I had made a homemade crust it would have been even more effort.
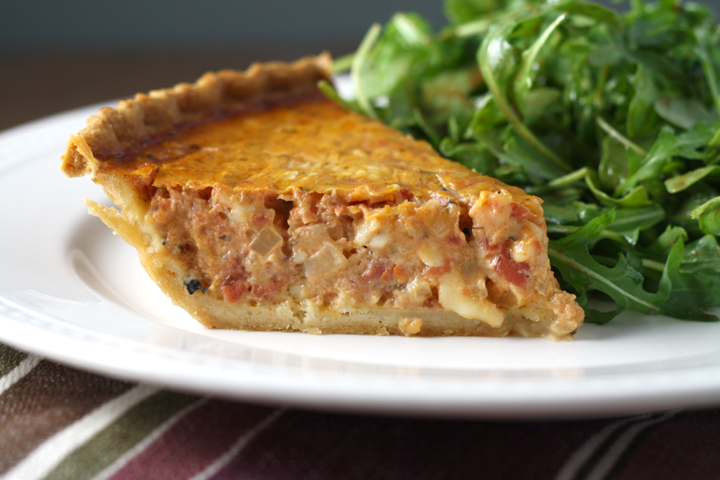
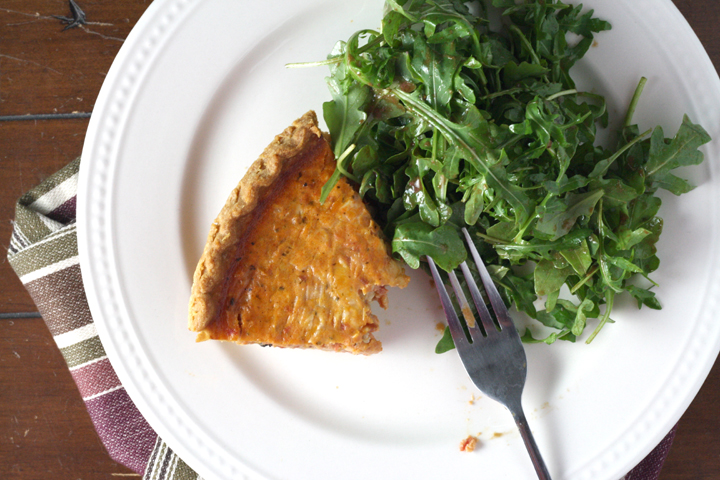
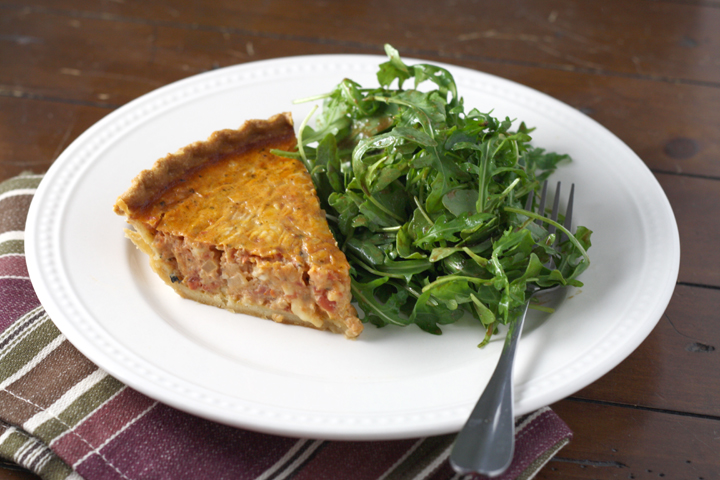
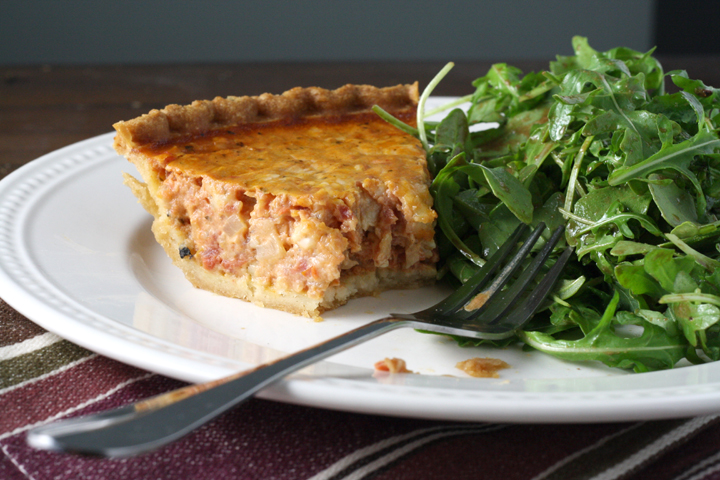
I will say however, that if you take into account the correct amount of time it will take, it’s TOTALLY worth it. Nate and I both thought this was outstanding. The tomato sauce, while incredibly basic, was so delicious. I kind of want to make it again to just put over pasta. What’s great about this quiche is that you can make it in the winter with canned tomatoes or in the summer with fresh and it’s delicious both ways. It’s fancy and tasty enough that you could definitely make it for company. It would be great to serve at brunch as well as dinner!
This is one of the recipes Nate sent me in the morning during his breakfast perusal of the New York Times. As I’ve mentioned before, I find their recipes highly reliable.
I thought to make this quiche because I’ve had a premade pie-crust in my freezer forever. I don’t know why I bought it. If I’m going to make a pie, I would totally make the crust from scratch, so I think I actually bought it to make a quiche. With a store-bought crust, a typical quiche is a great weeknight meal. This one requires slightly more effort but please do it!!
P.S. You can make the tomato sauce ahead of time and then it’s really not bad for a weeknight dinner :)
Winter Tomato Quiche
From NY Times with some shortcuts by me
Serves 6-8
1 9- or 10-inch whole wheat Mediterranean pie crust, gluten-free whole grain
Mediterranean pie crust, or yeasted whole wheat olive oil pastry (*I used a regular old frozen pie crust in pan)
1 tablespoon extra virgin olive oil
1/2 medium onion, finely chopped
2 to 3 garlic cloves (to taste), minced
1 14.5-ounce can chopped tomatoes in juice, with juice (*I used the ones with rosemary and oregano)
1 tablespoon tomato paste
Pinch of sugar
Salt to taste
1 sprig fresh basil or rosemary
1 teaspoon fresh thyme leaves or 1/2 teaspoon dried thyme
Freshly ground pepper
2 eggs
2 egg yolks
3/4 cup low-fat (1 or 2 percent) milk
2 ounces Gruyère cheese, grated (1/2 cup, tightly packed)
1 ounce Parmesan cheese, grated (1/4 cup, tightly packed)
If making crust, roll out the crust and line a 9- or 10-inch tart pan. Refrigerate uncovered (place in freezer if using the yeasted crust) while you make the filling. If using a premade frozen crust in pan, defrost in fridge and don’t take it out until you’re ready to use it.
Heat the olive oil over medium heat in a wide, heavy saucepan and add the onion. Cook, stirring, until it begins to soften, 2 to 3 minutes. Add a pinch of salt and continue to cook, stirring often, until tender, about 5 minutes. Meanwhile pulse the tomatoes in a food processor fitted with the steel blade or in a mini-processor.
Add the garlic to the onions and cook, stirring, until fragrant, about 30 seconds. Add to the canned tomatoes and turn up the heat slightly. Add the tomato paste, sugar, salt, basil or rosemary spring and thyme and simmer briskly, stirring often, until the tomatoes have cooked down and smell fragrant, about 15 minutes. Taste and adjust salt, and add pepper. Remove from the heat. Remove the basil or rosemary sprig and, if you used rosemary, remove any rosemary needles that may have detached from the sprig. Allow to cool slightly. You should have about 1 cup of the sauce.
Preheat the oven to 350 degrees. Beat the eggs and egg yolks in a large bowl. Brush the bottom of the crust with a small amount of the beaten egg and pre-bake for 10 minutes. Remove from the oven and allow to cool for 5 minutes.
Beat the milk into the eggs. Add 1/2 teaspoon salt, freshly ground pepper to taste and beat together. Stir in the cheeses and the tomato sauce and combine well. Scrape into the crust, using a rubber spatula to scrape out every last bit from the bowl. Place the tart on a sheet pan for easier handling and place in the oven. Bake for 30 to 35 minutes, until set. Remove from the heat and allow to sit for at least 15 minutes before cutting.
Advance preparation: The tomato sauce can be made through Step 3 up to three days ahead and refrigerated uncovered. It can also be frozen. Allow to come to room temperature before making the tart. The tart will keep for a couple of days in the refrigerator. Reheat gently in a low oven or serve at room temperature.

