16. June 2012 · 24 comments · Categories: Drinks, recipes · Tags: , , ,

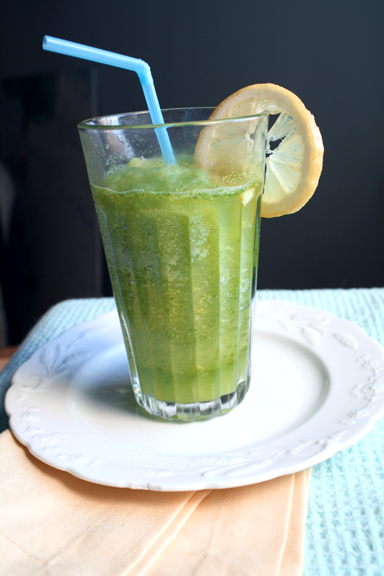
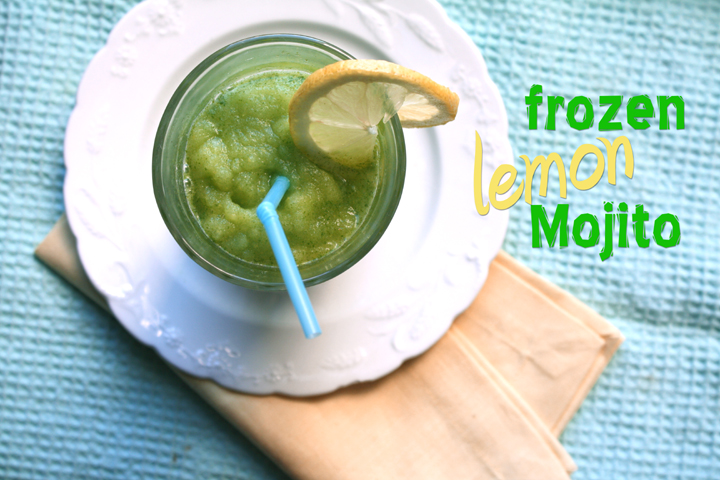
Frozen Lemon Mojito

If you’ve been searching for an alcoholic summer drink that’s perfect for sipping by the pool, look no further.

As you know I had a couple people over to dinner the other day and I wanted to make something fun and refreshing for them to sip on while I was busy in the kitchen making the rest of the meal.

I don’t drink at all, and Nate only likes wine, so we didn’t have much in the way of hard liquor in the apt. I did have a bottle of Absolut Vodka I had gotten as a gift a while ago, so I was determined to use it.

Frozen Lemon Mojito

I knew the drink would be great with lemon or lime, and I really wanted something frozen since I love using by awesome Blendtec Blender. I was thinking along the lines of a frozen mojito since I couldn’t get the flavor out of my head after seeing this post from Kelly.

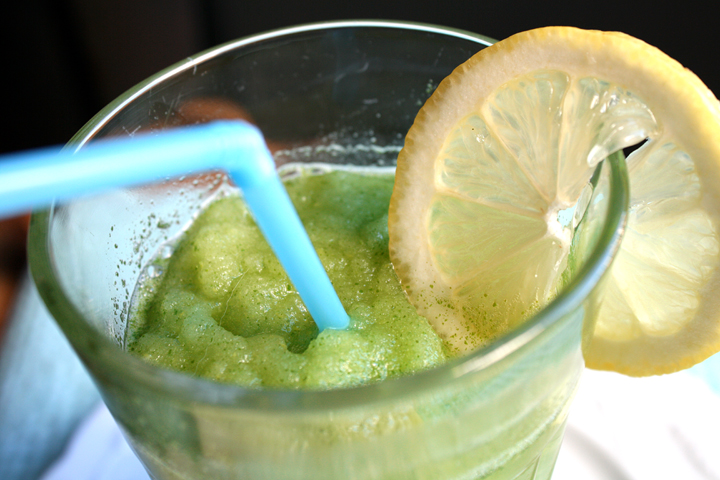
After a bit of searching, I came across this recipe for Frozen Lemon Vodka Mint Mojitos. I didn’t have Lemon Vodka but it didn’t make much of a difference. It was basically a Lemon Mojito Slushie. It doesn’t have enough alcohol to make you too tispy and even I couldn’t really taste it, so depending on how strong you like your drinks you might want to up the alcohol content.

That being said you could easily leave out the alcohol and have an amazing Mint Lemonade Slushie. I think I might do that soon because this drink is perfect for the hot and humid weather that’s about to hit us.

I may not have a pool, but at least I can sip this drink and pretend I’m sunbathing :)

Frozen Lemon Mojito

Frozen Lemon Mojito

Very slightly adapted from Salt and Serenity

Print this recipe!

Serves 3-4

4 cups ice cubes
1 1/2 teaspoons lemon zest
3/4 cup plus 3 tablespoons simple syrup (recipe below)
3/4 cup freshly squeezed lemon juice ***check amount on rewritten recipe
2/3 cup vodka
1 1/2 cup, loosely packed mint leaves

Place all ingredients in a blender and process until smooth. Pour into tumbler glasses, garnish with a lemon slice and
mint sprig.

Simple syrup:
2 cups white sugar
2 cups water
Combine ingredients in a small saucepan. Bring to a boil and continue cooking until all the sugar is dissolved. Let cool and pour into a covered jar. Will keep in the fridge for several weeks.


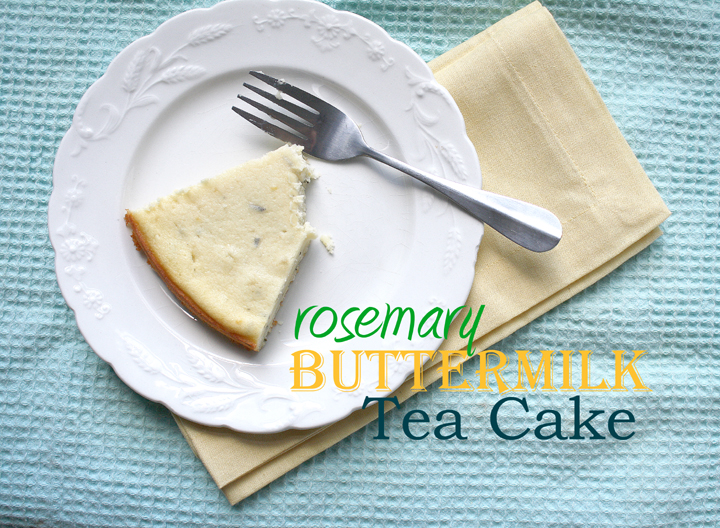
Rosemary Buttermilk Tea Cake

I hate wasting food.

Before I met Nate I would try to serve myself small portions of food, but with my eyes being bigger than my stomach, there would always still be too much for me on the plate. Since I hated wasting food, I would force myself to eat the last few mouthfuls rather than wasting it. (Don’t ask me how I developed this behavior since my mom never enforced the “clean plate” rule!)

Luckily Nate’s active lifestyle gives him an endless appetite. Now, rather than forcing myself to eat something, I just put it on his plate :) This solves the problem of having little bits of meal leftover, but it still doesn’t solve the problem of leftover ingredients.

Obviously if a recipe calls for buttermilk, or fresh rosemary, you will have copious amounts left. I had both ingredients sitting in my fridge (courtesy of some baked buttermilk rosemary chicken) for over a week because I refused to get rid of them.

I knew those two ingredients happened to be a perfect combo for something sweet and so I finally got myself to mix them together into a lovely cake.

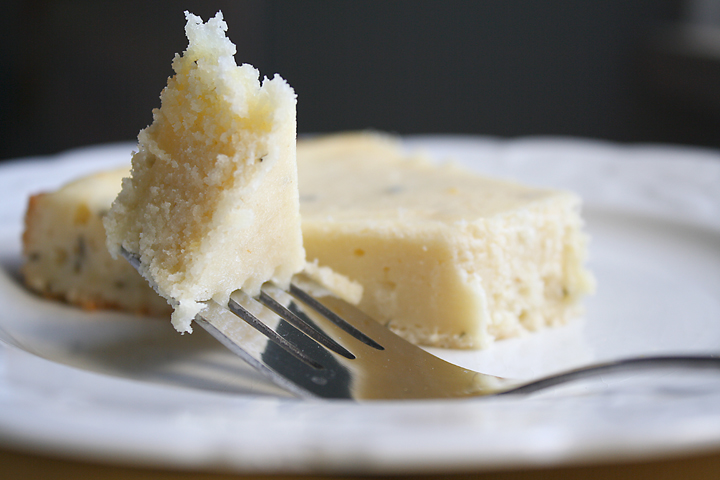
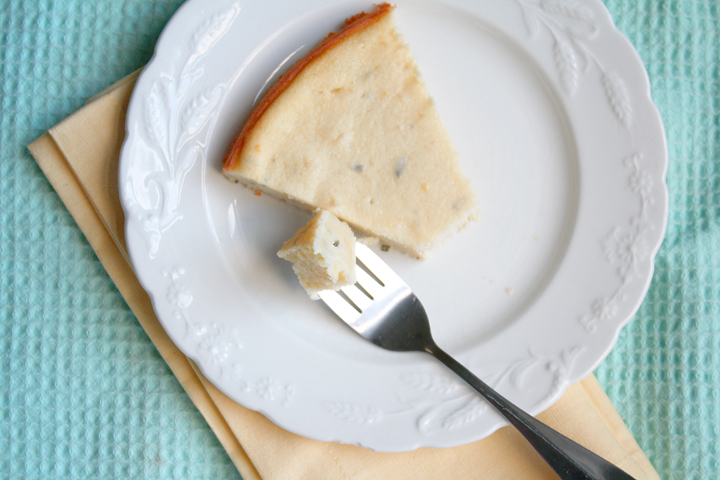
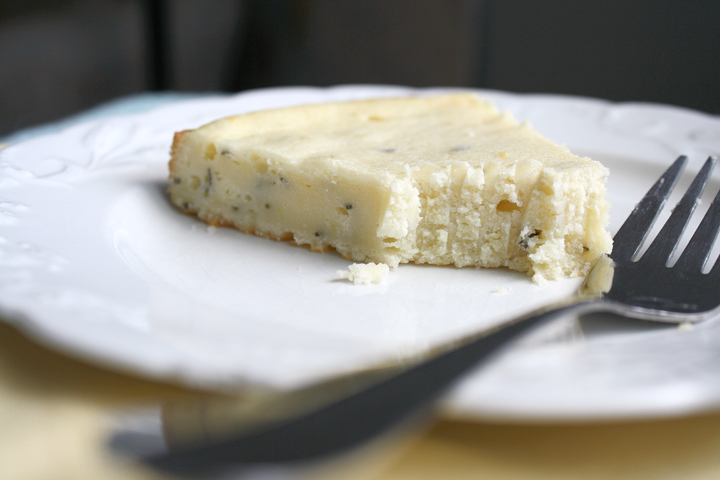
This cake is light (in texture, not in calories), not overly sweet, and perfect for brunch with a cup of tea! The rosemary flavor is strong, but I love it that way. If you’re not as big a fan of rosemary, feel free to cut back.

I couldn’t stop myself from eating this. It’s so buttery, soft and flavorful.  I honestly don’t know what a tea cake is, but this is what I’d imagine :) The perfect thing to go with your Mother’s Day brunch!

And with your leftover buttermilk and rosemary, you can perhaps invent something even better!

Happy Mother’s Day to all the moms out there!!!

Rosemary Buttermilk Tea Cake

This photo doesn’t have an accurate portrayal of the cake’s texture. I took pics of it straight from the fridge, but out of the oven or at room temp it is fluffy and light and wouldn’t show fork marks!

Rosemary Buttermilk Tea Cake

Print this recipe!

Serves 8

1 1/2 cups all-purpose flour
3/4 cup sugar
1 stick unsalted butter, softened
1 tsp lemon juice
zest of 1/2 lemon
1 Tbsp fresh rosemary, chopped (you can use less if you’re not a huge rosemary fan)
1 tsp baking powder
1/2 tsp salt
1 cup buttermilk
2 eggs

Preheat oven to 350 degrees. Coat a 9 or 10″ pan with cooking spray. (*Note, the 9 inch will be taller than mine. I should have used a 9″. A springform would be perfect but a regular cake pan is fine)

Cream together the butter and sugar until very light and fluffy, then add the eggs one at a time, beating well after each addition. Add the lemon  juice, zest, and rosemary and continue beating until batter is smooth and combined.

Whisk together flour, baking powder, and salt in another bowl and add alternately with the buttermilk to the butter and sugar mixture.

Beat until smooth, then pour batter into your greased pan, smoothing out the top with a rubber spatula.

Bake cake for 40 minutes until edges are golden and begin to pull away from the sides of the pan. Let cool and serve room temperature or slightly warm.

You could make a glaze for this cake if you wanted by mixing some milk with powdered sugar, but I thought it was sweet enough as is, especially to be served with brunch.

*Note, if you must make this the day before and refrigerate, make sure it comes to room temp or warm it up before serving. It’s not the right texture when cold (although weirdo Nate likes it better cold and dry).

Sorry I haven’t posted in a while. My grandpa passed away last week and I’ve been spending time down in Florida with my family. As sad as it is that he wasn’t there with us, it was really nice to see everyone all in one place. It doesn’t happen often that we’re all together.
My grandpa had been wanting our whole family (aunts, uncles, cousins) to get together for his and my grandma’s 60th anniversary and earlier last year we had been planning to take a trip somewhere together. After he got sick he knew that trip would never happen and really was just hoping he could at least make it to my wedding in October. It’s sad that we were all finally able to be together and my grandpa couldn’t join us. And my wedding will definitely feel like there’s something missing.
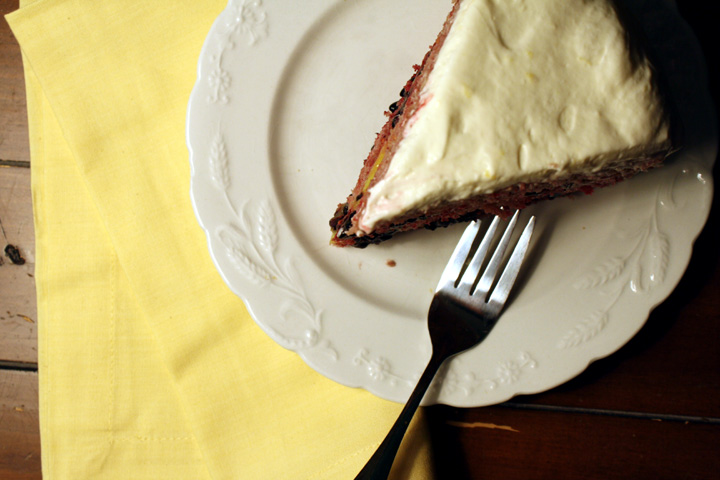
This month’s bloghop ingredient is berries. I really wanted to bake up something that my grandpa would have loved.

His and my birthday were only 2 days apart so either my mom or I would bake a cake every year and the two of use would celebrate together, blowing out the candles on our cake.
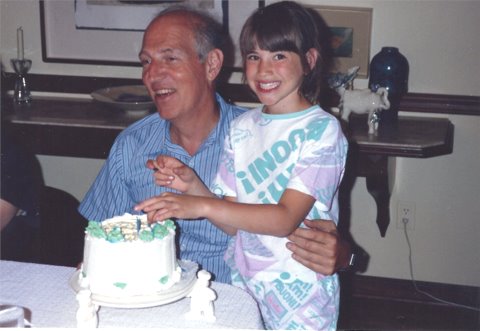
birthday with grandpa

Birthday with Grandpa- 8 yrs old

I contemplated baking a carrot cake because I remember how much he loved when we made a carrot layer cake for his birthday, complete with cream cheese frosting. I also remember a time we made a white cake with lemon curd filling and blueberries- the only berry he would eat because he hated seeds getting in his teeth.

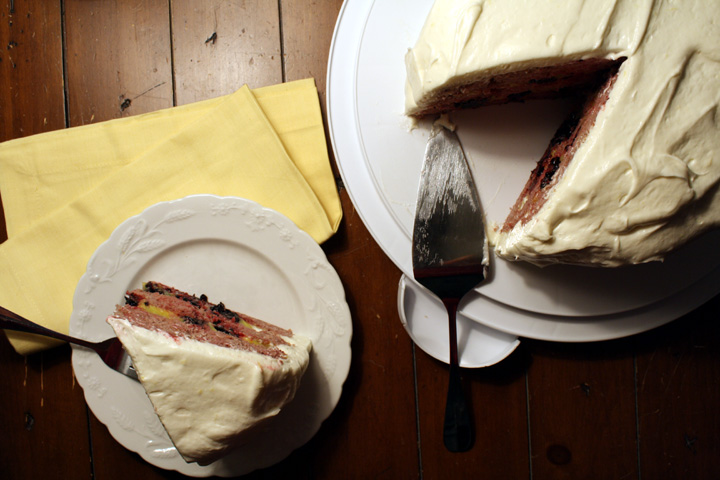
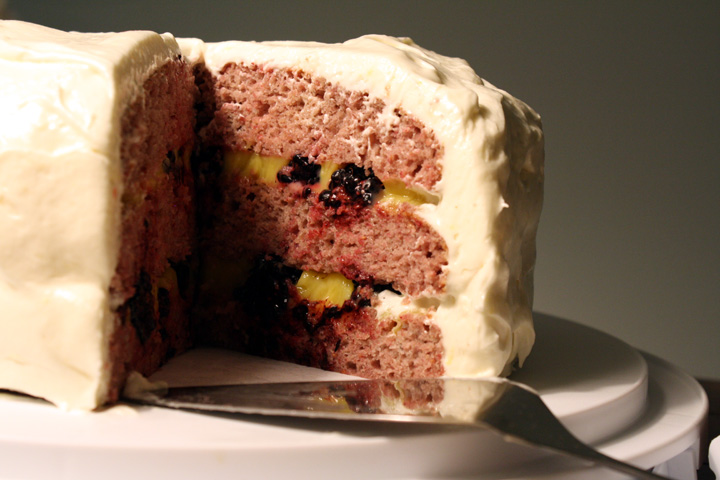
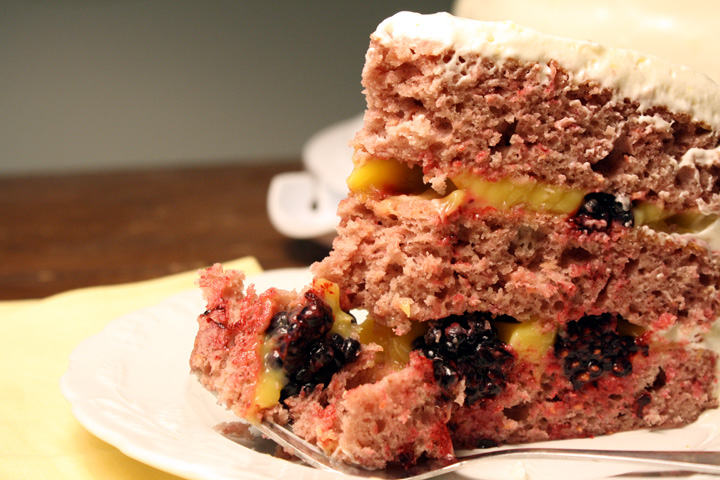
I kind of combined the two and made a raspberry cake (I think he wouldn’t have minded the seeds are baked in but you could easily strain them out), with lemon curd filling and a cream cheese frosting. There were no good blueberries so I used blackberries in this filling.

I think my grandpa would have loved this cake. I miss him already.
I’m posting this as part of the #berryove April bloghop. I’m co-hosting with the following:
A little bit of everythingBaker StreetBaking and Cooking, A Tale of Two LovesBigFatBakerBon à croquerCake DuchessEasily Good EatsGeorgie Cakes, Hobby And MoreJava CupcakeMis PensamientosNo One Likes Crumbley CookiesOh CakeQueen’s NotebookRico sin AzúcarSimply ReemSoni’s Food for ThoughtTeaspoon of SpiceThat Skinny Chick Can Bake!!!The Art of Cooking Real FoodThe Wimpy VegetarianVegan Yack AttackVegetarian Mamma

Please join in on the #berrylove fun by linking up any berry recipe from the month of April 2012. Don’t forget to link back to this post, so that your readers know to come stop by the #berrylove event! The twitter hashtag is #berrylove :). See below recipe for linkup!

Raspberry Cake with Lemon Filling and Cream Cheese Frosting

Cake adapted from DixieMockingbird, frosting from my Valentine’s Day Cake

Print this recipe!

Makes one 9 inch 3-layer cake

Cake Ingredients:
parchement paper:
butter and flour – for the cake pans

3 cups all purpose flour
2 cups granulated sugar
1 Tbsp + 1 tsp baking powder
1/2 tsp salt
3/4 cup vegetable oil
1 1/2 cup raspberry puree* (I used about 1.5 12 oz bags of frozen berries, thawed)
1 teaspoon vanilla extract
4 large eggs, beaten

2 pints fresh raspberries (i used blackberries because raspberries were ridiculously expensive)
8 oz lemon curd ( I bought some but you could easily make it)

*For raspberry puree – simple run two to three cups of raspberries through the blender or food processor until very smooth. You can strain the puree to remove seeds if you wish, but I didn’t

Frosting Ingredients:
8 oz. of 1/3 less fat cream cheese, room temperature
4 oz. butter, room temperature
1 tsp vanilla
zest of 1 lemon
2 cups confectioners sugar
8 oz. containter of non-dairy whipped topping (I used Cool Whip Free)

Preparation:

Preheat oven to 325F. Butter and flour three 8 inch cake pans, and set aside.

In a medium bowl, combine flour, baking powder and salt.

In a large mixing bowl, whisk together sugar, vegetable oil, raspberry puree, vanilla, and eggs.

Gently whisk in the flour mixture until just combined.

Evenly divide the batter evenly among the prepared cake pans. Bake in preheated oven for 20 minutes or so. The tops of the cakes should be springy to the touch, and a cake tester (aka wooden toothpick or skewer) inserted into the center of each cake should come out clean.

Allow cakes to cool in their pans for 10 minutes, then turn cakes out onto wire cooling racks to cool completley. You can frost them once they reach room temperature, but it is better to chill the cakes for at least an hour before assembling and frosting.

While cake is cooling, beat cream cheese, butter, vanilla and lemon zest with an electric mixer. Beat in confectioners sugar. Fold in cool whip.

Place one cake layer on a plate. Spread half of lemon curd on cake. Place enough raspberries to cover.

Place next cake layer on top and press down, smushing raspberries. Spread rest of lemon curd on cake and place raspberries on top.

Place top cake layer on top and press down again. Dump frosting on top of cake and spread evenly over sides. You may not need all the frosting. Refrigerate cake before cutting to firm up the frosting.

 

It’s January and I finally had a moment free so I joined up with my favorite bloghop group for a new ingredient/flavor of the month…January is #citruslove month!

This month’s recipe comes with a nice little story attached…let’s just say Thursday was not my day:

I woke up with vertigo. As soon as I rolled over to get out of bed, the room was spinning. It happens to me now and then so I wasnt too concerned, but there was no way I could get out of bed and to work so I called in sick. I tried to go back to sleep to get the spinning to subside. By midafternoon I was feeling a bit better.

I knew the date for posting my #citruslove recipe was this weekend and since it was early afternoon I figured today was the perfect day to cook up some citrusy dinner since I normally wouldn’t get home from work for another few hours. I had an idea in mind for a lemony pasta. I also had leftover sour cream and ham that Nate’s mom sent me home with after New Years. I thought they could all combine into a tasty dish.

Nate came with me and we did some grocery shopping and after catching up on my Teen Mom 2 (oh come on, you know you watch it too), I got started on dinner.

Things were going well until I started zesting the lemon. I had a brand new zester, but as any of you who have used one know, you have to apply a lot of pressure to the fruit to scrape the peel off.

*this is where you might want to skip to the end if you’re not good dealing with blood…

I was just about to finish zesting the lemon when I pulled a little too hard and the zester decided to zest the side of my palm instead. At first I just felt pain but then I looked down and it was a deep slice gushing blood. I get lightheaded when I see blood, especially if it’s my own. I screamed for Nate while running cold water over it. I then applied pressure with a paper towel while I sat down and attempted not to faint.

Nate desperately wanted to help and asked me what to do but I was too light-headed to answer. I finally laid on the bed with my feet up and managed to instruct Nate where I *luckily had butterfly bandages in the linen closet. I would never have bought these but, being the pack rat that I am, I saved them from when my parents were moving out of their condo. Since Nate was unsure and I was too freaked out to think, I did what I do in any emergency, I called up my mom :)

My mom calmly talked me through what Nate should do and Nate very adeptly sealed up my wound. I don’t know what I would have done if I had been alone!

After laying down for a while and making sure the wound was bound enough to stop bleeding, I was determined to finish this meal. I sat on a chair in the kitchen while instructing Nate how to make the rest of the pasta since there was no recipe. Luckily most of the chopping was done since Nate isn’t a fan of using knives. Mind you, Nate has never cooked a meal from scratch.

All-in-all he did an awesome job and dinner was delicious! So that just goes to show you how easy this meal really is ;)…and how lucky I am to have such a wonderful, helpful and sweet fiancé (and a mom who remains cool and collected in a state of emergency!).

Don’t worry, no blood got onto the pasta ;)

Be aware that this pasta is very lemony, so steer clear if you’re not a lemon person.  That being said, Nate and I both thought this may be the most delicious pasta I’ve ever made! Yep, I’m willing to make a statement that bold!

The tart lemon perfectly complements the richness of the sour cream and makes the whole dish seem “light.” Neither Nate nor I are usually a fan of creamy sauces but this one was perfect!

This month’s #citruslove is brought to you by the following lovely hosts:

Astig Vegan ~ Richgail
Oh Cake ~ Jessica ~ @jesshose

Please join in on the #citruslove fun by linking up any citrus recipe from the month of January 2012. Don’t forget to link back to this post, so that your readers know to come stop by the #citruslove event! The twitter hashtag is #citruslove :).

Click here to enter your link and view this Linky Tools list…(Powered by Linky Tools)

Creamy Lemon Pasta with Ham and Escarole
Recipe by me

Print this recipe!

serves 5-6

1 medium head of escarole< roughly chopped
1 lb pasta
2 Tbsp butter
1 medium onion, diced
2 Tbsp miced garlic
zest and juice of one lemon
8 oz. sour cream
3/4 cup grated parmesan cheese
2 cups diced cooked ham
salt and pepper to taste

Cook pasta as directed. When pasta is al dente, add escarole and cook one minute. Reserve 2 cups pasta water (for thinning sauce out later) and drain pasta/escarole.

While water is boiling, melt butter in a large saucepan. When butter is melted, add onions and cook til soft, 5ish min. Add garlic and cook until garlic begins to brown.

Add lemon juice to pan and stir to get any stuck bits off bottom. Add sour cream and parmesan and stir to combine. Add ham and continue to cook until it’s warmed through. Salt and pepper.

Add pasta/escarole to saucepan and stir to combine with sauce.  If necessary, thin sauce out with some of reserved pasta water to help pasta get coated.

…I know that’s a bold claim. And perhaps it’s just because these fresh, citrusy cookies were just what I was in the mood for, but I still think I’d venture to say that these cookies are without a doubt AMAZING.

I guess it really depends on what kind of cookies you like. These are chewy, crispy, sweet, tangy, buttery and delicious. I think that includes an adjective for everyone’s tastes :)

I first decided to make these cookies because we ran out of desserts in my apt, and Nate MUST have a dessert after dinner each night. I wanted to make a cookie, but didn’t want to buy any new ingredients because a) I was lazy and b) we’re moving soon and I’m trying to purge my pantry/fridge/freezer.

These cookies were perfect on all accounts. I just about used up my sugar and flour, and in addition, I got rid of two lemons on the verge of going bad, and a lime I happened to have laying around.

Although I don’t recommend doubling the recipe, as I did (it made so many cookies I was rolling little cookie balls and taking pans in/out of the oven for over an hour!), these are super easy. These are perfect to make and take along to your next cookout.


Chewy Lemon Lime Sugar Cookies

Adapted from My Baking Addiction

Print this recipe!

makes 24-30 cookies

Ingredients:
2 3/4 cups all-purpose flour
1 teaspoon baking soda
1/2 teaspoon baking powder
1/2 teaspoon salt
1 cup butter, softened
1 1/2 cups white sugar
1 egg
1/2 teaspoon vanilla extract
Zest of one large lemon (or 2-3 limes, or a combo), finely minced
4 tbsp fresh lemon juice (or 1/2 lime juice)
1/2 cup sugar for rolling cookies

 Preheat oven to 350 degrees. Line cookie sheets with parchment paper.

In a small bowl, stir together flour, baking soda, baking powder and salt. Set aside.

Using a mixer, beat together the butter and sugar until smooth and very fluffy.

Beat in egg, vanilla extract, juice and zest.

Gradually blend in the dry ingredients. Refrigerate until stiff.

Roll rounded teaspoonfuls of dough into balls, and roll in sugar. Place on lined cookie sheets about 1 1/2 inches apart.

Bake 8 to 10 minutes in the preheated oven, or until lightly browned.

Let stand on cookie sheet two minutes before removing to cool on wire racks.