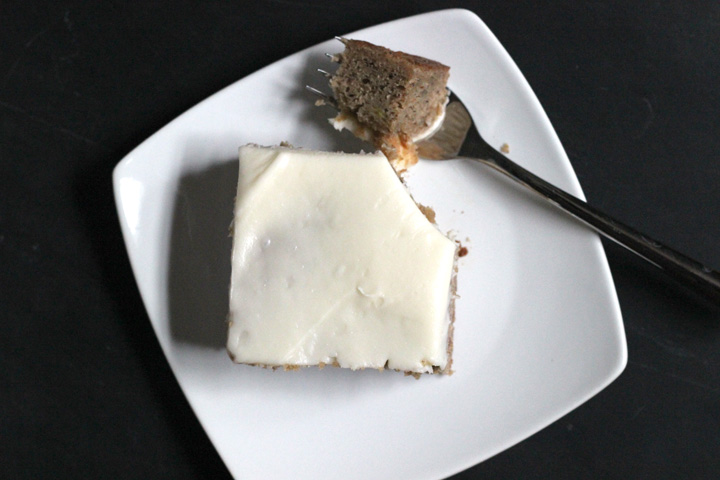
I’m actually posting a recipe!!!

Banana Snack Cake ~ ElephantEats.com

Apparently leg cramps are a common symptom of pregnancy. I’ve been getting so many of them that I wake up in the middle of the night in agony. Any time I flex my foot or calf in the slightest it cramps up.

I’ve long known that potassium can help with leg cramps, so I figured it couldn’t hurt to start eating a banana every day. Now whenever I go to the market, I buy a big bunch, figuring that the ones that don’t get eaten can get turned into something delicious- it helps that I’m loving cooking in my new kitchen :)

Banana Snack Cake ~ ElephantEats.com

The first week I had leftovers, I made our favorite chocolate chip banana bread recipe (which I totally need to share with you guys some time). Then last week I decided a banana snack cake would be a tasty treat. 

In addition to trying a new recipe, I decided to experiment with White Whole Wheat flour. Monica had first told me about this flour and has been touting it as awesome, especially if you want the whole grains from whole wheat flour but don’t love the dry and gritty texture it adds.

I had never heard of white whole wheat flour so I decided to research it a bit and give it a try. The Whole Grains Council explains it as the following:

“White wheat is a different type of wheat that has no major genes for bran color (unlike traditional “red” wheat which has one to three bran color genes). An easy way to think of it is as a sort of albino wheat. The bran of white wheat is not only lighter in color but it’s also milder in flavor, making whole white wheat more appealing to many people accustomed to the taste of refined flour.

The term “white flour” has often been used to mean “refined flour,” so “whole white wheat flour” sounds like a contradiction in terms. But it is simply WHOLE flour – including the bran, germ and endosperm – made from WHITE wheat.”

Banana Snack Cake ~ ElephantEats.com

The one thing I was skeptical about was how it compares nutritionally to regular whole wheat flour, but the council goes on to say that experts consider these two kinds of whole wheat to be the same, nutritionally. I was sold!

I bought King Arthur Flour brand. Usually, if subbing whole wheat for all-purpose flour in a recipe, you would only substitue part of the all-purpose for whole wheat, lest you dry out your baked goods. Since I was using a lighter whole wheat flour and had the moisture from the bananas, I decided to use 100% of the white whole wheat flour.

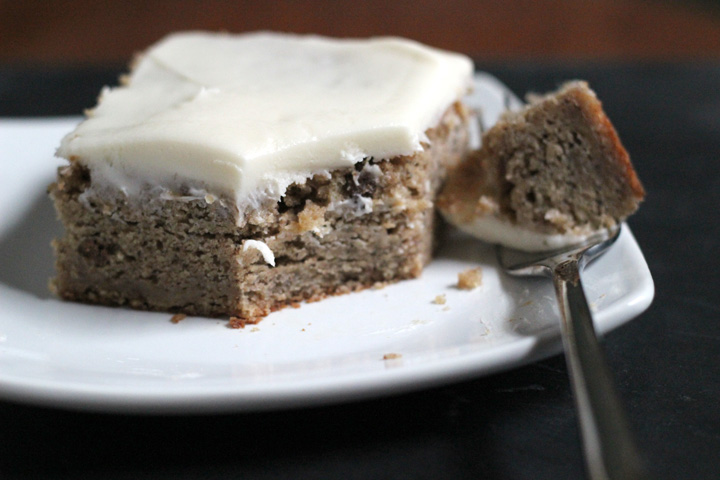
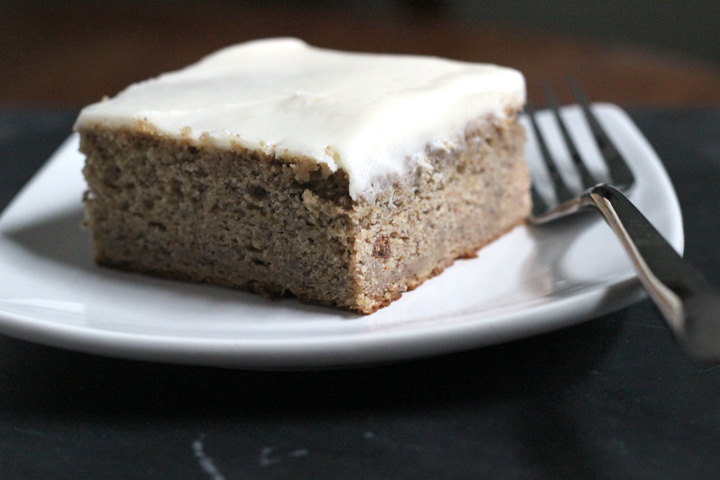
Honestly, the result was amazing! It definitely helped that the bananas already added moisture, plus I upped the sour cream amount from the original recipe. And it never hurts to have a creamy cream cheese frosting on top.

I could feel the texture of the whole wheat in the cake, but I thought it went perfectly with the bananas and made even a small piece extremely filling! It also totally made this cake ok to eat for breakfast ;)

Banana Snack Cake ~ ElephantEats.com 

Whole Wheat Banana Spice Snack Cake with Cream Cheese Frosting
Serves 12
A really moist, spiced snack cake made healthier with the addition of white whole wheat flour!
Write a review
Print
Cake
  1. 2 cups White Whole Wheat flour
  2. 1 teaspoon baking soda
  3. 1/2 teaspoon baking powder
  4. 1/2 teaspoon salt
  5. 2 teaspoons cinnamon
  6. 1 teaspoon allspice
  7. 1/2 teaspoon nutmeg
  8. Pinch cloves
  9. 1/2 cup (1 stick) unsalted butter, room temperature
  10. 1 1/2 cups granulated sugar
  11. 1 1/2 cups mashed ripe bananas (about 3 large)
  12. 1 1/4 cup sour cream
  13. 2 large eggs
Cream Cheese Frosting
  1. 1 8 ounce block light or regular cream cheese, room temperature
  2. 3 tablespoons unsalted butter, room temperature
  3. 2 cups powdered (confectioner's) sugar
  4. 1/2 teaspoon vanilla
  5. Pinch salt
  6. Milk (only if needed for thinning the icing to a spreading consistency)
Instructions
  1. Preheat the oven to 350 degrees Fahrenheit. Butter and flour a 13-inch x 9-inch baking pan.
  2. In a medium bowl, stir together the flour, baking soda, baking powder, salt, cinnamon, nutmeg, allspice, and cloves. Set aside.
  3. In the bowl of a stand mixer fitted with the beater blade attachment or in a large bowl using an electric mixer, beat together the butter and sugar on medium speed until pale and fluffy, about 1 - 2 minutes. Add the eggs one at a time and mix until well incorporated. Mix in the sour cream and the bananas.
  4. Pour in the flour mixture, a little bit at a time, beating continuously until well-incorporated.
  5. Spread batter into the prepared pan.
  6. Bake for about 40-45 minutes, or until the top of the cake is golden and a toothpick or tester inserted into the center comes out clean. Remove the cake from the oven and place on a wire rack to cool completely.
  7. To make the frosting, fit a stand mixer with the beater attachment or use a large bowl and an electric hand mixer. On medium speed, beat together the cream cheese and butter until smooth. Turn the mixer to low and gradually add the powdered sugar. Once all the powdered sugar has been added, increase the speed to medium and beat for another 30 seconds. Add the vanilla and pinch salt; beat for another minute or so until smooth. Add a little milk (a couple of teaspoons at a time) if the frosting seems too stiff to spread.
  8. Spread frosting onto completely cooled cake. Cut into 12 pieces and serve. Cover and store leftover cake in the refrigerator. The cake stays moist even straight out of the fridge!
Adapted from Kitchen Treaty
https://elephanteats.com/

Gingerbread Layer Cake with Cream Cheese Frosting ~ ElephantEats.com

I mentioned that amongst our changes from our usual Christmas feast, this year I made dessert. I had seen a recipe for a gingerbread layer cake with cream cheese frosting online some weeks before Christmas. 

Of course when I went to actually find said recipe, I hadn’t marked it down anywhere. Does that ever happen to you? So frustrating!

Gingerbread Layer Cake with Cream Cheese Frosting ~ ElephantEats.com

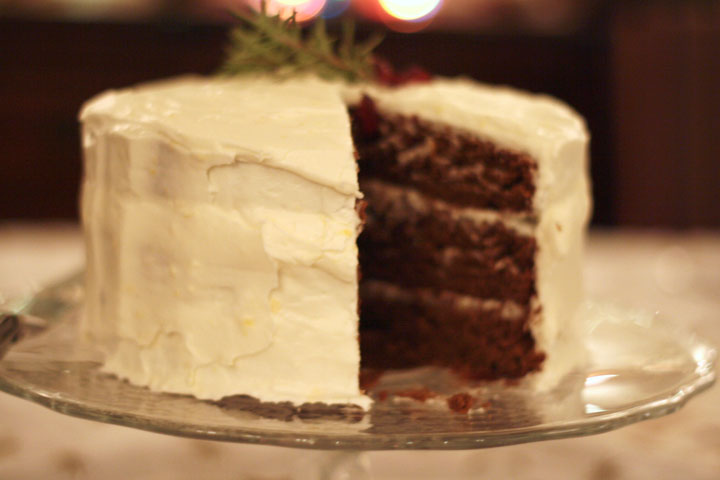
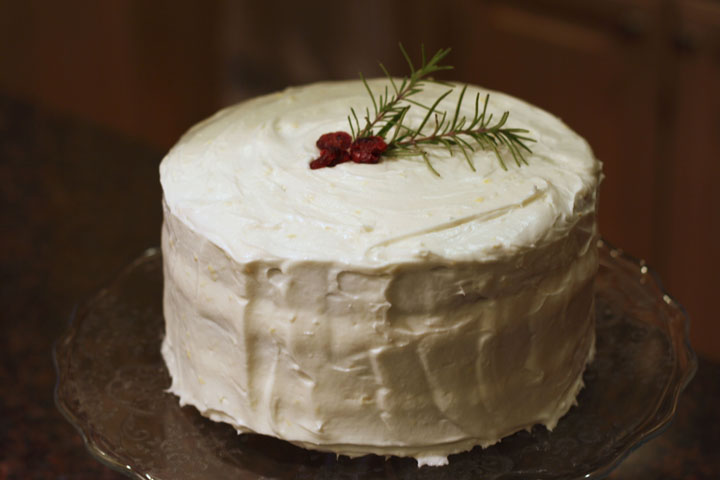
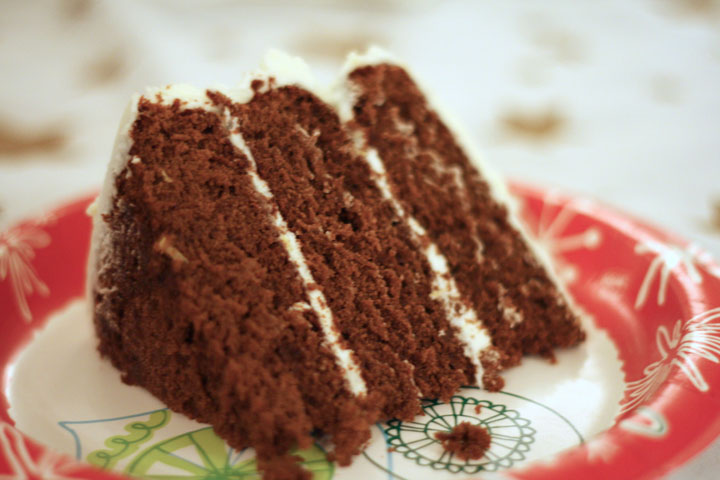
Well, I commenced a new search and was pleased to find this recipe from Good Housekeeping that seemed to be exactly like the original. The result was the most delicious, moist gingerbread cake, with a lemony cream cheese frosting that was a perfect complement. I had to even out the tops of the cake layers so they would lay flat and I couldn’t stop myself from eating the pieces I cut off- they were so good I made myself sick. 

Gingerbread Layer Cake with Cream Cheese Frosting ~ ElephantEats.com

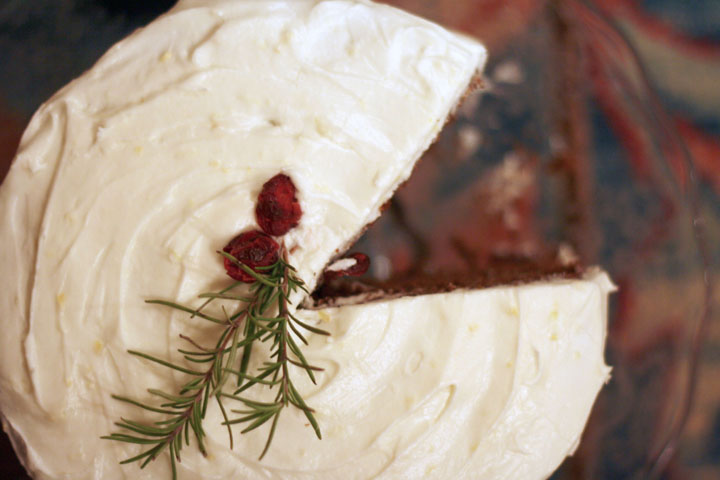
I wanted a wintry garnish, but wasn’t sure if a holly branch was toxic or something, so I put a sprig of rosemary and some dried cranberries :)

Gingerbread Layer Cake with Cream Cheese Frosting ~ ElephantEats.com

I just realized that this picture kind of looks like a Christmas Pac-Man.

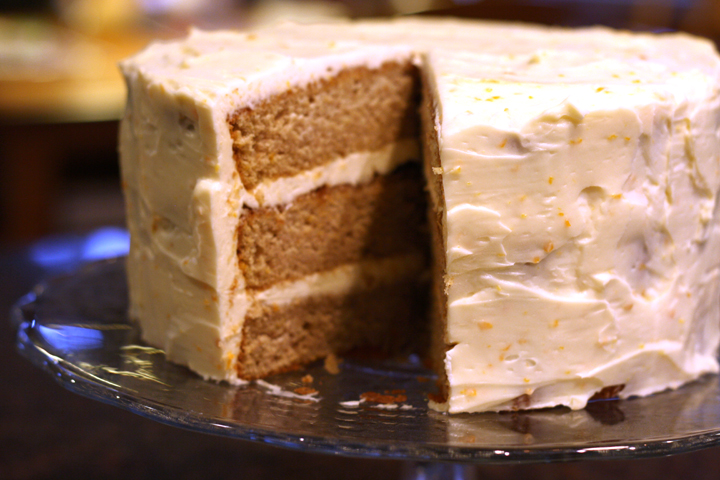
My mom made this a couple days ago and she said she used orange instead of lemon zest and she said that it was yummy as well!

Gingerbread Layer Cake with Cream Cheese Frosting
Serves 10
Write a review
Print
Gingerbread Cake
  1. 3 cup(s) all-purpose flour
  2. 1 tablespoon(s) ground ginger
  3. 1 1/2 teaspoon(s) ground cinnamon
  4. 3/4 teaspoon(s) baking soda
  5. 3/4 teaspoon(s) salt
  6. 1 jar(s) (12 ounces) light (mild) molasses, 1 1/2 cups
  7. 3/4 cup(s) (1 1/2 sticks) margarine, softened, substitute butter
  8. 3/4 cup(s) granulated sugar
  9. 2 large eggs
Cream Cheese Frosting
  1. 1 package(s) (16 ounces) confectioners' sugar
  2. 1 package(s) (8 ounces) cream cheese, softened
  3. 4 tablespoon(s) margarine, softened, substitute butter
  4. 2 teaspoon(s) freshly grated lemon peel
Gingerbread Cake
  1. Preheat oven to 350 degrees F. Grease three 8-inch round cake pans. Line bottoms with waxed paper; grease paper. Dust pans with flour.
  2. In medium bowl, mix flour, ginger, cinnamon, baking soda, and salt. In 4-cup glass measuring cup, whisk molasses with 1 cup water.
  3. In large bowl, with mixer at low speed, beat margarine with granulated sugar until blended. Increase speed to high; beat until creamy, about 2 minutes, scraping bowl often with rubber spatula.
  4. Reduce speed to medium-low; add eggs, 1 at a time, beating well after each addition. At low speed, alternately add flour mixture and molasses mixture, beginning and ending with flour mixture; beat until blended.
  5. Pour batter into pans and spread evenly. Stagger pans on 2 oven racks, so layers are not directly above one another. Bake 25 to 30 minutes, until toothpick inserted in center of each layer comes out clean.
  6. Cool layers in pans on wire racks 10 minutes. Run small knife around sides of pans to loosen layers. Invert layers onto wire racks to cool completely; discard waxed paper.
Cream-Cheese Frosting
  1. In large bowl, with mixer at low speed, beat frosting ingredients just until blended. Increase speed to medium; beat until frosting is smooth and fluffy, about 2 minutes, constantly scraping bowl with rubber spatula. Makes about 2 1/2 cups frosting.
To assemble cake
  1. Place 1 cake layer, rounded side down, on cake plate; spread with 1/3 cup frosting. Top with second layer; spread with another 1/3 cup frosting, then top with remaining layer. Frost top and side of cake with remaining frosting. Refrigerate if not serving right away.
Notes
  1. -I find that it's best to shave off the top of the cake layers to make them flatter on top if they're too domed.
  2. -It's easiest to frost the cake layers if they've been chilled in the fridge or freezer.
https://elephanteats.com/

Spice Cake with Orange Cream Cheese Frosting ~ ElephantEats.com

Pardon my lack of posts. There have been so many changes happening in the Elephant Eats household, making me a bit busy and causing me to have insomnia. I’ve been waking up at like 3 or 4 in the morning with my mind racing about various things…hence my finishing up this blog post at 4am. Surprisingly I haven’t been as tired as I would imagine the next day. I guess adrenaline will do that to you!

The house hunting thing is stressing me out a bit. Like how do you know when you like a house enough to want to buy it and that something better won’t come along? I’m obsessively combing the listings on a daily basis.

Spice Cake with Orange Cream Cheese Frosting ~ ElephantEats.com

This past weekend was super busy. It started with a little house hunting Saturday morning with a realtor. It made me realize how expensive things are for how little you get in this area. I’m hoping there will just be something that I fall in love with (that’s in our budget).

Then I rushed off to my friend Emily’s bridal shower and bachelorette! She was one of my maids of honor and I’m one of her bridesmaids. I, along with the other two bridesmaids, planned the whole shower/bachelorette weekend. We put a lot of hard work into it and I think it came out great and went off pretty much without a hitch!

Spice Cake with Orange Cream Cheese Frosting ~ ElephantEats.com

Plus, Emily told us she loved every second of it :) We did any Asian-themed shower because she loves sushi. I got some hanging paper lanterns in her wedding colors to decorate her soon-to-be sister-in-law’s house. They looked great! I unfortunately was too lazy to upload the photos but maybe I’ll add them soon.

The bachelorette went late into that evening and ended with a sleep over. I didn’t get much sleep and was up early to go house hunting some more on Sunday!

Spice Cake with Orange Cream Cheese Frosting ~ ElephantEats.com

Nate told me he doesn’t care at all about the house and that it’s totally up to me. I guess he trusts my judgement.

It was so fun to go in all the houses, and driving around the suburbs on a gorgeous spring day made me dread going back to the city.

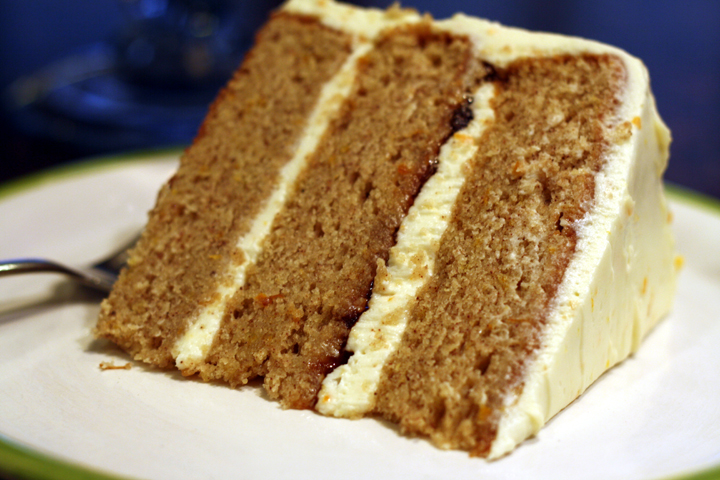
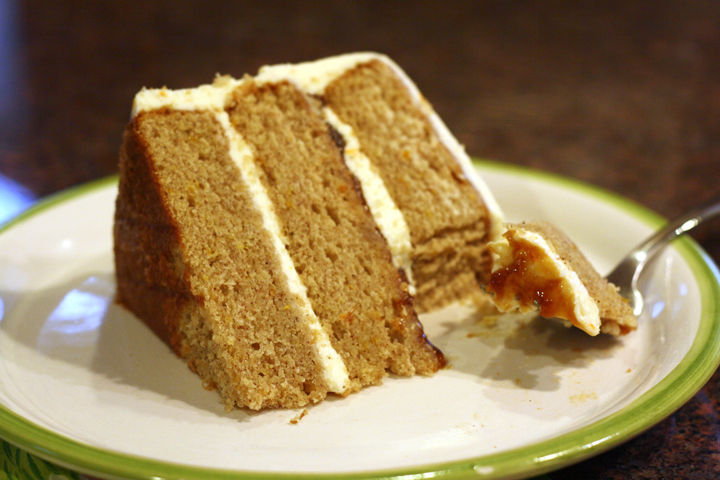
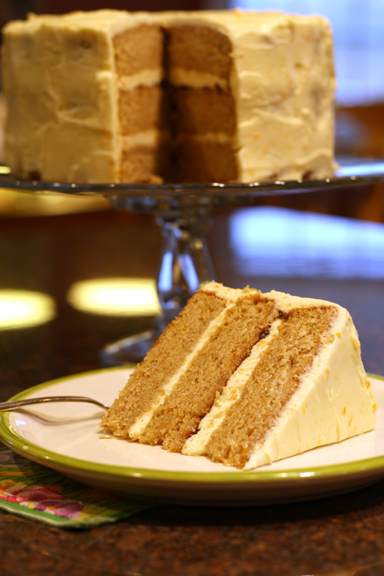
This is all completely unrelated to this recipe. I made it when we were down in PA two weekends ago, and it was a perfect way to end to our Easter dinner! (pardon the photos, as they were taken after daylight and I didn’t have my trusty food photography lights!)


Spiced Layer Cake with Orange Cream Cheese Frosting

very slightly adapted from Bon Appetit (11/09)

Print this recipe!

Makes one 3-layer cake

1 teaspoon baking soda
1 teaspoon baking powder
1 teaspoon ground ginger
1 teaspoon ground cardamom
1 teaspoon ground cinnamon
1 teaspoon ground nutmeg
1/2 teaspoon salt
2 cups sugar
1 cup (2 sticks) unsalted butter, room temperature
1 tablespoon grated orange peel
4 large eggs
1 cup sour cream
1/2 cup whole milk
1/2 cup orange, peach or apricot jam
Orange Cream Cheese Frosting (recipe below)*

Preheat oven to 350°F. Butter three 9-inch-diameter cake pans. Line bottom of pans with waxed paper. Butter and flour pans; tap out excess flour. Sift first 8 ingredients into medium bowl. Using electric mixer, beat sugar, butter and orange peel in large bowl until fluffy.

Beat in eggs 1 at a time. Stir flour mixture into butter mixture alternately with sour cream and milk. Divide batter among prepared pans.

Bake cakes until tester inserted into center comes out clean, about 25 minutes. Transfer pans to racks and cool 10 minutes. Turn cakes out onto racks and cool completely. (Can be made 1 day ahead. Store airtight at room temperature.)

Place 1 cake layer on platter. Spread 1/4 cup jam and then 2/3 cup frosting over. Top with second cake layer. Spread rest of jame and then 2/3 cup frosting over. Top with third cake layer. Cover top and sides of cake with remaining frosting. (Can be made 1 day ahead. Cover with cake dome and store at room temperature.)

Orange Cream Cheese Frosting
2 8-ounce packages chilled cream cheese
8 tablespoons unsalted butter, room temperature
2 cups powdered sugar
2 teaspoons grated orange peel
1 teaspoon vanilla extract
1/3 cup chilled sour cream

Using electric mixer, beat cream cheese and butter in large bowl until well blended. Beat in sugar, then orange peel and vanilla. Beat in sour cream. Cover and refrigerate until frosting is firm enough to spread, about 30 minutes.

*note that I found the frosting barely covered the cake. In making this again I might 1 1/2 the recipe.

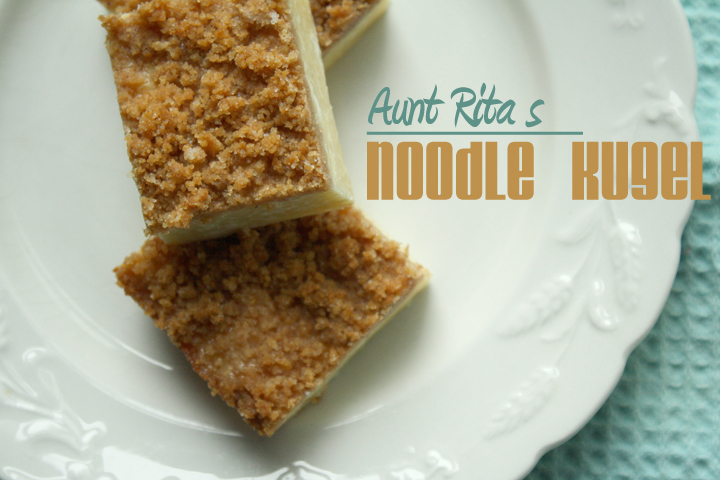
This is one of my family’s most important and delicious recipes. For us, it originated with and has thus been named after my Aunt Rita, although I’m not sure where she got it from originally,  But what’s important is that once she found it, she saved it!

noodle kugel

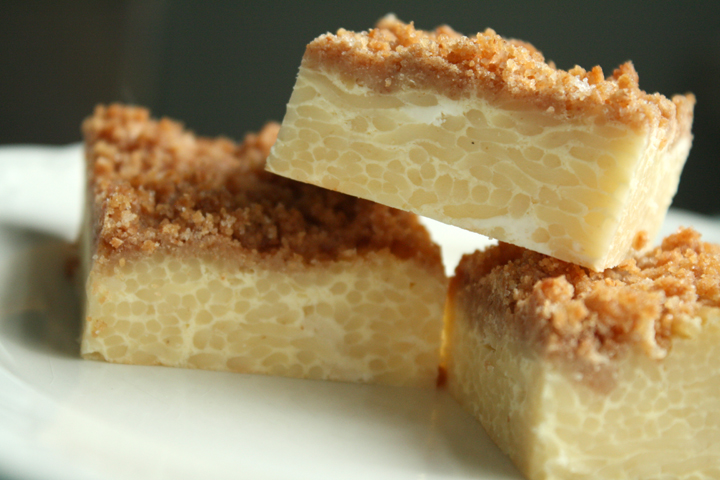
This isn’t a traditional noodle kugel recipe. For one thing, it has no fruit in it, and the noodles are angel hair rather than thick egg noodles.

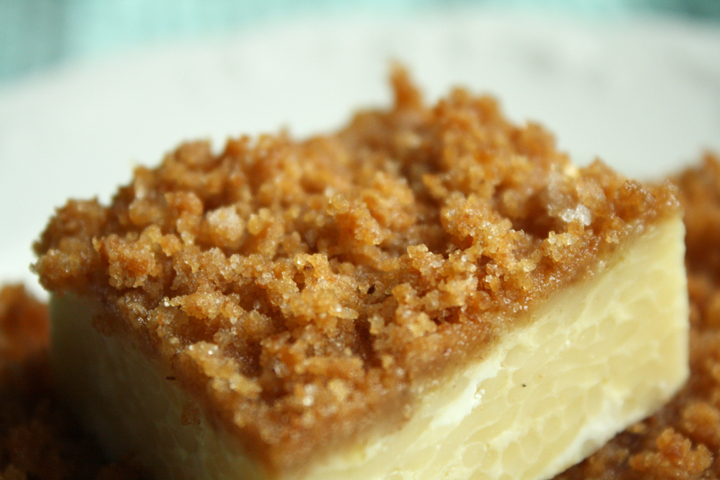
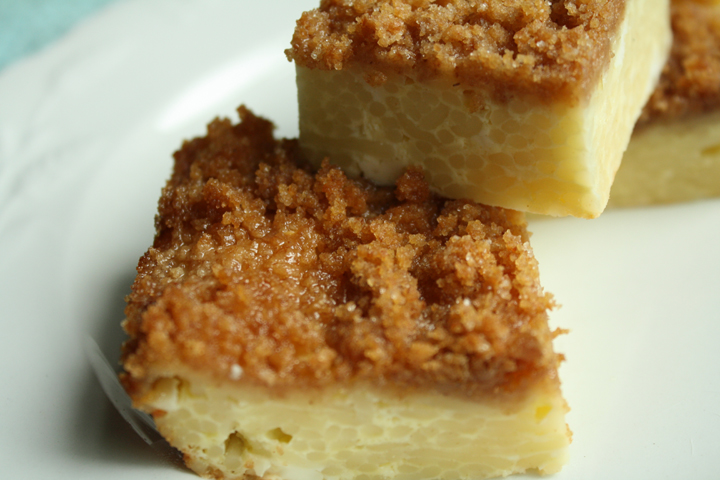
In addition, it has the addition of three forms of dairy products (four if you count the butter). The consistency comes out like a hybrid of a kugel and a cheesecake and it is topped with THE MOST buttery, delicious graham cracker crumb topping.

noodle kugel

You don’t even need to save it for Jewish holiday dinners, although that’s when we usually make it.

I know it’s not much to look at, but people I’m telling you, I could seriously eat this for every meal for the rest of my life and I would never get sick of it, although my thighs might protest- it’s more like a dessert than a meal from the calorie perspective.

noodle kugel

*Note that if you make it, yours will be slightly thicker than mine…I halved the recipe and made it in an 8×8 pan which is a little too large for half a recipe.

Recipe is at the bottom of the post!

In case you couldn’t figure it out, May is #pastalove month!

Please join in on the #pastalove fun by linking up any pasta recipe from the month of May 2012. Don’t forget to link back to this post, so that your readers know to come stop by the #pastalove event! The twitter hashtag is #pastalove :). 

I’m hosting along with these other fine folks:

Astig VeganBadger Girl Learns to CookBigFatBakerBon à croquerCake Duchess, Hobby And MoreMis PensamientosNo One Likes Crumbley CookiesOh CakeRico sin AzúcarSimply ReemSoni’s Food for ThoughtTeaspoon of SpiceThat Skinny Chick Can Bake!!!The Spicy RDThe Wimpy VegetarianVegetarian MammaYou Made That?Vegan Yack Attack

Please link up your recipe below :)

Click here to enter your link and view this Linky Tools list…

Aunt Rita’s Noodle Pudding

From Aunt Rita

Print this recipe!

Serves 12

1/2 lb. fine egg noodles, cooked and drained (I usually use regular angel hair pasta)
1/4 cup unsalted butter, room temp
1/2 cup sugar
8 oz. cottage cheese
4 oz. cream cheese, room temp
8 oz. sour cream
4 eggs, lightly beaten
1/2 tsp vanilla extract
1/2 tsp lemon juice
1/4 tsp salt

Topping:
1 cup graham cracker crumbs
3 Tbsp sugar
4 Tbsp unsalted butter, melted

Preheat oven to 350 degrees.

In a large bowl, combine noodles, butter, sugar, cheeses, eggs, vanilla, lemon juice, and salt. Mix well.

Pour into buttered 9×13 baking dish.

Mix together the crumbs, sugar and melted butter. Sprinkle evenly over the noodle mixture.

Bake 45 minutes to 1 hour, until golden on top.

Remove from oven and let set 15 minutes at room temp before cutting into squares.

Serve hot or at room temperature.

I’m the most indecisive person you’ve ever met. My family and Nate can certainly vouch for that.

Chocolate Fudge Cheesecake

I rarely buy things for myself, so when I do you can imagine how long I spend deciding exactly what item I want. I will literally stand in a department store with a blue shirt and a red shirt in each hand, looking back and forth for a good 30 minutes to figure out which one I really want.

I’m not exaggerating.

At restaurants I will agonize over what to order because everything sounds so good and I know I can only get one thing. I usually make the waiter go to everyone else and take my order last just so I have that extra 1 minute to finalize my choice.

It’s like making decisions paralyzes me.

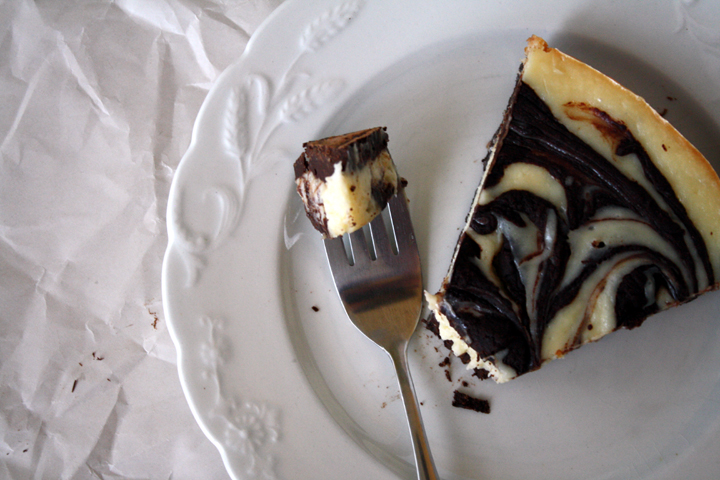
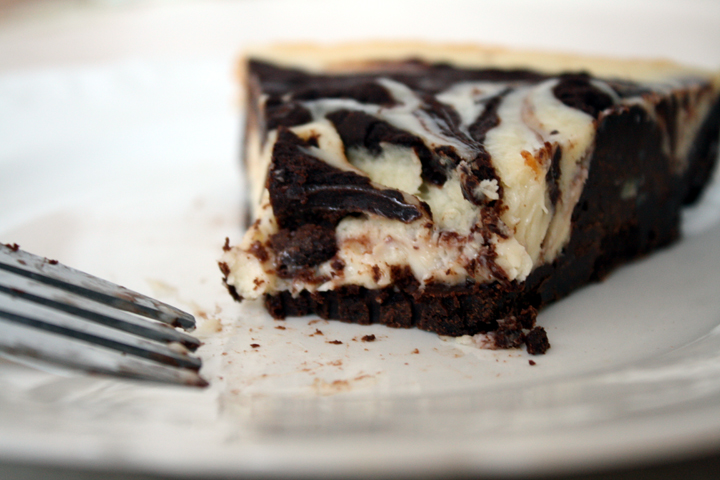
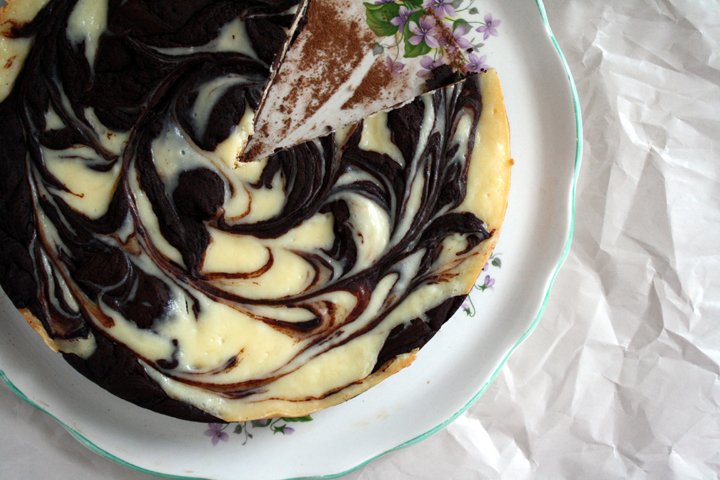
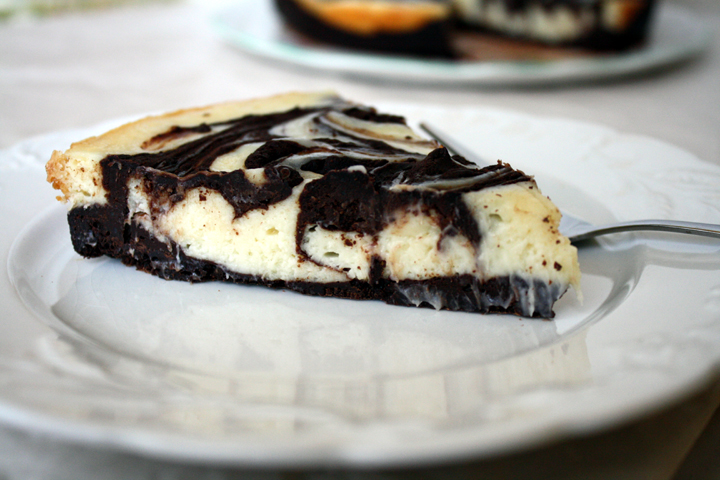
How do you choose what to have??! Well with this recipe you don’t have to. There’s a super dense chocolate layer for the chocoholic in all of us, and then there’s the tangy cheesecake marbeled throughout for those of us cheesecake lovers!

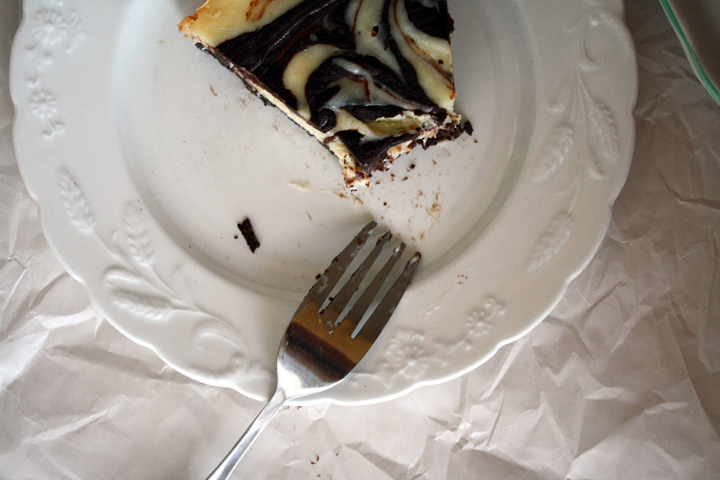
This is not for the faint of heart. If you like serious chocolate desserts than this is for you. Nate could barely finish his slice…although it could be because it was a large slice and we had just had a giant mac and cheese dinner. Man, I wish I had his metabolism…

Marbled Chocolate Fudge Cheesecake

slightly adapted from Baker Street

Print this recipe!

makes one 9″ round cake

For the vanilla batter:
8 oz. cream cheese, softened to room temperature
2/3 cup granulated sugar
1 large egg
1 tsp. pure vanilla extract

For the chocolate batter:
8 oz. bittersweet chocolate, finely chopped
1 stick (8 Tbsp) unsalted butter, cut into pieces
3 large eggs
1/3 cup granulated sugar
1 Tbs. dark rum or espresso
1 tsp. pure vanilla extract
1 Tbsp flour
Pinch table salt
Cocoa powder for dusting

Preheat the oven to 300°F.

Lightly grease a 9 inch round cake pan and /or line the bottom with parchment.

Make the vanilla batter:
In a medium bowl, beat the softened cream cheese with an electric mixer until smooth.

Add the sugar and continue beating until well blended and no lumps remain. Add the egg and vanilla and beat just until blended. Set aside.

Make the chocolate batter:
In a medium bowl, melt the chocolate and butter in a large metal bowl over a pan of simmering water or in the microwave.

Whisk until smooth and set aside to cool slightly. With a stand mixer fitted with the whip attachment (or with a hand mixer), beat the eggs, sugar, rum or espresso, vanilla, and salt on medium high until the mixture is pale and thick, 3 to 4 min.

With the mixer on low, gradually pour in the chocolate mixture and continue beating until well blended. Beat in the flour.

Spread about half of the chocolate batter in the bottom of the pan. Alternately add large scoopfuls of each of the remaining batters to the cake pan.

Using a knife or the tip of a rubber spatula or a toothpick gently swirl the two batters together so they’re mixed but not completely blended.

Tap the pan against the countertop several times to settle the batters.

Bake until a pick inserted about 2 inches from the edge comes out gooey but not liquid, 40 to 42 min.; don’t over bake.

The top will be puffed and slightly cracked, especially around the edges. It will sink down as it cools. Let cool on a rack until just slightly warm, about 1-1/2 hours. Let cool completely. Cover and refrigerate until very cold, at least 4 hours or overnight, or freeze.

Remove cake from fridge one hour before serving. Loosen the cake from the pan by holding the pan almost perpendicular to the counter; tap the pan on the counter while rotating it clockwise. Invert onto a large flat plate or board. Remove the pan and carefully peel off the parchment. Sift some cocoa powder over the cake (this will make it easier to remove the slices when serving).

Let sit until cake warms to room temperature before serving. (or eat it cold if you like that!)

Invert again onto a similar plate so that the top side is up.