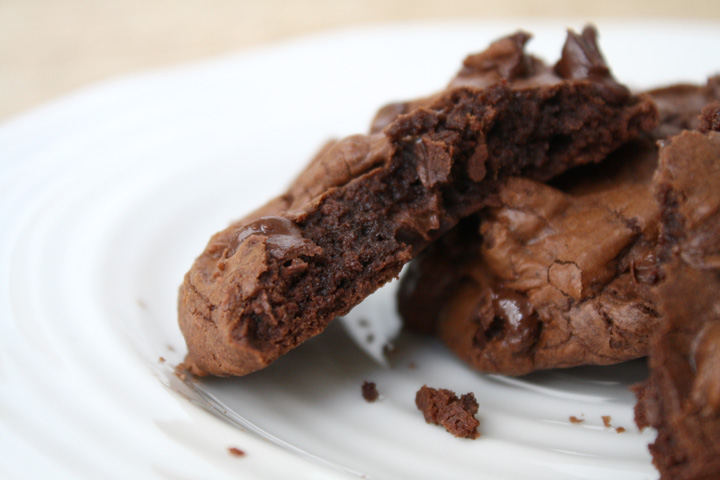
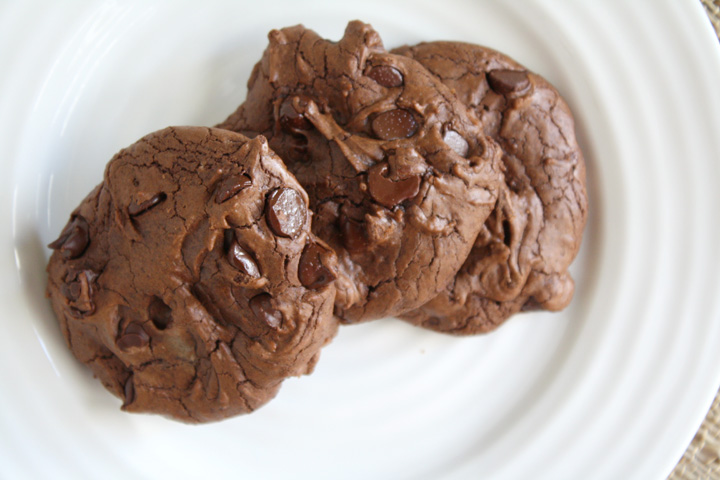
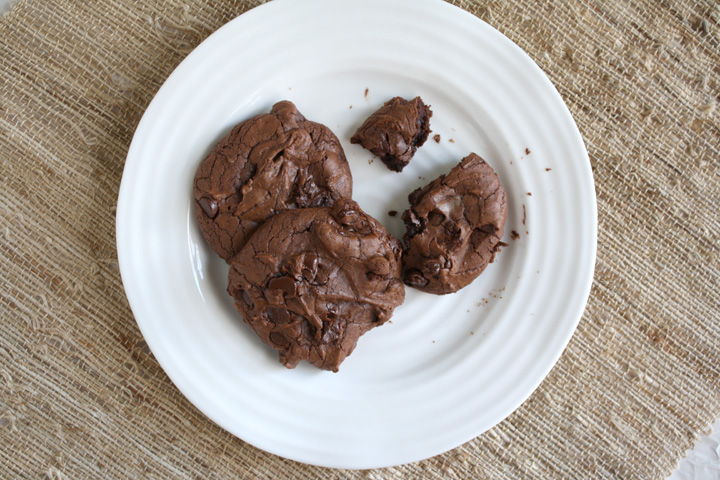
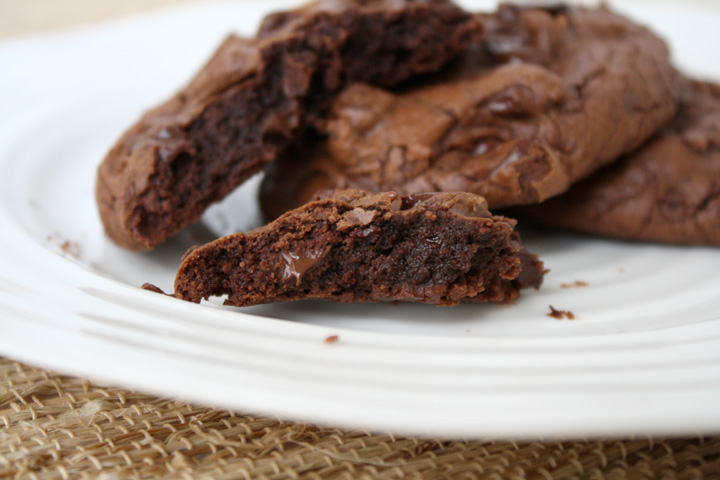
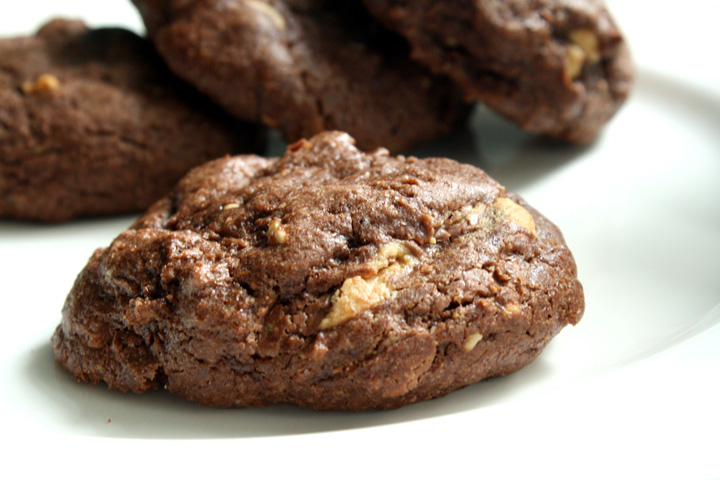
Chocolate Brownie Cookie

I teased you on Sunday with promises of another Valentine’s Day treat. This one, lucky for you, is of the chocolate variety!

Sometimes you just decide that you need freshly baked cookies NOW. Don’t tell me you never had thoughts like that. It’s happened to me on several occasions, but unfortunately most cookie recipes call for room temperature butter, which foils all hope for spontaneity.

These Chocolate Brownie Cookies though, like brownies, use melted butter! So you have no excuse not to make them this very second, no advanced preparation needed…except maybe making sure you have enough room in your tummy to eat a few fresh out of the oven.

Chocolate Brownie Cookie

I actually made these cookies months ago for Nate’s friend’s birthday. I have a million yummy chocolate cookie recipes (and I’m sure you do too), but this one was pretty darn tasty and you should consider adding it to your repertoire.

They call for nuts, but Nate thinks that nuts ruin all baked goods, and so I left them out. Personally, I think they’d add a nice crunch.

IMG_6286

The key is to take these out of the oven when they seem too soft to be done. If you cook them too long, they will be dry. Trust me on this one :(

If you do happen to overcook them slightly, make sure you serve them warm-15 seconds in the microwave will moisten them right up. In fact, they’re always best served warm regardless.

Chocolate Brownie Cookie


And in case you need some other Valentine’s Day inspiration, here are a few of my faves:


IMG_0058edit

Red Velvet Cake with Raspberry Mousse and Fluffy Cream Cheese Frosting– I made this for my first Valentine’s Day with Nate!

IMG_2939edit

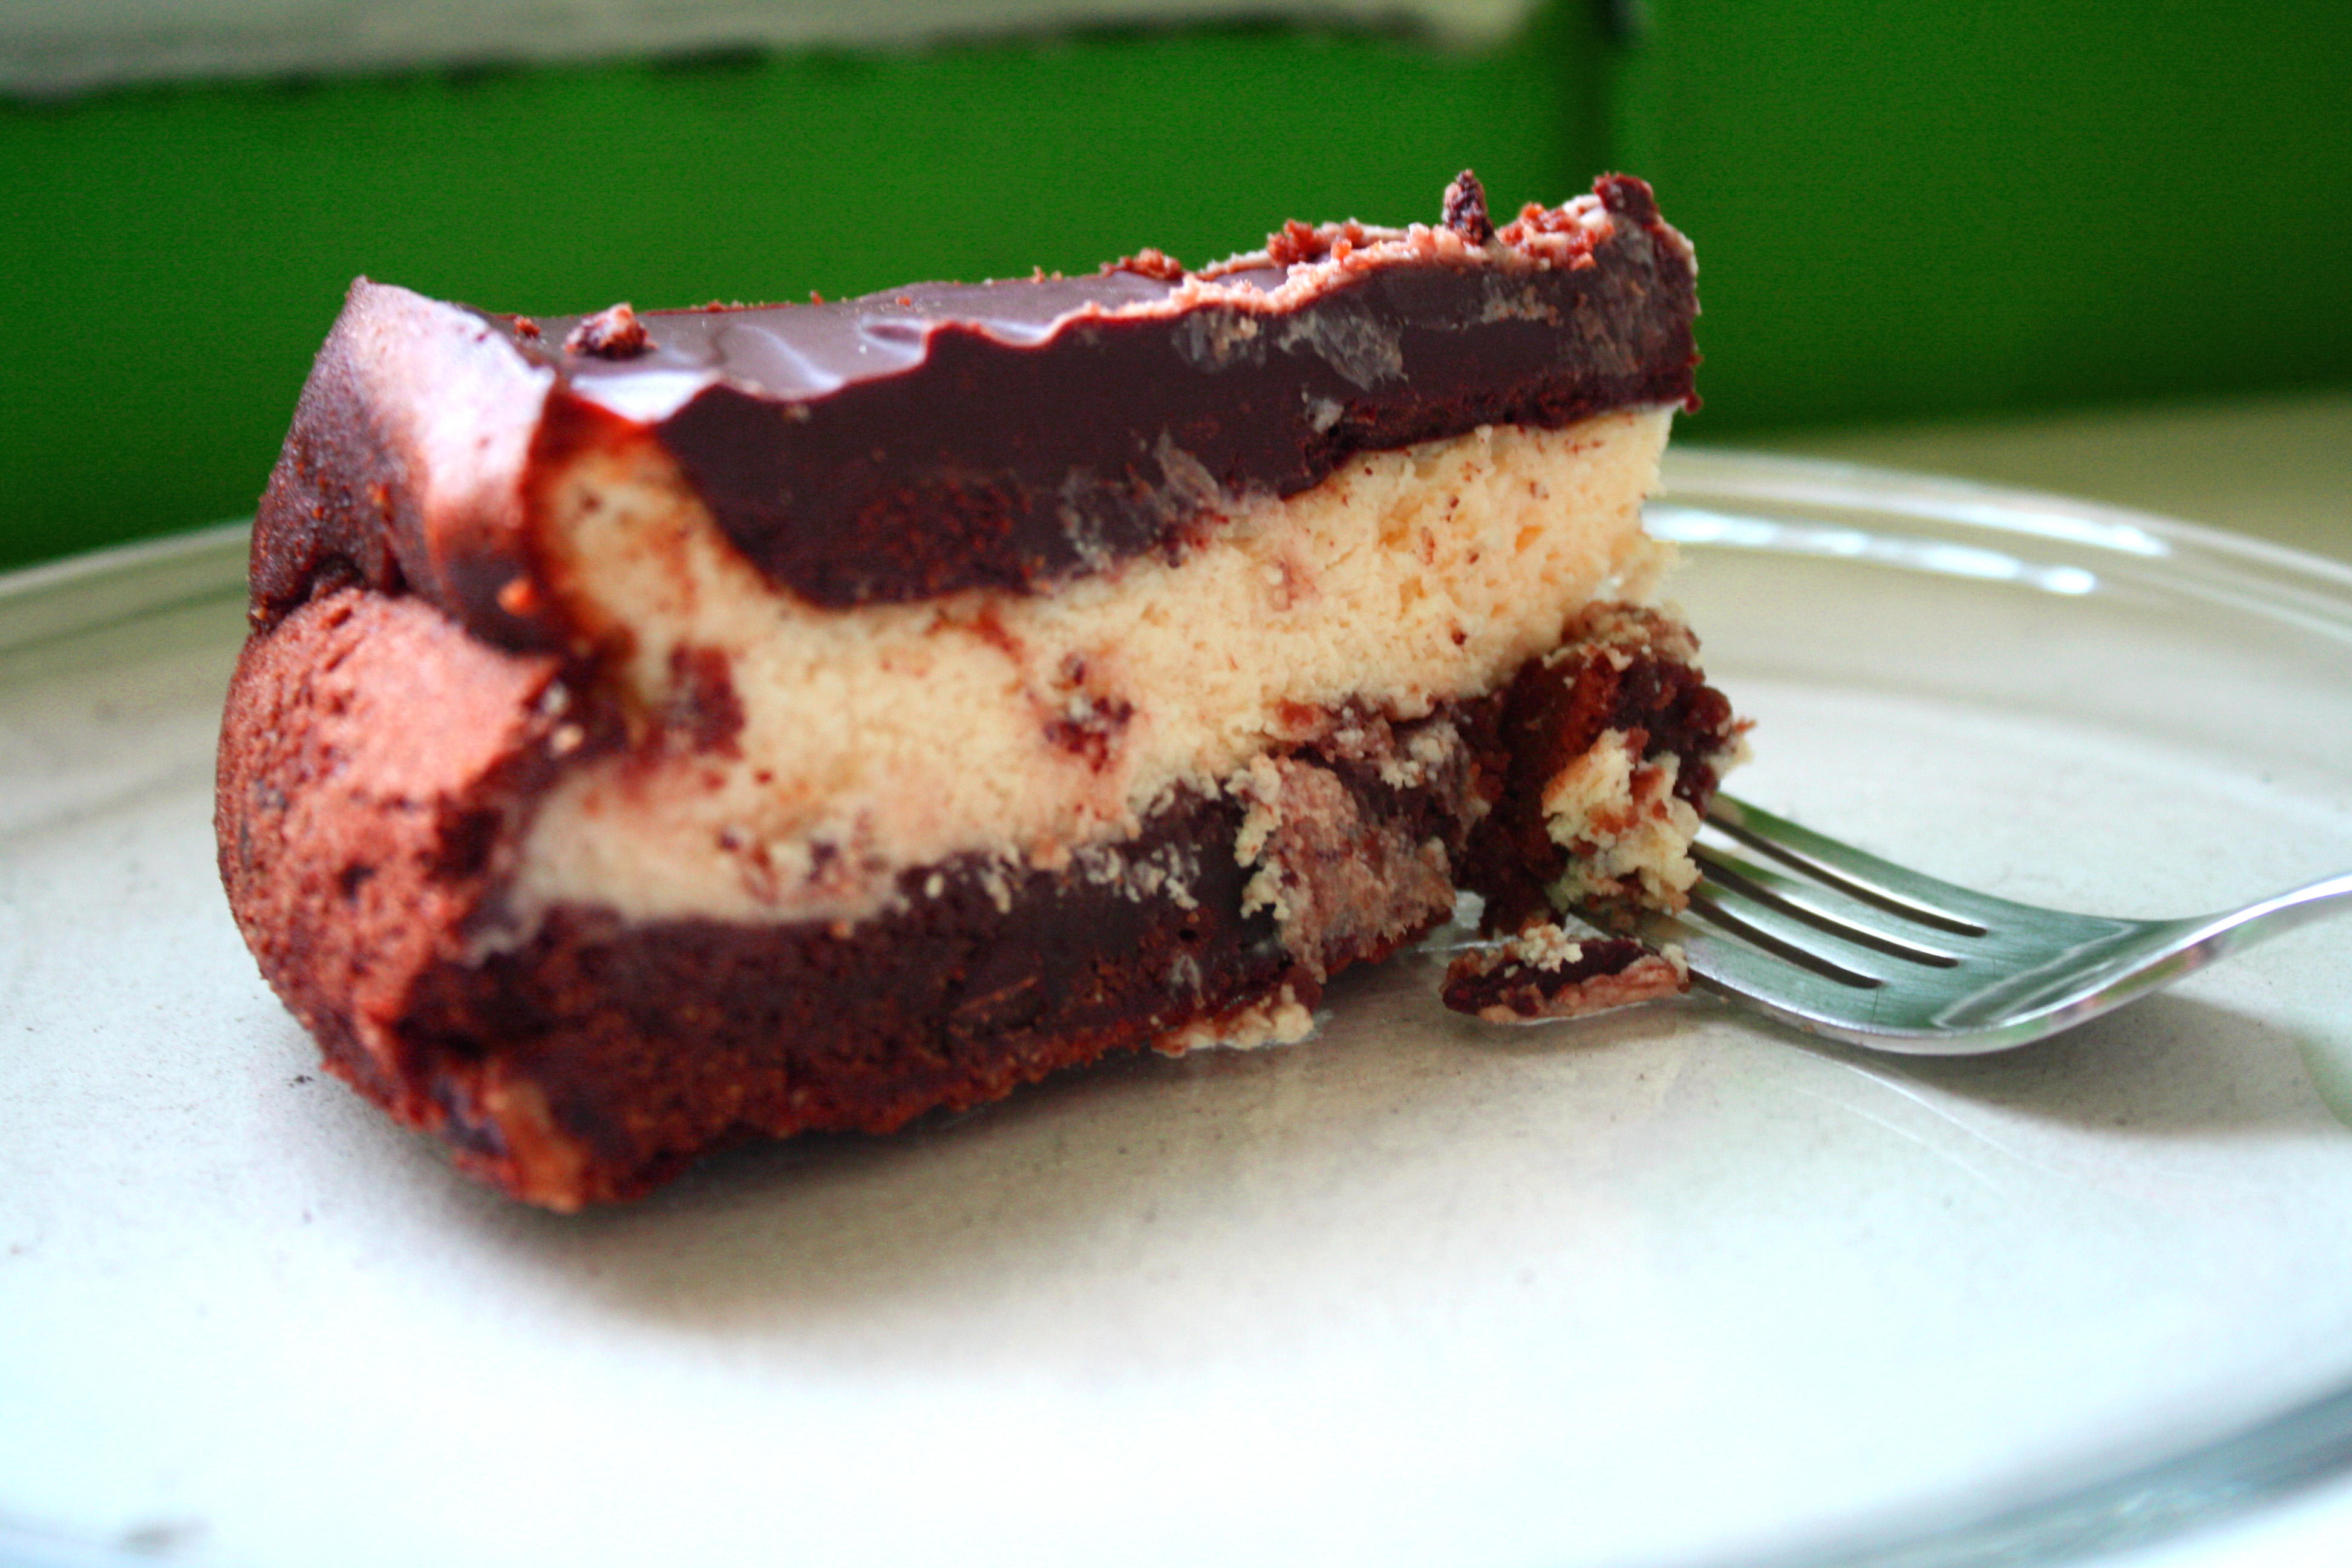
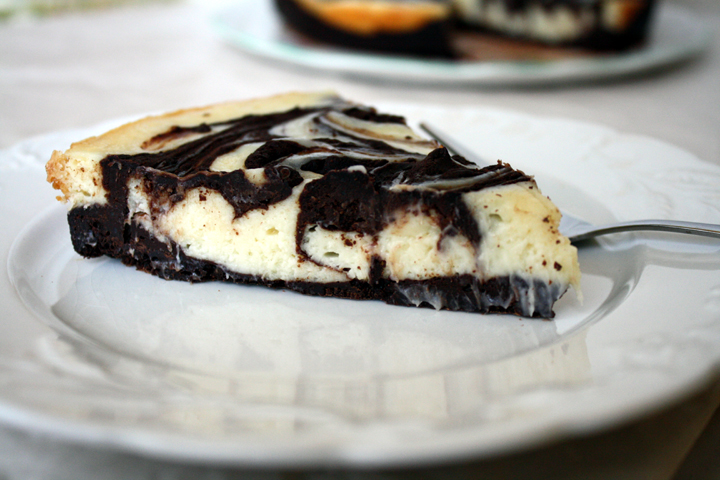
Chocolate Fudge Cheesecake

IMG_5449

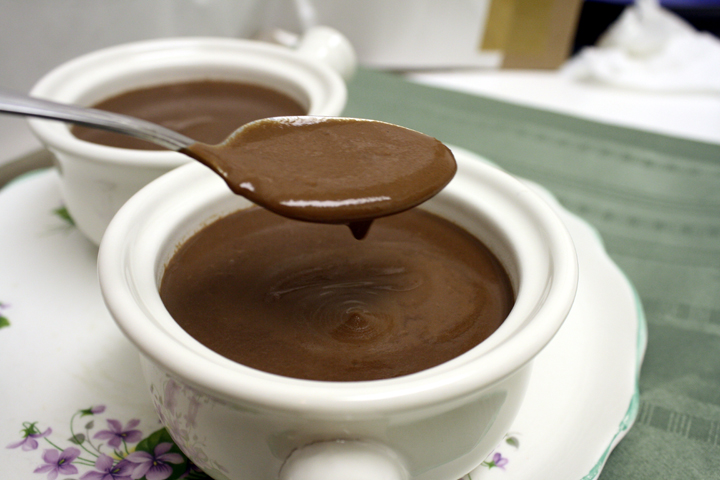
Rich and Thick Hot Chocolate

IMG_5662

Chocolate Fudge Cheesecake

IMG_5506

Dark Chocolate-Cherry Ganache Bars

IMG_4227

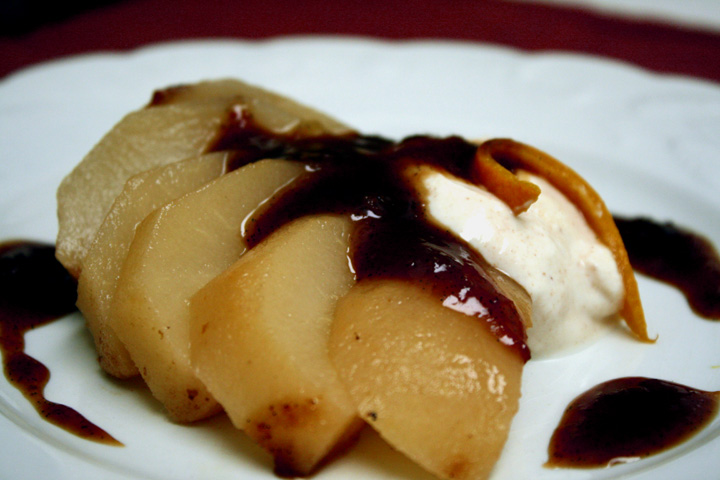
Cider Poached Pears– a delicious, lighter dessert

IMG_4403

Chocolate-peanut butter pb cup cookies

Food 061

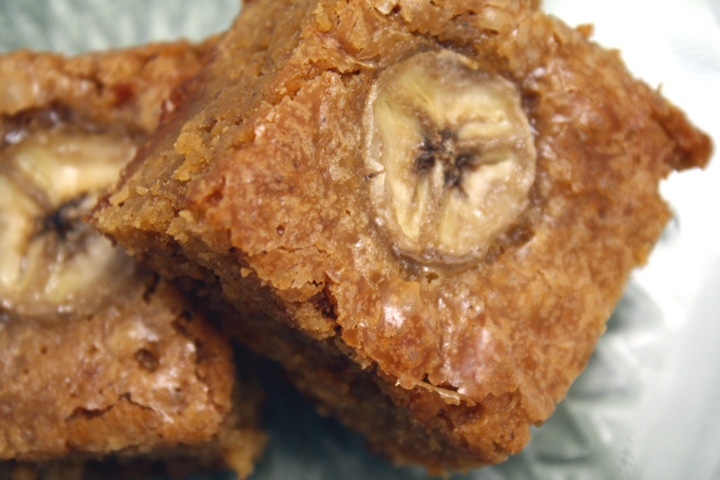
Butterscotch Rum Banana Spiced Blondies

IMG_5034

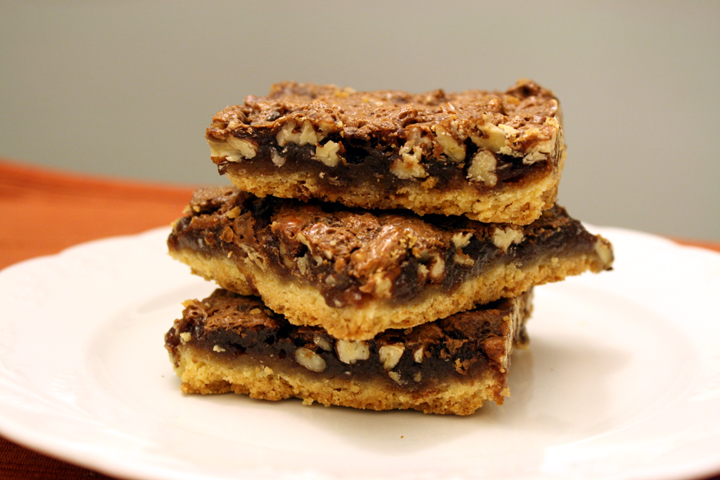
Chocolate Pecan-Pie Bars

Brownie Cookies

From Oxmoor House

Print this recipe

makes 2.5 dozen

1/2 cup butter
4 (1-oz.) unsweetened chocolate baking squares, chopped
3 cups semisweet chocolate morsels, divided
1 1/2 cups all-purpose flour
1/2 teaspoon baking powder
1/2 teaspoon salt
4 large eggs
1 1/2 cups sugar
2 teaspoons vanilla extract
2 cups chopped pecans, toasted (optional)

Combine butter, unsweetened chocolate, and 1 1/2 cups chocolate morsels in a large heavy saucepan. Cook over low heat, stirring constantly, until butter and chocolate melt; cool.

Combine flour, baking powder, and salt; set aside.

Beat eggs, sugar, and vanilla at medium speed with an electric mixer. Gradually add flour mixture to egg mixture, beating well. Add chocolate mixture; beat well. Stir in remaining 1 1/2 cups chocolate morsels and pecans (if using).

Drop dough by 2 tablespoonfuls 1 inch apart onto parchment paper-lined baking sheets.

Bake at 350° for 10 minutes- they will look slightly underdone, do NOT over bake!

Cool slightly on baking sheets; remove to wire racks to cool completely.

Valentine Sugar Cookie Heart

Before I get into my Valentine’s Day treats, I wanted to share a couple things with you. If you’ve been following me since the beginning, you know that a couple years ago, I catered lunch for Nate and his little film crew while he filmed a short film he wrote, directed, and acted in. It took a long time to finish editing, but I can finally share it with you. It’s equal parts suspenseful and amusing, and I hope you enjoy it :)

Lost Keys from Nathaniel Carota on Vimeo.

(You can also see the video he made for our wedding here.)

The second thing I want to share with you is another doggy painting I completed. I’m really trying to build up a pet portrait side business (see the “Pet Portrait” tab on my page menu). I really want to expand to animals other than dogs, but so far that’s all I’ve done. This one was done in memory of Charlie, who passed away recently from cancer :(

Custom Pet Portrait Yellow Lab

Custom Pet Portrait Yellow Lab

Now onto the recipe…

I know a lot of people aren’t fans of Valentine’s Day. While it’s true that it’s not as exciting of a holiday if you’re unattached, it’s a perfect excuse to eat chocolate no matter what your relationship status :)

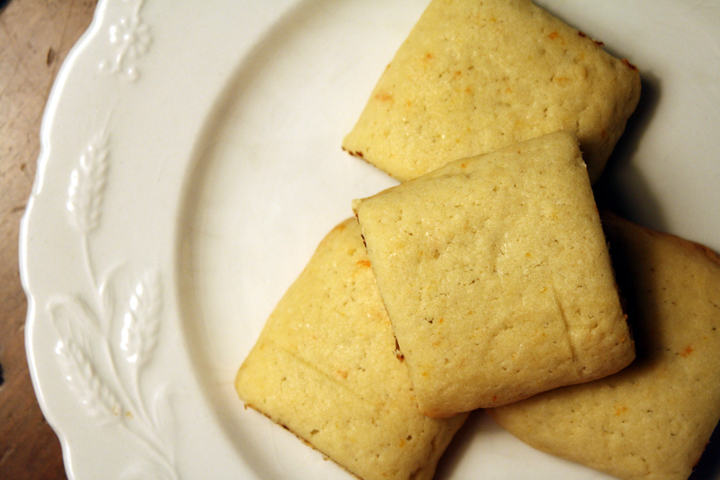
There are a couple cookie recipes I’ve been meaning to share. I’ll share one today and one in a few days. The first is a semi-homemade cookie that I found years ago and often use it for beautiful Christmas Cookies. It’s a cut-out sugar cookie, but because it’s an upgrade to a powdered mix, you can spend more time decorating and less time measuring out ingredients! Also, the texture is such that you don’t even need to refrigerate before rolling out.

Valentine Sugar Cookie Heart

I usually use it with regular royal icing and decorate pretty snowflakes and santas for Christmas. This time, however, I used a super easy marbling technique I found on this site. It’s so easy and sooo impressive looking!

Since I won’t get to be with Nate this Valentine’s Day, I sent him these in a little care package with some toffee blondies. The blondies were a recipe I made for the first time and they were SO good, but I didn’t photograph them, so I’ll have to make them again sometime soon for you.

Make these cookies for someone you love today!

Semi-Homemade Roll Out Sugar Cookies

From Sandra Lee

Print this recipe

makes 4 dozen small cookies or 2 dozen larger

17.5-ounce package dry sugar cookie mix
4 ounces cream cheese, softened
2 eggs
1 teaspoon vanilla extract or other flavoring
1 cup all-purpose flour

royal icing (recipe below)

Preheat oven to 350 degrees F.

Combine the cookie mix with the cream cheese until crumbly. Mix in the eggs and flavoring until well combined. Add enough flour to make a firm dough that can be rolled out. Refrigerate briefly if too sticky.

Roll dough out on lightly floured board to 1/4-inch thickness. Cut out hearts or other desired shapes.

Place on ungreased baking sheet and bake for about 8-10 minutes.

Make royal icing. When cookies are cool, ice cookies by following marble technique found here and here.

Royal Icing

from Annie’s Eats

this might yield slightly more than you need, but it’s better to have too much so you don’t have to match the color when you make more.

Ingredients:
4 cups powdered sugar, sifted
2 tbsp. meringue powder
5 tbsp. water

Combine all ingredients in a bowl. Whisk until the sheen has disappeared and the icing has a matte appearance (or use a stand mixer.

Transfer the contents of the mixing bowl to an air-tight container. This will be the stiffest consistency of the icing, and at this point it is still too stiff to use for decorating.  Add water a very small amount at a time and stir by hand until fully incorporated.  Continue until the icing has reached a consistency appropriate for piping.  (Remember, if you are having any difficulty piping, it is still too thick.  Add a little more liquid and try again.)

Using a pastry bag, pipe around the edges of each cookie.  Let stand so the icing will set.  Make sure to keep the leftover icing covered at all times when not in use so that it does not begin to harden.

Once all the cookies have been edged, transfer some of the remaining icing to a separate air-tight container.  Thin out by incorporating a small amount of water at a time, until the icing drips off the spoon easily when lifted and then smooths in with that still in the bowl.  If you go too far and the icing is too thin, add more sifted powdered sugar to thicken it again.  Once the icing has reached the desired consistency, transfer it to a squeeze bottle (or a plastic bag with a hole in one corner), and flood the area surrounded by the piping on each cookie.  If it does not completely spread to the edges, use a toothpick to help it along.  Pipe on dots in a contrasting color and use a toothpick to drag into hearts. Allow to set.

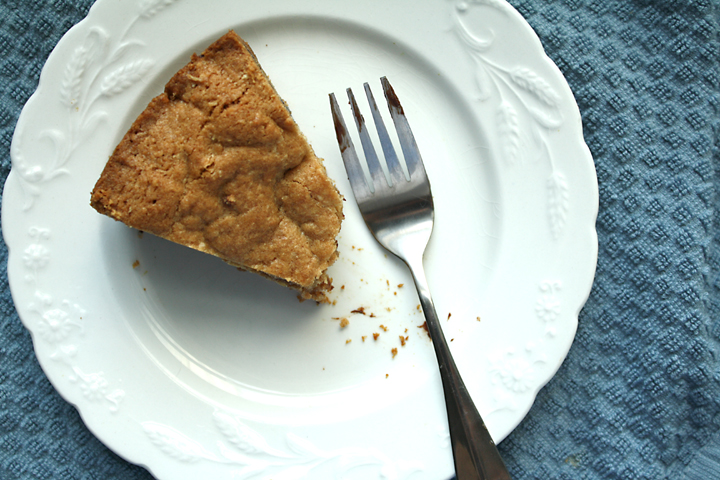
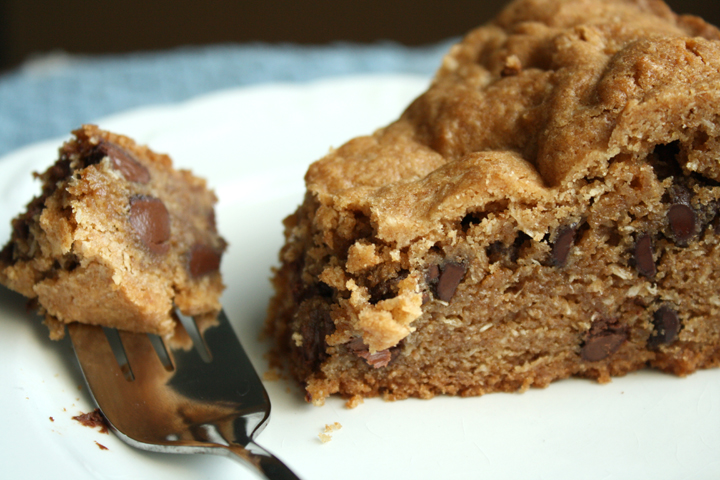
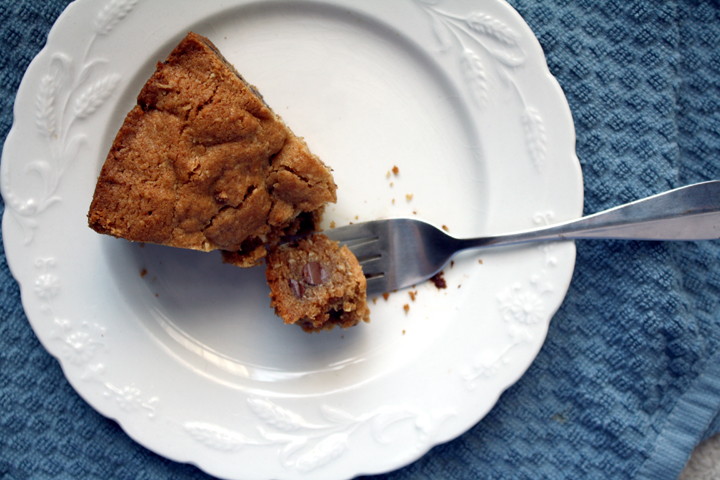
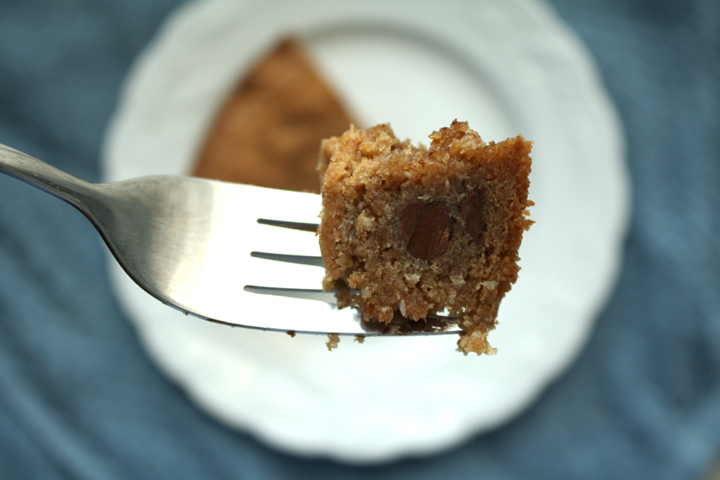
Whole Wheat Cookie CakeSo I’ve still been busy taking care of a bunch of stuff for the wedding. The invitations arrived last weekend and I spent about 6 hours assembling and stuffing them. I’d like to say Nate helped. In his defense, he was working on his wedding video…and I’m a bit of a control freak so I probably would have ended up yelling at him anyway :)

Whole Wheat Cookie Cake2

After my last few healthy posts, I figured you guys might be itching for something a little bad. While this recipe may fool you with “whole wheat” in the name, It has a decent amount of butter and chocolate.

That’s not to say that it doesn’t have its benefits. The whole wheat flour and coconut add a little fiber. And really, you should indulge now and then anyway.

Whole Wheat Cookie Cake3

Nate was lacking on desserts in the apartment so I thought I’d do something nice. This is a cinch to mix up and will bake up in no time.

I was extremely sad that I didn’t have a little vanilla ice cream to eat with this when it was warm from the oven. But even so, it was outstanding- dense, gooey, everything you’d want in a giant cookie cake!

Whole Wheat Cookie Cake4

I can’t take credit for this recipe. I got it off the site Bran Appetit. The recipe below makes a couple very small changes.

Whole Wheat Chocolate Chip Cookie Cake

Print this recipe!

VERY slightly adapted from Bran Appetit

Serves 16 (if you can stand to only eat a small piece)

8 oz. butter, softened, plus 2 Tbsp for buttering your pan
1 and 1/4 cups brown sugar
3/4 cup sugar
2 tsp vanilla extract
2 eggs
3 cups whole wheat flour
1 and 1/2 tsp baking powder
3/4 tsp baking soda
1 tsp salt
2 cups semi-sweet chocolate chips
1 cup shredded unsweetened coconut

Preheat oven to 350 degrees. Grease a 9 inch springform pan.

Dump the 8 oz. of butter into a large bowl (stand mixer or other big bowl) and pour in the brown sugar and sugar. Beat together for 3-5 minutes until the mixture is light and fluffy.

Beat in the vanilla, then add the eggs, one at a time, to the butter and sugar mixture.

Pour the flour, baking powder, baking soda, and salt into the bowl and mix into the butter.

Once the dough has come together, add the chocolate chips and coconut and beat the mixture for another minute until the chips are mixed into the dough.

Dump your dough into your pan and press into an even layer.

Bake at 350 degrees for 35-40 minutes until the top is golden and a toothpick comes out clean (or a little wet).

Let the cookie rest for at least 10 minutes before serving.


We went down to PA to visit Nate’s mom this past weekend and it was a fun, relaxing time as always. We stopped by a few antique shops on the search for some things I want to use in the wedding. I didn’t have much luck though. I’m thinking next time a flea market will be a better bet.

Another reason we went down is because Nate’s dad gave us a whole set of never-been-used bedroom furniture because he’s turning his guest room into a gym. Although we can’t fit the huge sleigh bed into our teeny NYC bedroom, we’re super excited about when we have room for it!

I figured after getting such a nice little present, I should say thank you in the only way I know how: baking.

After my success with making granola bars the other day, I thought about what else I could make from scratch that would be as good as or better than store-bought.

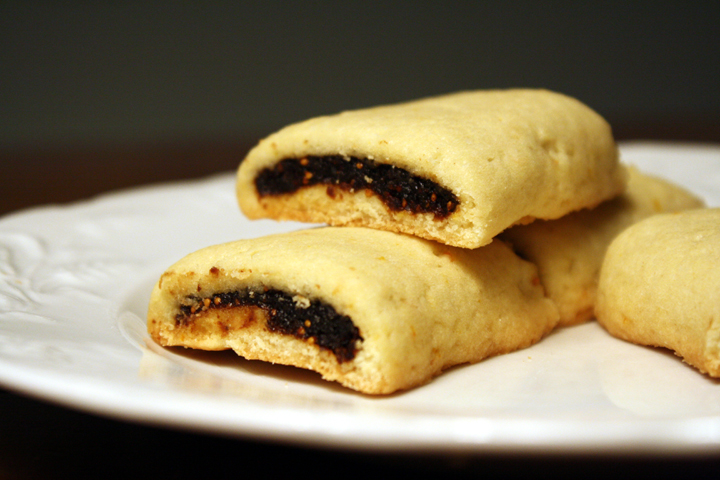
I had seen some look-alike Fig Newtons online and thought that I would have to try them. Nate told me his dad likes Fig Newtons so I thought it would be the perfect time to give this recipe a try. I wish I was closer to my parents, because growing up I remember my Dad loving Fig Newtons too. Next time I go down to Florida to visit, I’ll have to make these for him.

The dough was a but sticky and kind of ripped when I folder it over the filling, but all-in-all it was very forgiving after it cooked up. In addition, you definitely have to plan ahead with these since the dough has to be refrigerated for several hours and the filling takes a while to cook.

Next time I think I’ll try this with a different flavor inside :)

*Note, for great step-by-step pictures, visit the site I got the recipe from, Oh Nuts

Homemade Fig Newtons!

Taken from Oh Nuts

Print this recipe!

makes about 30 cookies

For the filling:

1 generous cup Calimyrna dried figs
1-1/2 cups water
1 cup apple juice
1/4 cup sugar
zest of 1/2 grated orange

For the cookie dough:
4 oz (8 tbsp) softened butter
1/2 cup granulated sugar
zest of 1/2 grated orange
1 egg white, room temperature
1 tsp vanilla extract
1.5 cups all-purpose flour

Both parts of this recipe require extensive down-time, so make sure you plan ahead and leave enough time for cooking and chilling. To make the dough, start by combining the butter and 1/2 cup of sugar in the bowl of stand mixer (or use a large bowl and a hand mixer.) Beat them together on medium speed until light and fluffy, about 2 minutes.

Add the egg white, the grated zest of half an orange, and the vanilla extract, and beat everything together until you have a silky smooth mixture. Scrape down the sides of the bowl and the beaters. Add the flour, and mix on low until everything is mixed together and there are no streaks of flour remaining.

When you’re finished, you should have a soft dough similar to a sugar cookie dough. Wrap it tightly in plastic wrap and refrigerate it until it’s firm enough to roll, for about two hours.

While you wait for the dough to chill, it’s time to get figgy with it! (Yes, I’ve been dying to use that joke this whole time.) Take those dried figs and chop them up into small pieces.

Combine the chopped figs, water, apple juice, and 1/4 cup of sugar in a medium saucepan, and bring it to a boil over medium heat. After it starts boiling, reduce the heat to low and simmer it until the figs are soft and practically disintegrating, anywhere from 90 minutes to 2 hours. Stir the figs occasionally so they don’t scorch on the bottom of the pan.

When the figs are done, most of the water will have cooked off and they will have the consistency of a thick, sticky jam. Cool the fig mixture at room temperature or in the microwave. It’s ok if it’s not as thick as you might think, as it will get blended.

Transfer the fig mixture to a food processor or blender, and add the grated zest of half an orange. Blend until you have a smooth paste.

Now it’s time to bring together the two halves of our Fig Newton. Preheat your oven to 350 degrees F.

Take your chilled dough from the refrigerator and dust a work surface and rolling pin with flour. The dough will get sticky as it warms up, so it’s best to do this quickly and avoid adding any more flour than necessary. Roll the dough out into a very thin rectangle, about 16 inches long by 12 inches high. Remember how thin the cookie part of a Fig Newton is? Yeah, it’s a wee little layer. That’s what we’re going for.

Cut your dough into 4 strips, so that you end up with 4 long thin rectangles 4 inches across and 12 inches high.

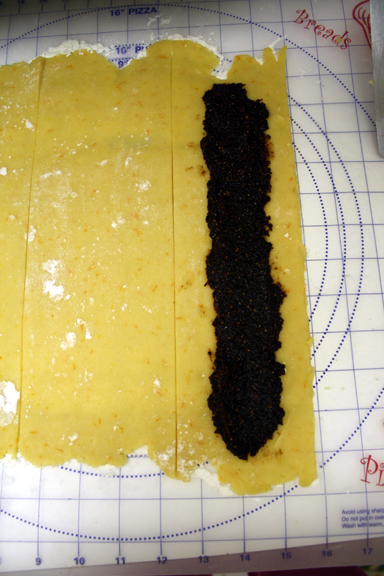
Take about a quarter of the fig mixture and spread it along the center of one of the strips of dough. Gently fold one side over the fig mixture, then fold the second side over the first, so that you are left with a long tube of dough enclosing the fig filling. Repeat until all four dough strips have been filled and folded.

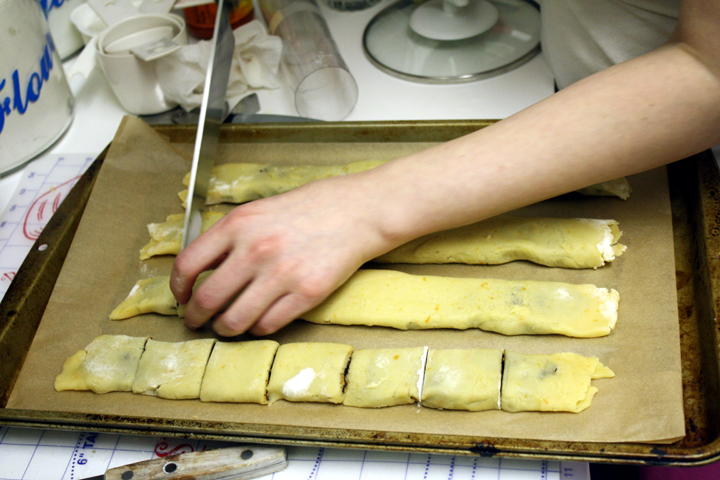
Gently (gently!) transfer the strips of dough to a parchment-covered baking sheet. I found it was easiest to do this by sliding them onto a long metal spatula, but even a large chef’s knife might work for his purpose. You can either cut them into cookies before or after baking–I prefer before, because I think it’s a little easier to get clean cuts that way, but either way works fine.

Bake the cookies in the 350 degree oven for 12-15 minutes, until they’re puffed and golden brown around the edges.

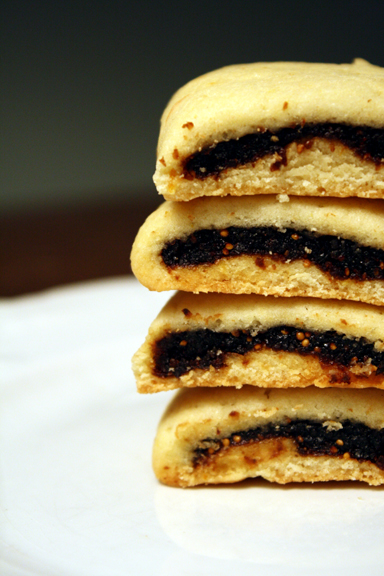
**These cookies are even better the next day. Fresh from the oven, the cookie layer is a little crispy, more like a shortbread. But after they’ve had time to mellow, it softens like a real fig newton. Keep in tupperware on counter up to a week or longer in fridge.

I was on my way to my friend’s apartment recently, and as usual was running seriously early. I never really understood people who are always fashionably late. I get so nervous that the subway will be delayed or the walk will take longer than expected that I allow WAY too much time.

It doesn’t really bother me, though, because I’m pretty good at keeping myself entertained. Sometimes this involves window-shopping, other times I find a good place to sit and either read the book that I always carry with me, play on my phone (i.e. pretend I’m doing something really important so people don’t look at me weird), or just occupy myself with my own thoughts.


It’s amazing how many random thoughts are going on in my head at any one time. Nate can attest to this, as I blurt out irrelevant things that makes sense to me at the time (Duh, I’m thinking about them!), but make no sense to Nate. He actually caught my incoherent blabbering on video the other day, unbeknownst to me. After watching it played back for me, I gotta say that I feel pretty bad for the guy and don’t know how he puts up with me.

As you can see, I’m very good at going off on a tangent! Aaaaanyway, so the other day when I was early and needed to waste some time in the Times Square area, I saw a store called World of Chocolate and could not refuse a quick time-wasting trip. I have to say, the name of the store was quite deceiving. It was a pretty big let-down considering it was all of about 100-200 sq feet of space and only had Hershey’s products.

While perusing the aisles, I came across a bag of mini Reeses Peanut Butter cups. Not only were they totally adorable (I love anything miniature!), but I imagined they’d be absolutely perfect for a cookie recipe. I was thinking pb or chocolate base but hadn’t made a final decision yet.

So I took these adorable chocolates home and waited til I had a spare moment to create something. I started with the recipe I had created for the Chocolate Chocolate chip cookies, but to add some extra pb flavor, I subbed peanut butter in place of the butter in the recipe. I wasn’t exactly sure whether this would work or not.

As I started to blend the batter I realized how dry and thick it was, so I threw in another egg. Again, I had no idea what this would do.

While the batter was still rather thick, I put giant 1/4 cup balls of dough on the sheets a

nd baked them up. When I took them out of the oven and onto the drying rack I was a little worried since each cookie felt like a brick. I swear, so heavy! So don’t get worried when your cookies turn out heavy too.

At this point I was slightly worried that they’d be all dried out on the inside. But lucky for me, this recipe ended up a win! They were the fudgiest chocolate cookies ever. Nate gave them a giant thumbs up!!

If you can’t find mini pb cups, you could easily chop regular pb cups into 1/4-1/2 inch sized pieces.


Chocolate-Peanut Butter PB Cup Cookies

Recipe by Me

Print this recipe!

makes 18-ish LARGE cookies

2 cups all-purpose flour
1/2 cup dutch processed cocoa powder
1/2 tsp baking soda
1/2 tsp salt
1/2 cup peanut butter
4 Tbsp melted butter
1 cup packed brown sugar
1/2 cup white granulated sugar
3 eggs
2 tsp vanilla extract
1 1/2 cups mini reese pb cups (or chopped reeses pb cups)

Heat oven to 325 degrees and have racks on upper & lower middle positions. Put parchment paper on 2 oversized cookie sheets (or do it in batches with smaller cookie sheets).

Whisk together flour, cocoa powder, salt & baking soda in medium size bowl. Set aside.

Mix peanut butter,  butter & sugars until thoroughly blended by hand or with electric mixer. Beat in eggs and vanilla until combined.

Add flour mixture to butter mixture and beat at low speed until just combined. Stir in pb cups.

Roll scant 1/4 cup dough into ball. Put ball on cookie sheet leaving 2.5 inches between each ball.

Bake about 15 – 18 minutes, switching sheets halfway through reversing sheets front to back and top to bottom. Cool cookies on cookie sheets. When cool, peel from parchment.

*Note, cookies will be very heavy when cooked!