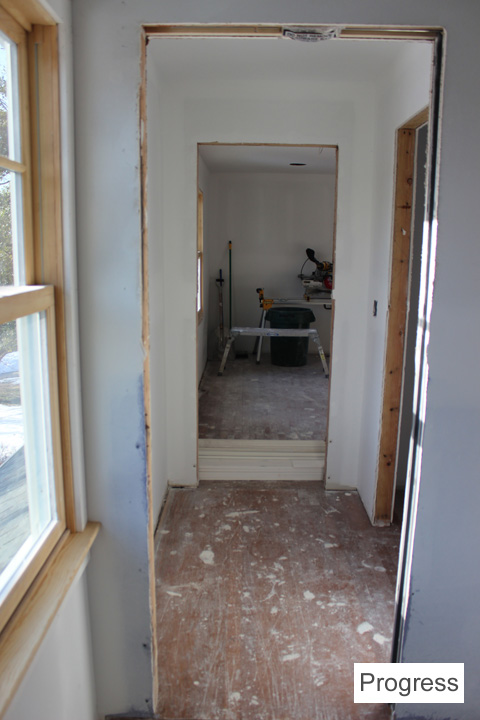
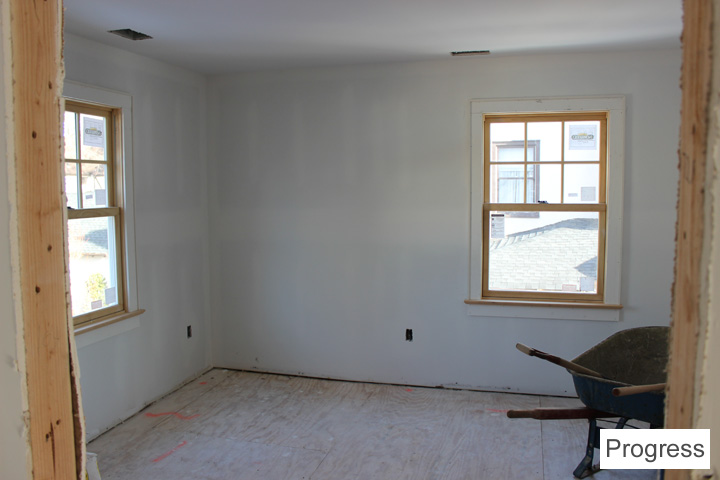
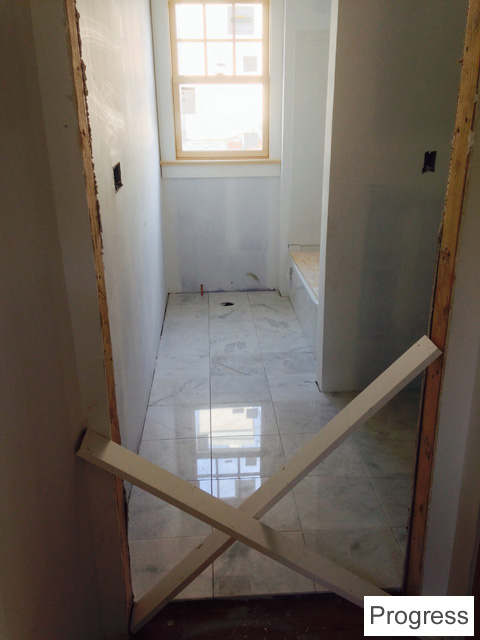
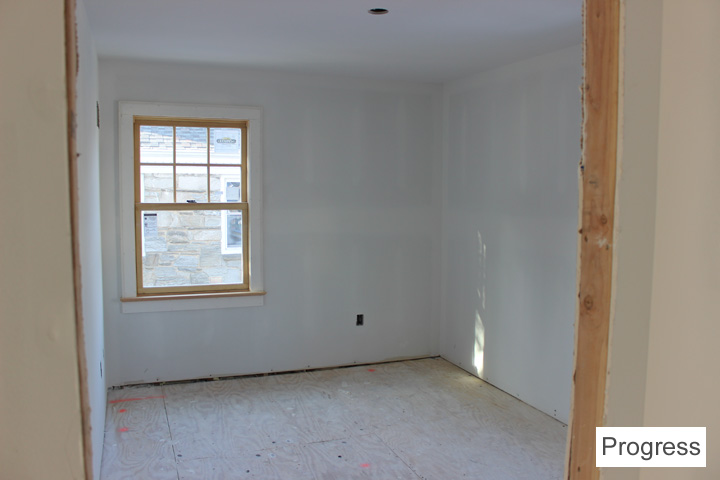
Hello everyone. I’m sorry I’ve been totally MIA (if you’re my blogging buddy, I promise I’ll be to your blog soon to comment!!). Our house has had some delays, and I’ve had to make a billion decisions. We’ve officially booked our move for April 16th although the contractor has told me that he’s barely going to finish by then. UGH.

Anyway, we’ve already started packing, and we’re going to be leaving this apartment with a little more than we came with:

16 weeks pregnant ~ ElephantEats.com 

I wanted to tell you guys SO BADLY. I was waiting til I announced it to my boss, but the secret’s out now…and so is my belly!. Is a belly this big normal for 16 wks?! I’ve only gained 7 lbs so far, so it’s kind of crazy.

Anyway, this baby is a large part of why I haven’t blogged recently. The first trimester I was majorly nauseous and exhausted all the time. I didn’t think you would want to see my “recipes” that I made on a nightly basis (plain pasta).

I’ve finally made it into the second trimester, and I’m feeling so much better. Baby is officially the size of an avocado :)

Now if I just didn’t have the house stuff stressing me out, I might find some time to cook something for you. Soon we’ll be packing up our kitchen so I hope I can find some time between now and then to cook up something tasty. But if I don’t, I promise that I will do lots of cooking in our new kitchen! 

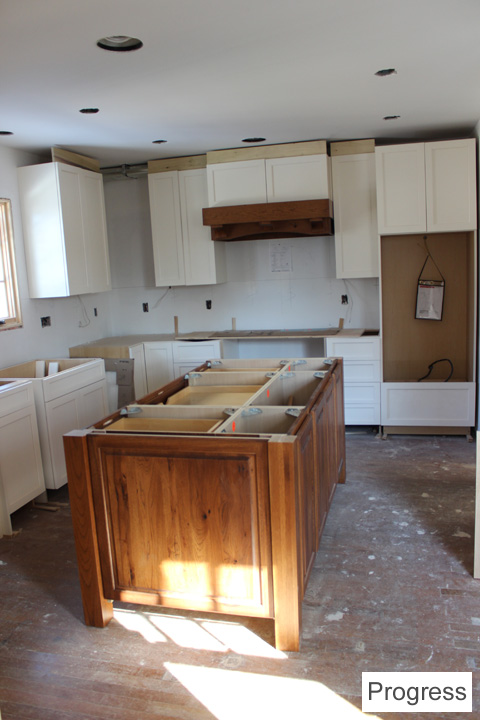
Speaking of the new kitchen, the island has a little issue so we will be island-less for a week or two after moving in :( Not the most convenient thing but at least it will be corrected in the end. 

Here’s a pic of the kitchen partially assembled…but this is with the incorrect, too-big island:

KitchenProgress ~ ElephantEats.com

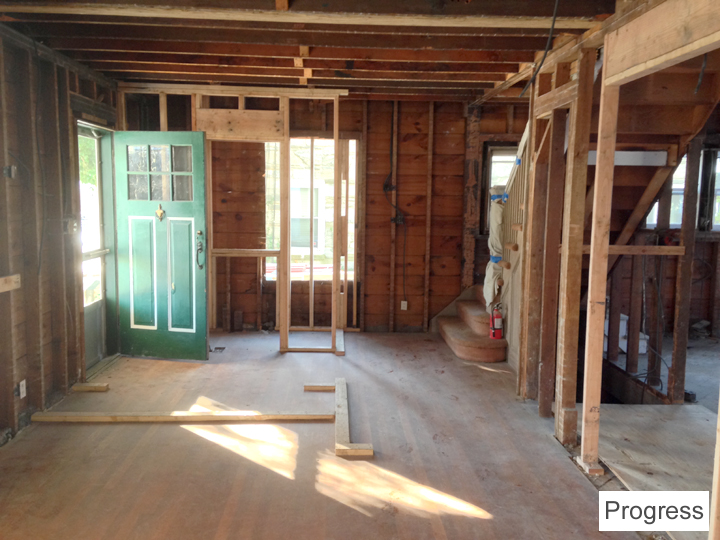
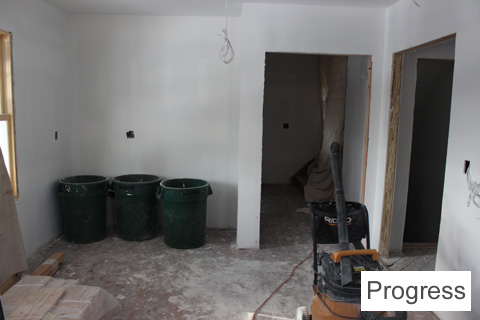
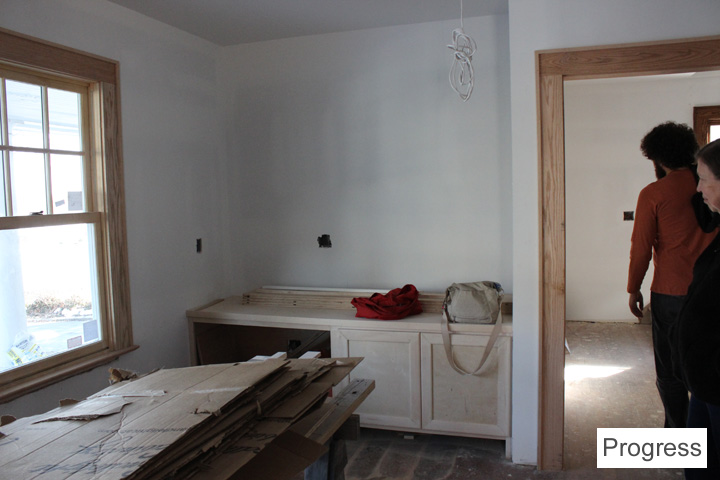
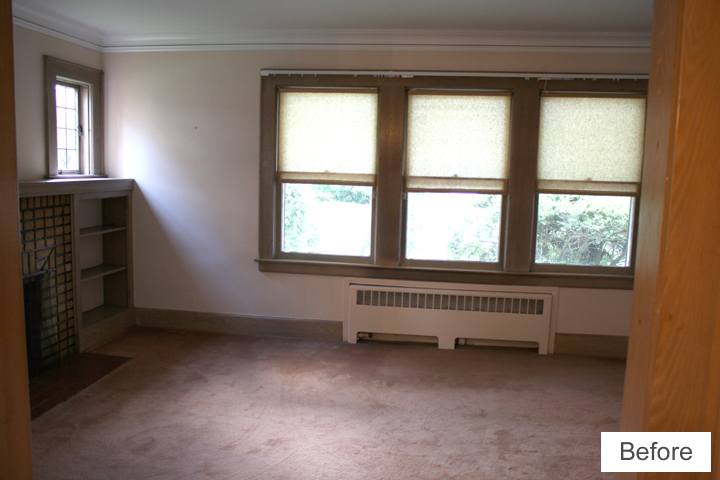
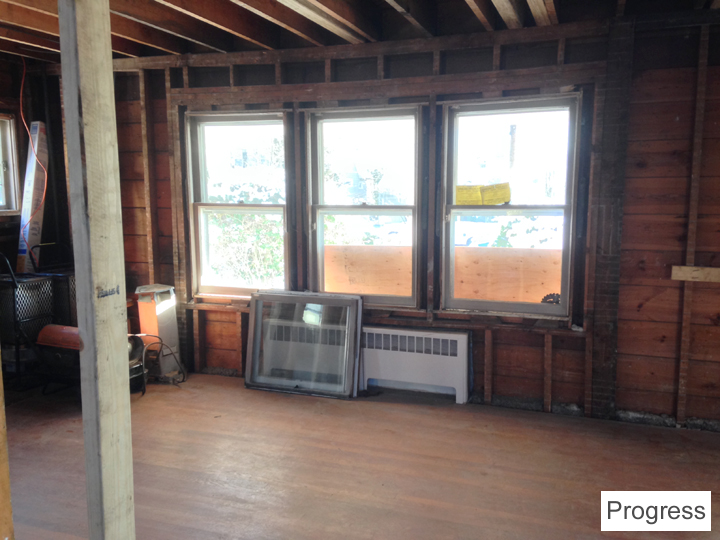
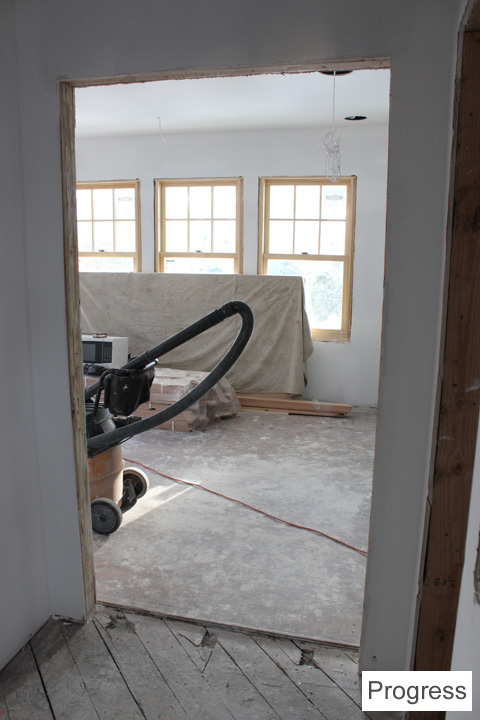
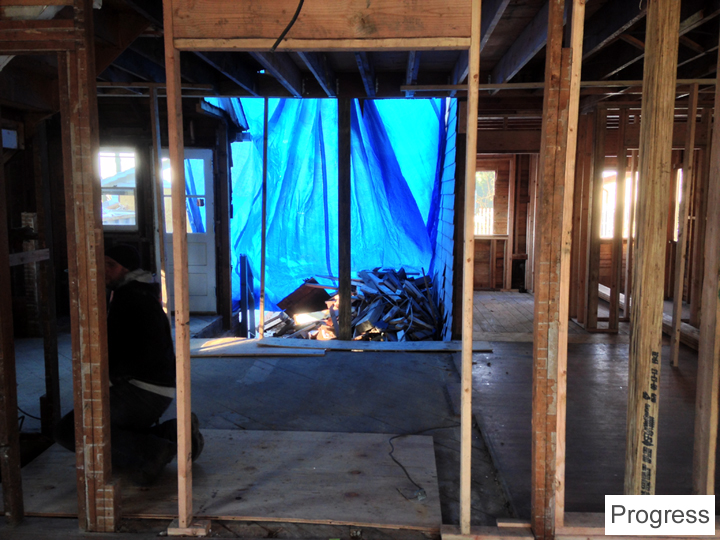
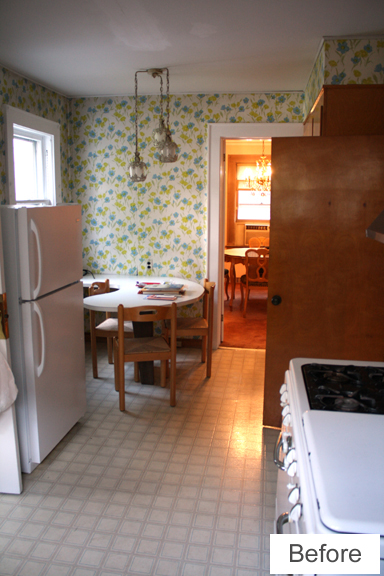
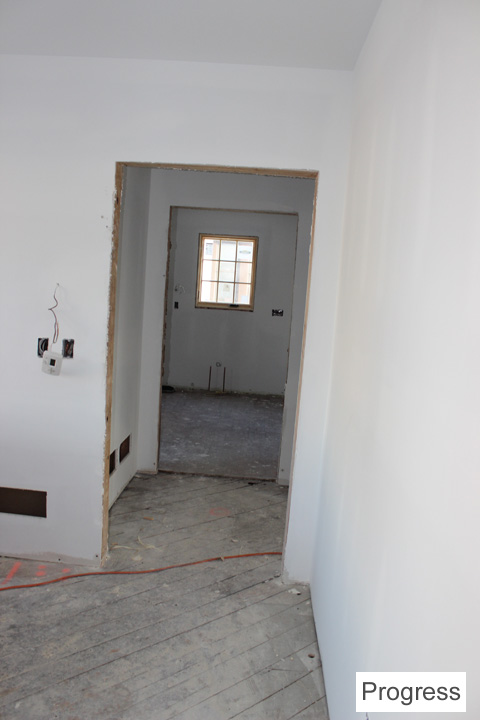
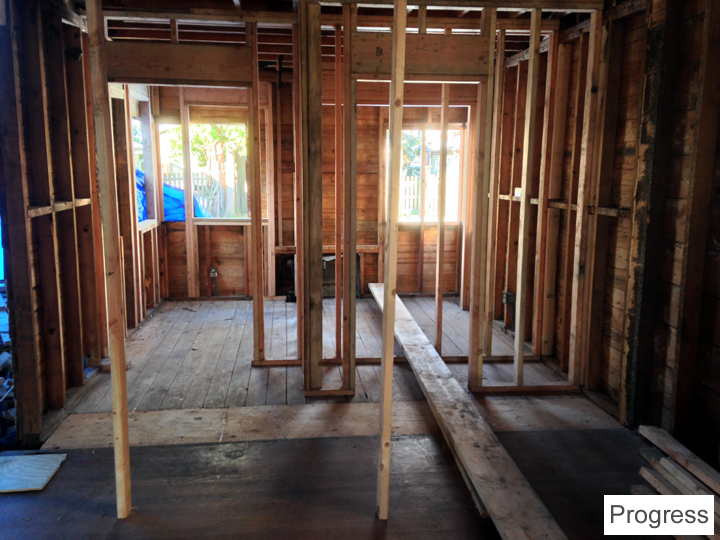
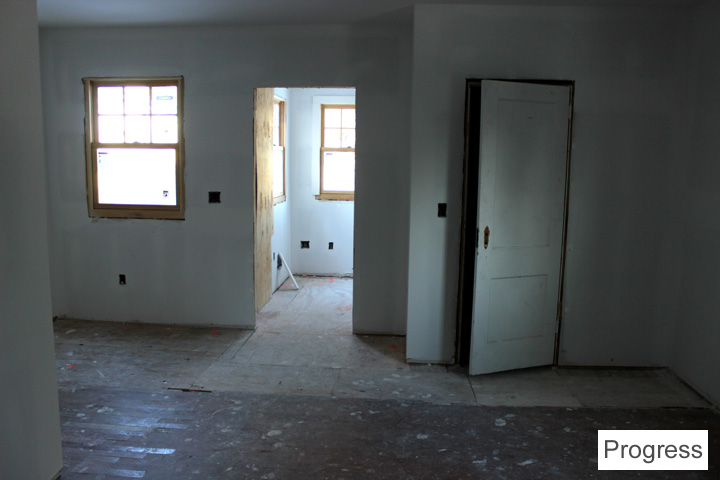
And now since I’m sure you can’t wait to see, here are some more progess pics of the rest of the house. It’s actually even more done now but I haven’t been out there with a camera lately.

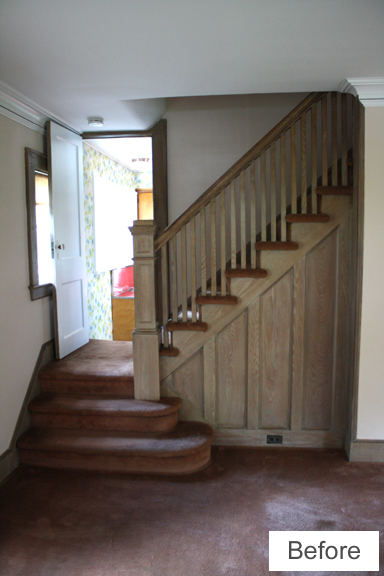
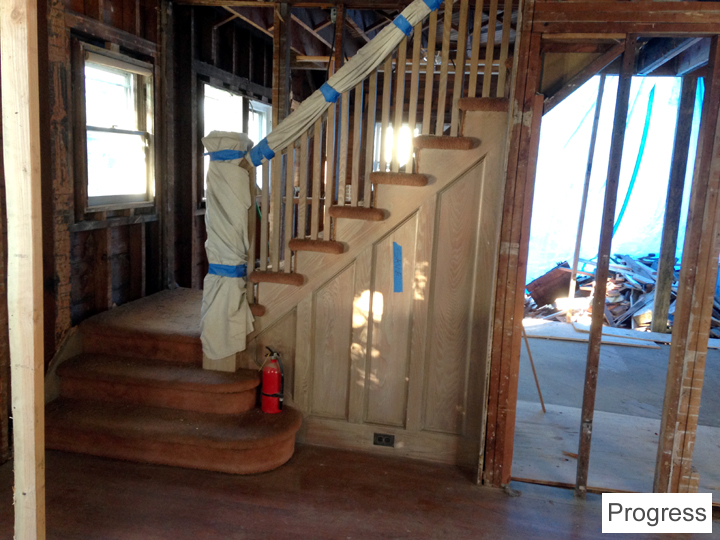
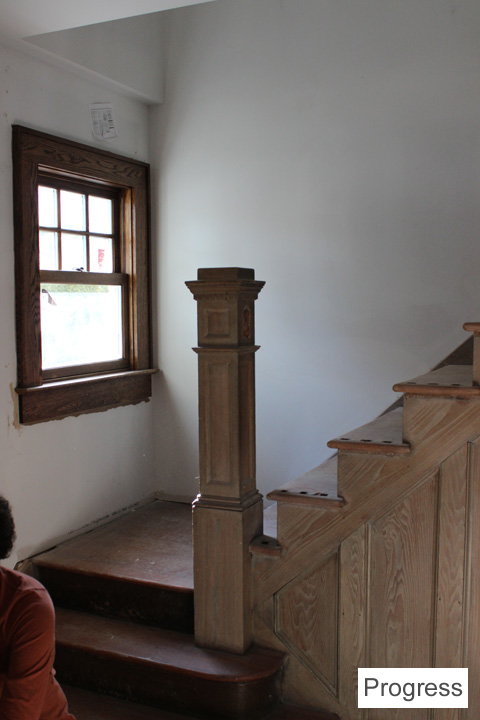
Entryway:

FrontDoortoKitchenBefore

FrontDoortoKitchenProgress

Stair Progress 2 ~ ElephantEats.com

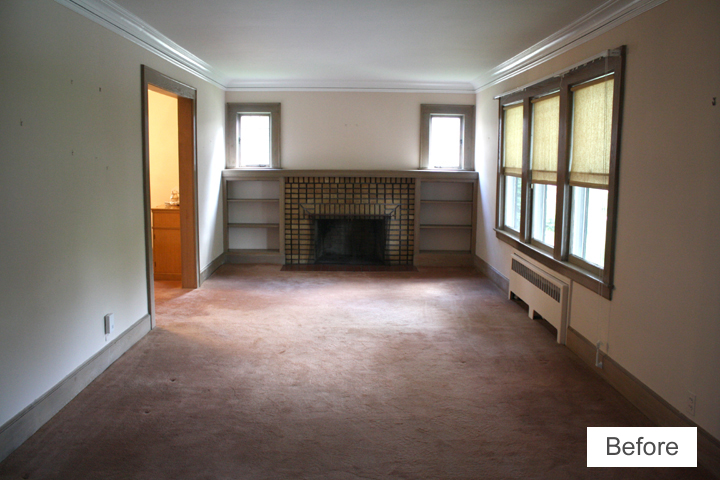
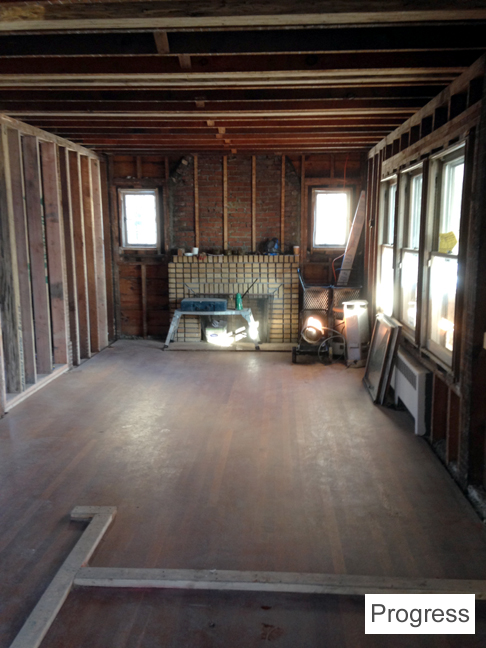
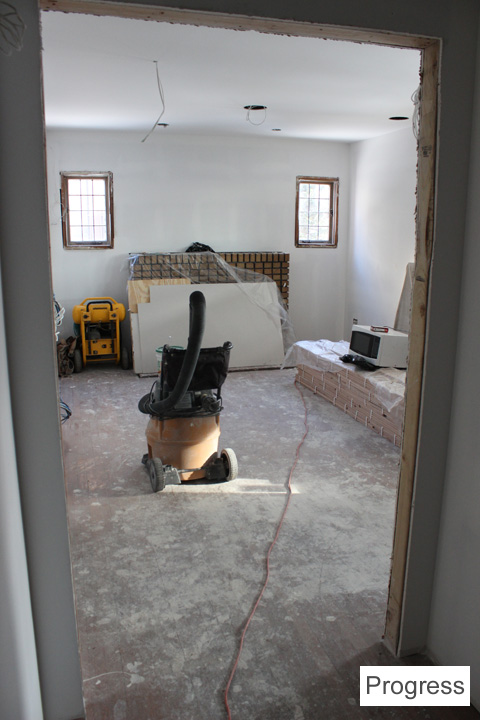
Living Room:

LivingRoomBefore


LivingRoomDuring

LivingRoom_Progress2 ~ ElephantEats.com

There is going to be a wood mantle surround and cabinets around the fireplace. They’re in the process of being built. The living room is smaller now because there’s a front hall closet and built-in desk/bookcase on the living room side.  

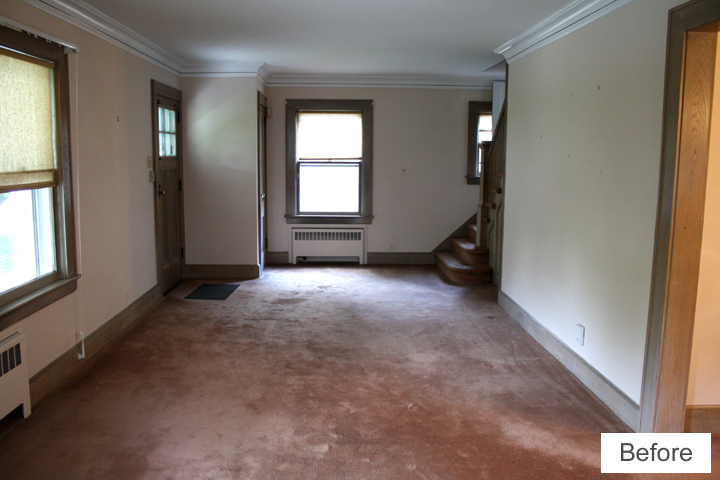
View from fireplace towards front door:

LivingRoom2Before

LivingRoom2Progress

LivingRoomBookcase_Progress2

and here’s the bookcase/desk being built, plus some trim on the windows/doors:

LivingRoomBookcase_Progress3

Looking towards living room windows from what will now be the hallway:

LivingRoomfromDiningBefore

LivingRoomfromDiningProgress

Living Room Windows Progress2 ~ ElephantEats.com

view from living room windows towards the new hallway to the kitchen/dining rooms:

HallwayProgress

Kitchen:

KitchenBefore

KitchenProgress

Now the “kitchen” is officially a dining room and the window in the back is actually the kitchen:

Dining towards Kitchen Progress2 ~ ElephanteEats.com

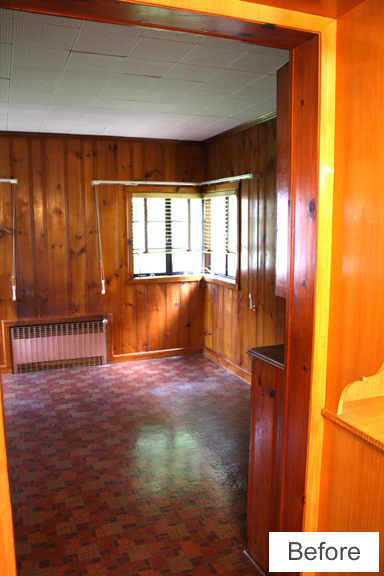
Den:

DenBefore

DenProgress


What was the den is now the back of the kitchen and the new mudroom/laundry room (through that doorway).

Kitchen to Mudroom Progress2 ~ ElephantEats.com

 Ok, let’s go upstairs.

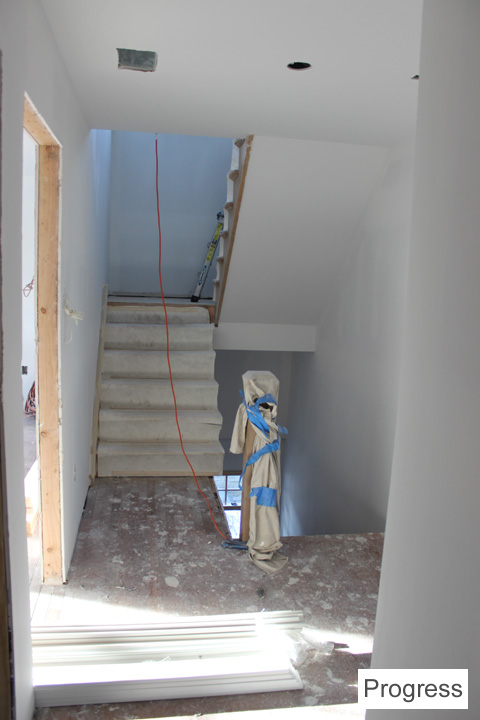
I don’t think I ever showed a before pic of this, but there used to be a closed door leading up to the attic…and now it’s a nice bright, open stairwell!

Stairs to Attic Progress2 ~ ElephantEats.com

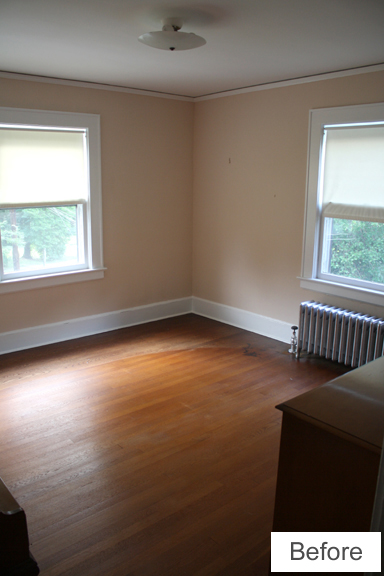
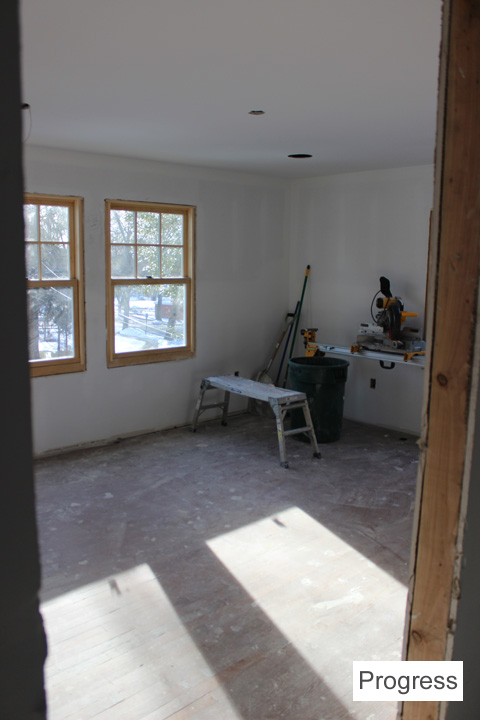
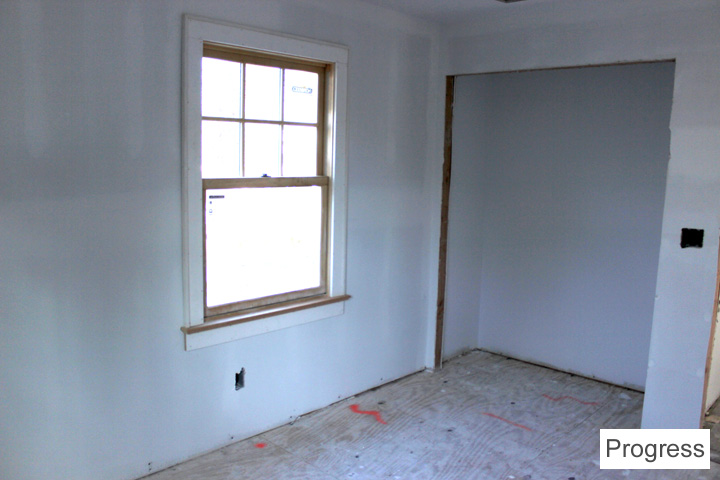
Master Bedroom:

BottomLeftBedroomBefore

BottomLeftBedroomProgress


Master Bdrm Progress2 ~ ElephantEats.com

There are still windows on the other wall, they’re just cut off in this pic.

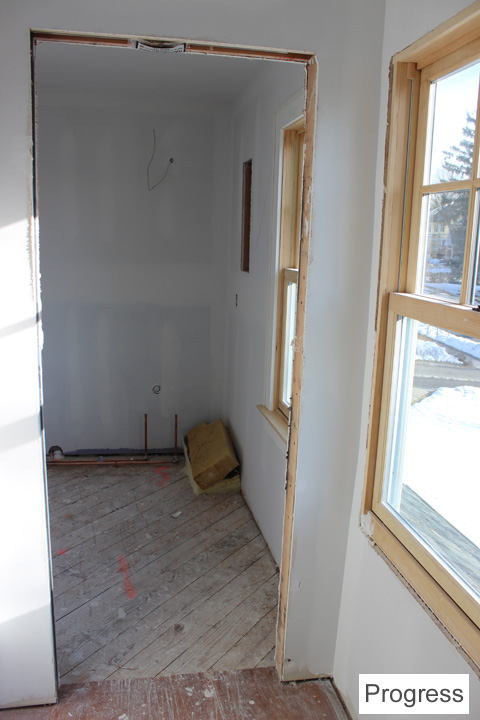
View from new Master bedroom “through” the new walk-in closet to the master bathroom:

MasterSuiteProgress

 MastertoBathroom_Progress2 ~ ELephantEats.com

And here’s a pic from the bathroom back thru the closet hallway into the bedroom:

MasterBathtoBdrm ~ ElephantEats.com

And the rest of these pics don’t have good “before”s unfortunately, so I’ll just give you a new tour:

Nursery (!!!):

Nursery Progress2 ~ ElephantEats.com

Hall Bath:

HallBath Progress2 ~ ElephantEats.com

Bedroom 2:

Bedroom2 Progress2 ~ ElephantEats.com

View towards the closet, which is next to the door to the room:

Bedroom2Closet Progress2 ~ ElephantEats.com

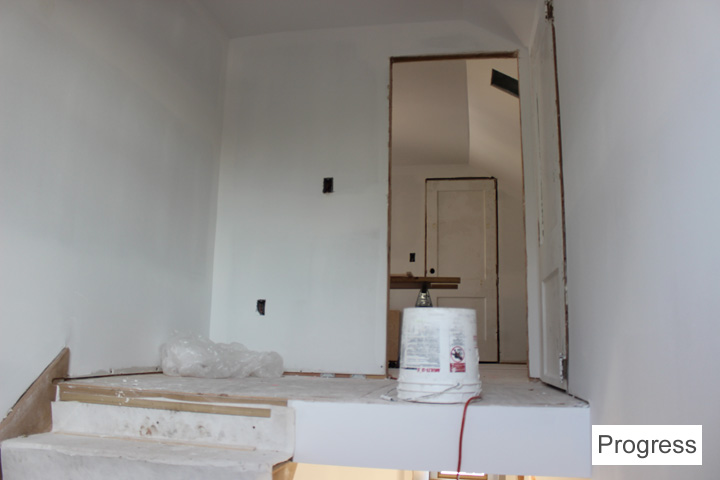
On landing to 3rd floor looking at 3rd floor bedroom door:

3rdFloorLanding ~ ElephantEats.com

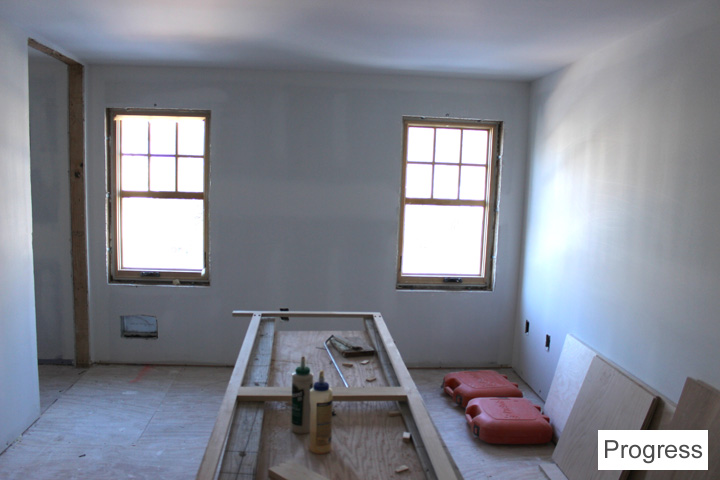
3rd Floor Bedroom:

3rdFloorBdrmWindows Progress2 ~ ELephantEats.com

3rd floor bedroom, view from windows to other side of room:3rdFloorBdrm_Progress2 ~ ElephantEats.com
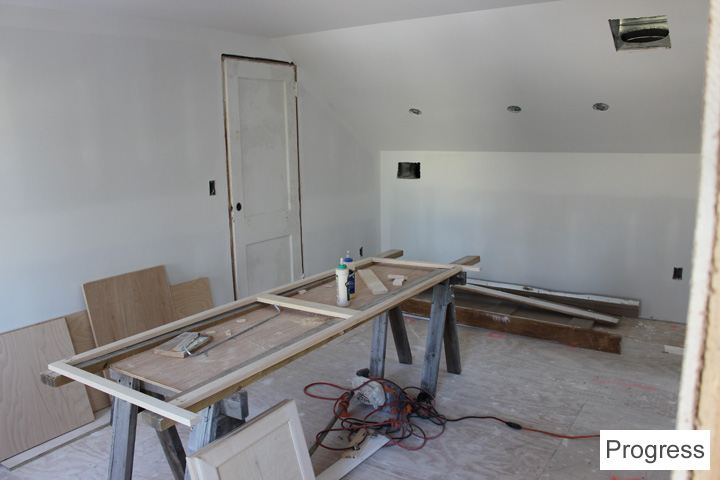
 

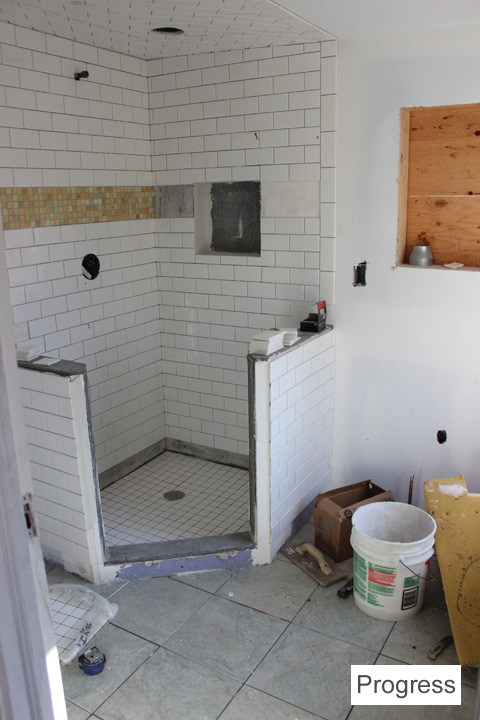
3rd Floor Bath:3rdFloorBath_Progress ~ ElephantEats.com

and same view with tiling started:


3rdFloorBdrm_Progress2 ~ ElephantEats.com

Hope you enjoyed the updated tour. The next pics will prob be after we move in!!! Prob the next time I post a recipe too…unless I can find one stored somewhere that I haven’t posted…




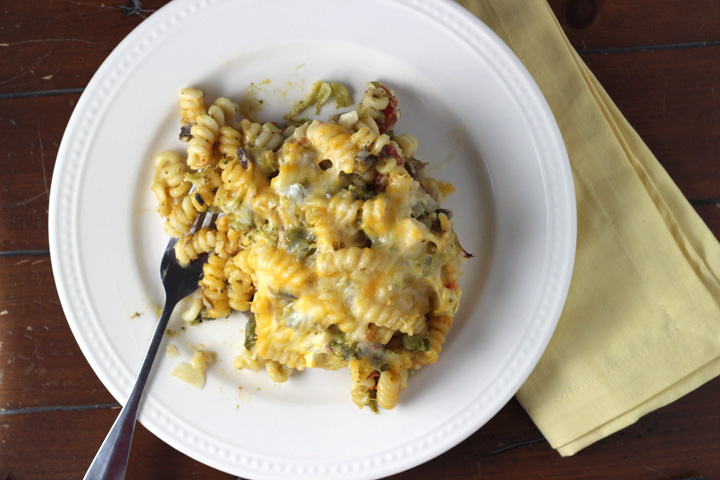
Zesty Mac 'n Cheese Casserole ~ ElephantEats.com

Good news! I got back in the kitchen again this week and actually made and photographed a recipe!

Sorry I’ve been so lacking on recipe posts, I guess I’ve just been really lazy since my Christmas break and haven’t been able to get back into the groove.

This has been compounded by the fact that my computer is at death’s door and I dread having to use it because it’s SO SLOW and the battery dies in about 20 min. I’m going to start using Nate’s computer but it’s a Mac and I’m putting it off as long as possible since I’m a PC girl.

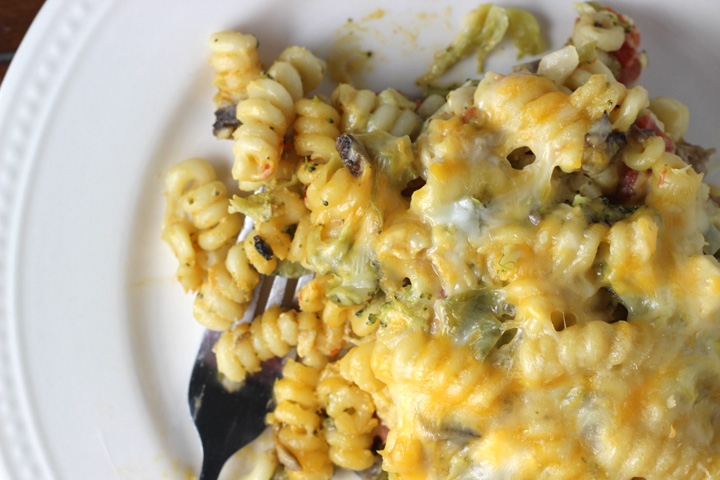
Zesty Mac 'n Cheese Casserole ~ ElephantEats.com

But anyway, let’s get to this recipe. I think we all know that homemade mac and cheese doesn’t hold a candle to the stuff in the blue box– although I’m partial to the Velveeta Shells and Cheese variety that comes with the pack of squeeze cheese.

Whenever I make macaroni and cheese from scratch, the cheese sauce looks so smooth, creamy and delicious in the pot, but then after you toss the noodles in it and put it in the oven, it kind of separates and turns to a texture I don’t like at all. It gets kind of dry (which I guess some people like) and just not cheesy at all.

Zesty Mac 'n Cheese Casserole ~ ElephantEats.com

Ever since I was little, I’ve loved Velveeta cheese. In fact I just remembered that for breakfast I used to eat an english muffins toasted with Velveeta melted on it and sprinkled with bacon bits. I don’t know how I came up with this, but MAN was it good….and I kind of want one of those sandwiches right now…
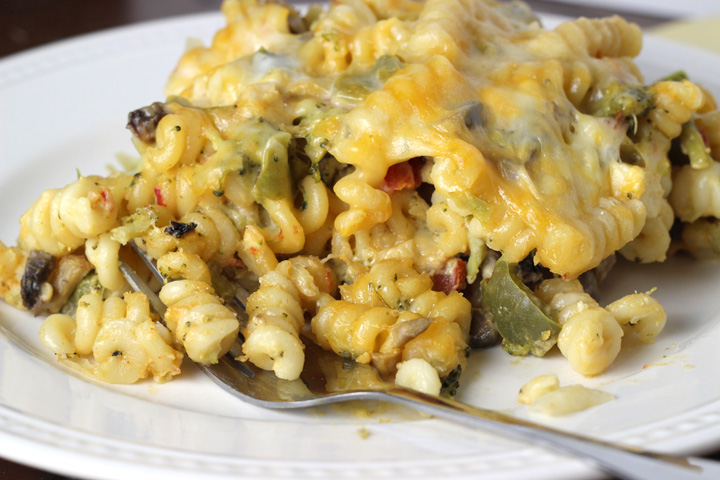
Anyway, I know Velveeta is artificially colored and probably so bad for you, but I’m convinced that in order for mac and cheese to be palatable, it needs to contain some of this delightful cheese product. Well this recipe is the best of both worlds. The cheese sauce is made using my favorite artificial cheese, keeping it smooth and delicious even after it’s baked, but then there’s real cheddar sprinkled on top for even more cheesy deliciousness.

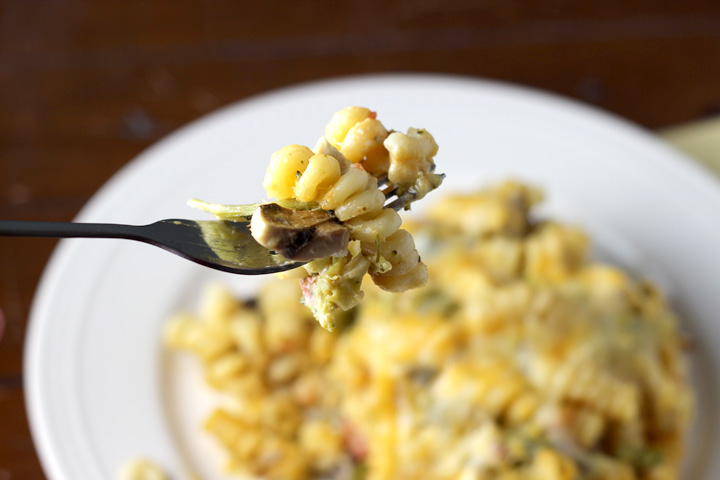
Zesty Mac 'n Cheese Casserole ~ ElephantEats.com

This particular recipe gets a little kick from the tomatoes with green chiles, and I’ve made it extra healthy by adding loads of veggies. I also added tofu since Nate and I don’t love chicken but I wanted some added protein. You could definitely sub chicken if you’d like.

I could not stop myself from eating this!

Zesty Mac 'n Cheese Casserole ~ ElephantEats.com

Zesty Mac 'n Cheese Casserole
Serves 6
A spicy, cheesy pasta casserole chock full of veggies!
Write a review
Print
Ingredients
  1. 16-oz. package corkscrew pasta (or whatever shape you like)
  2. 2 tablespoons butter
  3. 1 medium onion, diced
  4. 1 green bell pepper, diced
  5. 8 oz. mushrooms, diced
  6. 1 (10-oz.) can diced tomatoes and green chiles
  7. 10-oz. pasteurized prepared cheese product, cubed (like Velveeta, which comes in a box or shredded)
  8. 10 oz. frozen chopped broccoli, thawed
  9. 8 oz. super firm tofu, cubed and drained- i found a pre-cubed version (you could also sub chicken if you want)
  10. 1 (10 3/4-oz.) can cream of chicken soup
  11. 1/2 cup sour cream
  12. 1 1/2 cups (6 oz.) shredded Cheddar cheese
Instructions
  1. Preheat oven to 350°. Cook pasta for slightly less time than package recommends so it's al dente. It will cook more in the oven so you don't want it to be too mushy.
  2. Melt butter in a large Dutch oven over medium-high heat. Add onion, bell pepper, and mushrooms and sauté 5-10 minutes or until tender.
  3. Stir in tomatoes and green chiles and prepared cheese product; cook, stirring constantly, 2 minutes or until cheese melts. Stir in broccoli, tofu, soup and sour cream and stir well. Mix in hot cooked pasta until blended.
  4. Spoon mixture into a 9x13 baking dish; sprinkle with shredded Cheddar cheese.
  5. Bake at 350° for 25 to 30 minutes or until bubbly.
Adapted from Southern Living
https://elephanteats.com/

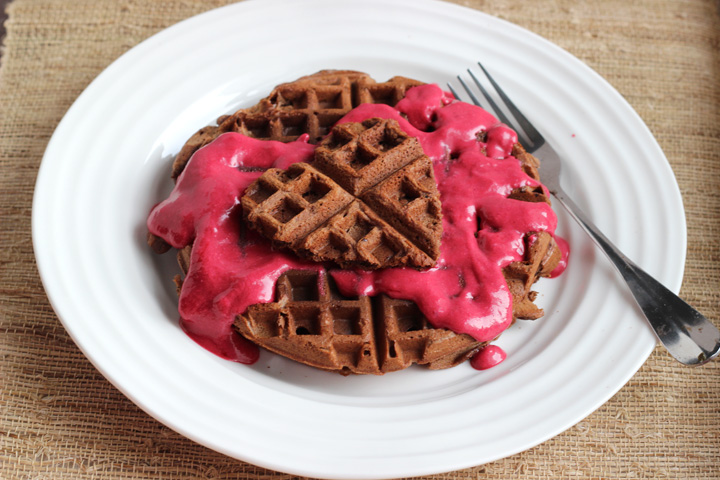
Chocolate Almond Waffles ~ ElephantEats.com

I’m not always the easiest person to live with.

I know you all probably find that very hard to believe ;)

Chocolate Almond Waffles ~ ElephantEats.com

Although Nate often purposefully annoys me (though he’ll deny it), he also does a lot of sweet things on a regular basis. He’s extremely thoughtful and emotionally expressive. He will randomly buy me little “tasty treats” if he sees a dessert or something that he thinks I might like. He definitely knows the way to my heart!

While I do cook dinner for Nate weekly, I think that it’s not so special anymore since I do it all the time. To mix things up and show him that I appreciate him, I decided to make him a special breakfast. 

Chocolate Almond Waffles ~ ElephantEats.com

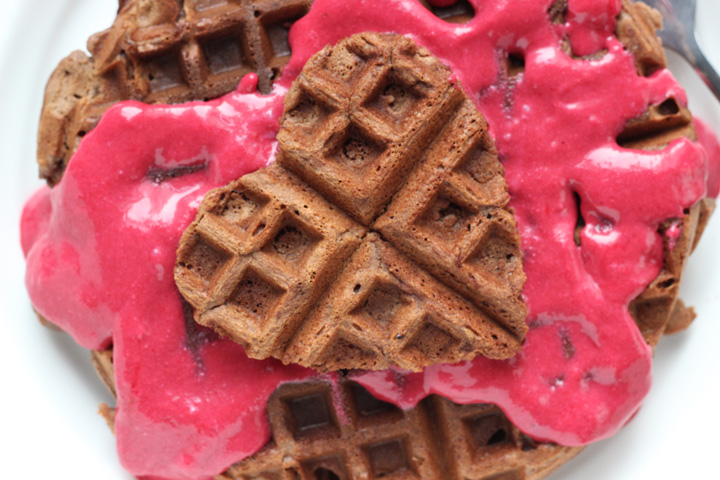
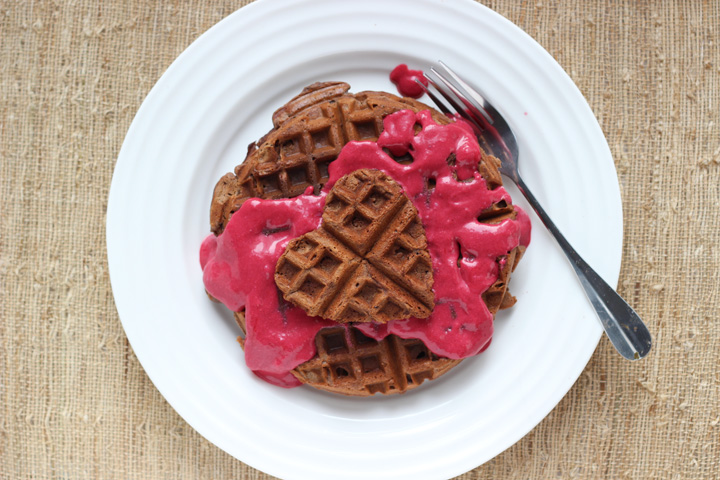
These waffles are chocolatey, but they’re not overly sweet. They’re totally appropriate for breakfast as opposed to dessert. The tart and sweet raspberry sauce is the perfect accompaniment and both have a subtle hint of almond flavor. 

This is the perfect breakfast to surprise your special someone with on Valentine’s Day!

Chocolate Almond Waffles ~ ElephantEats.com

In other news, LC and my painting of her made it onto a buzzfeed list (she’s #10)! That sadly is probably the coolest thing that has ever happened, and probably every will happen, to me (and her). 

Buzzfeed 21 Signs You’re A Cat Lady In Training ~ ElephantEats.com


Chocolate Almond Waffles with Raspberry Sauce
A not too sweet chocolate waffle with a sweet and tart raspberry sauce that's perfect for a special breakfast!
Write a review
Print
Waffles
  1. 1 cup all purpose flour
  2. 1/4 cup unsweetened cocoa powder
  3. 1 1/4 teaspoons baking powder
  4. 1/4 teaspoon baking soda
  5. 1/8 teaspoon salt
  6. 1/4 cup sugar
  7. 1/4 cup almond paste
  8. 2 1/4 ounces semisweet chocolate chips
  9. 3 tablespoons butter
  10. 2 large eggs
  11. 1 cup 2% milk
  12. 1/2 teaspoon almond extract
Raspberry Sauce
  1. 2 cups frozen raspberries, thawed
  2. 2 Tbsp almond paste
  3. 2-3 Tbsp water.
Waffles
  1. Preheat oven to 300.
  2. Mix first 5 ingredients into large bowl.
  3. In a small food processor or blender, blend sugar and almond paste. Add to flour mixture.
  4. Heat chocolate and butter in a small microwave-safe dish in the microwave at 30 second intervals, stirring in between, until completely melted.
  5. Pour chocolate into medium bowl. Whisk in eggs, then milk, and almond extract. Gradually whisk milk mixture into dry ingredients.
  6. Following manufacturer's instructions, make waffles with batter (waffles will be somewhat soft when removed from pan).
  7. Place finished waffles on baking sheet in oven as you make the rest to keep them hot and crispy.
Raspberry Sauce
  1. Blend raspberries and 1 Tbsp water in a food processor. Strain raspberry mixture through a fine sieve into a bowl, running a spoon back and forth over inside of sieve until all that's left in the sieve is seeds. Frequently scrape bottom of sieve, where strained pulp is coming out, into the bowl. Discard seeds.
  2. Add raspberry puree back into food processor. Add almond paste and 1-2 Tbsp water and blend until sauce is to your liking. Serve over waffles.
Adapted from Bon Appetit
https://elephanteats.com/
05. February 2014 · 52 comments · Categories: house, life · Tags: , ,

Well, I haven’t done much cooking lately, and the cooking I’ve done didn’t get photographed, so I figured it’s time for a house update.

I showed you recently that our house has a new roof! And now, after being delayed for over 2 weeks, we finally have new windows!!! I’m super excited about this because these windows were about to start delaying our project, but luckily the contractor could mostly work around it until they finally arrived in the nick of time. 

Of course I forgot to take a pic with the windows completely in, but here’s a progress pic when they had removed the upstairs windows but hadn’t put new ones it- i.e. there were two gaping holes in the house. They were there installing when I took this pic, though. They didn’t leave the house like that!

House New Windows

If you look very closely, you can see the new triple windows on the ground floor. So pretty!

I also went to the new tile store a couple weekends ago and finalized all my tile selections. I also met with the tile installer so I finally know the amounts of tile I need and can place my order.

I should really create a moodboard, but for now I’ll just tell you the following:

Master Bath:

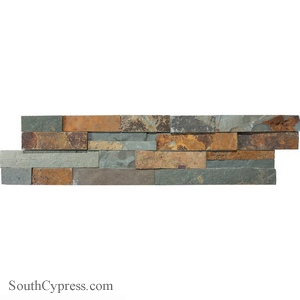
Our master bath is going to have a stacked slate ledgestone wall behind the vanity as like a feature wall. This is the stone:

Slate Ledgestone

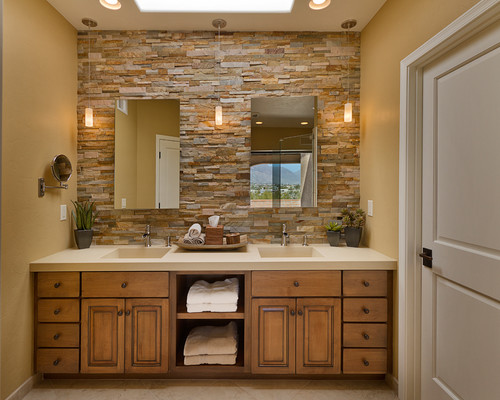
 Here’s an example of something similar to what I’m planning that I found on Houzz (my favorite website):

The vanity is going to be a custom rustic wood piece I found on Etsy. I’m very excited for it to arrive. They’re also going to make me matching rustic wood mirrors. I’m still deciding on sconces but our faucets are going to be Oil Rubbed Bronze finish. 

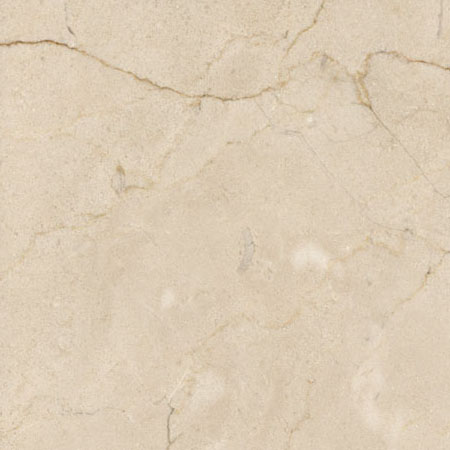
Because I really want the accent wall to stand out, the floor is just a basic ivory marble like this:

Crema Marfil 12x12

The shower is just plain ivory with a 5-6″ strip of slate tile accent border that coordinates with the accent wall.

I don’t know what to choose for the counters! I have a feeling it’s going to be ivory of some sort as well, although I’d like to bring in a different color from the slate that would go with the wood vanity.

Hall Bath:

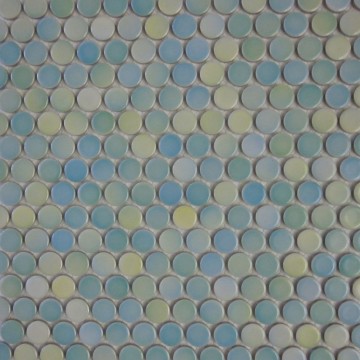
For the hall bath I found this really fun penny tile that I’m also going to have going up the entire wall behind the vanity:

Terra Tile and Marble- Penny Round Blue Yellow

The mirror will be set into the penny tile and framed out with a white border tile.

The faucet finish is chrome, along with the light fixtures. The floor is going to be a plain white marble. And the vanity is going to be a basic natural birch piece.

3rd Floor Bath:

For the 3rd floor bath, I’m reusing the pedestal sink from the old bathroom. The floors are going to be this blue/green porcelain:

Blue Wave Porcelain

You can’t tell much from the pics, but it’s a really interesting tile.

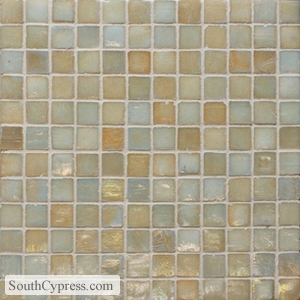
The shower is going to have white subway tile with the prettiest irridescent mosaic border!:

Iridescent mosain tile

I’m very excited for it. 

Laundy/Mudroom:

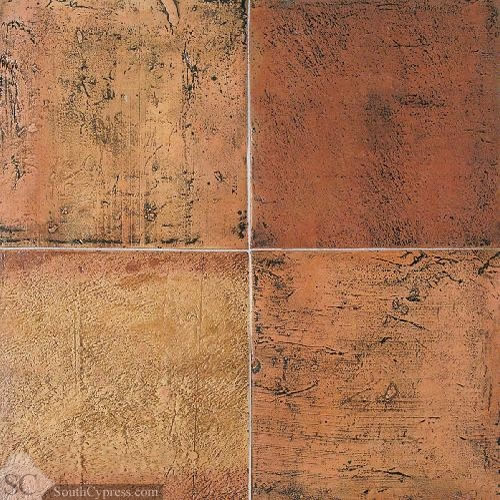
The laundry room is going to have an antique terra cotta looking tile:

Saltillo Antique Red

The desk/cabinets in there are going to be sage green :) I really wanted them for my kitchen but my mom convinced me to stick with a basic white in the kitchen.

The only tile I haven’t decided on yet is the kitchen backsplash. I think I’m going to wait on that since, as my mom pointed out, I could totally move into the house without a backsplash. I’d rather wait on things I don’t ahve to do RIGHT NOW, as I already have 10,000 other decisions to make…like my lighting fixtures- the current bane of my existence :(

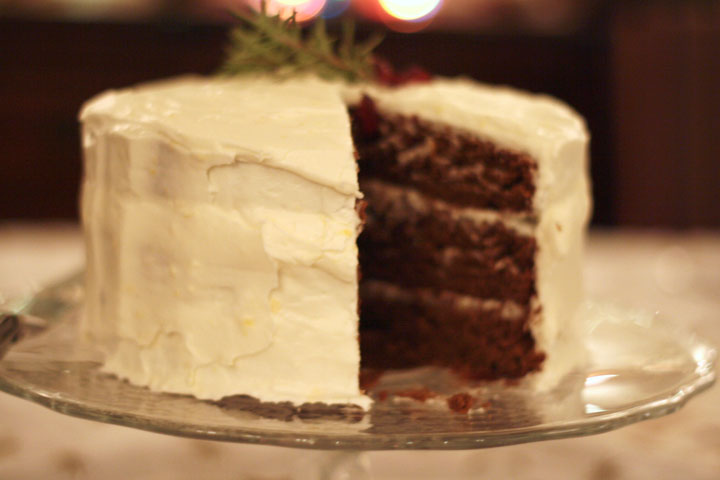
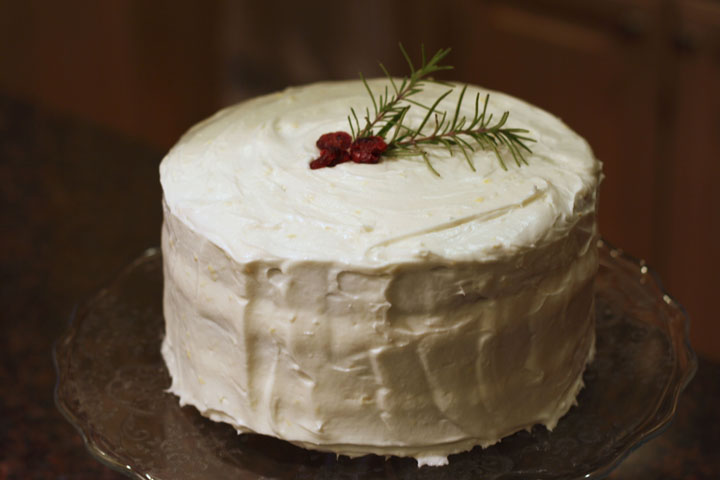
Gingerbread Layer Cake with Cream Cheese Frosting ~ ElephantEats.com

I mentioned that amongst our changes from our usual Christmas feast, this year I made dessert. I had seen a recipe for a gingerbread layer cake with cream cheese frosting online some weeks before Christmas. 

Of course when I went to actually find said recipe, I hadn’t marked it down anywhere. Does that ever happen to you? So frustrating!

Gingerbread Layer Cake with Cream Cheese Frosting ~ ElephantEats.com

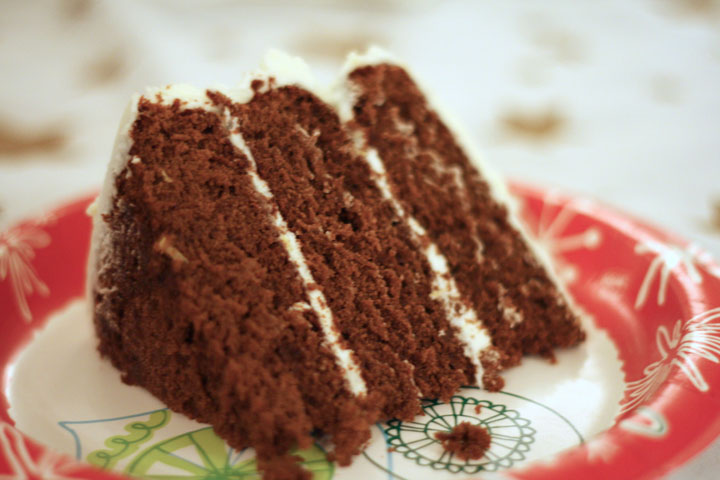
Well, I commenced a new search and was pleased to find this recipe from Good Housekeeping that seemed to be exactly like the original. The result was the most delicious, moist gingerbread cake, with a lemony cream cheese frosting that was a perfect complement. I had to even out the tops of the cake layers so they would lay flat and I couldn’t stop myself from eating the pieces I cut off- they were so good I made myself sick. 

Gingerbread Layer Cake with Cream Cheese Frosting ~ ElephantEats.com

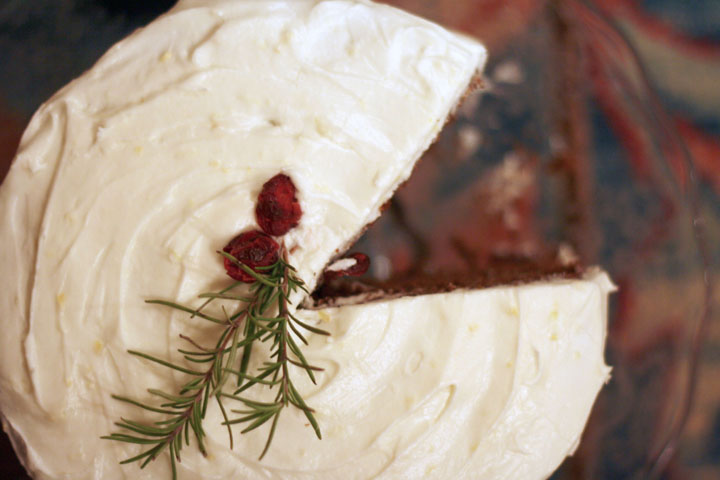
I wanted a wintry garnish, but wasn’t sure if a holly branch was toxic or something, so I put a sprig of rosemary and some dried cranberries :)

Gingerbread Layer Cake with Cream Cheese Frosting ~ ElephantEats.com

I just realized that this picture kind of looks like a Christmas Pac-Man.

My mom made this a couple days ago and she said she used orange instead of lemon zest and she said that it was yummy as well!

Gingerbread Layer Cake with Cream Cheese Frosting
Serves 10
Write a review
Print
Gingerbread Cake
  1. 3 cup(s) all-purpose flour
  2. 1 tablespoon(s) ground ginger
  3. 1 1/2 teaspoon(s) ground cinnamon
  4. 3/4 teaspoon(s) baking soda
  5. 3/4 teaspoon(s) salt
  6. 1 jar(s) (12 ounces) light (mild) molasses, 1 1/2 cups
  7. 3/4 cup(s) (1 1/2 sticks) margarine, softened, substitute butter
  8. 3/4 cup(s) granulated sugar
  9. 2 large eggs
Cream Cheese Frosting
  1. 1 package(s) (16 ounces) confectioners' sugar
  2. 1 package(s) (8 ounces) cream cheese, softened
  3. 4 tablespoon(s) margarine, softened, substitute butter
  4. 2 teaspoon(s) freshly grated lemon peel
Gingerbread Cake
  1. Preheat oven to 350 degrees F. Grease three 8-inch round cake pans. Line bottoms with waxed paper; grease paper. Dust pans with flour.
  2. In medium bowl, mix flour, ginger, cinnamon, baking soda, and salt. In 4-cup glass measuring cup, whisk molasses with 1 cup water.
  3. In large bowl, with mixer at low speed, beat margarine with granulated sugar until blended. Increase speed to high; beat until creamy, about 2 minutes, scraping bowl often with rubber spatula.
  4. Reduce speed to medium-low; add eggs, 1 at a time, beating well after each addition. At low speed, alternately add flour mixture and molasses mixture, beginning and ending with flour mixture; beat until blended.
  5. Pour batter into pans and spread evenly. Stagger pans on 2 oven racks, so layers are not directly above one another. Bake 25 to 30 minutes, until toothpick inserted in center of each layer comes out clean.
  6. Cool layers in pans on wire racks 10 minutes. Run small knife around sides of pans to loosen layers. Invert layers onto wire racks to cool completely; discard waxed paper.
Cream-Cheese Frosting
  1. In large bowl, with mixer at low speed, beat frosting ingredients just until blended. Increase speed to medium; beat until frosting is smooth and fluffy, about 2 minutes, constantly scraping bowl with rubber spatula. Makes about 2 1/2 cups frosting.
To assemble cake
  1. Place 1 cake layer, rounded side down, on cake plate; spread with 1/3 cup frosting. Top with second layer; spread with another 1/3 cup frosting, then top with remaining layer. Frost top and side of cake with remaining frosting. Refrigerate if not serving right away.
Notes
  1. -I find that it's best to shave off the top of the cake layers to make them flatter on top if they're too domed.
  2. -It's easiest to frost the cake layers if they've been chilled in the fridge or freezer.
https://elephanteats.com/