While going through my grandpa’s recipe collection, I came across a recipe for a sort of Mulligatawny. At least, that’s what the recipe called it although I’m fairly certain it’s not very authentic.

In case you don’t know, a Mulligatawny is a a curry-flavoured soup of Anglo-Indian origin (as per Wikipedia).

There are many variations on the recipe for mulligatawny. In the West, the soup typically has a yellow colour and contains chicken or other meat, and it is often thickened with rice.

This recipe said to add both chicken and rice, but since I knew it was something Nate wouldn’t want to eat anyway, due to the spices, I eliminated both and kept it light for me.

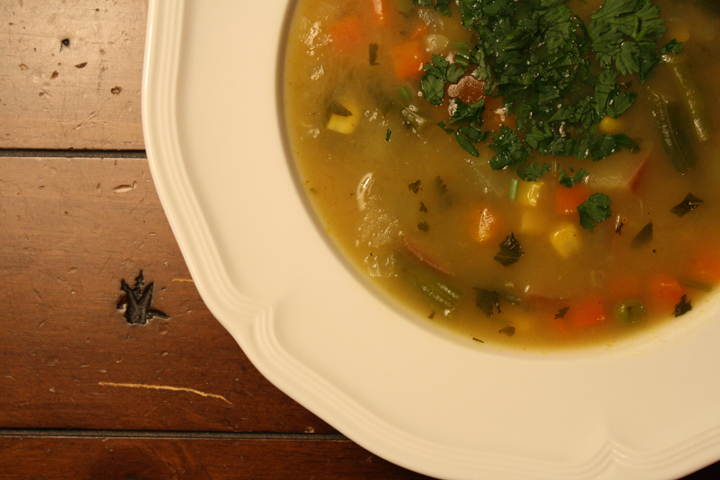
This is definitely a shortcut way to make this soup, but it was way tastier than I was expecting! The apple adds a nice sweetness and the hot sauce plus spices give it a real kick and make it full of flavor.

While this soup isn’t hearty enough to be a full meal, it would make a delicious first course. It’s always nice to change it up a bit in the kitchen, so if you’re in the mood for something different, give this a try! I garnished mine with a dallop of sour cream and it was perfect :)

Quick Mulligatawny Soup

Print this recipe!

Serves 6-8

2 Tbsp unsalted butter
1 1/2 cups chopped onion
1 package (10 oz) frozen mixed veggies, thawed
2 Tbsp flour
2 tsp curry powder
1 tsp salt
1/2 tsp hot pepper sauce, or more to taste
1/4 tsp ground cloves
1 quart water
1 can (10.5 oz) condensed low fat cream of chicken soup (or chicken with rice soup, if you want rice)
1 cup chopped apple
optional- 1 cup diced cooked chicken

Melt butter over med-high heat in a large soup pot.

Add onion and mixed veggies, saute just until onion is tender.

Stir in flour, curry powder, salt, hot pepper sauce and cloves. Add water, soup, apple (and chicken if using).

Bring to a boil; reduce heat to low and simmer, covered, for 20 min or until slightly thickened. Serve with additional pepper sauce if desired.

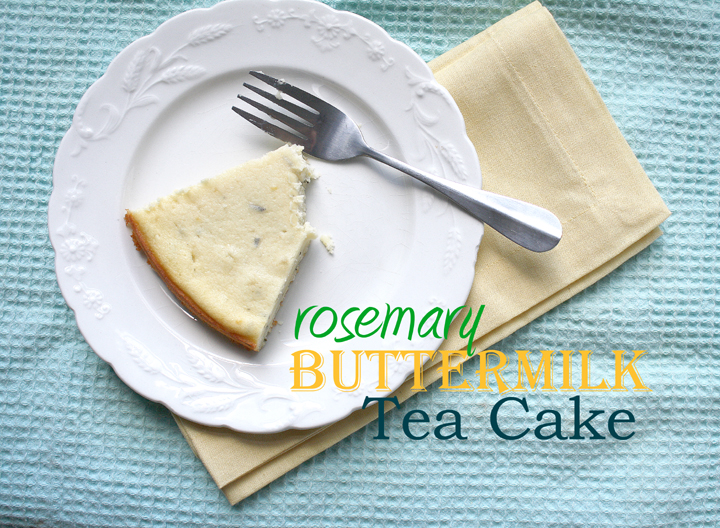
Rosemary Buttermilk Tea Cake

I hate wasting food.

Before I met Nate I would try to serve myself small portions of food, but with my eyes being bigger than my stomach, there would always still be too much for me on the plate. Since I hated wasting food, I would force myself to eat the last few mouthfuls rather than wasting it. (Don’t ask me how I developed this behavior since my mom never enforced the “clean plate” rule!)

Luckily Nate’s active lifestyle gives him an endless appetite. Now, rather than forcing myself to eat something, I just put it on his plate :) This solves the problem of having little bits of meal leftover, but it still doesn’t solve the problem of leftover ingredients.

Obviously if a recipe calls for buttermilk, or fresh rosemary, you will have copious amounts left. I had both ingredients sitting in my fridge (courtesy of some baked buttermilk rosemary chicken) for over a week because I refused to get rid of them.

I knew those two ingredients happened to be a perfect combo for something sweet and so I finally got myself to mix them together into a lovely cake.

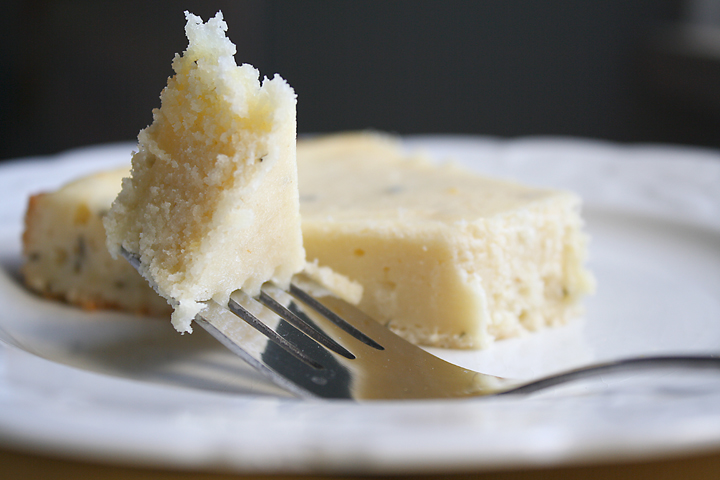
This cake is light (in texture, not in calories), not overly sweet, and perfect for brunch with a cup of tea! The rosemary flavor is strong, but I love it that way. If you’re not as big a fan of rosemary, feel free to cut back.

I couldn’t stop myself from eating this. It’s so buttery, soft and flavorful.  I honestly don’t know what a tea cake is, but this is what I’d imagine :) The perfect thing to go with your Mother’s Day brunch!

And with your leftover buttermilk and rosemary, you can perhaps invent something even better!

Happy Mother’s Day to all the moms out there!!!

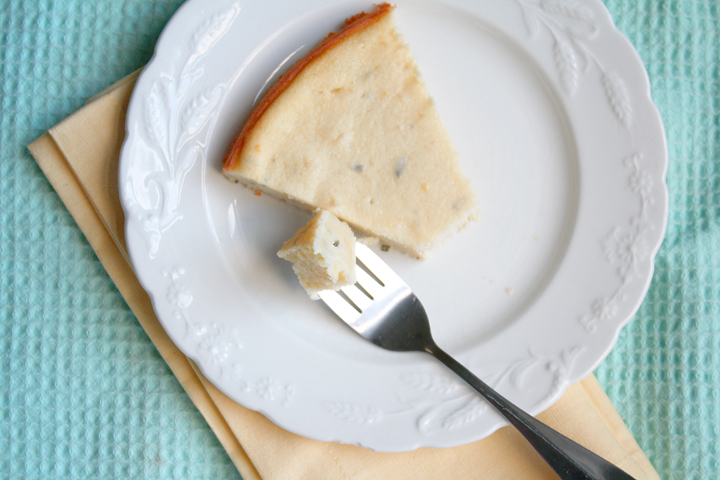
Rosemary Buttermilk Tea Cake

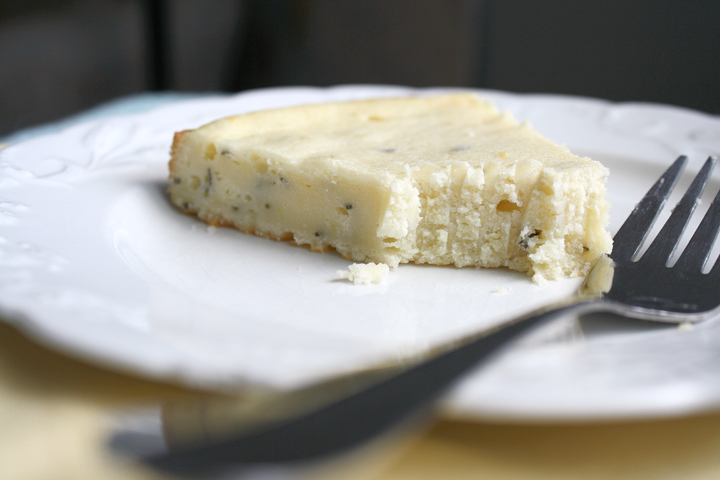
This photo doesn’t have an accurate portrayal of the cake’s texture. I took pics of it straight from the fridge, but out of the oven or at room temp it is fluffy and light and wouldn’t show fork marks!

Rosemary Buttermilk Tea Cake

Print this recipe!

Serves 8

1 1/2 cups all-purpose flour
3/4 cup sugar
1 stick unsalted butter, softened
1 tsp lemon juice
zest of 1/2 lemon
1 Tbsp fresh rosemary, chopped (you can use less if you’re not a huge rosemary fan)
1 tsp baking powder
1/2 tsp salt
1 cup buttermilk
2 eggs

Preheat oven to 350 degrees. Coat a 9 or 10″ pan with cooking spray. (*Note, the 9 inch will be taller than mine. I should have used a 9″. A springform would be perfect but a regular cake pan is fine)

Cream together the butter and sugar until very light and fluffy, then add the eggs one at a time, beating well after each addition. Add the lemon  juice, zest, and rosemary and continue beating until batter is smooth and combined.

Whisk together flour, baking powder, and salt in another bowl and add alternately with the buttermilk to the butter and sugar mixture.

Beat until smooth, then pour batter into your greased pan, smoothing out the top with a rubber spatula.

Bake cake for 40 minutes until edges are golden and begin to pull away from the sides of the pan. Let cool and serve room temperature or slightly warm.

You could make a glaze for this cake if you wanted by mixing some milk with powdered sugar, but I thought it was sweet enough as is, especially to be served with brunch.

*Note, if you must make this the day before and refrigerate, make sure it comes to room temp or warm it up before serving. It’s not the right texture when cold (although weirdo Nate likes it better cold and dry).

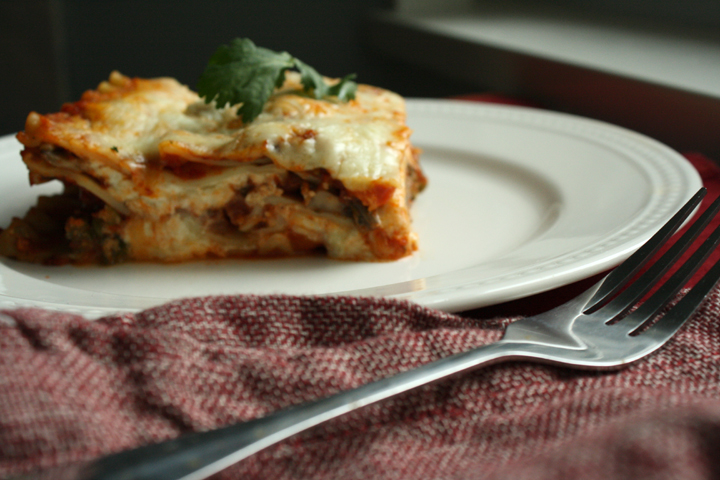
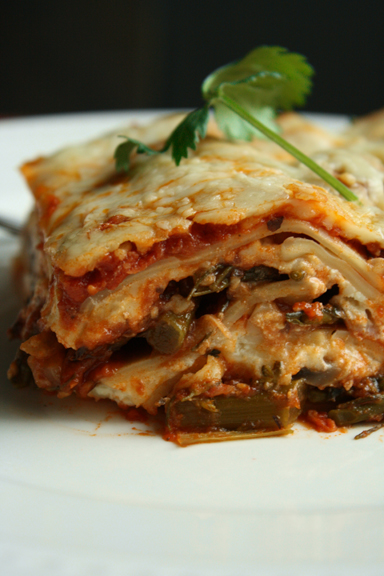
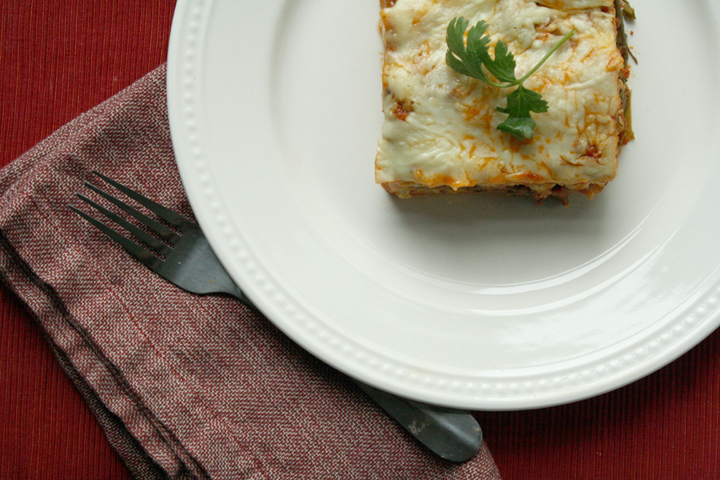
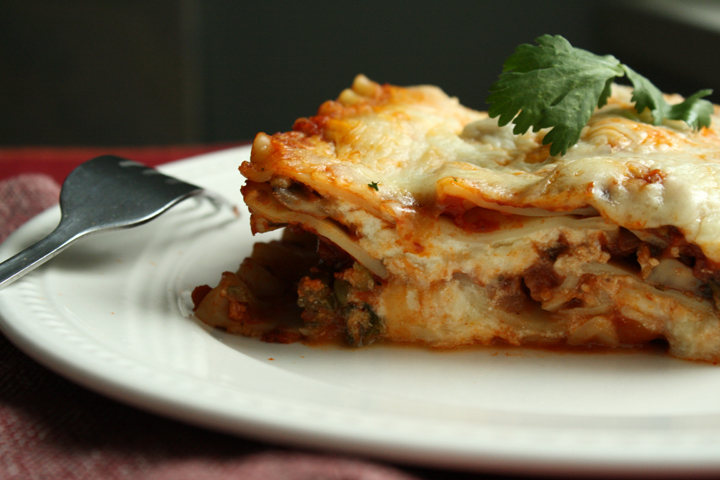
Vegetable Lasagna

Since my grandpa passed away a couple months ago, my mom and aunt decided to help my grandmother go through her house to clean it up. Both my grandma and grandpa love(ed) to save things…I unfortunately inherited this packrat tendency.

This cleanup was necessary both because their house contains all sorts of crap, but also because my grandma will be downsizing to an apartment.

Vegetable Lasagna

During the cleanup my mom found and bequeathed to me a collection of recipes my grandfather had saved.

The ironic thing is that my grandfather didn’t cook (though he loved to watch the Food Network), and my grandmother also doesn’t cook…which makes you wonder what exactly he was saving these recipes for.

I think I also inherited his recipe clipping addiction.

Vegetable Lasagna

When my mom mentioned giving me this collection, my grandmother got upset, saying that maybe she would make some of these recipes now…even though she hadn’t made any of them for the last 50 years.

A lot of his recipe clippings came from newspapers and the back of food cartons, and some were hand written ones scribbled while watching cooking shows on tv.

Vegetable Lasagna

The recipes were super organized. He had different envelopes on each of which he wrote a category: Dessert, Salad/Vegetables, Side Dishes, Meat and Poultry, etc. There must have been 10 different categories.

Going through each category I was able to learn a little something about my grandpa- his favorite foods. There were about 20 recipes for the practically the same dish in each category, though the sources varied.

Apparently his favorite dessert was apple crisp/pie, he loved any type of chili, and in the pasta category, he preferred Lasagna.

Vegetable Lasagna

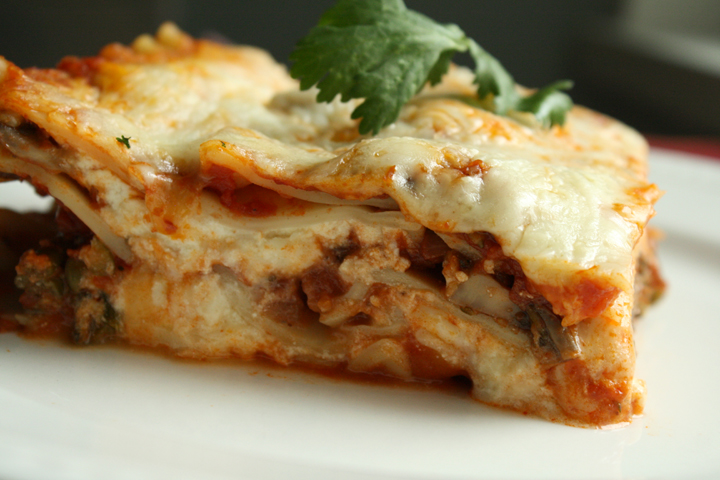
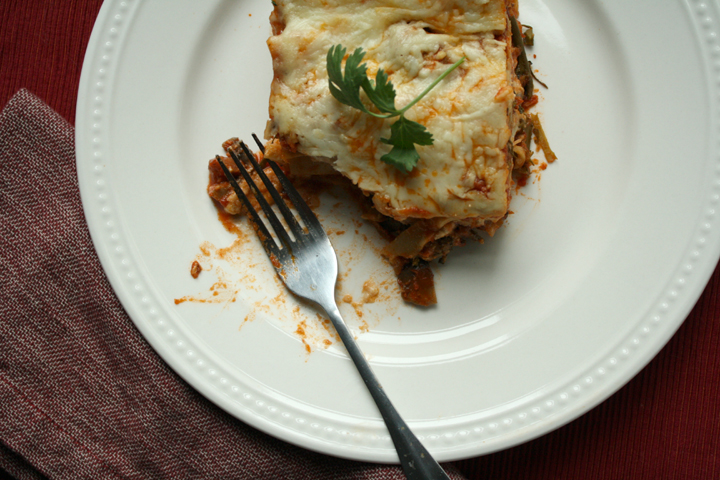
The recipe in this post came about from adapting one of “his” recipes. I think it must have come from the back of some lasagna noodle box, and I have to say that it turned out delicious! I’ll be sharing more of his recipes in the coming weeks.

When my mother gave me my grandpa’s recipe clippings, I knew exactly what I had to do- finally cook the dishes my grandpa had been saving for someone to make.

I guess maybe he was saving it for me :)

Vegetable Lasagna

Hearty Vegetable Lasagna

Print this recipe!

Serves 8-10

1 lb lasagna noodles, not the “no boil” ones
1 lb sliced mushrooms
1 bunch broccolini, chopped in 1/2 inch pieces
3 cloves garlic, chopped
2 Tbsp vegetable oil
2- 26oz jars pasta sauce
1.5 tsp dried italian seasoning
15 oz Ricotta cheese
16 oz (4 cups) shredded mozzarella cheese
2 eggs
1/2 cup grated parmesan cheese

Preheat oven to 350.

Cook pasta 8 min or until just tender. Drain and rinse with cold water. Spread noodles onto a sheet pan coated with cooking spray so noodles don’t stick together.

While pasta is cooking, heat a large saucepan over med-hi heat. Heat oil and add onion. (**You could easily add ground beef here and skip the broccolini if you wanted it to be non-vegetarian). Cook onion 2 minutes then add mushrooms, broccolini and garlic and cook until tender.

Stir in 4 cups (1 1/3 jars) pasta sauce and italian seasoning. Bring to a boil, then reduce heat and simmer 15 minutes.

Mix ricotta, 2 cups mozzarella and eggs.

Spread 1 cup remaining sauce in greased 9×13 casserole dish.

Layer 5 noodles on top of sauce, slightly overlapping noodles to fit. Spread 2 cups of the veggie sauce over the noodles. Dollop with 1/2 of the ricotta mixture, spreading evenly in pan. Sprinkly with 2 Tbsp parmesan cheese.

Repeat above step, layering noodles, veggie sauce, ricotta, parmesan.

Top with 5 more noodles and top with rest of sauce.

Sprinkle with 2 cups mozzarella cheese. Bake uncovered 40 minutes or until bubbly. Put a sheet pan covered with foil underneath to catch any drips.

Let stand 15 minutes. Refrigerate leftovers.

*Note: I found this recipe much better the next day. Some of the sauce gets absorbed into the noodles and it’s not watery.

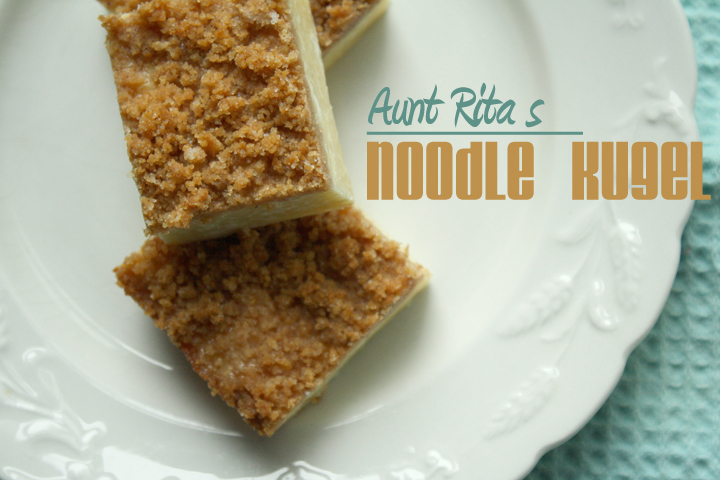
This is one of my family’s most important and delicious recipes. For us, it originated with and has thus been named after my Aunt Rita, although I’m not sure where she got it from originally,  But what’s important is that once she found it, she saved it!

noodle kugel

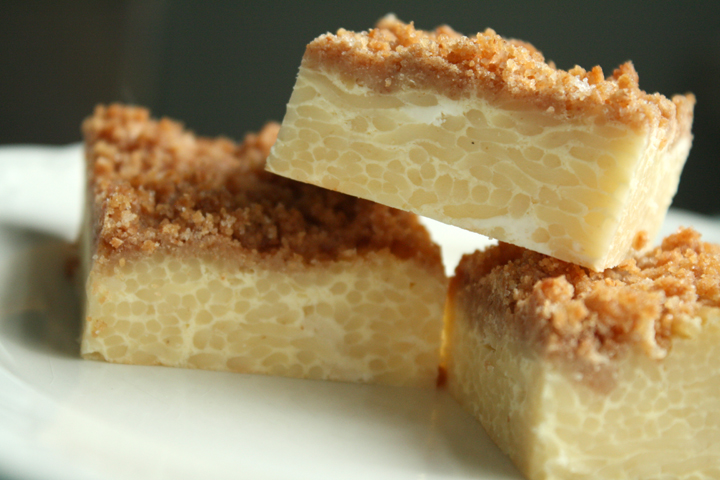
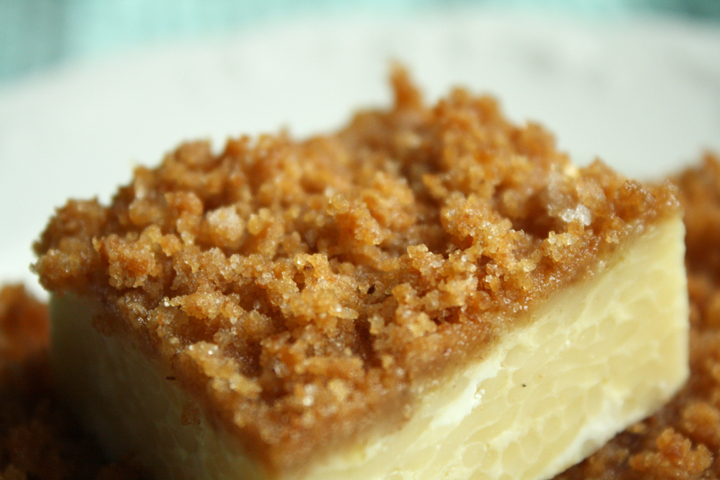
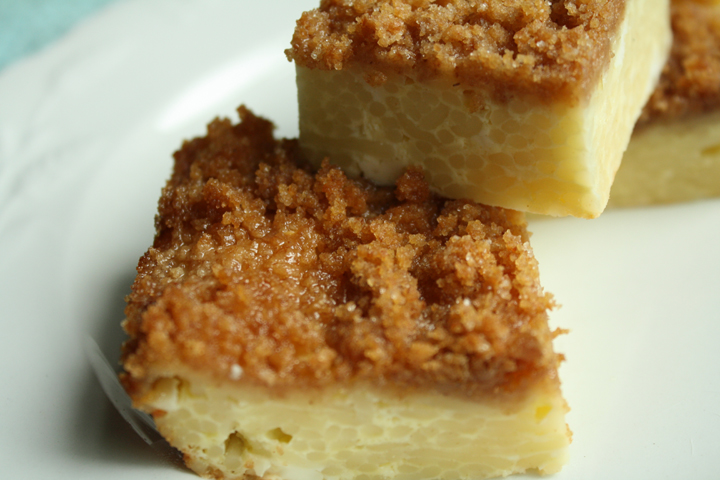
This isn’t a traditional noodle kugel recipe. For one thing, it has no fruit in it, and the noodles are angel hair rather than thick egg noodles.

In addition, it has the addition of three forms of dairy products (four if you count the butter). The consistency comes out like a hybrid of a kugel and a cheesecake and it is topped with THE MOST buttery, delicious graham cracker crumb topping.

noodle kugel

You don’t even need to save it for Jewish holiday dinners, although that’s when we usually make it.

I know it’s not much to look at, but people I’m telling you, I could seriously eat this for every meal for the rest of my life and I would never get sick of it, although my thighs might protest- it’s more like a dessert than a meal from the calorie perspective.

noodle kugel

*Note that if you make it, yours will be slightly thicker than mine…I halved the recipe and made it in an 8×8 pan which is a little too large for half a recipe.

Recipe is at the bottom of the post!

In case you couldn’t figure it out, May is #pastalove month!

Please join in on the #pastalove fun by linking up any pasta recipe from the month of May 2012. Don’t forget to link back to this post, so that your readers know to come stop by the #pastalove event! The twitter hashtag is #pastalove :). 

I’m hosting along with these other fine folks:

Astig VeganBadger Girl Learns to CookBigFatBakerBon à croquerCake Duchess, Hobby And MoreMis PensamientosNo One Likes Crumbley CookiesOh CakeRico sin AzúcarSimply ReemSoni’s Food for ThoughtTeaspoon of SpiceThat Skinny Chick Can Bake!!!The Spicy RDThe Wimpy VegetarianVegetarian MammaYou Made That?Vegan Yack Attack

Please link up your recipe below :)

Click here to enter your link and view this Linky Tools list…

Aunt Rita’s Noodle Pudding

From Aunt Rita

Print this recipe!

Serves 12

1/2 lb. fine egg noodles, cooked and drained (I usually use regular angel hair pasta)
1/4 cup unsalted butter, room temp
1/2 cup sugar
8 oz. cottage cheese
4 oz. cream cheese, room temp
8 oz. sour cream
4 eggs, lightly beaten
1/2 tsp vanilla extract
1/2 tsp lemon juice
1/4 tsp salt

Topping:
1 cup graham cracker crumbs
3 Tbsp sugar
4 Tbsp unsalted butter, melted

Preheat oven to 350 degrees.

In a large bowl, combine noodles, butter, sugar, cheeses, eggs, vanilla, lemon juice, and salt. Mix well.

Pour into buttered 9×13 baking dish.

Mix together the crumbs, sugar and melted butter. Sprinkle evenly over the noodle mixture.

Bake 45 minutes to 1 hour, until golden on top.

Remove from oven and let set 15 minutes at room temp before cutting into squares.

Serve hot or at room temperature.

I have the most romantic fiancé ever…

Shrimp Quesadilla

The other day at work, Nate and I were talking on gchat and he asked me what I was making for dinner:

me: why don’t you get a pizza for dinner

Nate: im just not sure i want pizza

me: well how do you know you’d be in the mood for whatever i made for dinner?

Nate: i can’t make these decisions anymore
thats why i’m getting married
so i don’t have to
my food thinking days are over

Shrimp Quesadilla

If that’s not a reason to get married (to someone you had a “good” date with), I don’t know what is.

Since Nate never has any idea what he wants for dinner, I have to come up with these things myself.

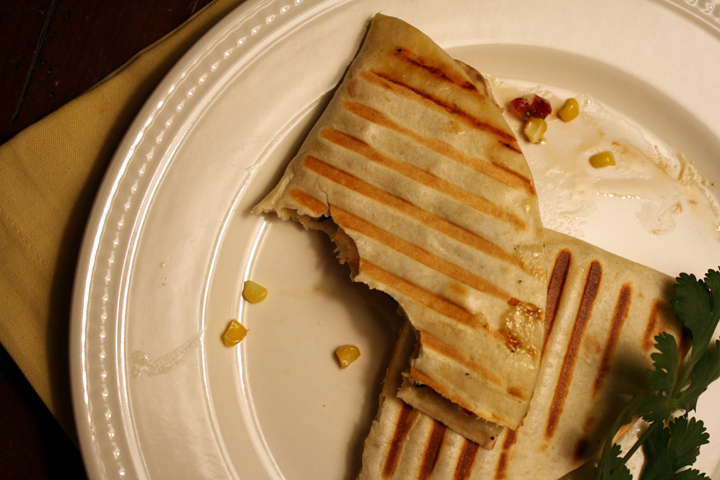
I knew I wanted to use my new panini press, one of my bridal gifts!! I immediately thought of quesadillas and tried to figure out what else was in my fridge.

Shrimp Quesadilla

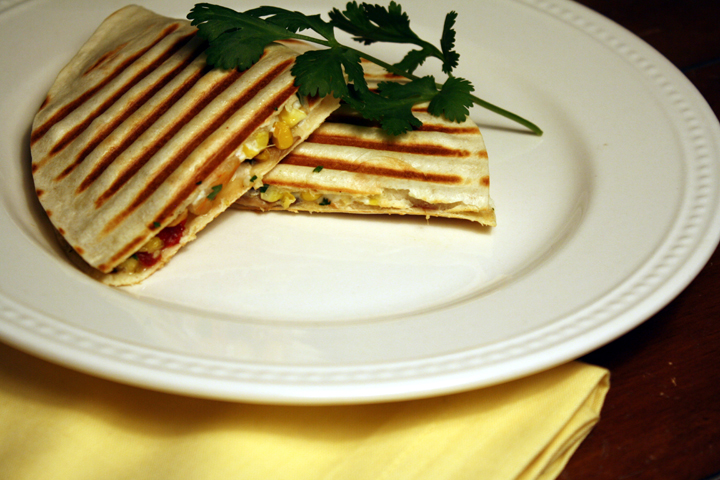
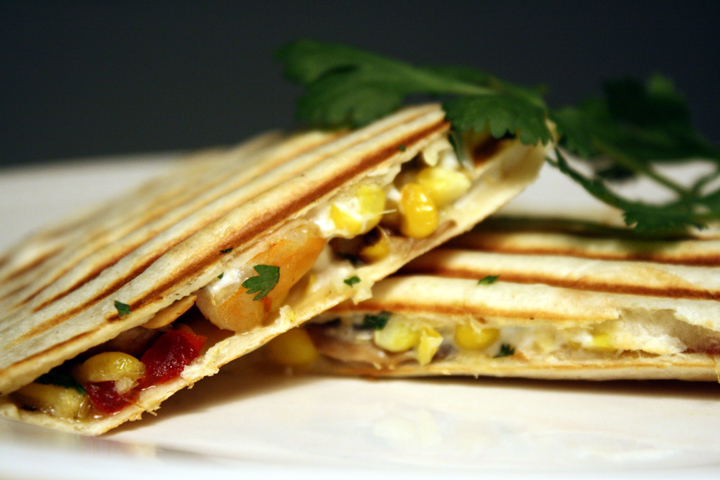
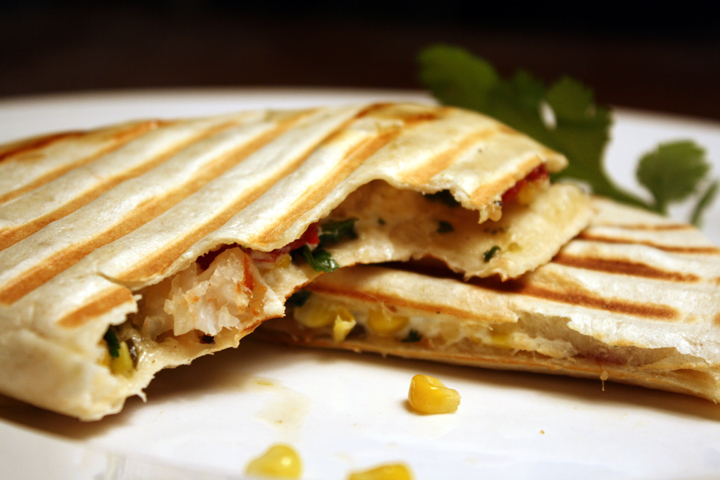
I had that goat cheese I’ve been meaning to use, plus some Trader Joes Red Pepper Jelly that I haven’t tried yet (courtesy of Nate’s mom). For some reason I knew I wanted roasted corn too, and then I threw in mushrooms to add some more veggies and sauteed shrimp for protein.

Before I knew it, a delicious quesadilla was born.

Shrimp Quesadilla

Since Nate doesn’t mind making me come up with dinner ideas and cooking every day, I didn’t mind hiding some chopped up shrimp, his most hated of foods, into this tasty meal :)

Had it not been for a small piece of shrimp falling out of these very messy quesadillas, Nate never would have known.

And you know what? He saw it fall out and kept eating. They were THAT GOOD people!

Roasted Corn, Shrimp, Mushroom and Goat Cheese Quesadilla with Red Pepper Jelly and Salsa Verde

Recipe by Me

Print this recipe!

makes 4 quesadillas

*Note: amounts are not exact, as it really depends what you like

4 tortillas
15ish small shrimp
3 ears corn, kernels cut off (about 1 cup kernels I think?)
Olive oil
8 oz. sliced mushrooms
Cilantro
3-4 oz. crumbled goat cheese
Salsa verde (any jarred version is fine, or you could make your own)
salt and pepper to taste
1/4 cup Red Pepper Jelly

Toss corn kernels with some oil, spread on a foil-line baking sheet, and sprinkle with pepper.

Broil corn kernels, keeping an eye on them, until lightly browned. Set aside.

Put about a teaspoon of oil in a grill pan or skillet and heat over medium heat. Add mushrooms and cook, stirring until they begin to soften. Add a tablespoon of salsa, stir, and push to one side of the pan.

Toss shrimp with olive oil, cilantro, salt and pepper. Add shrimp to the empty half of the pan containing the mushrooms.

Flip shrimp over when the bottom side turns pink, and continue cooking another minute or two until entire shrimp is pink.

Remove shrimp from pan and cut each into quarters.

Remove mushrooms from heat and set aside.

Put 1 tortilla down. Spread half with about 1 Tbsp red pepper Jelly. Sprinkle 3-4 shrimp (9-12 chopped pieces) evenly over the jelly. Top with 1 Tbsp mushrooms and about 3-4 Tbsp corn. Sprinkle with an ounce of goat cheese, cilantro and 1 Tbsp salsa verde. (Amounts are all approximate and can vary based on your taste)

Fold tortilla over the filling and cook in a panini press for a few minutes or until crispy on outside and cheese is melted.

Cut in half and enjoy!