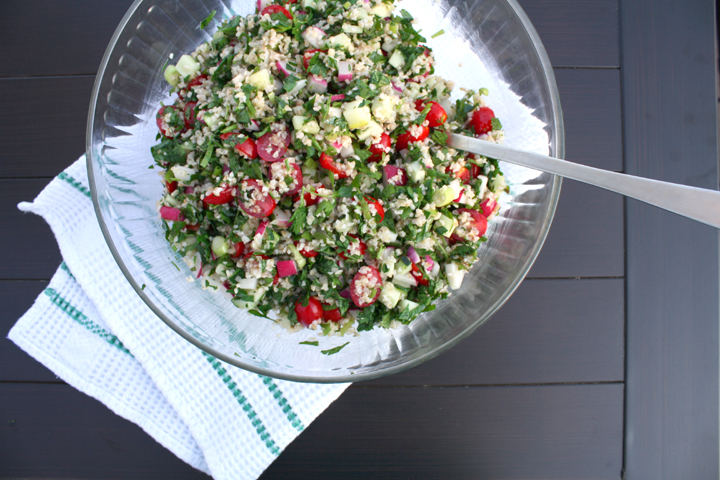
Tabouli

If you like chopping vegetables, then this recipe is for you.

Nate and I headed down to his mom’s for Memorial Day weekend, and as always I took advantage of her giant kitchen with ample counter space to make lots of recipes.

I love having room to spread out! I literally had every square inch of the counter covered with ingredients for three different recipes I was making at once. It’s such a nice change from our little apartment kitchen where I have to clean as I go (something I’m horrible at) if I want any hope of keeping some semblance of order in the kitchen.

Tabouli

I will be SO happy when we move to a house with *hopefully a nice big kitchen! Unfortunately, we just signed our lease for another year, so it’ll be at least a year til my dream comes true.

Anyway, this salad isn’t quick to make. There are a lot of vegetables to chop…and not just any vegetables, but small vegetables. I wish there was an easy way to chop small things.

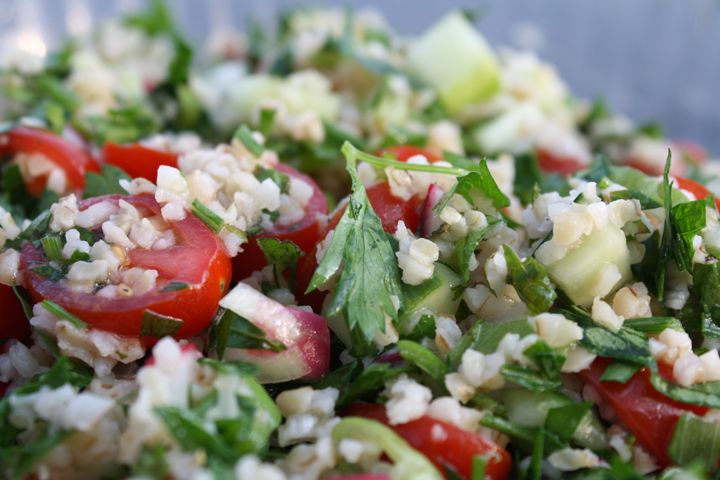
I did use Rachel Ray’s tip for cutting cherry tomatoes. She kind of annoys me sometimes, but in this case, she’s a freaking genius. This is hands-down the best time-saver EVER.

Tabouli

Speaking of Rachel Ray, did I ever tell you guys I was in the audience of the Rachel Ray show, and they kept panning the camera to me. It was my 15 minutes (okay, seconds) of fame :) You can see it here…if you go to minute 1:50, you can see me!

Try to ignore the fact that I look directly at one of the cameras. I’m not an actress, folks. I was beckoning to the camera man. I’m also in the other segments from show that day, which you can find here. They loved me!

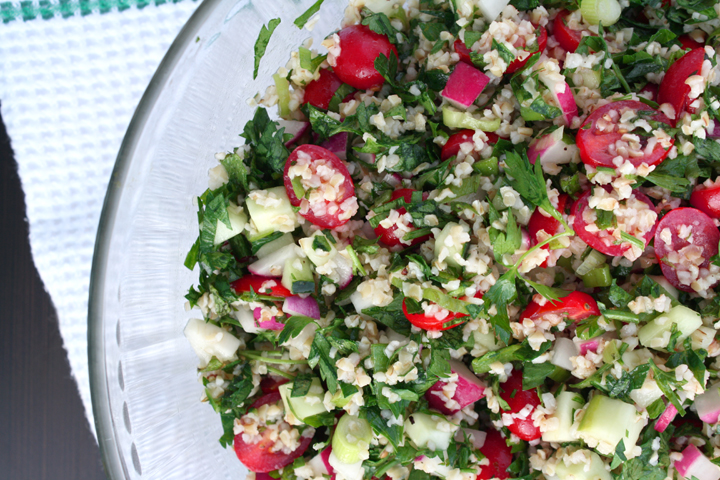
Ok, so back to the recipe. This may be time-consuming, but when all is said and done, it’s so colorful, fresh and delicious!

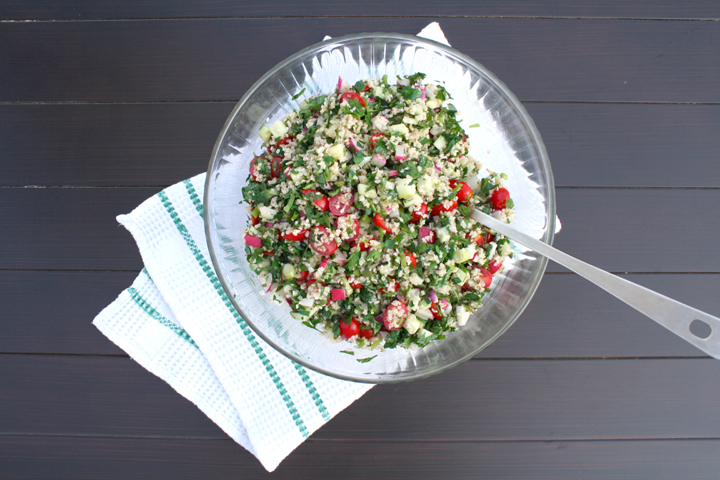
Be aware that this makes a lot of Taboulli. Perfect alongside your summer barbecues or for a light lunch!

Tabouli


Tabouli

From Mom’s recipe box (i.e. source unknown)

Print this recipe!

Serves 8-10

1 cup bulgur, uncooked
1 cucumber, diced
2 tomatoes, diced (or 2 handfuls cherry tomatoes, cut in half)
1 bunch radishes, chopped in 1/4 dice
3/4 cups scallion, sliced
1/2 cup fresh mint, minced
1/2 cup fresh parsley, minced
1/2 cup olive oil
1/2 cup lemon juice
salt and pepper to taste

Wash bulgur in cold water til water runs clear. Place in bowl, cover with 4 cups boiling water. Mix and let stand 30-40 min.

Drain bulgur and squeeze out excess moisture. Place in clean bowl

Add rest of ingredients. Adjust seasonings.

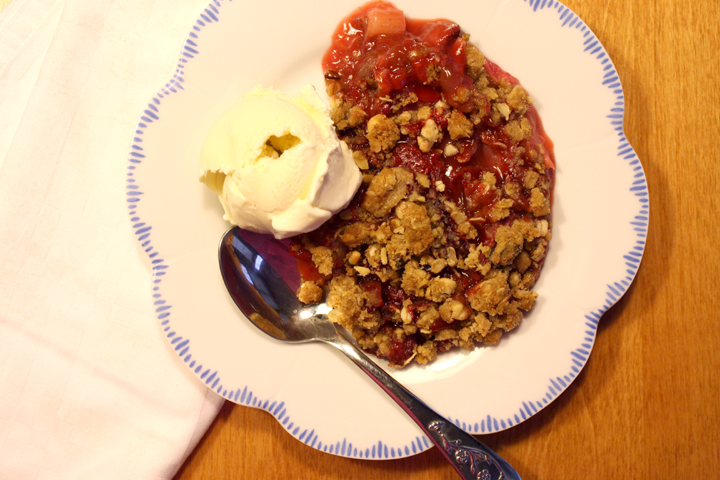
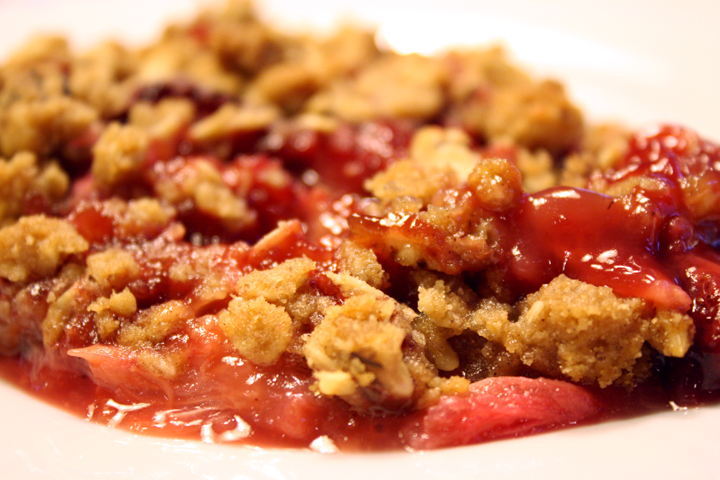
Rhubarb Strawberry Crisp

There are so many senses that bring back memories: sights, smells, tastes. Seasons bring back memories for me too. When the weather gets warm I immeditately think back to the summers of my childhood on Martha’s Vineyard.

Unfortunately, I have to work during the summer now and I don’t have long sunny days filled with going to the beach, running around outside, and farmer’s markets. But even so, as soon as I walk out of the office and the warm breeze hits my face, it brings me that feeling of calm and happiness that I used to feel back in my carefree Vineyard days.

Rhubarb Strawberry Crisp

There were certain recipes that, for some reason, we only made during these summers. Maybe it’s because they’re warm weather foods, but maybe it’s because we wanted them to be forever associated with our wonderful summers.

Rhubarb Strawberry Crisp

So as soon as the temperatures reach the 70s and the air gets sticky and hot, I bring out my mom’s recipe boxes and pull out our usual summer rotation of recipes: Brad’s Salsa, Michigan Blueberry Pie (I’ll have to make that soon and post it!), and especially her Rhubarb Strawberry Crisp- the epitome of a summer dessert.

Rhubarb Strawberry Crisp

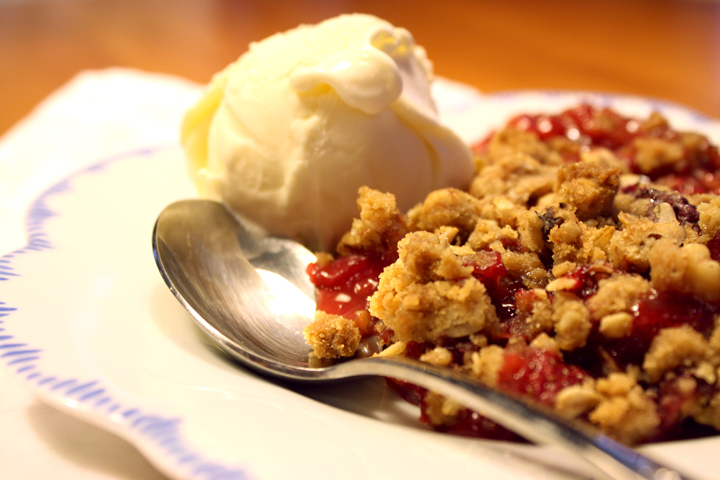
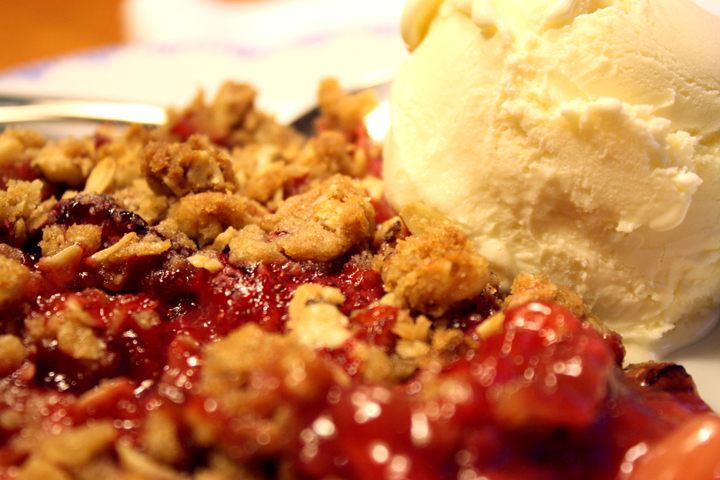
This dessert is best served with a hefty scoop of vanilla ice cream that melts into it. There’s really no better way to end a warm weather meal! When I take a bit of this and close my eyes, I’m instantly transported to our deck in Martha’s Vineyard, bathing suit still damp, covered in sand, sleepy from a long day in the sun and a belly full my mom’s best summer recipes.

Rhubarb Strawberry Crisp

Print this recipe!

Serves 6-8

Ingredients:

4 cups sliced rhubarb
4 cups whole, stemmed strawberries
1 cup sugar
1 1/3 cups flour, separated
1/2 tsp cinnamon
1 cup packed brown sugar
1/2 cup regular oats
3/4 cup chopped nuts (any kind)
8 Tbsp unsalted butter, cold, in small pieces

Preheat oven to 275. Butter a baking/casserole dish (9×13 is fine).

Combine fruits, sugar, 1/3 cup flour, cinnamon. Put in dish.

Combine 1 cup flour and rest of ingredients with fingers until crumbs form. Sprinkle over fruit.

Bake 35-45 minutes.

Honey White Challah

I’ve been so busy lately that the Daring Bakers completely slipped my mind and I hadn’t done it for a couple months. I finally remembered to check on this month’s challenge and was super excited when i saw it was challah!

The braided challah, which is made with eggs, is the Jewish Sabbath‑and‑holiday bread. It is surrounded by folklore and tradition and loaded with symbolism. On festive occasions a blessing is said over two loaves, symbolizing the two portions of the manna that was distributed on Fridays to the children of Israel during their Exodus from Egypt.

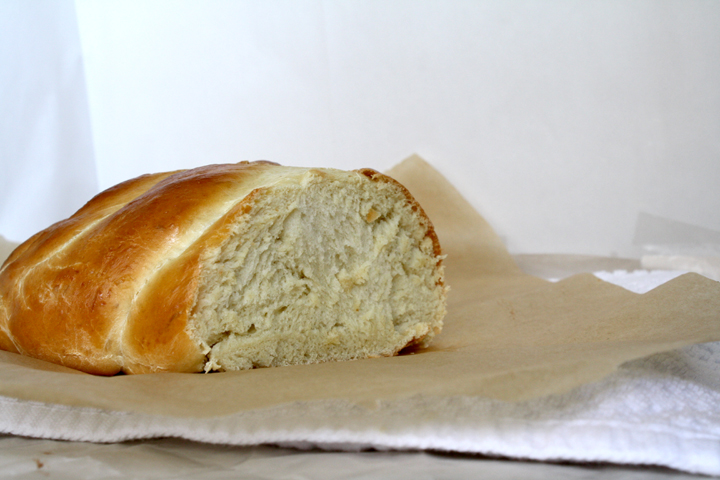
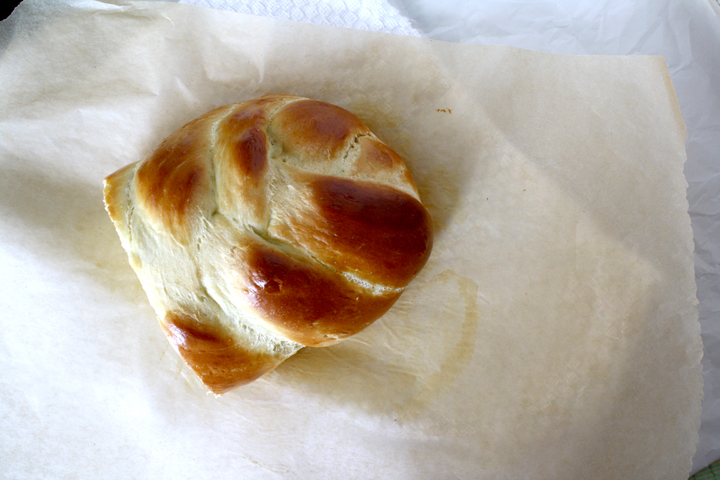
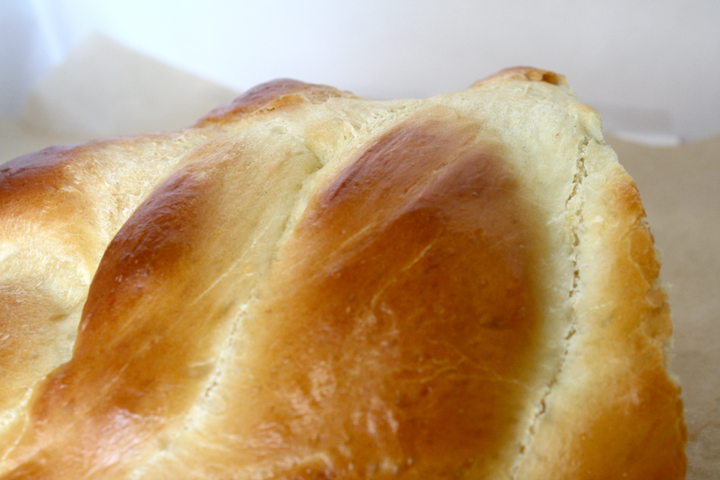
Honey White Challah

Challah is made in various sizes and shapes, all of which have a meaning. Braided ones, which may have three, four, or six strands, are the most common, and because they look like arms intertwined, symbolize love. Three braids symbolize truth, peace, and justice. Twelve humps from two small or one large braided bread recall the miracle of the 12 loaves for the 12 tribes of Israel. Round loaves, “where there is no beginning and no end,” are baked for Rosh Hashanah to symbolize continuity. Sweet challahs with honey or raisins are baked during the festive season to bring joy and happiness.

The name “challah” is derived from the Hebrew word used for “portion” in the Biblical commandment “of the first of your dough you shall give unto the Lord a portion for a gift throughout your generations.” Jews were biblically commanded to separate from their doughs one twenty‑fourth and give it to the kohanim (priests) every Sabbath. (source)

 Honey White Challah

Honestly, I didn’t really know (or remember) the significance of challah although I’m sure I was taught it in Hebrew School.

I’ve actually made Challah before but was really excited to give it another shot. Since Nate likes bread with his dinner on a daily basis, I knew it wouldn’t go to waste.

While Nate was in California last weekend, I whipped up some of the dough and let it rise in between my wedding crafts (i made our cake topper!). It was super easy, and having the first rise in the fridge overnight was a huge time saver.

Honey White Challah

The Challah recipe I used was a honey white version and it came out just slightly sweet and as doughy and delicious as my favorite grocery store version. If you live near Shoprite supermarkets, they happen to have the absolute best challah. Anyway, this was pretty darn close!

I should have added raisins but couldn’t be bothered at the time. Luckily it wasn’t dry at all and was able to hold up on its own.

Blog-checking lines: May’s Daring Bakers’ Challenge was pretty twisted – Ruth from The Crafts of Mommyhood challenged us to make challah! Using recipes from all over, and tips from “A Taste of Challah,” by Tamar Ansh, she encouraged us to bake beautifully braided breads.

Honey White Challah

Honey White Challah

From Tammy’s Recipes

Print this recipe!

makes 2 gigantic loaves

Ingredients:

1 ½ cups (360 ml) warm water, separated
1 Tbsp. (15 ml) (15 gm/½ oz sugar
2 Tbsp. (2-2/3 packets) (30 ml) (18 gm) (2/3 oz) dry active yeast
½ cup (120 ml) honey
1 Tbsp. (15 ml) oil (light colored vegetable oil, or olive oil if you prefer)
4 large eggs
1 ½ tsp. 7½ ml) (9 gm) (1/3 oz) salt
5 cups (1200 ml) (700 gm/25 oz) all-purpose (plain) flour, plus more as needed (up to 8 or 9 cups total)
1 egg beaten with 1 tsp. water

In mixer bowl/large mixing bowl combine ½ cup warm water, 1 Tbsp. sugar and 2 Tbsp. yeast. Allow to proof approximately 5 minutes until foamy.

To the yeast mixture add the remaining water, honey, oil, eggs, salt and 5 cups of flour. Knead (by hand or with your mixer’s dough hook) until smooth, adding flour as needed. Knead for approximately 10 minutes.

Transfer dough to a clean, oiled bowl, turn to coat or add a bit more oil on top. Cover bowl with a kitchen/tea towel. Leave to rise in a warm place until doubled, about 1 ½ hours (**optionally you can have the first rise in the fridge overnight, which is what I did to save time. The next morning, remove from fridge and allow to come to room temp then move on to next step).

Punch down the dough, divide it into two sections. Use one half to make each loaf (shaped or braided as desired).

Place loaves on parchment lined or greased baking sheets, cover with a towel, allow to rise 30 minutes.

Preheat oven to 325 degrees.

Brush tops loaves with egg wash. (Sprinkle with seeds or toppings here if wanted.)

Bake loaves 30-40 minutes until done.

Cool on wire racks.

Storage & Freezing Instructions/Tips:
Once cooled, challah loaves which will not be eaten right away (or in the next couple of days) should be bagged in heavy duty freezer bags. Remove excess air from the bag before securing it tightly (tying a knot or using tape). Put the bagged loaf/loaves into the freezer as soon as possible to ensure fresh taste; frozen challah will keep approximately three months.

Nate and I are down in PA visiting his mom, and I’m cooking up a storm this weekend! I love having a BIG kitchen to cook in. Such a nice change from our teeny nyc apartment. I’ll be sure to let you know how my new recipes come out.

Just in case you need some recipes for Memorial Day, these are a few of my favorites:

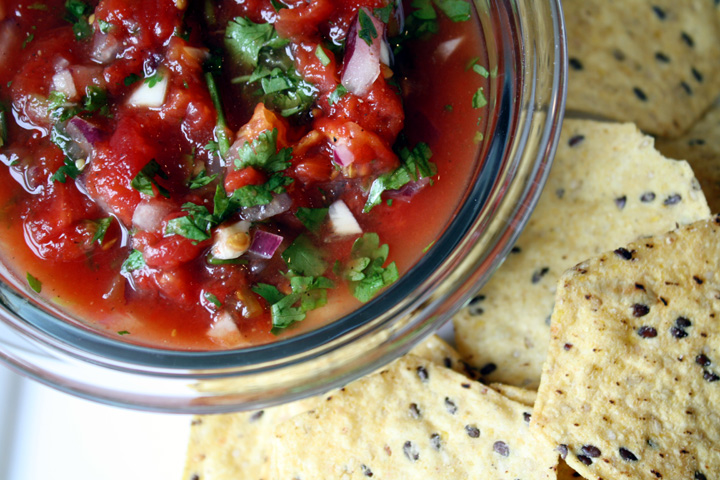
Brad’s SalsaI could eat this stuff by the spoonful!


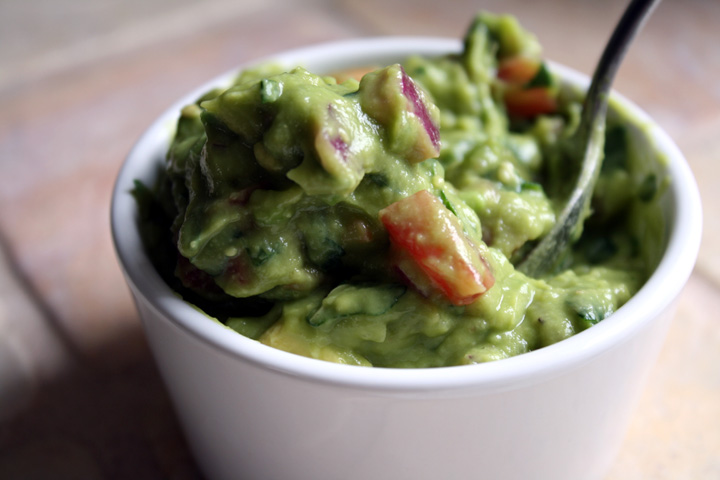
GuacamolePerfectly chunky, with just the right amount of lime.

Guacamole


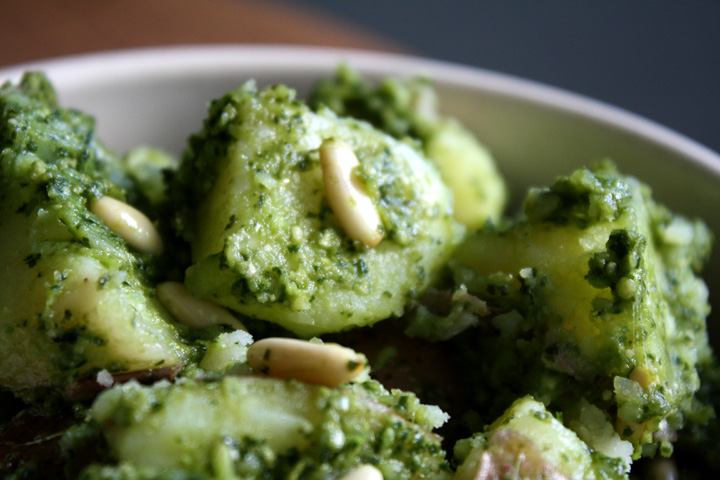
Pesto Potato SaladFor mayo-haters.

Pesto potato salad


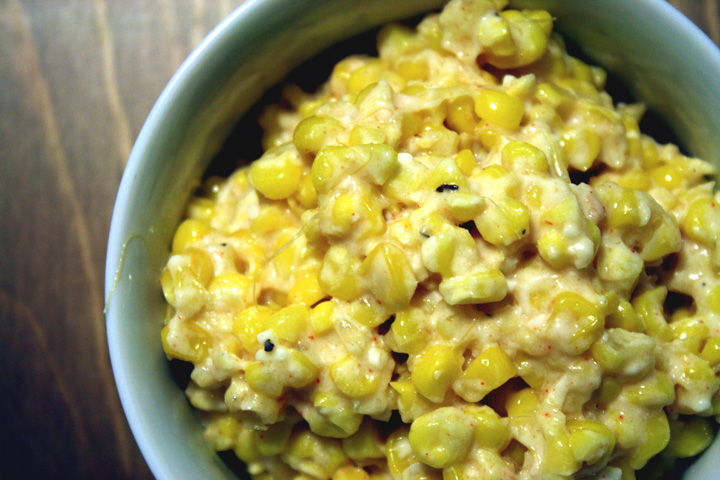
Roasted Corn with Lime, Parmesan and Chili– Three letters: O.M.G

corn with parmesan, lime and chili


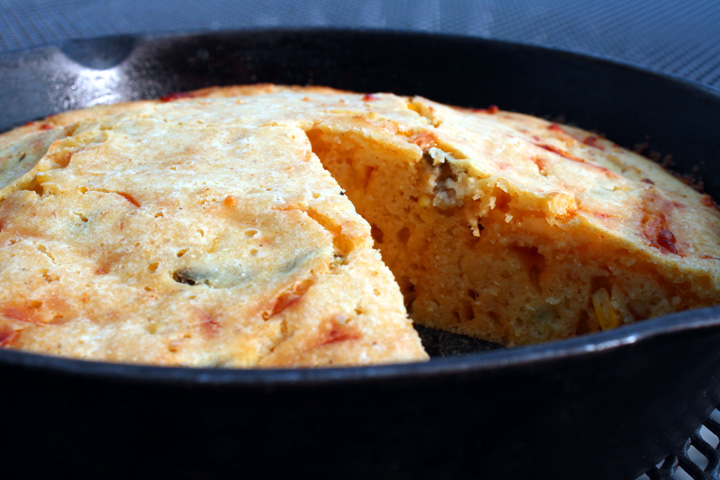
Cheddar Jalapeño CornbreadSavory, sweet, slightly spicy.

cheddar jalapeño cornbread


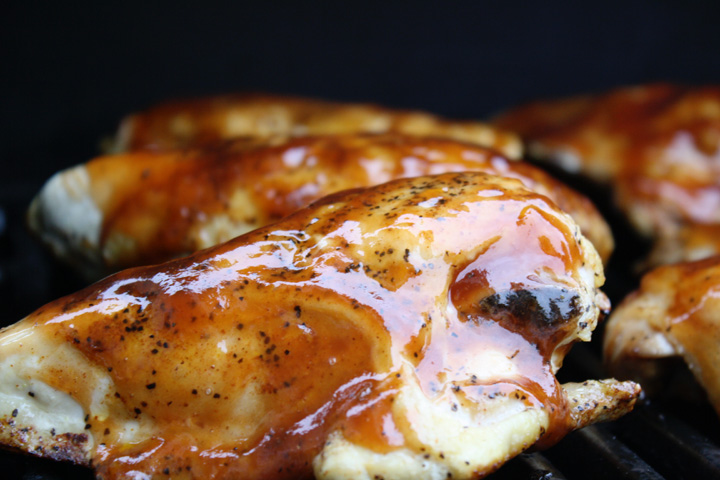
BBQ ChickenYou never have to worry about undercooking this on the grill because it’s precooked in the oven.

barbecue chicken


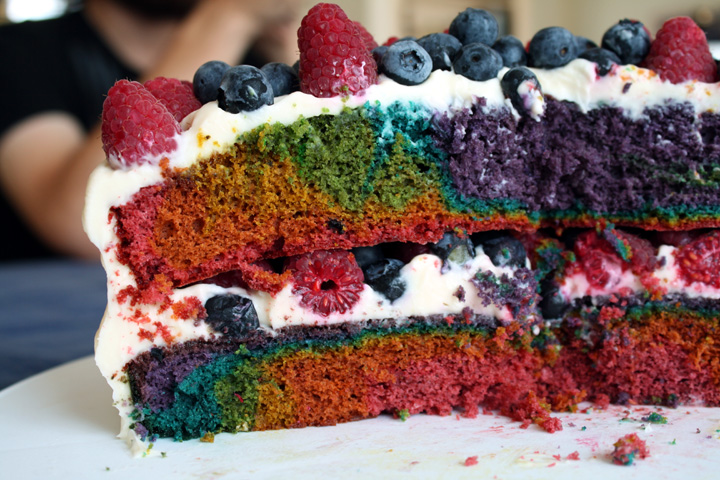
Rainbow Velvet CakeThe berry garnish is patriotic! You could totally make the layers red, white and blue.

rainbow velvet cake

I hope this gives you guys something to work with and you have a wonderful Memorial Day!

I’ll be back next week with the recipes I decide to make this weekend :)

chocolate souffle

Pardon the iphone pics…

Nate went to California this weekend with his mom, to visit his brother who lives there. I wish I could have gone but I hate having to take a red eye and having such a long flight for such a short trip.

I knew that I should spend the weekend doing some wedding-related projects, but I also decided to sign up for a souffle baking class! I’ve made a chocolate souffle before but I figured I could use a few pointers, and I had a coupon for half-off. I can’t refuse a deal!

The class was through DessertTruck Works. Dessert Truck used to be an actual truck that drove around NYC, dispensing tasty treats out its window. I guess their business grew so much that they decided to open a store. I saw them on the Food Network once in a Throdown with Bobby Flay…and they won!

chocolate souffle

My friend did it with me and had a great time. We got to catch up and eat chocolate…what could be better ;)

I did learn a few things. There are 3 different types of meringue: French, Swiss, and Italian. They differ in that French is the least stable is is simply whipped egg whites with sugar. Swiss is slightly more stable because the whites are cooked with the sugar over a water bath. Finally, Italian is the most stable and involves pouring a boiling sugar syrup into the whites while they’re being whipped.

French meringue is therefore the simplest, quickest and easiest. Because the teacher wanted to show us how to make souffle without any fancy appliances, we had to whip the egg whites by hand. My friend and I switched off whipping and my arm is still SO sore! I told the teacher that she should have an exercise class that consists of different cooking techniques. Kneading dough without a KitchenAid made my arms and abs extremely sore the last time I did it!

chocolate souffle

I also learned that you should run your finger around the inside rim of the ramekin so that the souffle doesn’t get stuck on the sides as it begins to rise, and thus has an easier time rising. This will prevent slanted souffles and also cracks on top. Good to know :)

Souffles were a perfect recipe for a 1.5 hour class because you assemble and cook them in a very short amount of time. They only have to bake for 10 minutes when made in small ramekins.

I highly recommend this recipe. It was the perfect texture, not too sweet and very chocolatey. We got to eat it with a Creme Anglaise they had that was perfect with it.

*They gave this recipe out and already had everything measured for us, so sorry it’s in grams instead of cups. If I make it again I’ll update the recipe.

Chocolate Souffle

From DessertTruck Works!

Print this recipe!

makes Five 4 oz. ramekins

Ingredients:
approx. 4 Tbsp of softened unsalted butter (for ramekins)
approx. 1/2 Cup of granulated sugar (for ramekins)
250 g egg whites
120 g granulated sugar
3 g cream of tartar or lemon juice
150 g 70% dark chocolate
35 g egg yolks

Preheat your oven to 375 degrees F. Using a brush, generously brush the interior of the ramekins with softened butter, ensuring that the entire interior is buttered. Coat the butter with sugar, knocking out any excess sugar.

Using a double-boiler, melt the chocolate over simmering water, stirring occasionally.

Place the egg whites, the cream of tartar or lemon juice and a pinch of sugar in a large bowl. Using a whisk or an electric mixer with a whisk attachment, whip the whites and gradually add the rest of the granulated sugar. Whip the whites until you get stiff peaks. You now have a meringue.

Stir in about one-third of the meringue into the melted chocolate. Then fold this mix into the remaining meringue, making sure you use a rubber spatula at this point.

Now fold in the egg yolks into approximately one-third of the chocolate-meringue mixture. Fold in the rest of the chocolate-meringue mixture into the mix with the yolks.

Spoon or pipe the souffle mix into your ramekins. Level the tops of each ramekin so that the souffle mixture is even with the top of the ramekins.**Note, at this point you can refrigerate or freeze your souffles for baking at another time. If you refrigerate them, just take them out of the fridge 15 minutes before you plan to bake them.

Run your thumb along the inside edge of each ramekin rim. Bake the souffles on the middle rack until they have risen, formed a crust on top, but are still jiggly in the center, approximately 10 minutes.
Serve immediately.