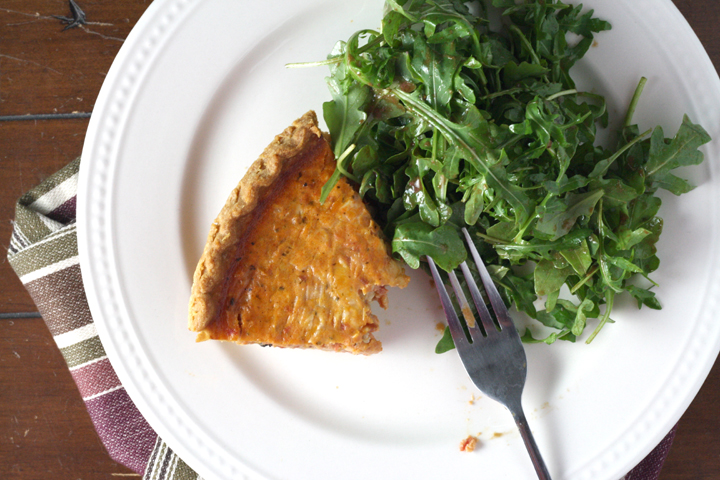
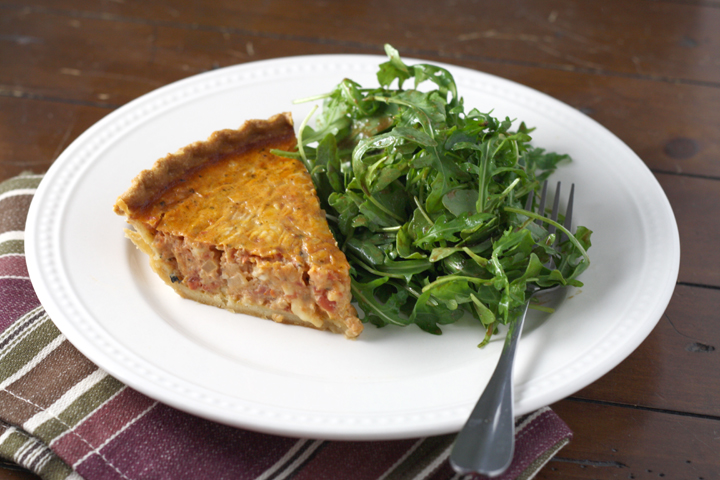
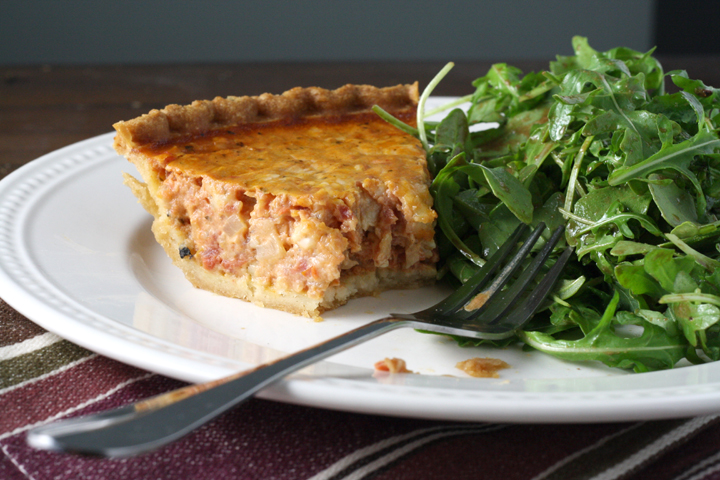
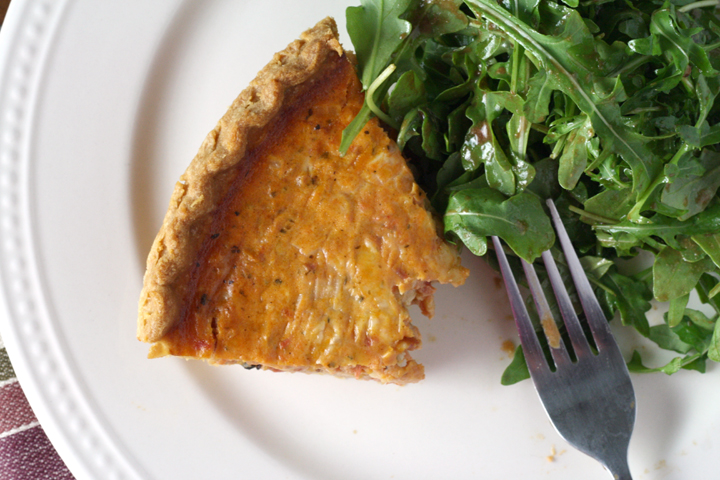
Tomato Quiche~ ElephantEats.com

As I mentioned in my last post, Nate and I have had quite a lot happening around here lately.

Some of you may have already know based on my comments on other blogs, but I officially got a new job offer! I was kind of passively looking because while my current job wasn’t horrible, it also wasn’t ideal. I’m so so excited for this new opportunity! There seems like there will be more room for growth. Althought I’m still working at my “old” job for another couple weeks, I have a new hire appt tomororw and I get my new ID badge and stuff!

Tomato Quiche ~ ElephantEats.com

This new job is the first place I’ll have worked where the people there will only know me by my married name :) At my current job they still refer to me by my old name, and it’s kind of annoying me at this point that they can’t remember. Although maybe I shouldn’t be so harsh because I was initialling a document the other day and used my old initials and totally didn’t even notice…it even took me another minute to realize after Nate said “oh, come on, Amy!”

Tomato Quiche ~ ElephantEats.com

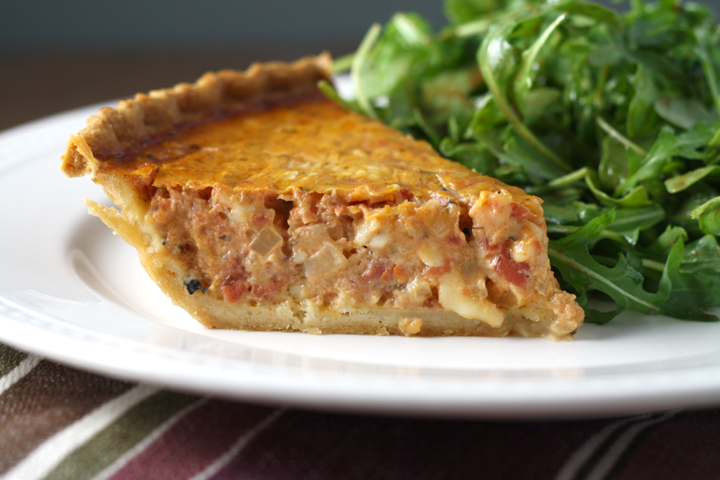
So what does this all have to do with this recipe? Well, just that if you’re busy you shouldn’t assume because a recipe’s title contains the word “quiche” that it will be quick to make. I mistakenly went to prepare this at around 7pm the other night thinking I could whip it right up. It wasn’t until I actually read the recipe (after having already started it) that I realized you have to essentially make a homemade tomato sauce before assembling the quiche. And if I had made a homemade crust it would have been even more effort.

I will say however, that if you take into account the correct amount of time it will take, it’s TOTALLY worth it. Nate and I both thought this was outstanding. The tomato sauce, while incredibly basic, was so delicious. I kind of want to make it again to just put over pasta. What’s great about this quiche is that you can make it in the winter with canned tomatoes or in the summer with fresh and it’s delicious both ways. It’s fancy and tasty enough that you could definitely make it for company. It would be great to serve at brunch as well as dinner!

Tomato Quiche ~ ElephantEats.com

This is one of the recipes Nate sent me in the morning during his breakfast perusal of the New York Times. As I’ve mentioned before, I find their recipes highly reliable.

I thought to make this quiche because I’ve had a premade pie-crust in my freezer forever. I don’t know why I bought it. If I’m going to make a pie, I would totally make the crust from scratch, so I think I actually bought it to make a quiche. With a store-bought crust, a typical quiche is a great weeknight meal. This one requires slightly more effort but please do it!!

P.S. You can make the tomato sauce ahead of time and then it’s really not bad for a weeknight dinner :)

Tomato Quiche ~ ElephantEats.com

Winter Tomato Quiche

From NY Times with some shortcuts by me

Print this recipe!

 Serves 6-8

1 9- or 10-inch whole wheat Mediterranean pie crust, gluten-free whole grain
Mediterranean pie crust, or yeasted whole wheat olive oil pastry (*I used a regular old frozen pie crust in pan)
1 tablespoon extra virgin olive oil
1/2 medium onion, finely chopped
2 to 3 garlic cloves (to taste), minced
1 14.5-ounce can chopped tomatoes in juice, with juice (*I used the ones with rosemary and oregano)
1 tablespoon tomato paste
Pinch of sugar
Salt to taste
1 sprig fresh basil or rosemary
1 teaspoon fresh thyme leaves or 1/2 teaspoon dried thyme
Freshly ground pepper
2 eggs
2 egg yolks
3/4 cup low-fat (1 or 2 percent) milk
2 ounces Gruyère cheese, grated (1/2 cup, tightly packed)
1 ounce Parmesan cheese, grated (1/4 cup, tightly packed)

If making crust, roll out the crust and line a 9- or 10-inch tart pan. Refrigerate uncovered (place in freezer if using the yeasted crust) while you make the filling. If using a premade frozen crust in pan, defrost in fridge and don’t take it out until you’re ready to use it.

Heat the olive oil over medium heat in a wide, heavy saucepan and add the onion. Cook, stirring, until it begins to soften, 2 to 3 minutes. Add a pinch of salt and continue to cook, stirring often, until tender, about 5 minutes. Meanwhile pulse the tomatoes in a food processor fitted with the steel blade or in a mini-processor.

Add the garlic to the onions and cook, stirring, until fragrant, about 30 seconds. Add to the canned tomatoes and turn up the heat slightly. Add the tomato paste, sugar, salt, basil or rosemary spring and thyme and simmer briskly, stirring often, until the tomatoes have cooked down and smell fragrant, about 15 minutes. Taste and adjust salt, and add pepper. Remove from the heat. Remove the basil or rosemary sprig and, if you used rosemary, remove any rosemary needles that may have detached from the sprig. Allow to cool slightly. You should have about 1 cup of the sauce.

Preheat the oven to 350 degrees. Beat the eggs and egg yolks in a large bowl. Brush the bottom of the crust with a small amount of the beaten egg and pre-bake for 10 minutes. Remove from the oven and allow to cool for 5 minutes.

Beat the milk into the eggs. Add 1/2 teaspoon salt, freshly ground pepper to taste and beat together. Stir in the cheeses and the tomato sauce and combine well. Scrape into the crust, using a rubber spatula to scrape out every last bit from the bowl. Place the tart on a sheet pan for easier handling and place in the oven. Bake for 30 to 35 minutes, until set. Remove from the heat and allow to sit for at least 15 minutes before cutting.

Advance preparation: The tomato sauce can be made through Step 3 up to three days ahead and refrigerated uncovered. It can also be frozen. Allow to come to room temperature before making the tart. The tart will keep for a couple of days in the refrigerator. Reheat gently in a low oven or serve at room temperature.

Spice Cake with Orange Cream Cheese Frosting ~ ElephantEats.com

Pardon my lack of posts. There have been so many changes happening in the Elephant Eats household, making me a bit busy and causing me to have insomnia. I’ve been waking up at like 3 or 4 in the morning with my mind racing about various things…hence my finishing up this blog post at 4am. Surprisingly I haven’t been as tired as I would imagine the next day. I guess adrenaline will do that to you!

The house hunting thing is stressing me out a bit. Like how do you know when you like a house enough to want to buy it and that something better won’t come along? I’m obsessively combing the listings on a daily basis.

Spice Cake with Orange Cream Cheese Frosting ~ ElephantEats.com

This past weekend was super busy. It started with a little house hunting Saturday morning with a realtor. It made me realize how expensive things are for how little you get in this area. I’m hoping there will just be something that I fall in love with (that’s in our budget).

Then I rushed off to my friend Emily’s bridal shower and bachelorette! She was one of my maids of honor and I’m one of her bridesmaids. I, along with the other two bridesmaids, planned the whole shower/bachelorette weekend. We put a lot of hard work into it and I think it came out great and went off pretty much without a hitch!

Spice Cake with Orange Cream Cheese Frosting ~ ElephantEats.com

Plus, Emily told us she loved every second of it :) We did any Asian-themed shower because she loves sushi. I got some hanging paper lanterns in her wedding colors to decorate her soon-to-be sister-in-law’s house. They looked great! I unfortunately was too lazy to upload the photos but maybe I’ll add them soon.

The bachelorette went late into that evening and ended with a sleep over. I didn’t get much sleep and was up early to go house hunting some more on Sunday!

Spice Cake with Orange Cream Cheese Frosting ~ ElephantEats.com

Nate told me he doesn’t care at all about the house and that it’s totally up to me. I guess he trusts my judgement.

It was so fun to go in all the houses, and driving around the suburbs on a gorgeous spring day made me dread going back to the city.

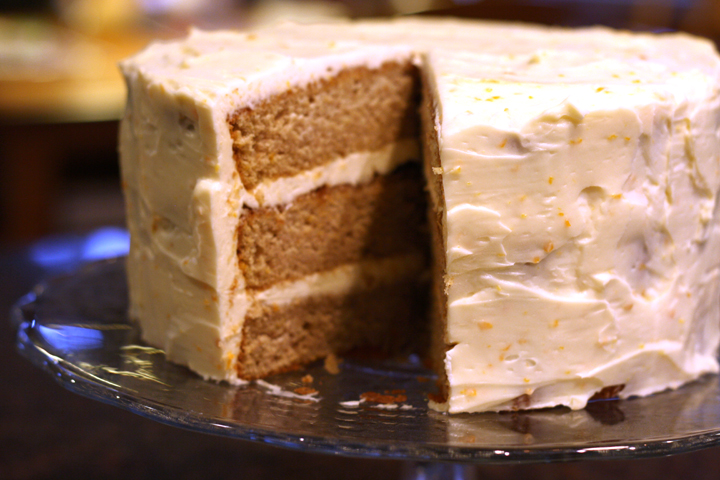
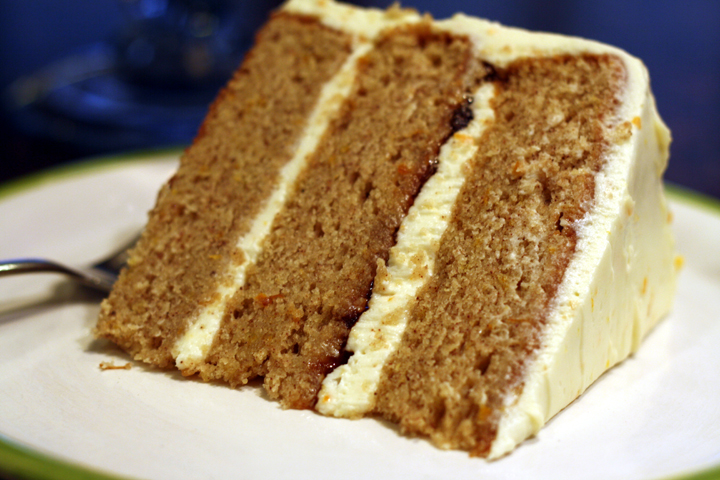
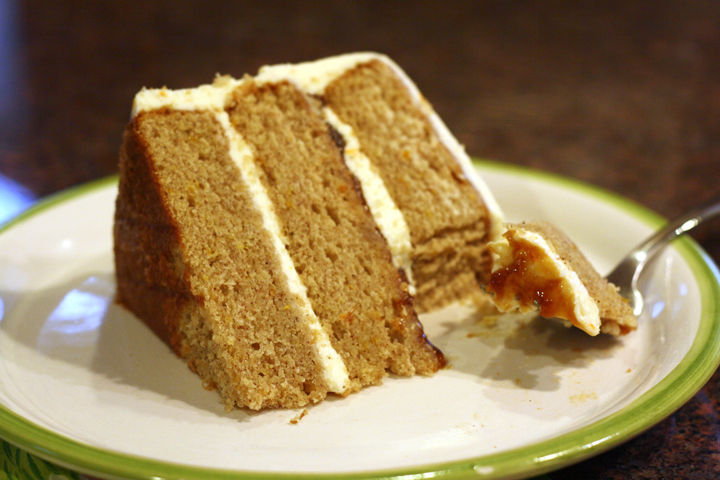
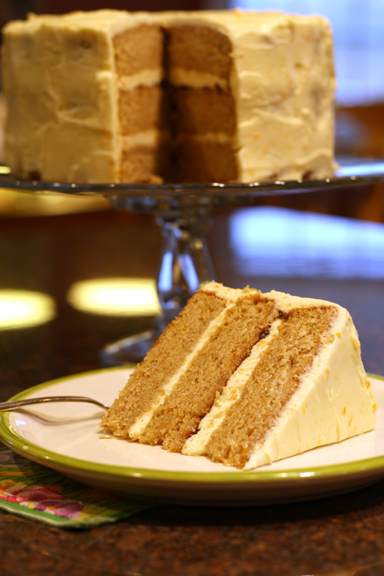
This is all completely unrelated to this recipe. I made it when we were down in PA two weekends ago, and it was a perfect way to end to our Easter dinner! (pardon the photos, as they were taken after daylight and I didn’t have my trusty food photography lights!)


Spiced Layer Cake with Orange Cream Cheese Frosting

very slightly adapted from Bon Appetit (11/09)

Print this recipe!

Makes one 3-layer cake

1 teaspoon baking soda
1 teaspoon baking powder
1 teaspoon ground ginger
1 teaspoon ground cardamom
1 teaspoon ground cinnamon
1 teaspoon ground nutmeg
1/2 teaspoon salt
2 cups sugar
1 cup (2 sticks) unsalted butter, room temperature
1 tablespoon grated orange peel
4 large eggs
1 cup sour cream
1/2 cup whole milk
1/2 cup orange, peach or apricot jam
Orange Cream Cheese Frosting (recipe below)*

Preheat oven to 350°F. Butter three 9-inch-diameter cake pans. Line bottom of pans with waxed paper. Butter and flour pans; tap out excess flour. Sift first 8 ingredients into medium bowl. Using electric mixer, beat sugar, butter and orange peel in large bowl until fluffy.

Beat in eggs 1 at a time. Stir flour mixture into butter mixture alternately with sour cream and milk. Divide batter among prepared pans.

Bake cakes until tester inserted into center comes out clean, about 25 minutes. Transfer pans to racks and cool 10 minutes. Turn cakes out onto racks and cool completely. (Can be made 1 day ahead. Store airtight at room temperature.)

Place 1 cake layer on platter. Spread 1/4 cup jam and then 2/3 cup frosting over. Top with second cake layer. Spread rest of jame and then 2/3 cup frosting over. Top with third cake layer. Cover top and sides of cake with remaining frosting. (Can be made 1 day ahead. Cover with cake dome and store at room temperature.)

Orange Cream Cheese Frosting
2 8-ounce packages chilled cream cheese
8 tablespoons unsalted butter, room temperature
2 cups powdered sugar
2 teaspoons grated orange peel
1 teaspoon vanilla extract
1/3 cup chilled sour cream

Using electric mixer, beat cream cheese and butter in large bowl until well blended. Beat in sugar, then orange peel and vanilla. Beat in sour cream. Cover and refrigerate until frosting is firm enough to spread, about 30 minutes.

*note that I found the frosting barely covered the cake. In making this again I might 1 1/2 the recipe.

Vegetarian Stuffed Mushrooms ~ ElephantEats.com

We headed down to my mother-in-law’s for the long Easter weekend. Since Nate was in California for a couple months, we hadn’t been down since Christmas and it was nice to just relax and eat tons of yummy food.

Tired Haley

Nate’s mom totally spoils us and we both got giant Easter baskets filled with our favorite candy. She got me Peeps!!!

Peeps are yummy

We also dyed some Easter eggs. This here is our easter egg family. Do you see the resemblance?

Easter Egg Family

The paw print one was Nate’s representation of L.C….not bad.

But I think my version of Nate was pretty spot on ;)

Easter Egg Beardo

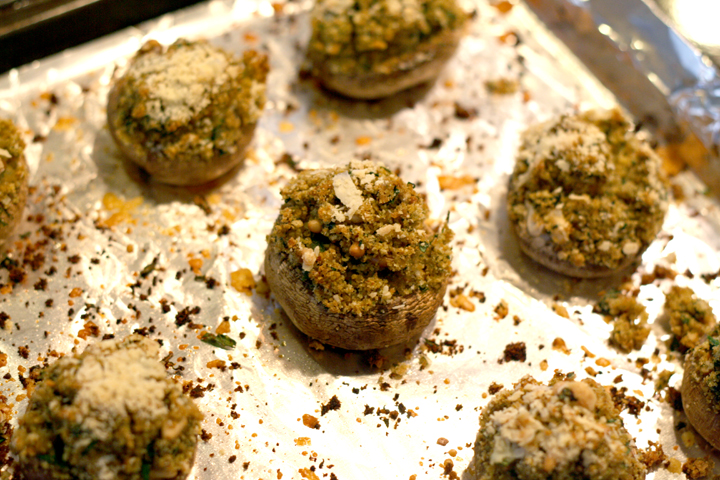
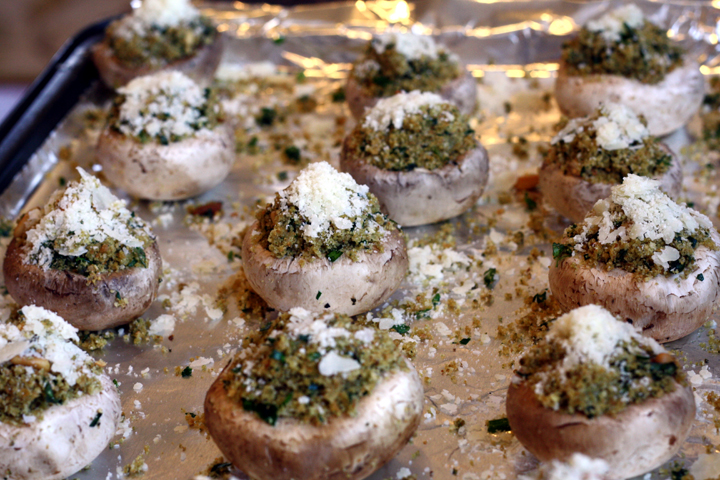
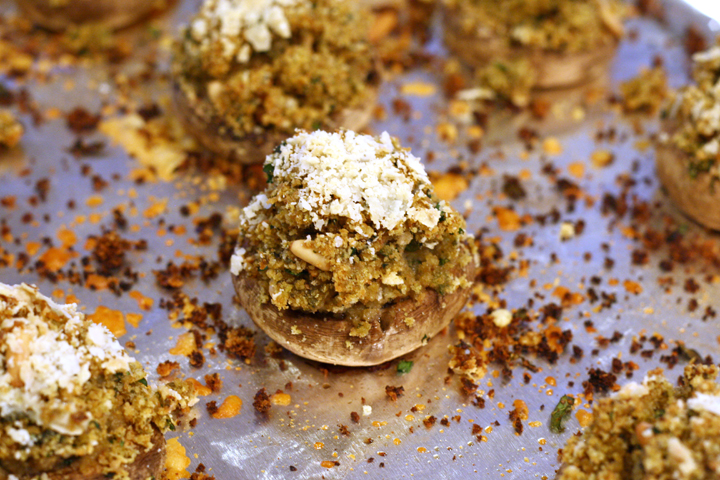
Since Nate’s mom was going to cook a big meal for us for Easter dinner, I decided to make a yummy appetizer for the night before. This is another of those recipe’s from the recipe box I got handed down from my mom. I remember her making these for dinner parties and some catering too.

Vegetarian Stuffed Mushrooms ~ ElephantEats.com

They’re super easy to make and only take 10ish minutes to cook! You can totally make them ahead of time and they can sit out til you’re ready…or you can probably even make them the day before if you really want, and just keep them in the fridge.

Definitely keep this recipe on hand for your next dinner party or just to make your weeknight dinner a little fancier :)

Vegetarian Stuffed Mushrooms ~ ElephantEats.com

Stuffed Mushrooms

From mom’s recipe box

Print this recipe!

Serves 8-10 (can easily be halved with no probs)

25-30 lg. mushrooms, stems removed
2 cups sourdough breadcrumbs (i used regular but I think it wasn’t as good)
1/2 cup pesto
1/4 cup pignoli nuts, toasted
3-4 Tbsp fresh parsley, finely chopped
3-4 Tbsp fresh basil, finely chopped
1/2 cup vegetable broth
Parmesan cheese for sprinkling on top

Preheat oven to 400.

Combine crumbs, pesto, nuts, parsley and basil. Slowly mix in broth until moist but not wet. Season to taste with salt and pepper.

Fill Mushrooms. Top with cheese. Bake 10-12 min.

*Must serve hot!*

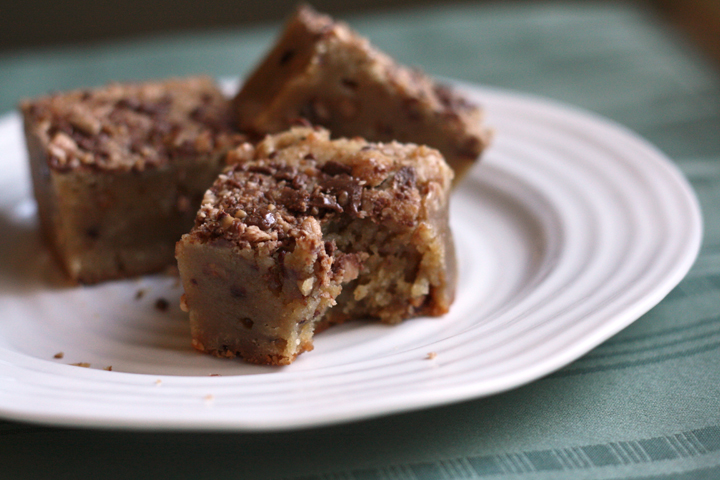
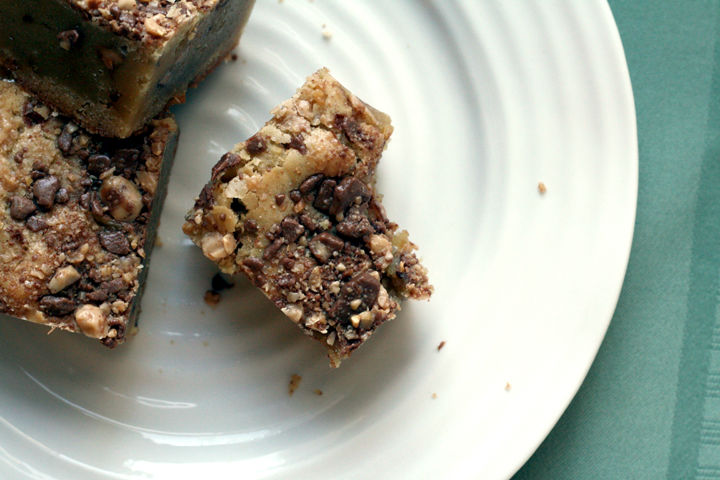
Toffee Blondies ~ ElephantEats.com

Nate’s mom came to visit us last weekend and we did quite a bit of walking. We headed over to the New York Historical Society, because they were having a John J. Audubon exhibit.

I don’t know if you guys remember, but our wedding was at one of Audubon’s houses (his first one in the U.S., actually). Amongst his many many bird drawings, it was fun to see a painting of the place where we got married (painted by Thomas Birch). It looked a little different back then, but it’s cool to think about how old it is!

I didn’t realize that his drawings were all mixed media- mostly water color with some pen and ink, charcoal and others. They were really detailed and really impressive!

Toffee Blondies ~ ElephantEats.com

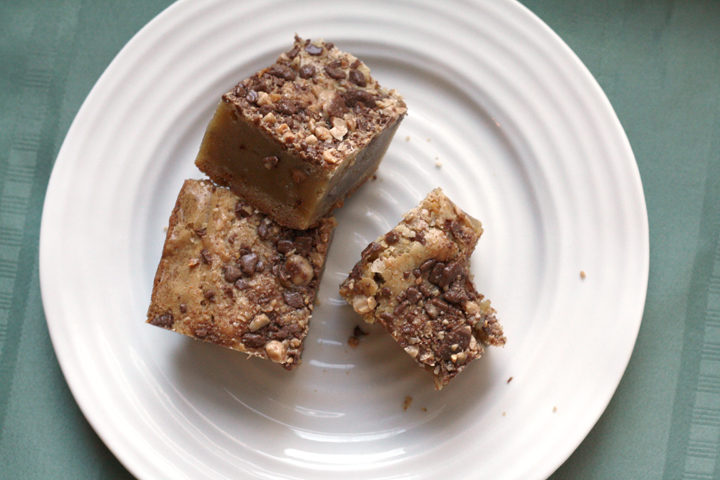
I realize you guys probably are more interested in what I’ve been cooking up than our weekend plans, so I’ll get to it. I found this recipe when I was looking for baked goods I could send to Nate in California that would hold up well in the mail. I also was looking for a way to use the toffee baking bits I had leftover from Christmas cookie baking. My aunt was kind enough to buy me several bags since she knows how hard it is to find them in nyc! She got me both regular and chocolate covered Heath toffee bits.

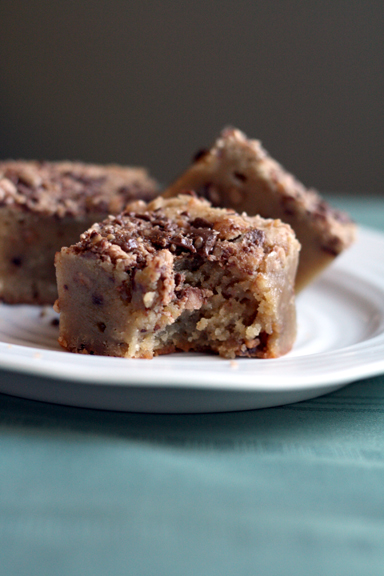
Toffee Blondies ~ ElephantEats.com

The recipe calls for the plain ones and that’s what I used the first time I made this, but I tried the chocolate covered Heath bits this time for a change, and the bars came out equally delicious :)

I actually didn’t even make these. We had our good friends Erica and Patrick over to dinner and Erica offered to help while I was making dinner (homemade spaghetti with my pasta machine!). So I gave her the recipe and she did a great job making them! We all really enjoyed these for dessert :)

Toffee Blondies ~ ElephantEats.com

I didn’t change anything about the recipe from Just a Taste’s blog other than adding chocolate covered toffee bits rather than plain toffee, so you can find the recipe here to get it.

Black Bean Soup ~ ElephantEats.com

It’s been nice having Nate home, because I can finally cook for more than one. Oh who am I kidding, I didn’t cook for one when Nate was gone, I just ate crap.

Oh, and Nate got a job!!!!! and in New York, thank goodness! So no moving to Cali for us. I’m so so happy and relieved, both that he found a job and that we get to stay on the East coast. While visiting California was nice, I’d really hate to live in LA where there are no seasons. I just love autumn and snow too much!

And now we get to house hunt…YAY!!!

Black Bean Soup ~ ElephantEats.com

Oh and also somehow Recipe.com got a hold of my Carrot Dill Sauce recipe and has led a ton of new people to my blog, so welcome to any new folks :)

Ok back to the recipe. So, I guess I got used to not doing much cooking while Nate was gone…because I haven’t been in the mood to cook too much lately even with him back. I’ve also been short on time.

It’s days like these that I need some recipes that have few ingredients, require little to no prep, and can be pulled together in 30 minutes or less.

Black Bean Soup ~ ElephantEats.com

Since spring hasn’t quite sprung here in New York yet, it’s nice to have a steaming bowl of soup to warm up when we get home. Cold rain is just the worst.

I’m not a fan of pureed soups. I’m also not a fan of thick soups. My favorites are of the broth based variety, or semi-pureed. This tastes like your traditional black bean soup but isn’t gloppy, which makes it a winner in my book.

Black Bean Soup ~ ElephantEats.com

Quick Vegetarian Black Bean Soup

Slightly adapted from Epicurious

Print this recipe!

Serves 6-8

2 tablespoons olive oil
1 1/4 cups chopped onion
8 oz sliced mushrooms
4 large garlic cloves, chopped
1 tablespoon chopped fresh thyme or 1 1/2 teaspoons dried
2 15-ounce cans black beans plus juices
1 14 1/2-ounce can low-salt chicken broth
2 14 1/2-ounce cans Hunts diced tomatoes with zesty mild green chiles
2 teaspoons ground cumin
1 lime
1/2 cup cilantro, chopped
1 1/2 teaspoons hot pepper sauce
salt to taste
Sour cream and avocado to garnish

Heat oil in large pot over medium heat. Add onion, sauteeing until soft. Add garlic and mushrooms; sauté until mushrooms soften, about 5-8 minutes.

Add beans+juices, broth, tomatoes with juices, cumin and hot pepper sauce. Bring soup to boil. Reduce heat to medium-low and simmer until flavors blend and soup thickens slightly, stirring occasionally, about 20 minutes.

Stir in cilantro, salt and lime juice to taste.

If you have an immersion blender, puree part of the soup, leaving it mostly chunky, or to the consistency you like. If you don’t have an immersion blender, working in 2 batches, purée 2 1/2 cups soup in blender until smooth. Mix purée back into soup in pot.

Ladle soup into bowls.