Cinnamon Roasted Pears over Arugula with Blue Cheese and Balsamic Glaze ~ www.ElephantEats.com

The other day I was reading one of the blogs I follow, Bake Your Day, and she had posted a recipe and reviewed a new butter-flavored olive oil product. I commented on the post saying how good it sounded, and the makers of the oil, Star Fine Foods, was kind enough to reach out to me and send me some samples!!!

Cinnamon Roasted Pears over Arugula with Blue Cheese and Balsamic Glaze ~ www.ElephantEats.com

They not only sent me that flavored olive oil (which I can’t wait to try), but also 2 different flavors of one of their other new products: flavored balsamic glaze!!

I decided to use the glaze on an autumn update of my favorite summer salad. All summer long I ate watermelon cubes over arugula, with feta or blue cheese, basil, and a balsamic glaze. At the time I used Trader Joe’s brand balsamic glaze because it was the only brand I had ever seen. Well, when I saw that Star Fine foods sent me an Apple Balsamic Glaze I was SOOO excited! I knew it would be a perfect way to transition my summer salad to fall.

Cinnamon Roasted Pears over Arugula with Blue Cheese and Balsamic Glaze ~ www.ElephantEats.com

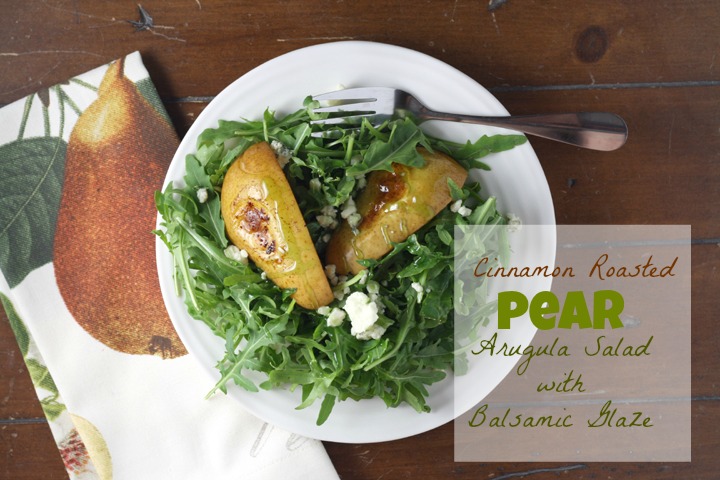
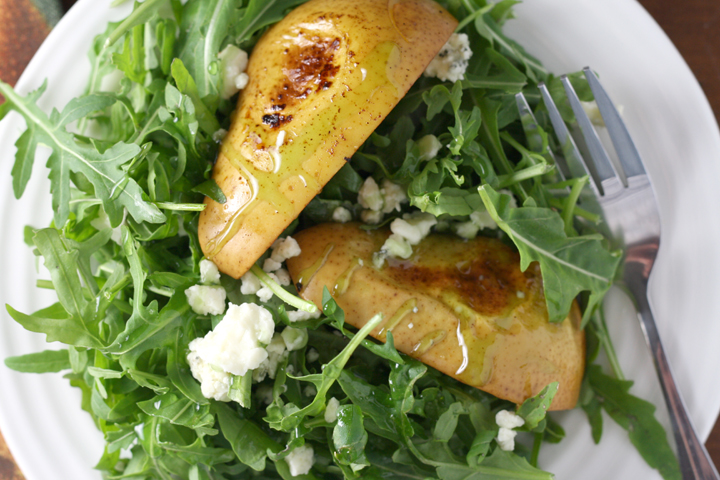
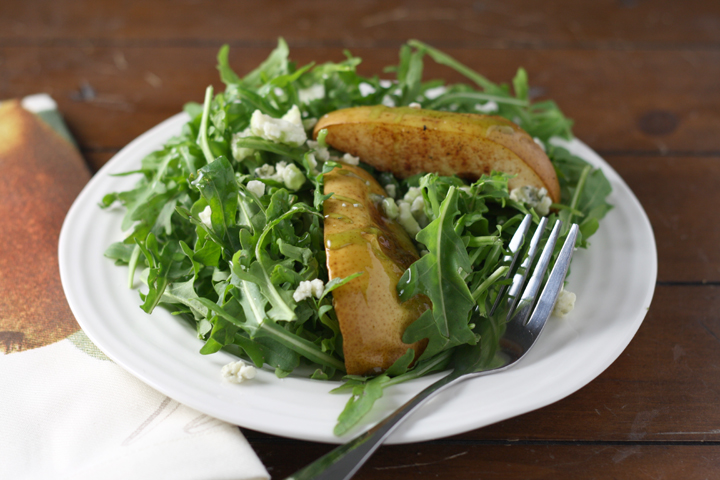
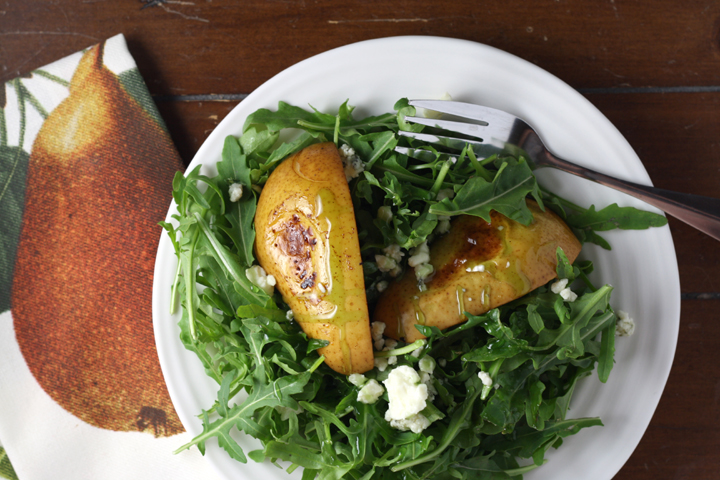
I decided to go with pears for the fall fruit portion of the salad….but not just any pears- cinammon roasted ones! In the summer I love the cold, juicy watermelon, but on a cold day these warm pears are just perfect. They slightly wilt the arugula and soften the blue cheese crumbled on top. The Apple-flavored Creamy Balsamic Glaze added the absolute perfect sweet/tart flavor to go with the juicy pears and bitter arugula. 

I see myself eating this all the time this autumn and it might just be my new favorite salad! I hope it will become yours too :)

Cinnamon Roasted Pears over Arugula with Blue Cheese and Balsamic Glaze ~ www.ElephantEats.com

**I was given these products free of charge, but all opinions are my own. I would never post about a product I didn’t love and plan to use again.

Arugula Salad with Roasted Cinnamon Pears, Blue Cheese and Apple Balsamic Glaze
Serves 4
Warm cinammon roasted pears over a bed of arugula with blue cheese and an apple balsamic glaze
Write a review
Print
Ingredients
  1. 2 pears (I used Bartlett because I think they're the juiciest), not overly soft, cut into quarters and cored
  2. 1/2 tsp cinnamon
  3. 4 cups arugula
  4. 1/4-1/3 cup blue cheese crumbles (depending on how much cheese you like)
  5. 1-2 Tbsp olive oil
  6. 1-2 Tbsp Creamy Apple Balsamic Glaze (or any balsamic glaze if you can't find this one)
  7. salt and pepper to taste
Instructions
  1. Preheat oven to 450.
  2. Spray a foil lined baking sheet with cooking spray. Place pears on sheet, cut side up. Spray pears with cooking spray or drizzle with some olive oil
  3. Sprinkle pears with cinnamon, salt and pepper.
  4. While pears cook, divide arugula onto 4 plates.
  5. Bake pears for 30 min. Remove from oven and immediately place 2 quarters each over arugula on each plate. Drizzle with blue cheese, oilve oil, and balsamic glaze. Salt and pepper to taste.
https://elephanteats.com/

Marinated Mushrooms ~ ElephantEats.com

 As you know, I just got back from a short vacation to Idaho with Nate. Sorry in advance for all the photos. Hopefully you’ll enjoy them. Recipe for these lovely mushrooms are at the bottom.

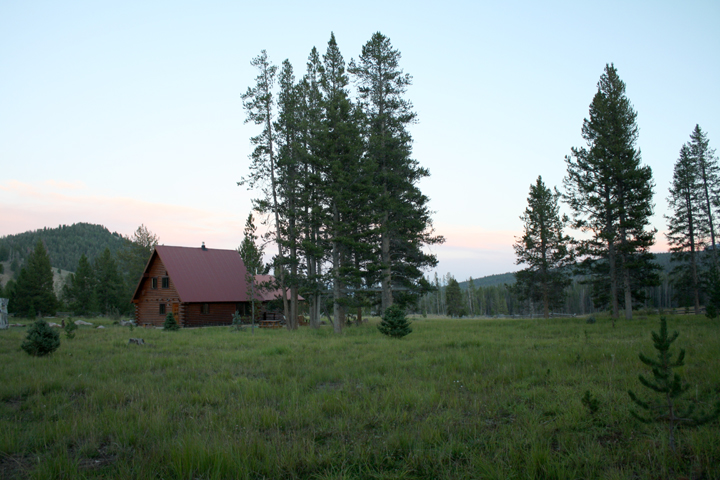
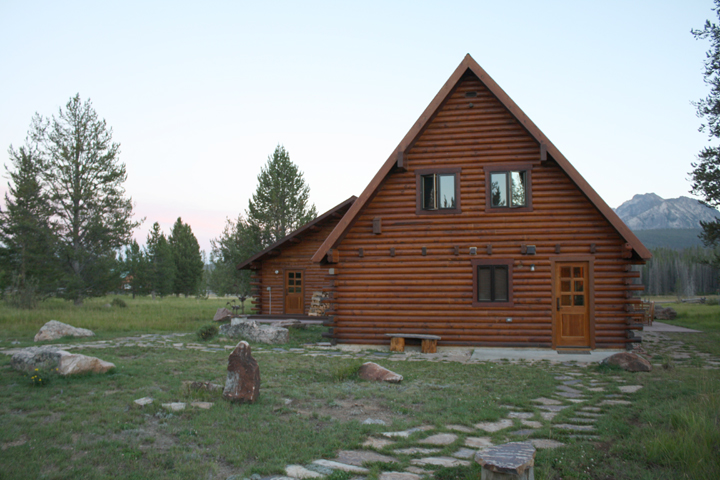
We stayed at Nate’s dad’s cute little log cabin. Well, it’s not so little. It also isn’t at all rustic. It has all the amenities of a typical house, complete with a beautifully updated kitchen.

Idaho Cabin ~ ElephantEats.com

The cabin is kind of in the middle of nowhere. It’s over an hour from the nearest supermarket. 

Idaho Cabin ~ ElephantEats.com

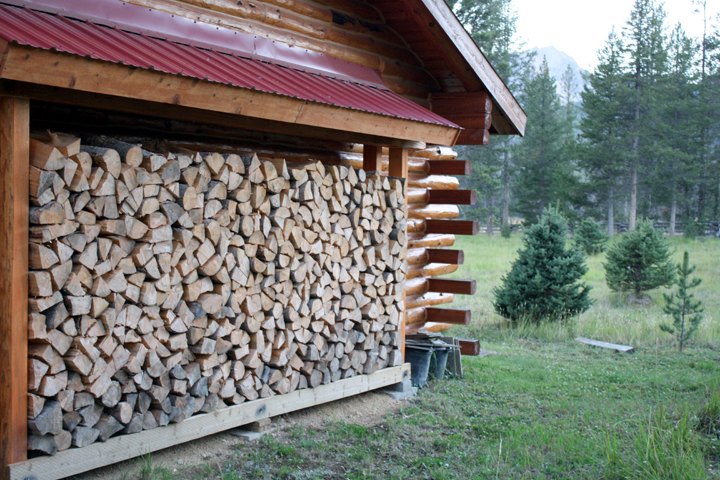
Idaho Cabin ~ ElephantEats.com

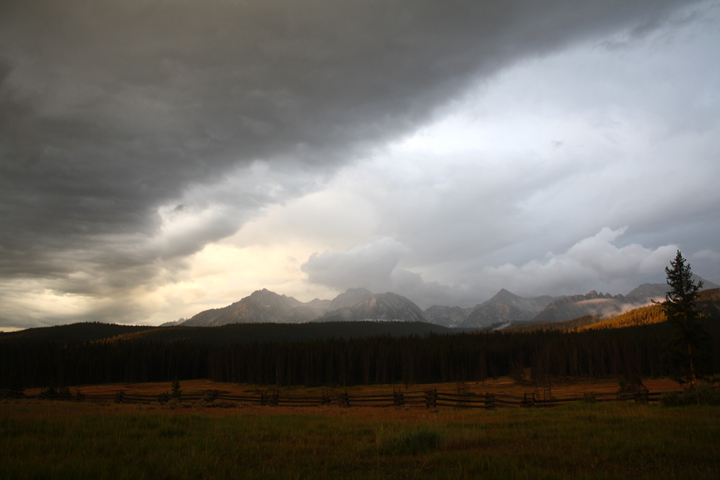
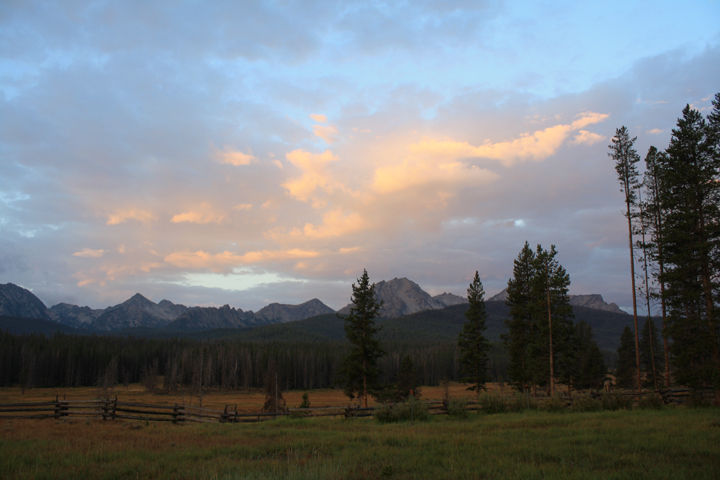
However what the area lacks in the civilization department, it more than makes up for it in the scenery. The mountains and view behind his cabin are just spectacular. I couldn’t stop taking pictures of them in all sorts of light. 

This is in his backyard with the clouds rolling in.

Idaho Mountains ~ ElephantEats.com

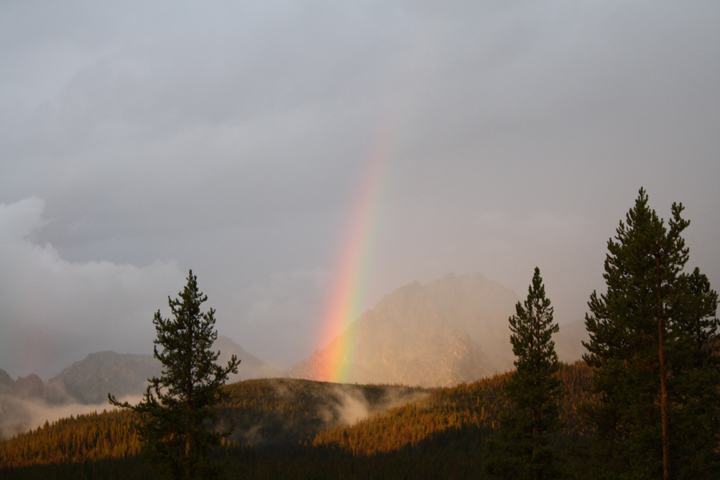
One morning after a light sprinkling, we even got a rainbow. I was still sleeping, so thanks to Nate for capturing this one.

 Idaho Rainbow ~ ElephantEats.com

Not a bad  view to have while eating dinner. We used the grill out on his patio the first night for some tasty salmon and veggie kabobs.

Idaho Mountains ~ ElephantEats.com

While there we tried to spend time outdoors, obviously. The cabin is surrounded by camp sites and hiking trails. 

 4th of July Hike, Idaho ~ ElephantEats.com

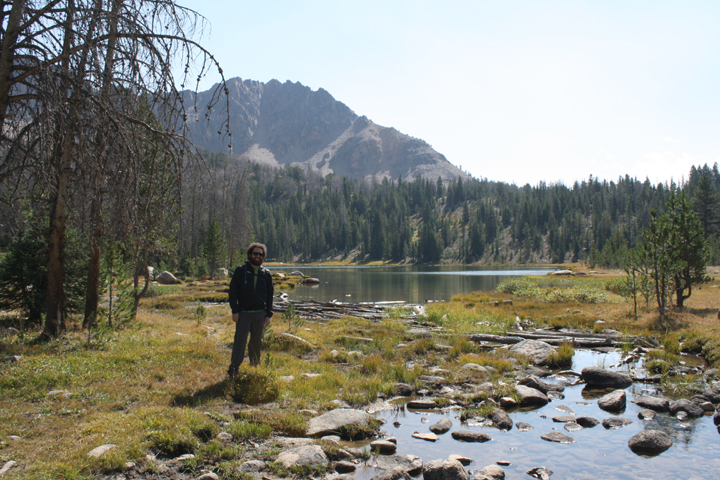
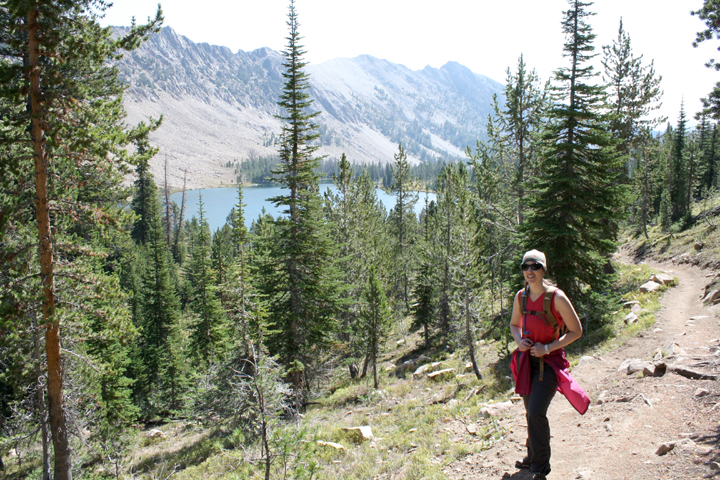
One day we did a 3 hour hike up to a couple pretty lakes.

4th of July Hike, Idaho ~ ElephantEats.com

The area has had numerous wildfires over the years and you can see the devastation everywhere. Here were some burnt, dead trees along the hike. In this area the grass has mainly grown back. Some areas definitely look much much worse.

4th of July Hike, Idaho ~ ElephantEats.com

Despite the fact that many trees have burned down, there’s an abundance of little baby pine trees starting to grow. I think they were my favorite part of the whole trip. This one happens to be right in his dad’s yard.

Baby tree, Idaho  ~ Elephant Eats.com

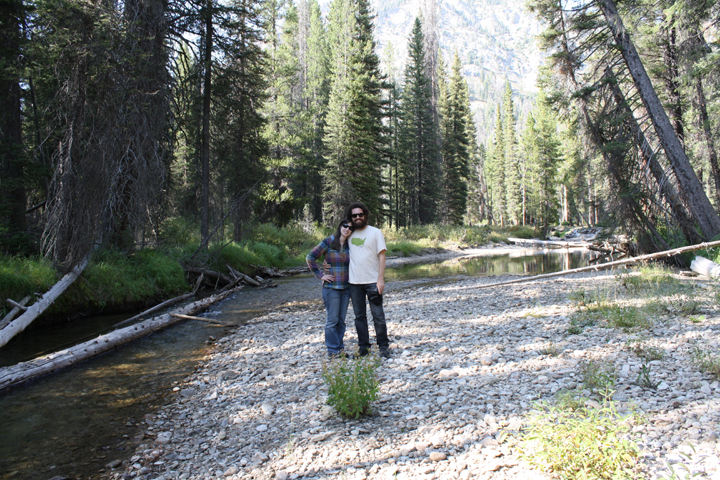
There were a few areas that were so close we didn’t even have to hike. This was a short drive away and then just a walk to this little creek. There were lots of salmon in it! Apparently you can see them spawning at the right time of year.

Idaho ~ ElephantEats.com

Another view of the backyard, just because.

Idaho Mountains ~ ElephantEats.com

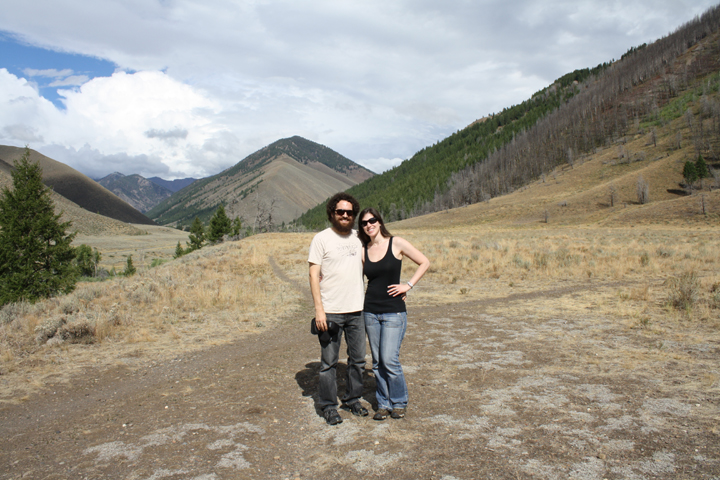
And just some more photos…

Walk in meadow, Idaho ~ ElephantEats.com

Idaho ~ ElephantEats.com

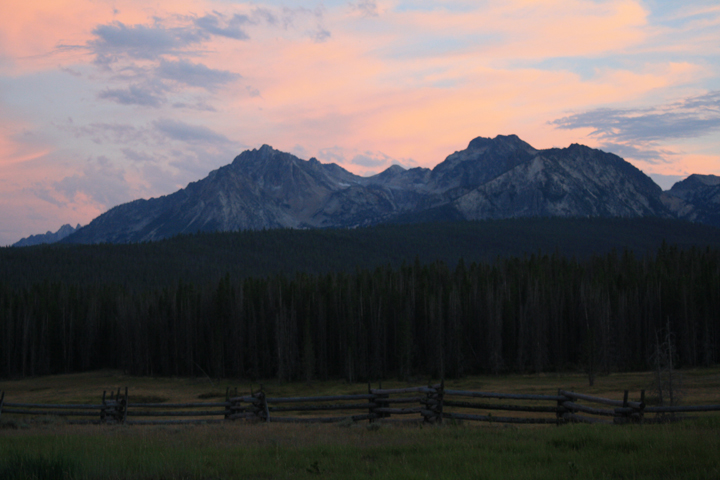
Ok, my final mountain shot, I promise. This was during sunset on our final evening there.

Idaho Mountain~ ElephantEats.com

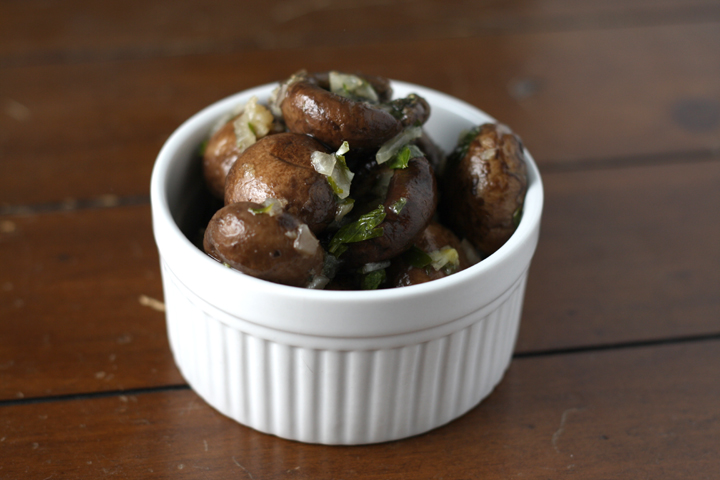
Now back to the recipe. I made these mushrooms as part of Nate’s bday dinner party meal. They’re absolutely delicious but chock full of garlic. If you’re planning on doing some smooching, don’t make these. Unless the other member of your party eats them too…isn’t that the rule?

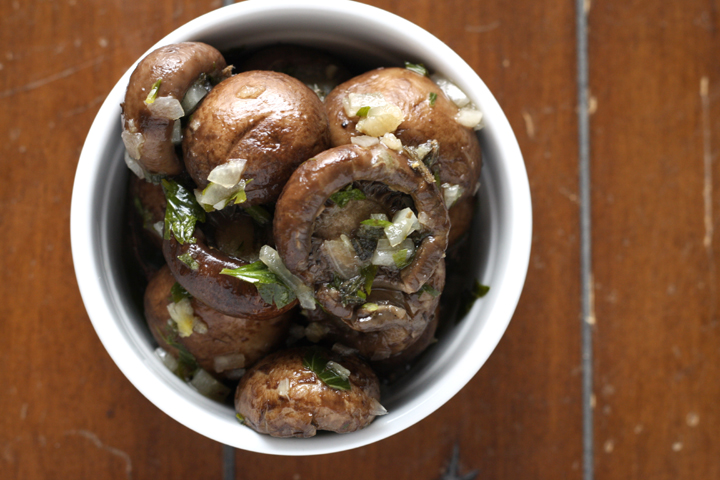
Marinated Mushrooms ~ ElephantEats.com

They’re really simple to make- a quick boil of the mushrooms, mix up a tasty marinade, and then let them do their thing for a while, or overnight. You’re left with a tangy, flavorful side dish that goes great with just about anything.


Marinated Mushrooms
Serves 4
A zesty, flavorful side dish
Write a review
Print
Ingredients
  1. 1 pound fresh cremini mushrooms
  2. 2 tablespoons extra-virgin olive oil
  3. 2 tablespoons white wine vinegar
  4. 1 clove garlic, finely chopped
  5. 1/4 cup finely chopped red onion
  6. 2 teaspoons finely chopped fresh oregano
  7. 2 tablespoons finely chopped fresh Italian parsley
  8. 1/4 teaspoon sea salt
  9. 1/4 teaspoon crushed pepper
  10. 1/2 teaspoon coriander seeds (or a pinch of dried coriander powder)
Instructions
  1. Clean mushrooms and remove stems. Simmer mushroom caps in salted water for 5 minutes or until mushrooms are tender. .
  2. While mushrooms are cooking, mix olive oil, vinegar, garlic, red onion, oregano, parsley, salt, peppercorns and coriander in a medium bowl. Stir to combine. Taste and adjust seasoning.
  3. When mushrooms finish cooking, drain and add to marinade. Toss well.
  4. Marinate in the refrigerator for several hours or overnight. Bring to room temperature before serving.
https://elephanteats.com/
05. September 2013 · 80 comments · Categories: life · Tags: ,

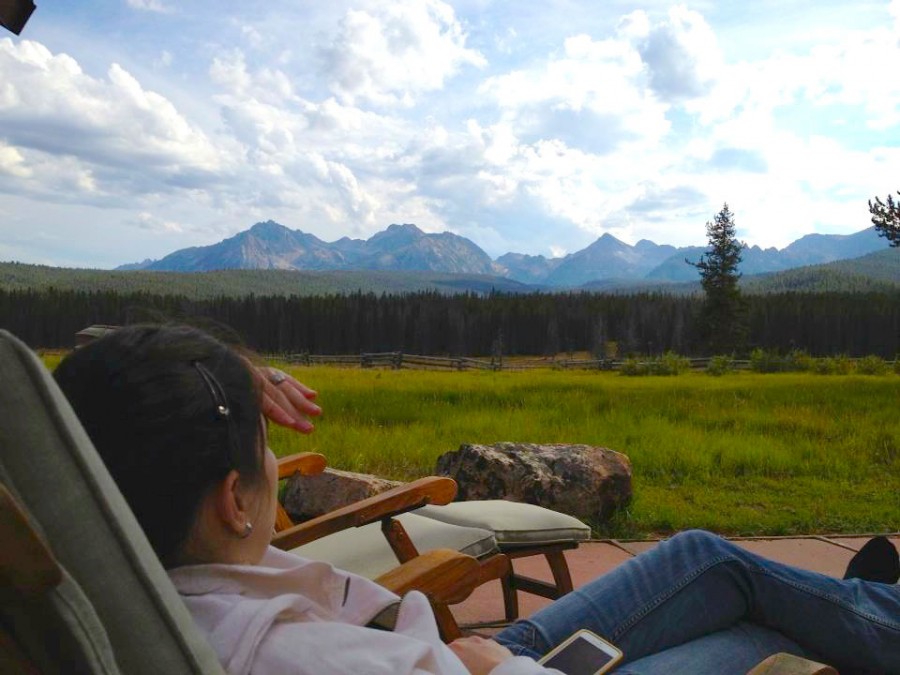
 Stanley, Idaho

…I’m out here in Idaho at Nate’s dad’s cabin, enjoying the view ;)

Seriously, though, that’s his backyard. How amazing is that?!

Be back next week with a new recipe!

DIY Dinosaur Planter ~ ElephantEats.com

This post, while being a how-to, is really more to give you a fun idea for a present, since I’m sure you could figure out how to make it like I did. 

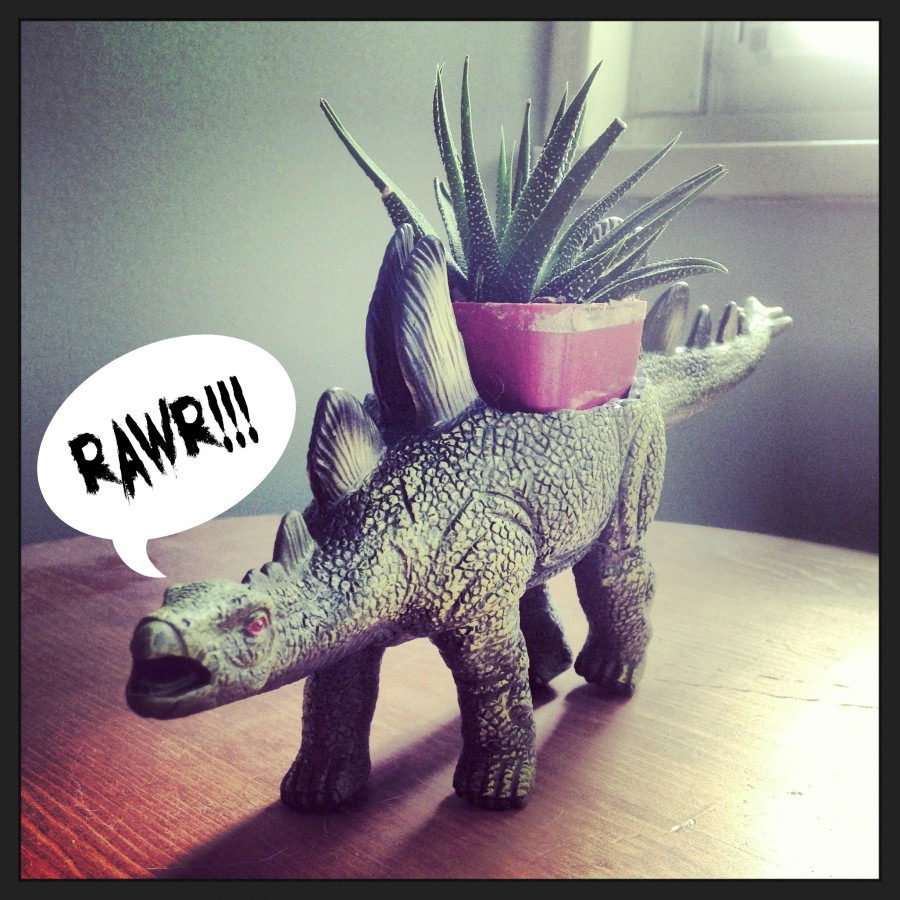
A dinosaur planter is a great decor idea for your dino-obsessed child’s bedroom…or makes a cool desk adornment for your dino-obsessed 30-something year old husband :)

I made this gift to go along with Nate’s bigger birthday present that I got him- a glass blowing lesson! 

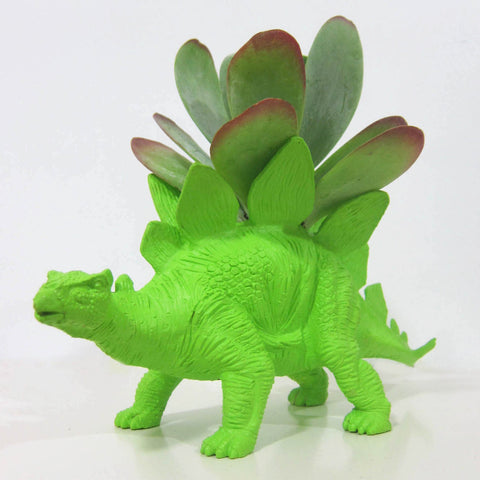
I had gotten the idea to make this after seeing something similar sold on the website theplaidpidgeon.com:

Stanley the Stegosaurus

They were charging $30 for this baby, plus shipping, and of course being the cheap DIY-er that I am, i asked myself the question that I seem to ask myself quite frequently, “why would I pay for that when I could make it for half the price?!”

Well, in the end mine ended up costing about $15 (if you don’t count the extra $10 I paid for the wrong size plant I bought, that I couldn’t return). Plus, it was made with love <3

I’ll admit mine isn’t quite as nice as the inspiration piece, because the dino wasn’t deep enough to hide the planter, but I think it’s still pretty cool. You could easily find a better, deeper dino but I had a limited selection in my over-priced nyc toy store. I imagine Toys ‘R Us probably has some cheaper dinos.

I wasn’t sure I’d be able to find an appropriate dinosaur for my project. The inspiration picture seemed to be a dinosaur made of hard plastic, but I knew I had no tools good enough for carving such a thing. I was on the lookout for something softer, but sturdy enough to stand up on its own.

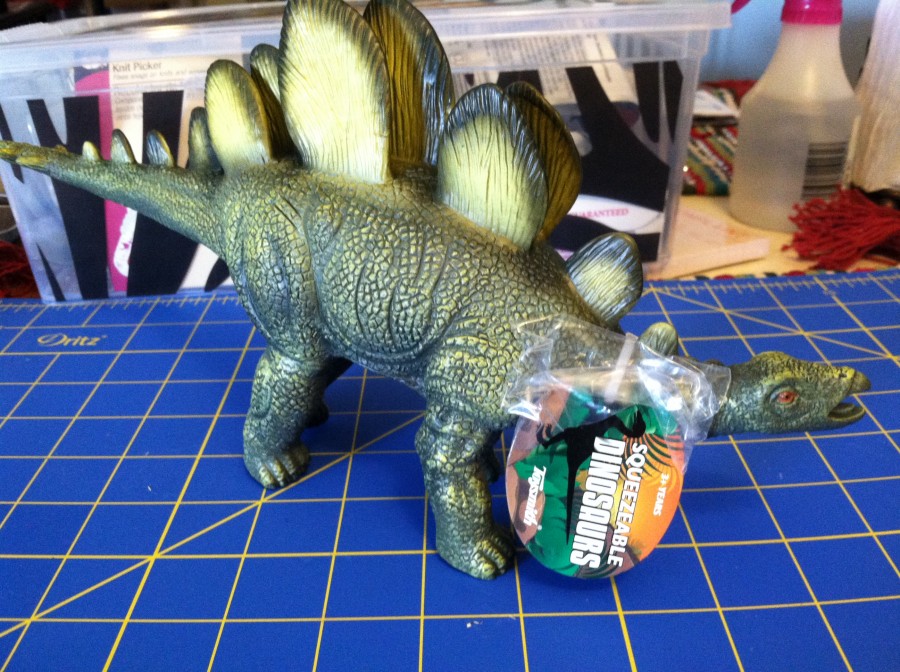
DIY Dinosaur Planter ~ ElephantEats.com

After checking out a couple toy stores, I finally found this dino for $10 at Mary Arnold Toys on the Upper East Side. I thought $10 was a little steep for something about 4″ high, but what can you do. I mean, this was a birthday present after all.

To get started I estimated about how big the succulent plant I saw at the floral store was (about 2″ in diameter) so i would know how big a hole to cut.

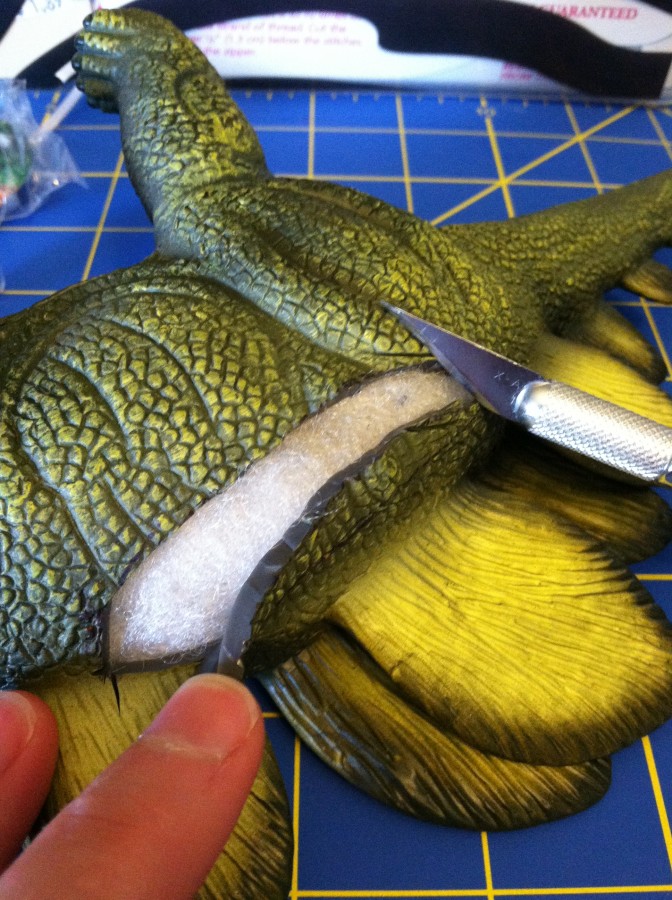
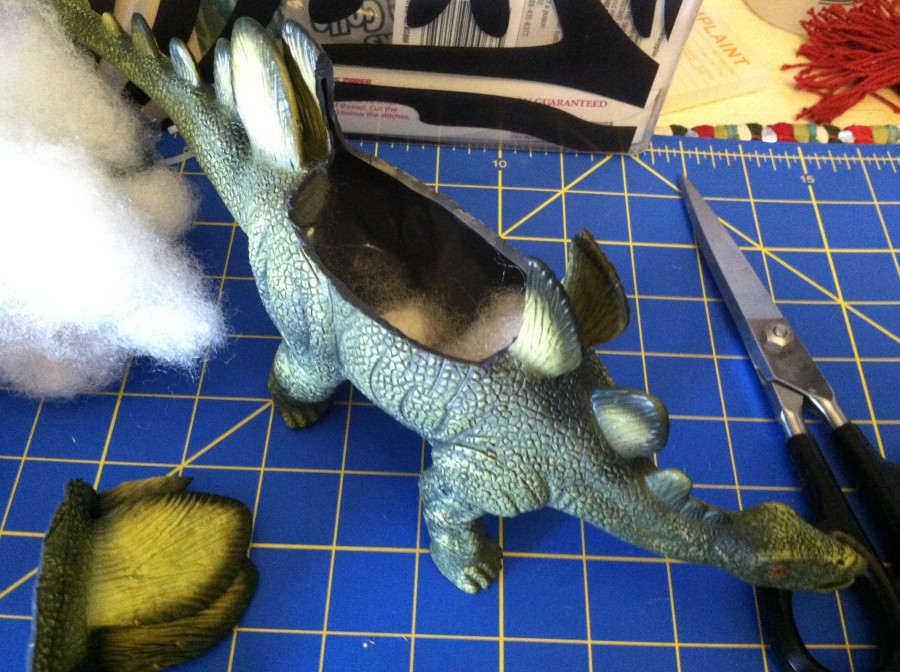
Then I set my little dino on her side, stroked her little head and told her I was sorry. A single tear rolled down her scaley cheek. I wiped it away and performed a small operation to remove a chunk of her back. 

DIY Dinosaur Planter ~ ElephantEats.com

 **No actual dinosaurs were harmed during the making of this project**

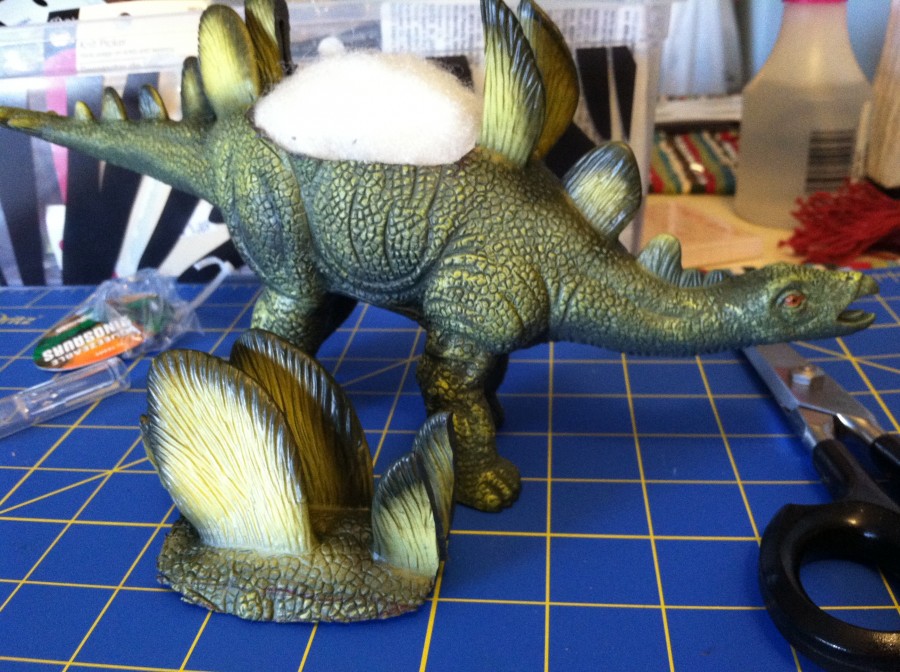
She was fine- no blood at all. In fact, this dino happened to be filled with stuffing, so I took the stuffing out of the middle part but left it in the head and tail pieces so she didn’t completely deflate.

DIY Dinosaur Planter ~ ElephantEats.com

DIY Dinosaur Planter ~ ElephantEats.com

Since I was told the plant needs to breathe and needs drainage, I put the planter in the bottom of a little cup. This way you can pour out any excess water that drains by taking the cup out, since the inside of the dino would be harder to clean.

And then I surprised the birthday boy with a little dinosaur buddy he could share his desk with.

According to Nate, she (apparently it’s a girl)is  currently “guarding his inbox:”

Nate's Birthday 2013

Beardo is how I affectionately refer to my husband, Nate. I think you can figure out why. 

As I mentioned in my last post, we had a little get-together, where I cooked up dinner for 6 of Nate’s closest friends. 

Having vegetarians to dinner always makes it hard for me to plan a menu. It’s easy to leave out any animal protein, but then there’s only so much you can do with legumes as your protein…and I never have the courage to serve soy products, for fear the non-vegetarians in the group would hate me forever.

Butterscotch Cake ~  ElephantEats.com

I decided to try not to think about how balanced the meal was and went with a slow-roasted tomato pasta dish, beets with mint, homemade marinated mushrooms, some asparagus with chopped tomatoes and a vinaigrette, and some good crusty bread. I’ll try to share some of the recipes with you soon.

I also had some cheese and crackers, and nuts for an appetizer, plus there was cheese in the pasta, so I figured that was plenty of protein for the vegetarians. I served some turkey sausage on the side so the meat eaters wouldn’t feel too deprived.

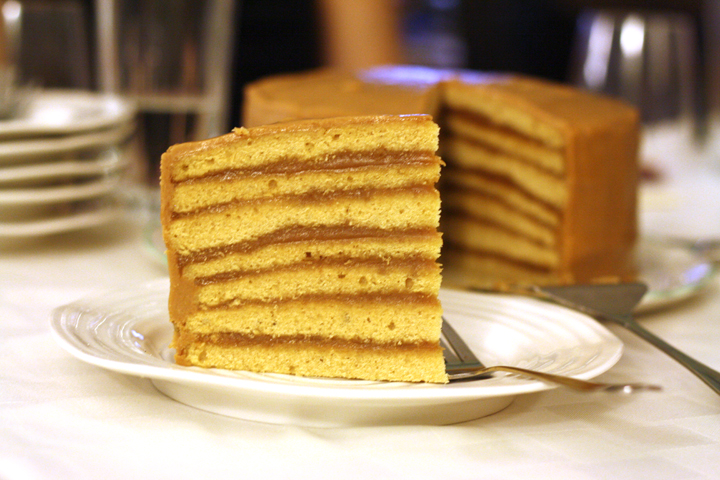
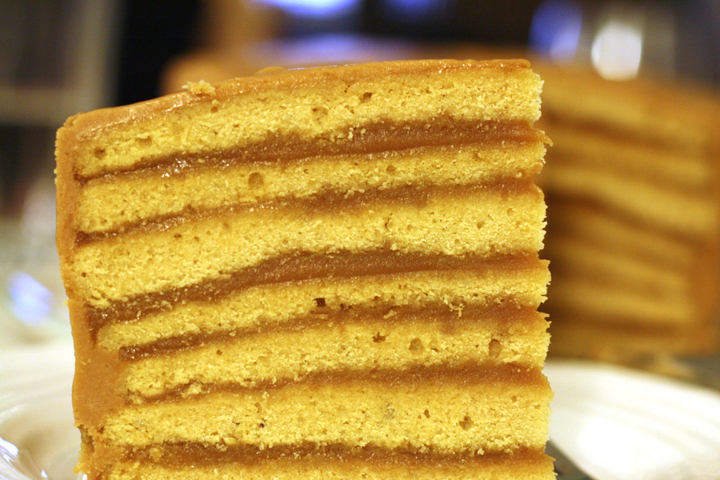
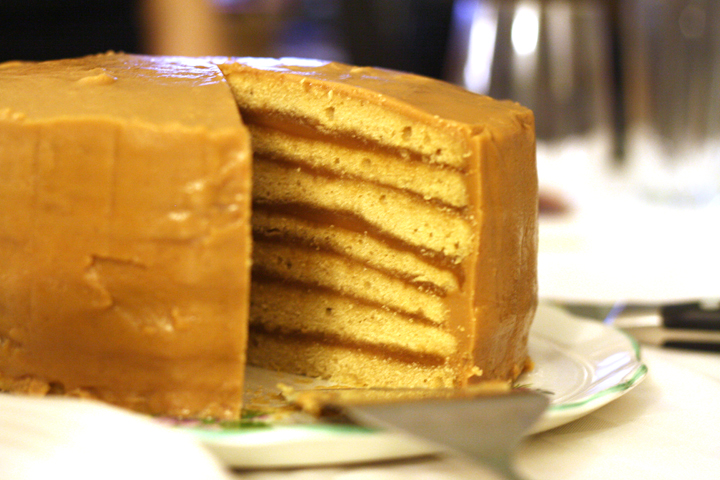
But the real star of the show was this 9-layer butterscotch cake.

Butterscotch Cake ~  ElephantEats.com

If you noticed my cake only has 7 layers, well you’re very perceptive. That’s because I generously scooped the batter into the prepared pans, thinking it was only supposed to be six layers. When I got to layer 4, I realized my error but by that point I had already baked 3 layers. There was still time to correct it to 7 layers but I couldn’t get 9 out of the remaining batter, and figured it would still look impressive and no one would know the difference. Thankfully I was right.  

All of the comments of this cake on the site I got it from raved about it’s amazingness. It was definitely good but was SO rich. I cut Nate a huge piece not knowing, and he proceeded to eat the whole thing, though I’m not sure how. I think, being the sweet husband that he is, he didn’t want to offend me by not finishing what I served him. I cut myself a small piece and made myself nauseous finishing it.

The cake was definitely impressive-looking, tasted good, and I was proud of myself for making a homemade butterscotch… but aside from that I think it wasn’t worth the effort to attempt it more than once in a lifetime.

Butterscotch Cake ~  ElephantEats.com

*Helpful notes if you try this yourself:

When you go to reheat the butterscotch for the top and sides of the cake, make sure you use a heavy-bottomed saucepan over EXTREMELY low heat.

I think my pan wasn’t “heavy” enough and the butterscotch completely separated. I was ready to cry since it took me about 45 minutes of stirring over a hot pot to make that damn butterscotch, but I was thankfully able to salvage it. The butter basically separated out so I poured it off and had a butterscotch that was more spread-able than pourable, but still tasted exactly the same. So it worked out…phew! If it hadn’t worked, I probably would have thrown my brand new pot out the window, along with the cake and anything else nearby. Hopefully my cat would know well enough to run into the bedroom to hide. 

Also, since there was so little batter that you had to spread it as evenly as possible in the pan, the layers were all slightly uneven/lumpy. When I stacked them I noticed they were sagging on the sides since the middles were so much higher. So i took each cake layer and very carefully shaved off the top of the middle section to make them as flat and even as possible. It wasn’t too hard to do with a good, sharp serrated knife.

I didn’t change a thing, so you can find the recipe here at Leite’s Culinaria