**You can now subscribe to get my new posts sent to you by email! Simply scroll down til you see the box on the right titled “Email Subscription” and sign up :)**
For those who don’t know me, my background is as a civil engineer. While this gives me some very useful real world skills, the ability to stray from black-and-white thinking isn’t one of them. As all who know me will attest, I like to be given explicit directions and I follow them to a T. There’s no gray area for this girl.
As you might imagine, this means that I prefer to have a recipe to follow rather than making things up, and I tend to favor baking over cooking because there isn’t much room for ad-libbing.
However, I’m happy to report that since beginning this blog and reading about recipe contests that require creativity, I’ve been much more open to switching things up. I’m starting to create my own flavor combos and recipes!
I’ve found that the easiest way to begin the process of creating a “new” recipe is to rework an existing one by swapping one or more ingredients for other similar ones, or others that go equally well with the rest of the ingredients called for.
Last week my coworker sent me a recipe for a potato-wrapped fish. It involved slicing super thin slices of potato and actually wrapping the fish with it, then frying it, creating a beautiful little package.
I’m really not too fond of changes in general. I mean, I know my mom always told me that changes are usually for the best, but let me just tell you that in this particular cooking experiment, this was not the case.
My first change was to use sweet potato instead of potato…just make it a little more gourmet and colorful. These thin slices of potato were meant to be sliced with a mandoline because a knife wouldn’t get thin enough slices to have them flexible enough to wrap around the fish fillet.
I don’t own a mandoline so I attempted to do it with a cheese slicer. FAIL. Not only did it take me forever, but as careful as I was, I still managed to slice open my finger. I bandaged myself up and managed to salvage enough slices to cover four fillets. Lesson learned: DO NOT MAKE THIS WITHOUT A MANDOLINE!
I had some leftover rosemary from my tart the other day, so I made a sort of rosemary, parsley, olive pesto/tapenade to spread between the potato and the fish. It was a yummy choice. My mom warned me that sweet potato might not crisp up as well as a regular potato. In this instance, Mom, I know you may not believe your eyes as you read this but you were right. It got kind of brown but when I went to flip it, it just stuck to the pan and shredded. I could have left it to brown more, but it was already sticking a lot so I was afraid to. I mean it wasn’t horrible but certainly wasn’t as presentable as I would have liked. I served it along with a simple beet salad.
Nate enjoyed the fish, but he pretty much likes anything I make. I, however, think I would benefited from some sort of balsamic reduction to serve over it because the pesto/sweet potato/fish combo was slightly rich and I would have liked something acidic to cut it (or maybe add more olives to to pesto?). I squeezed lemon on top but it wasn’t enough.
When I had it for leftovers the next day, I decided it was better than I had thought. That being said, by all means give it a try and make your own changes to my recipe…they might just be for the best :)
Sweet Potato-Wrapped Cod with Rosemary Tapenade
Recipe by Me
Serves 4
1 Tbsp rosemary
1/4 cup parsley
2 Tbsp fresh lemon juice (from about 1/2 lemon)
1/4 cup pine nuts
1/3 cup pitted kalamata olives
1-2 cloves garlic
4- 5 oz. cod fillets
1 large sweet potato, the longer the better
Put rosemary, parsley and lemon juice in food processor and blend til finely chopped. Add rest of tapenade ingredients and blend til it becomes a paste.
Peel the sweet potato. Using a mandoline, cut sweet potato into thin slices lengthwise. You will need at least 8 slices per fish fillet.
Pat fish dry; sprinkle with salt and pepper. Place a large piece of saran wrap on work surface. Set 4 to 5 slices of sweet potato on saran in row, overlapping long sides. Make another row that overlaps short ends of first row, forming 6×5-inch rectangle (see photos above). Sprinkle rectangle with salt and pepper. Set 1 fillet across overlapped short ends of slices. Spread 1-2 Tbsp of the tapenade evenly over the top of the fillet.
Fold short end of rectangle over fish one side of fish. While holding potatoes to fish with one hand, use saran to help to pull other side of potatoes up and over the fillet and wrap the fish fairly tightly in saran (see photos above). Repeat with other 3 fillets. Put fish “packets” in fridge and chill 1 hr.
Heat 3 tablespoons oil in each of 2 large skillets over medium-high heat. Remove saran and set the wrapped fish fillets, seam side down, in each skillet. Cook until golden on bottom, about 3 minutes. Turn; cook until fish is opaque in center, 2 to 3 minutes longer.
Simple Beet Salad
Adapted from Martha Stewart
makes 3-4 side dish portions
3 Tbsp olive oil
1 Tbsp white wine vinegar
1 tsp dijon mustard
salt and pepper to taste
2 tablespoons finely chopped fresh parsley
3 medium beets, roasted and peeled
1/3 cup crumbled blue cheese
1/4 cup toasted pecan pieces
Combine oil thru pepper and whisk to blend.
Toss beets with dressing and parsley.
Before serving, sprinkle beets with blue cheese and pecans.
Confession: I read cookbooks in bed before going to sleep. Is that weird? I love getting to think about all the things I still haven’t tried making yet. It’s exciting.

Reading cookbooks before bed has one downside: food dreams. I dream about food all night long and wake up hungry.

I don’t particularly like cookbooks with no pictures…I’m very much a visual person. I can’t imagine how the recipe will come out if I don’t see an example.
I learn best by example. I suppose this is why I love food blogs so much. Seeing the gorgeous photos of what other people make is so enticing.

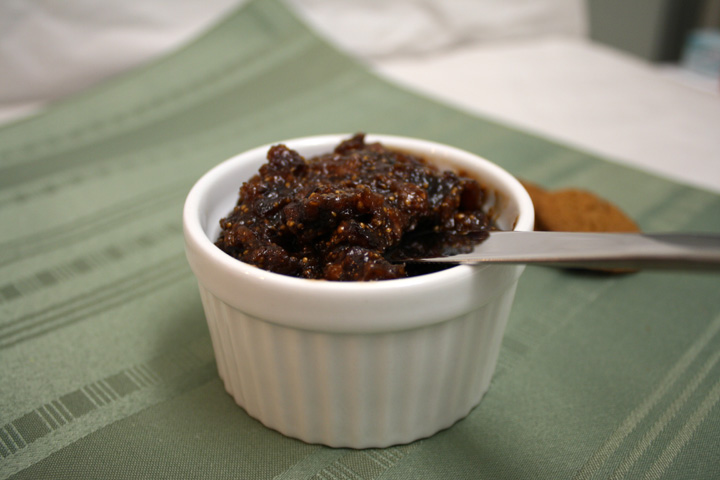
Unfortunately, while figs are a beautiful fruit, fig jam is just…well, ugly. It’s brown, and brown isn’t appetizing. But, I promise it tastes delicious, especially when paired with a mixture of salty and sweet foods like in my next post: Fresh Pear, Fig and Prosciutto Tart with Rosemary Cornmeal Crust.

Sound good? You better believe it is! But for now, you’ll just have to look at these pictures before bed and hope that you get to taste it in your dreams ;)

(Other uses include spreading on crackers, or making a similar tasting bruschetta like my old post, but using the jam instead of the chopped figs)
Savory Sweet Fig Spread
Recipe by Me
Yields about 1 1/3 cups
7 oz. dried figs (I used Mission)
1/2 cup sugar
3/4 cup + 2 Tbsp water
1 Tbsp flour
1 Tbsp balsamic vinegar
Combine in pan, boil over low heat. Reduce heat and stir til resembles jam, about 25 min. Cool to room temperature.
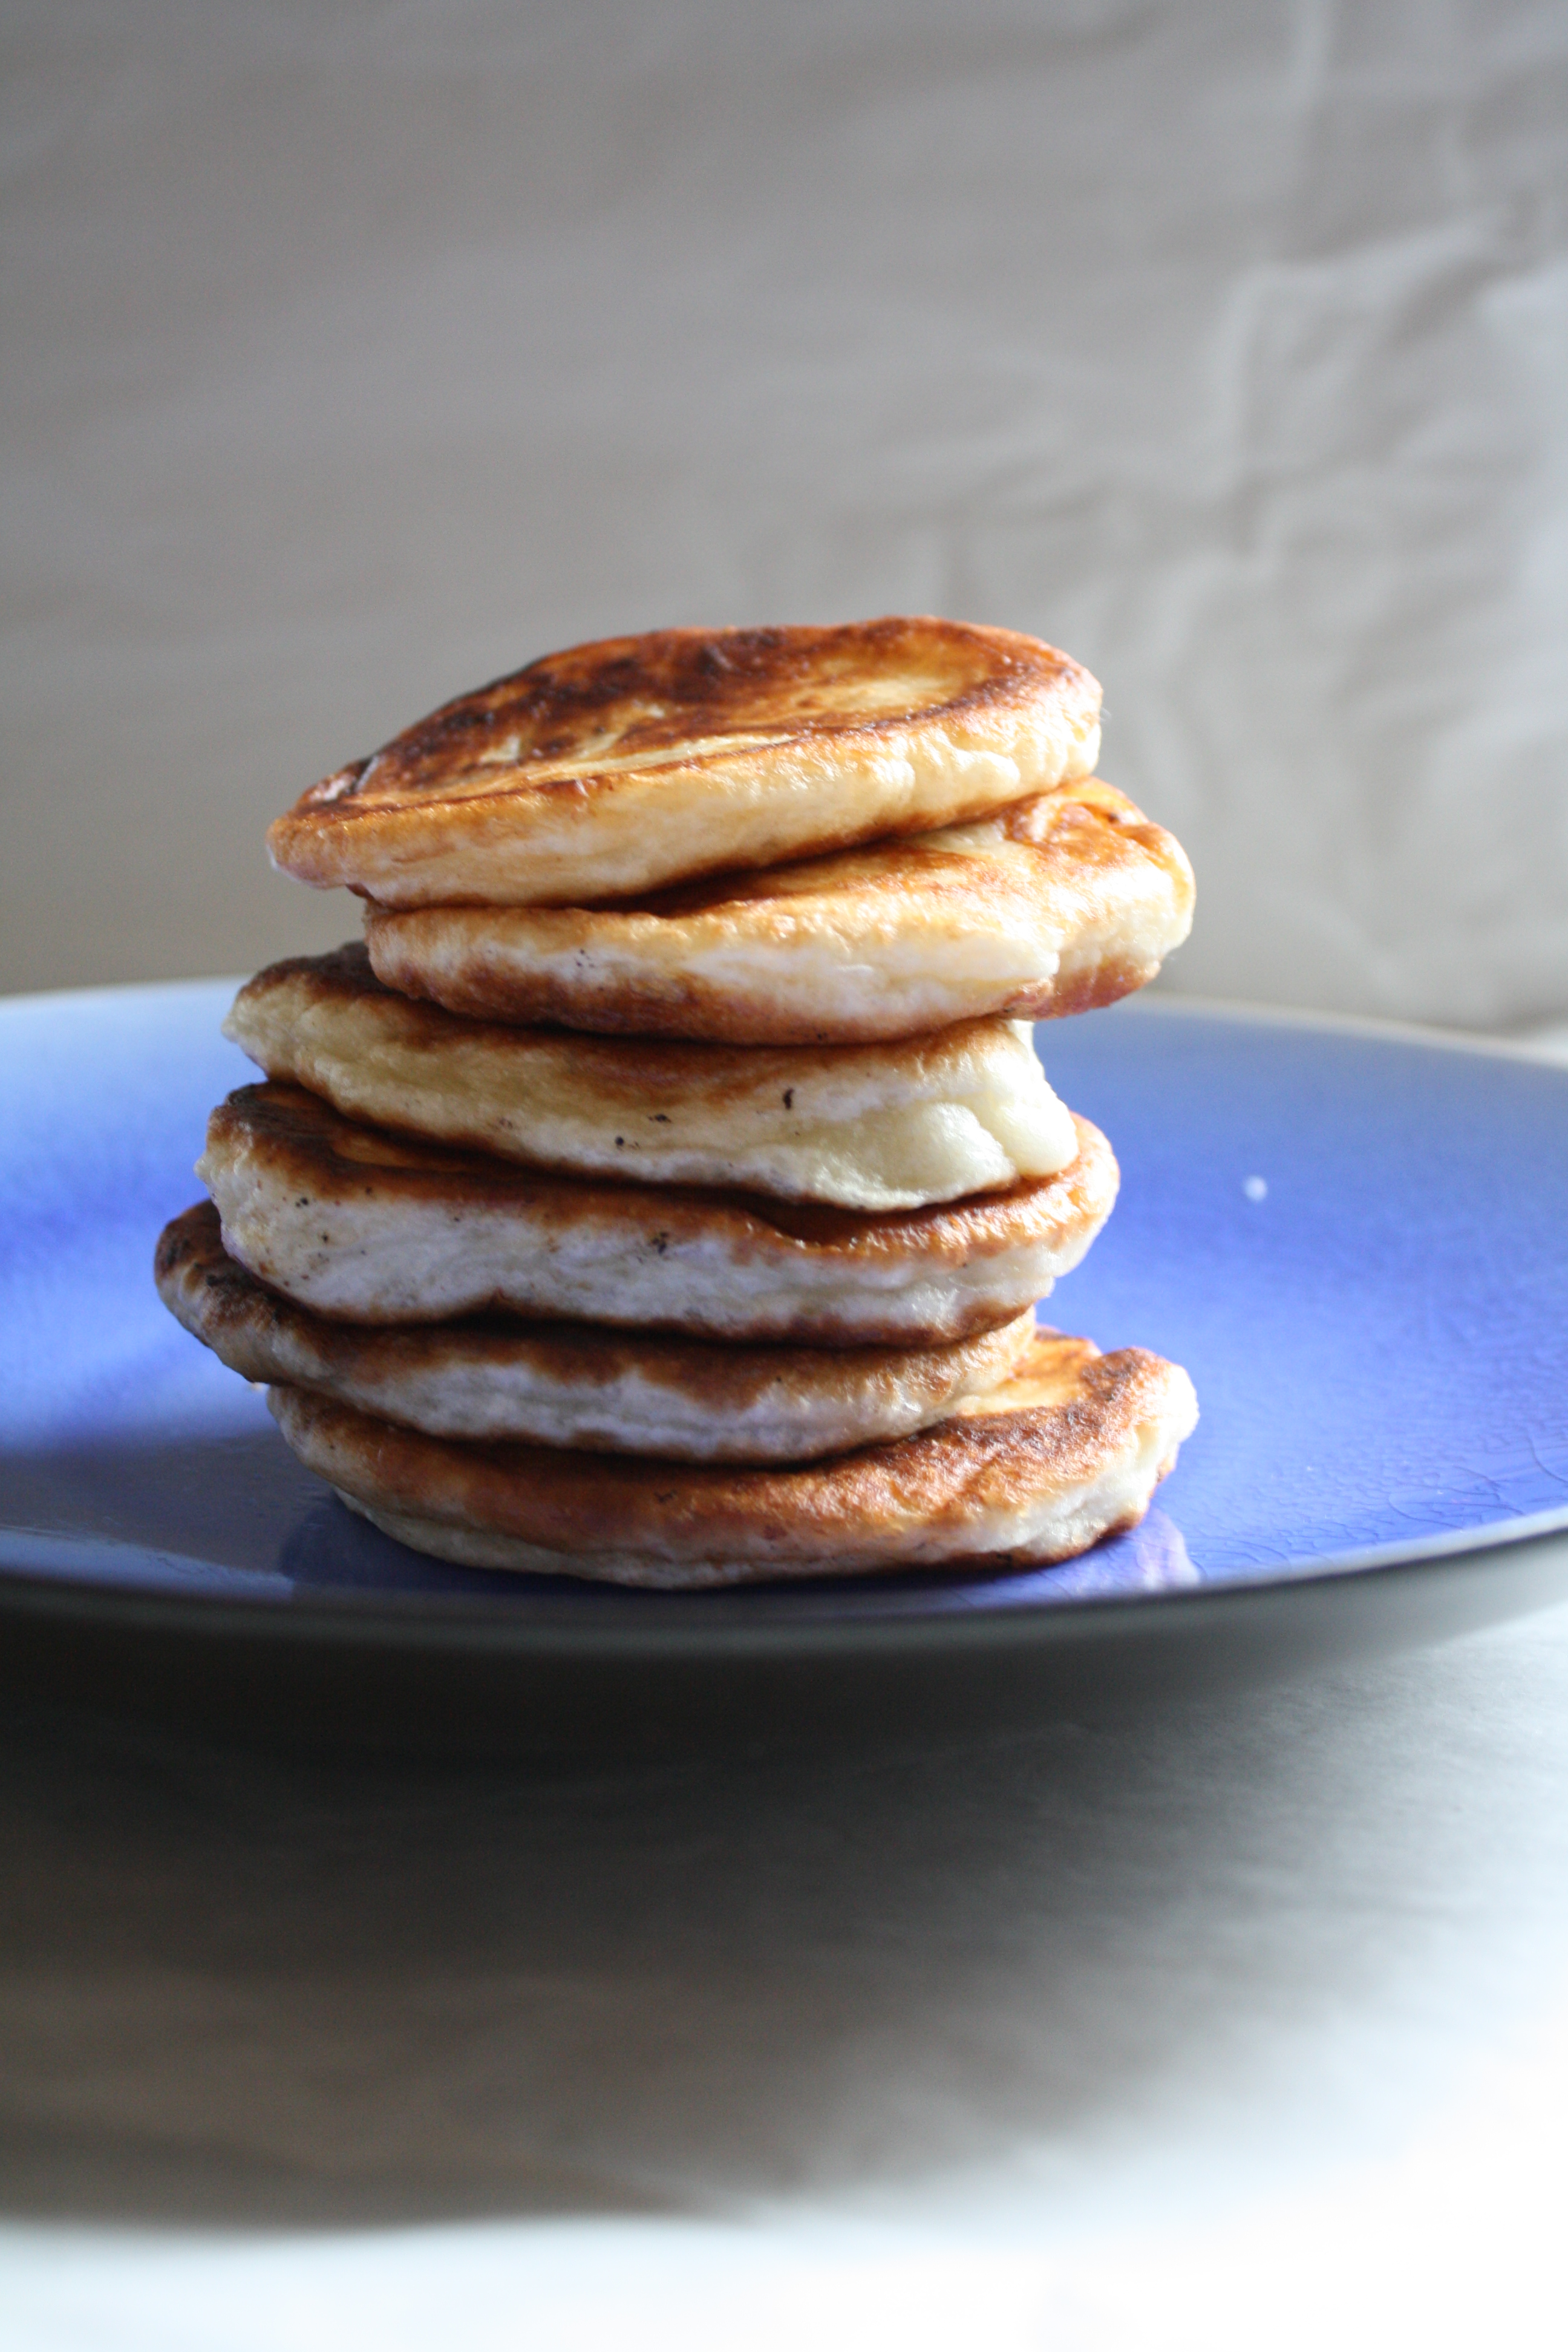
Ho-tteok is a variety of filled Korean pancake, and is a popular street food of South Korea. According to Wikipedia, it is usually eaten during the winter season, which works out well for this blog post :)

It is believed that hotteok originated from Chinese merchants who immigrated to Korea after the late 19th century. Unlike many Chinese pancakes, which often contain savory meat fillings, hotteok are stuffed with sweet fillings, to suit Koreans’ tastes. They traditionally contain a filling of brown sugar, chopped walnuts or peanuts and cinnamon, that melt when the cake is fried.
I think I first had Hotteok at a Korean supermarket I went to while briefly living in Texas. It was being made right there in front of me, and it came out so fresh and hot that I burned my mouth on the sweet, sugary filling inside because I couldn’t wait for it to cool. Needless to say, it was delicious. You’d think I would have learned my lesson but I always burn my mouth on hot foods due to my impatience.

The main reason I chose to make this (other than going along with the Asian theme of my last post) is because, out of curiosity, I bought some glutinous rice flour (also called sweet rice flour) the last time I was at the Asian supermarket. I don’t know what I was thinking, really. I thought you could just use it in place of white flour in any recipe. I believe you can with regular rice flour, but the glutinous type is mainly used in Asian desserts. It’s chewy, from the gluten I suppose, which makes it workable and good for stretching around fillings.

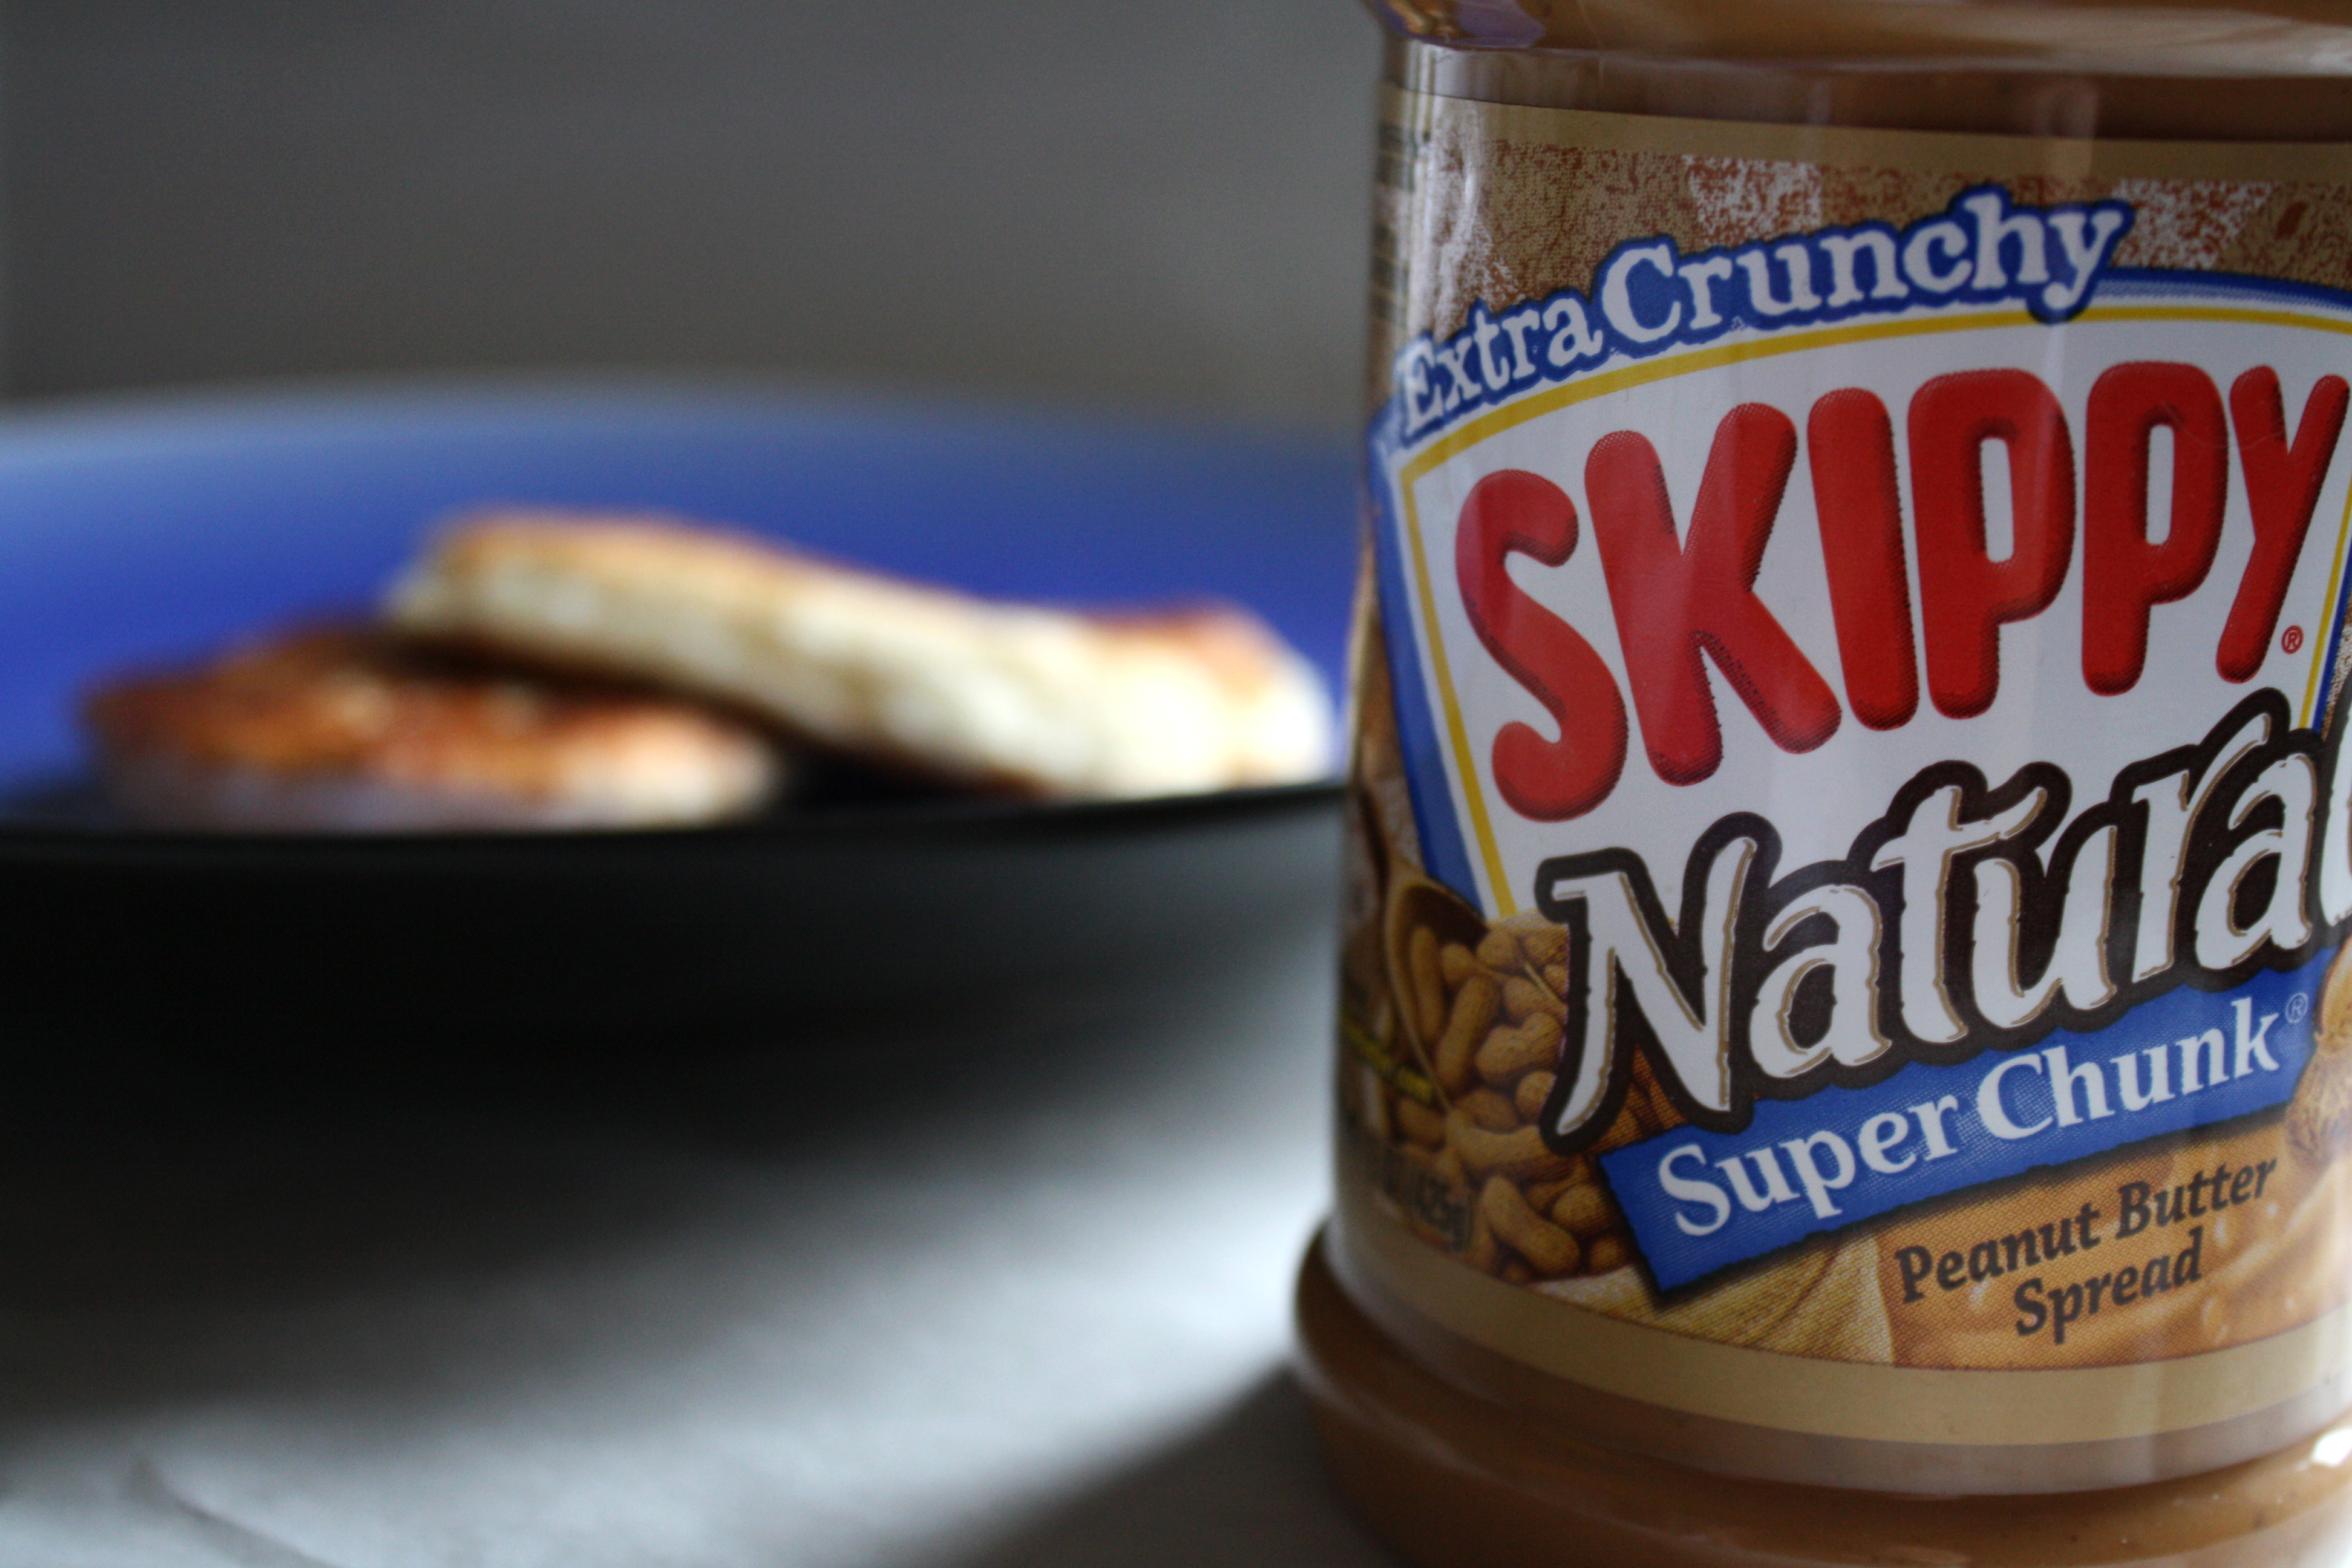
These days, the types of hotteok have been changing continuously. Many variations have developed since the early 21st century, such as green tea, pink bokbunja, corn, and more. In my case, I decided to alter the traditional filling by using crunchy peanut butter in place of the nuts and adding some banana because…well because you can’t have peanut butter without banana (or chocolate) ;)

Though the glutinous rice flour can’t be found in a standard supermarket, you can find it in most large Asian grocery stores, or you can order it online. I highly recommend trying it. And with the leftover, you can make mochi ice cream!
The batter was so delicious that I may try thinning it out and making waffles with it. Whether you choose to make this for breakfast, dessert, or as a snack, I can guarantee you won’t be able to wait to eat it either…and when you burn your mouth, don’t say I didn’t warn you ;)
I submitted my recipe to Yeast Spotting!
Hotteok (Sweet Korean Pancake) stuffed with Brown Sugar, Peanut Butter and Banana
Adapted from One Fork, One Spoon
makes 8-10 small pancakes
¼ cup lukewarm water
2 tablespoons sugar
1 teaspoon active-dry yeast
1 cup flour
¾ cup glutinous rice flour
½ teaspoon salt
½ cup milk
3 tablespoons canola or vegetable oil
filling:
¼ cup brown sugar
1/4 cup crunchy peanut butter
1 ½ teaspoon ground cinnamon
1/3 banana, diced
Stir together the lukewarm water, one tablespoon of sugar, and active-dry yeast in a small bowl until the sugar and yeast dissolve. Let it sit for 10 minutes, during which time it will start to bubble and foam.
Combine the flour, glutinous rice flour, salt and remaining tablespoon of sugar in a large bowl. Add the yeast-sugar mixture and the milk.
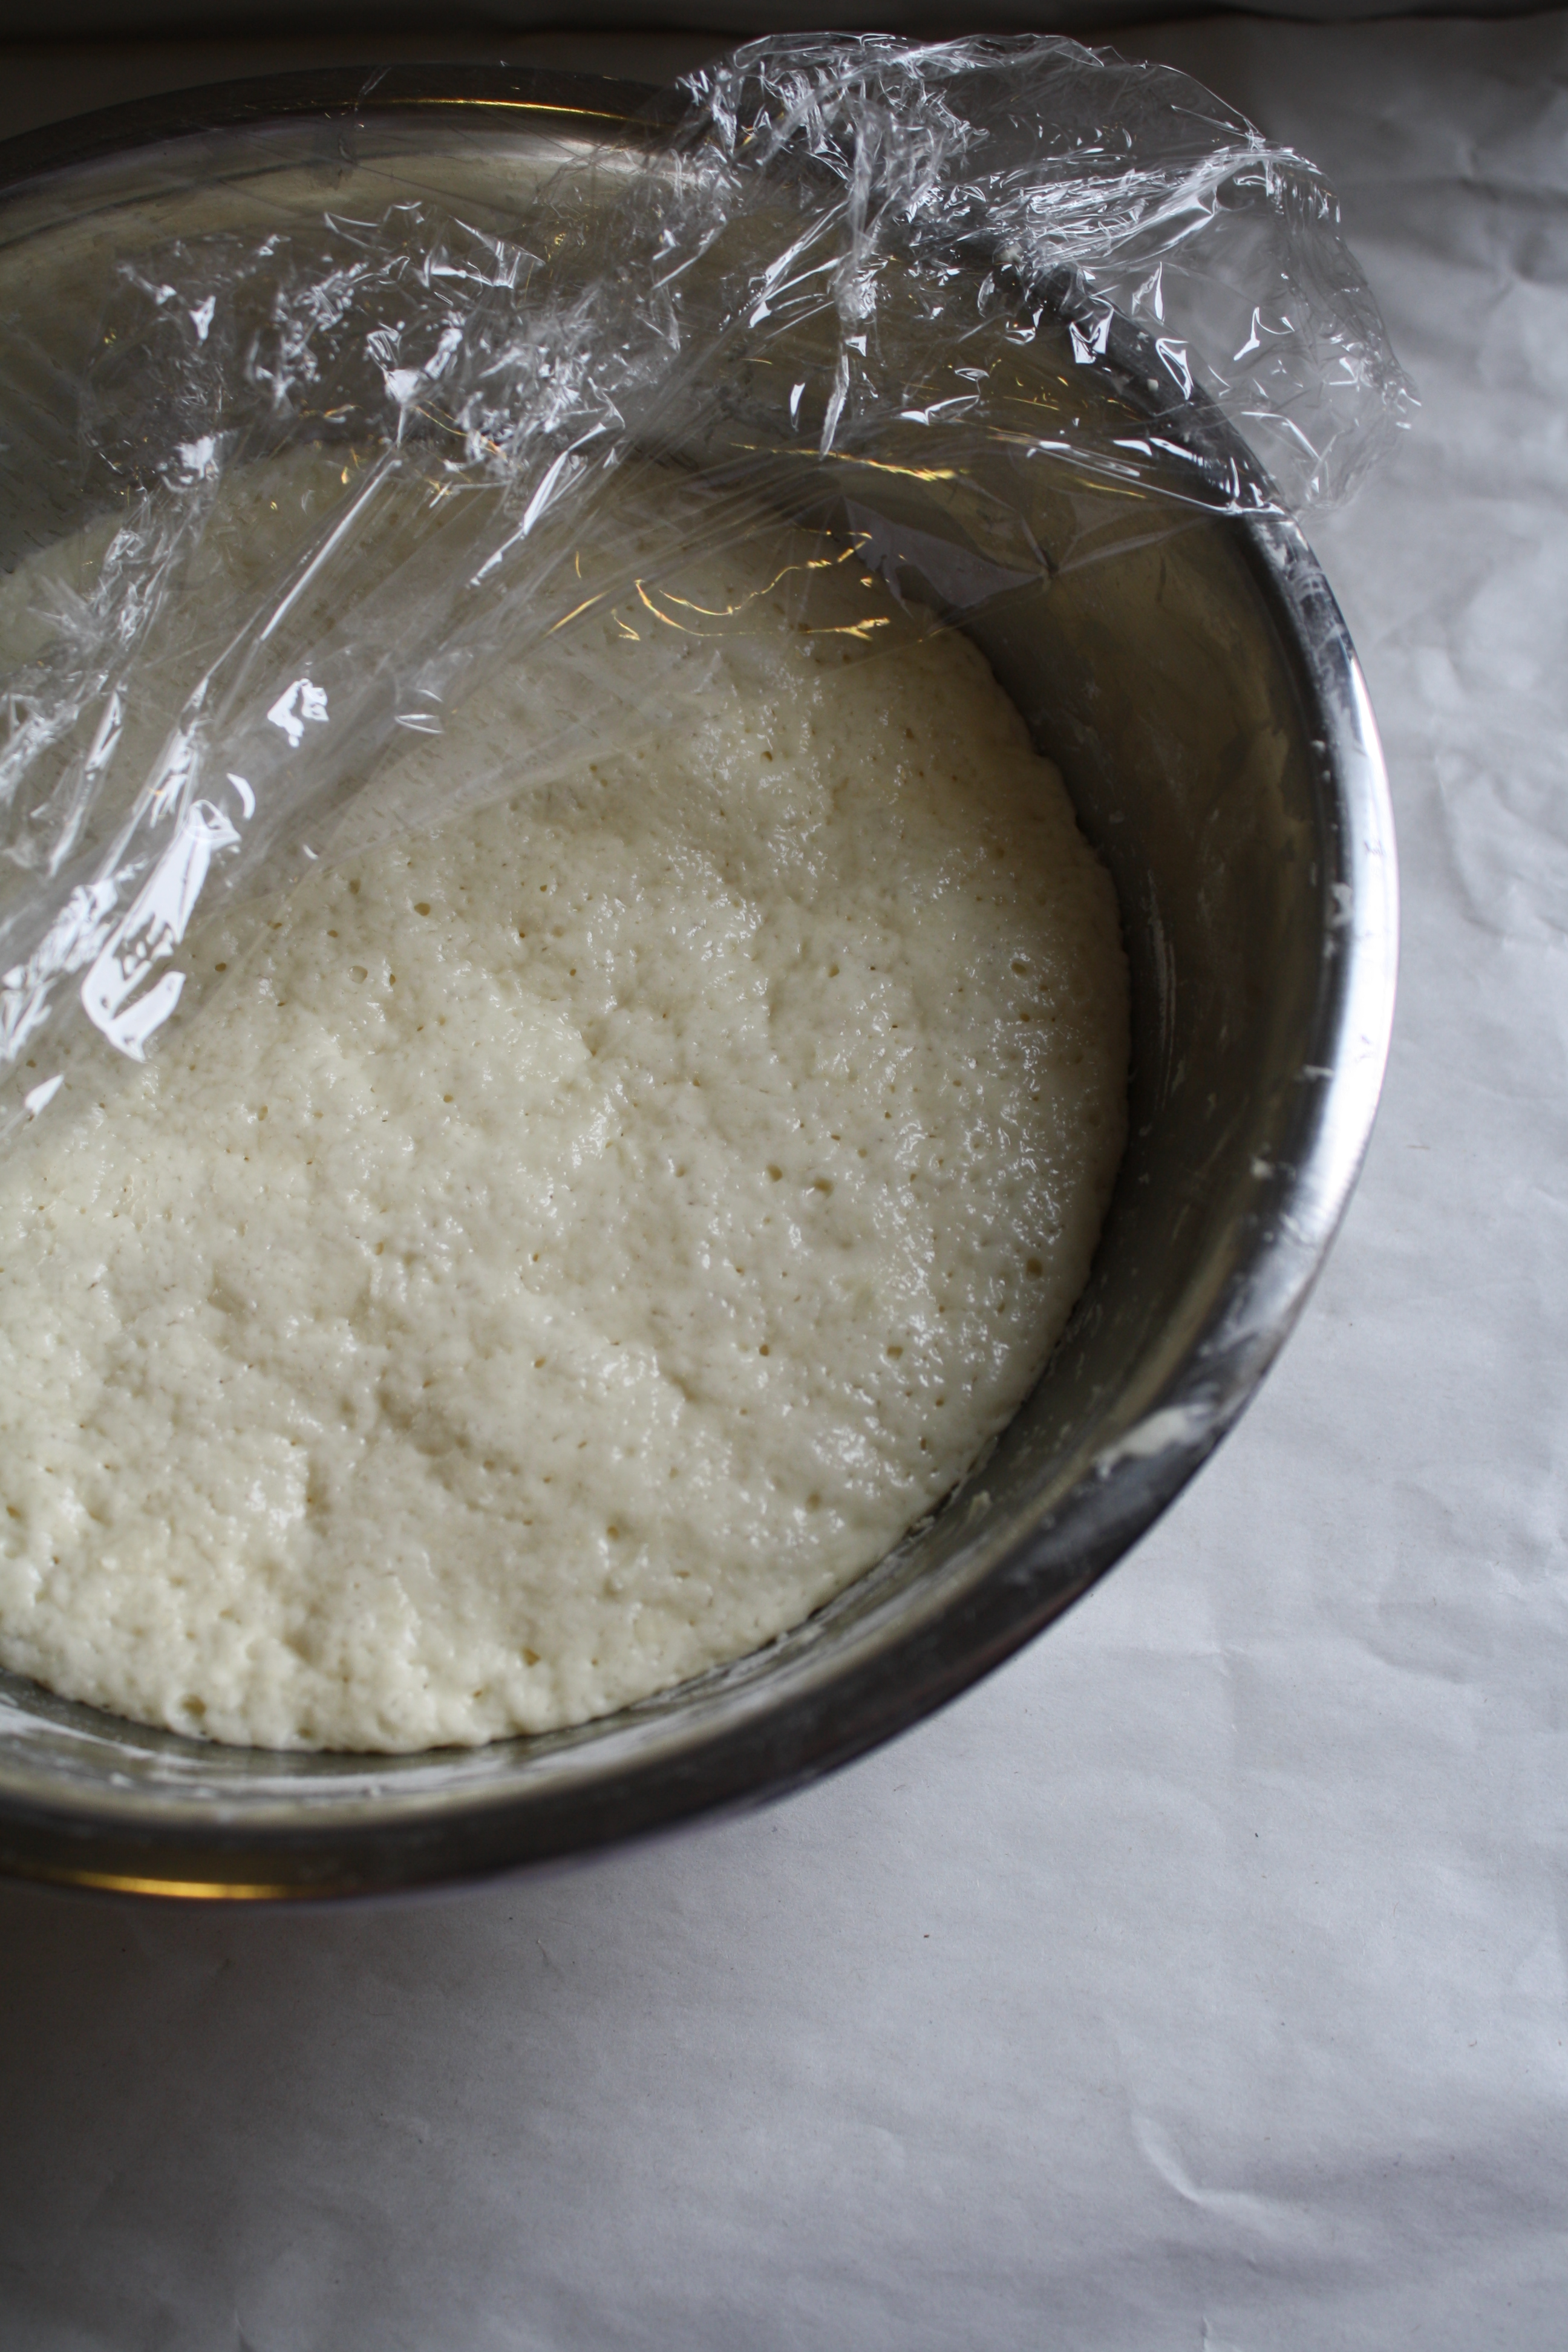
Using your hands, bring the dough together into a sticky ball. Knead it a couple of times, for about two or three minutes. The dough will be sticky, but it should still come off your hands and stay together. Cover with plastic and place in a warm spot for 3 hours. (I put my oven on 200 for 30-40 seconds then turned it off and put dough in and turned on oven light)
After 3 hours, the dough will have doubled in size. It will look pretty puffy. Knead the dough a couple times until it becomes more elastic, but keep in mind that it will never become a smooth, elastic ball of dough.
Combine the brown sugar, peanut butter and cinnamon in a small bowl. Chop banana into small pieces and put to side.
Heat the oil in a large pan on medium-high heat. Make sure your pan is hot before you start — your pancake should sizzle when it hits the pan or it won’t form a good crisp crust. Oil your hands and pinch off a piece of dough, about 2-3 tablespoons. Knead it into a smooth ball and then stretch it out into a loose circle, creating a depression in the middle. Fill the depression with the sugar mixture, about a tablespoon worth. Stretch and seal the dough around the sugar mixture and flatten it between the palms of your hands.
Drop the flattened ball of dough into the pan. The oil should be hot enough to sizzle. Smooth some oil on your spatula and press down on the ball of dough, flattening it further. Continue making balls of dough until the pan has 3 or 4 pancakes in it. Be careful not to crowd the pan.
Fry the pancakes until golden-brown, about 3 minutes on each side. Remove from the pan and let them drain on a paper towels or a wire rack. Serve warm.

Ok, well maybe I can’t tell you how to win his heart. I mean, I won the heart of my boyfriend, Nate, but I’m pretty sure every guy is different. But you know what all men have in common?…their stomachs. Any man can be won over with a cake.

I’ve been in several relationships, but no one has been as appreciative of what I cook as Nate. It’s really nice to have someone enjoy every single thing that comes out of your kitchen, even when you know it wasn’t your best work. Maybe Nate’s easy to please, but I like to think I’m just that good ;)

This cake was my way of showing the man that appreciates me so much how much I appreciate him. Red velvet cake is one of his faves, and raspberry mousse is one of mine, so I thought I’d bring them together in a cake full of love. Plus, raspberry and chocolate make a darn good combo.

I kinda just found a bunch of recipes, threw them together, and hoped for the best. But with cream cheese, chocolate, butter and raspberry, I didn’t really know how it could go wrong. And from the look on Nate’s face when he took his first bite, I’d say it was a success.
Happy Valentine’s Day! <3
Red Velvet Cake with Raspberry Mousse and Fluffy Cream Cheese Frosting
Recipe by Me
Cake
1 box Red Velvet Cake Mix
1 pkg chocolate instant pudding mix
1- 7 oz. container 2% greek yogurt
1/2 cup vegetable oil
1/2 cup applesauce or other fruit puree (I used stewed prune puree)
4 eggs, beaten
1/2 cup milk
1 tsp vanilla
1 cup mini chocolate chips
1/2 cup seedless raspberry jam (for cake assembly)
Raspberry Mousse
3/4 cup boiling water
1 pkg (3 oz) raspberry flavored JELLO
1 cup ice cubes
4 oz of 1/3 less fat cream cheese, softened
2 cups Non-dairy whipped topping, thawed (I used Cool Whip Free)
Frosting
8 oz. of 1/3 less fat cream cheese, room temperature
4 oz. butter, room temperature
8 oz. containter of non-dairy whipped topping (I used Cool Whip Free)
2 cups confectioners sugar
1 tsp vanilla
Cake:
Preheat oven to 350. Spray and flour two 9-in. round cake pans.
In a VERY large bowl, mix together everything except choclate chips. Stir in chocolate chips.
Divide batter between cake pans. Spread out batter and tap pan on counter once or twice to get air bubbles out.
Cook for around 30-45 min (depends on cake mix brand) or until tester comes out clean.
Cool on wire rack. When cool, remove from pans and cut each cake in half horizontally to form 4 cake round layers.
Mousse:
Line two 8-in. round pans with plastic wrap.
Add boiling water to gelatin mix. Stir 2 min until completely dissolved. Stir in ice until melted. When gelatin is cold and begins to congeal, remove remnants of ice that haven’t melted.
Blend cream cheese in bowl until smooth and creamy. Gradually beat in gelatin. Whisk is whipped topping after gelatin has slightly set.
Divide mousse between pans, spreading out evenly. Refrigerate 3-4 hours our until set.
Frosting:
Beat cream cheese and butter until creamy and blended.
Add powdered sugar and beat til well blended.
Add 3/4 of the whipped topping and beat well. Fold in remainder of whipped topping.
Refrigerate 1 hour.
Assembly:
Melt raspberry jam in microwave until spreadable but not hot. Put first cake layer on plate and spread with 1/3 of the jam.
Pipe a line of frosting around the outer edge of the round. Carefully flip 1 mousse round onto cake and remove plastic wrap.
Put next cake round on top of mousse layer. Spread with next 1/3 of jam, and then frosting to cover, about 1/4″ thick.
Put next cake round on top of frosting layer. Spread with rest of jam. Pipe another line of frosting around outer edge.
Flip next mousse layer onto cake. Put top layer on top of mousse layer.
Finish frosting cake with rest of frosting. Decorate as desired. Refrigerate again before cutting.


