Whew, that title was a long one! I never really know what to put for my blog post titles. Sometimes I want to be creative, but I feel like I need to be descriptive and tell you exactly what recipe the post contains. I guess I’ll just see how it goes. But for this one, I knew the name of the recipe itself was enough to draw you in ;) Sounds tasty, right?

Lately I’ve been trying to enter as many recipes contests as I can in an effort to get my blog out there. The other day I saw this contest on Food52, a website that hosts weekly themed contests, and this one’s winner would get to be on the Martha Stewart Show! I know she gets a bad rap sometimes, but ever since I was little, I’ve been kind of obsessed with her. I want to be her (well, not including the jail time, and maybe with a little bit more of a sense of humor). Martha, if you’re reading this, I’m just kidding- I love you!

I believe this recipe came to me by divine inspiration. No, I wasn’t sitting in bed reading cookbooks when it happened. I had just stumbled across the contest mentioned above and it got me brainstorming. I was on another long walk home and so I started to think. I knew I wanted to use the flavors of the bruschetta I made a month ago but somehow incorporate it into a tart. I was trying to figure out what type of crust to use when it came to me: Rosemary Cornmeal. I was also thinking I wanted some sort of jam to make it more tart-like so I decided to turn the figs I had used in the bruschetta into a jam.

I had all the flavor components in mind but wanted to alternate salty and sweet layers. I thought I’d make the crust have some sweetness to it, and I had the fig jam, prosciutto and pears, but I needed something else salty. I decided to spread a thin layer of blue cheese between the crust and jam. I also added a touch of balsamic vinegar to the fig jam to make it sweet, but tangy too.

Now, I don’t like to toot my own horn, but I’m going to make a bold statement and say, this could be the best food I’ve EVER eaten. Like so good I’d eat it instead of dessert!

Yep, you heard me right. This tart is better than dessert. You may be asking yourselves, “Has Amy gone off the deep end?” Well, I thought you would have noticed that happened long ago, but I promise this recipe is that good.

The rosemary in the crust is aromatic and shines through, the crust itself and sweet and crumbly, the tanginess of the jam pairs perfectly with the saltiness of the cheese and ham and the juicy sweetness of the pears, and the honey on top makes it truly decadent. Try it and see for yourself.

P.S. See my entry in the Food52 contest HERE.

Fresh Pear, Fig, and Prosciutto Tart with Rosemary Cornmeal Crust

Recipe by Me
8-10 appetizer portions

Crust:

1 1/2 cups all-purpose flour
1/2 cup yellow cornmeal (not stone-ground)
2 Tbsp sugar
1/4 tsp salt
1 stick (1/2 cup) cold unsalted butter, cut into pieces
1 1/2 Tbsp fresh rosemary
4 to 5 Tbsp ice water

Filling:

1 3/4 oz blue cheese crumbles (about 1/3 cup + 1 Tbsp)
1 recipe Fig Spread (see previous post)
4 oz. Prosciutto, roughly chopped
1 juicy fresh pear, cut in half, cored and then very thinly sliced
1-2 Tbsp honey

Put rosemary in food processor and process til chopped. Add flour, cornmeal, sugar, and salt to food processor and pulse. Add butter and pulse until mixture resembles course meal with some small (roughly pea-size) butter lumps. Drizzle evently with 4 Tbsp ice water and pulse until just incorporated. Gently squeeze a small handful. If it doesn’t hold together, add more water, 1/2 Tbsp at a time, pulsing after each addition and continuing to test.

Press dough evenly onto bottom and up sides of 9 1/2 inch tart pan. Chill crust until firm, about 30 min.

Preheat oven to 400. Bake crust in middle of oven until center and edges are golden, 25-30 minutes. Remove from oven and sprinkle with blue cheese. Leave cheese to soften on warm crust for 1-2 min. After softened, spread cheese around crust (small offset spatula works best). Cool crust in pan on rack or in fridge until reaches room temperature.

When crust is cooled, spread Fig Spread evenly over crust. Sprinkle chopped Proscuitto evenly over tart. Arrange pear slices in 2 concentric circles over tart. Drizzle with honey and garnish with rosemary sprig if desired. Serve immediately.

Note: Tart will not be good served after refrigeration as pears will turn brown and crust will be too hard.


Confession: I read cookbooks in bed before going to sleep. Is that weird? I love getting to think about all the things I still haven’t tried making yet. It’s exciting.

Reading cookbooks before bed has one downside: food dreams. I dream about food all night long and wake up hungry.

I don’t particularly like cookbooks with no pictures…I’m very much a visual person. I can’t imagine how the recipe will come out if I don’t see an example.

I learn best by example. I suppose this is why I love food blogs so much. Seeing the gorgeous photos of what other people make is so enticing.

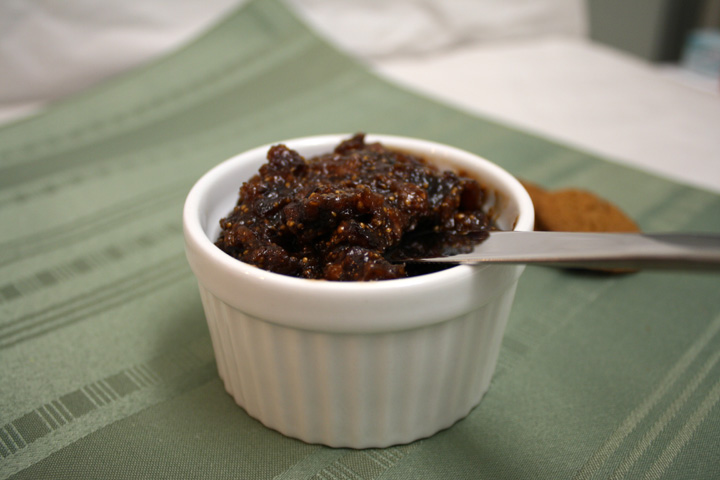
Unfortunately, while figs are a beautiful fruit, fig jam is just…well, ugly. It’s brown, and brown isn’t appetizing. But, I promise it tastes delicious, especially when paired with a mixture of salty and sweet foods like in my next post: Fresh Pear, Fig and Prosciutto Tart with Rosemary Cornmeal Crust.

Sound good? You better believe it is! But for now, you’ll just have to look at these pictures before bed and hope that you get to taste it in your dreams ;)

(Other uses include spreading on crackers, or making a similar tasting bruschetta like my old post, but using the jam instead of the chopped figs)

Savory Sweet Fig Spread

Recipe by Me
Yields about 1 1/3 cups

7 oz. dried figs (I used Mission)
1/2 cup sugar
3/4 cup + 2 Tbsp water
1 Tbsp flour
1 Tbsp balsamic vinegar

Combine in pan, boil over low heat. Reduce heat and stir til resembles jam, about 25 min. Cool to room temperature.


Sunrise Mart at sunset, that is! Sunrise Mart is a japanese supermarket near Union Square that I discovered last year in my quest to find asian grocers in nyc.

I love asian supermarkets. I believe this penchant for exotic/unusual and, more specifically, asian groceries developed back when I was in my asian dating phase. Yep, you heard right…I exclusively dated asian men, better known as yellow fever (now, luckily for Nate, I have beardo fever!). Now don’t go asking me why I had this particular condition, because even I’m not sure of the exact catalyst for this phenomenon encompassing the majority of my adult life, but what I derived from these experiences was a love for asian food…both eating it and making it.

With each relationship, I taught myself to cook the food from the country of origin of the guy I was dating. It was mainly Vietnamese and Korean, but I consider Korean my specialty. In addition, I even learned to speak, read, and write Korean. I wish I had practiced enough to be really fluent, but as with most hobbies that came with guys I dated (paintball and motorcycles to name a couple), the korean classes, along with my desire to study, ceased when the relationship ended. But at least I can read the signs and menus in New York’s K-town ;)


I’m not sure if you’re at all familiar with Korean food, but they have these little side dishes that come to your table when you sit down, called panchan. They are DELCIOUS. They usually involve pickled veggies, or sauteed ones, or a korean version of potato salad, or these yummy black beans, and lots of other things. All korean grocery stores sell them, and this Sunrise Mart happens to sell them too, along with some other Korean items.

Prepared food case at Sunrise Mart

The point of all of this background information (yes, I realize I’m very wordy!) is that i was seriously craving some panchan yesterday. So I decided that I would go to the store and buy some, and then make some asian-inspired dinner to go along with it. I wasn’t sure what I would make but knew it would involve broiling fish and roasting veggies with some sort of asian glaze.

When I got to Sunrise Mart, I went over to the veggie area and selected some Japanese eggplant, along with what I thought was a very large sweet potato, although the label said Satsumaimo. This didn’t deter me because I knew that if it wasn’t a sweet potato, it was some other root veggie that could most likely be cooked similarly. I also picked up some white fish fillets also with a name I didn’t recognize, but it looked vaguely like Tilapia. (I looked up Satsumaimo when I got home and found out that it’s a japanese sweet potato with a milder flavor, softer flesh, and a lighter yellow coloring than an American sweet potato).

Satsumaimo, or japanese sweet potato

Source

I wandered around the store further ( I could literally spend hours in an asian grocery store picking up and investigating every item) and came across a case of Miso paste. I’ve been wanting to buy miso for the longest time, so I took some of that and figured I could incorporate it into my glaze.

Tasty taters!

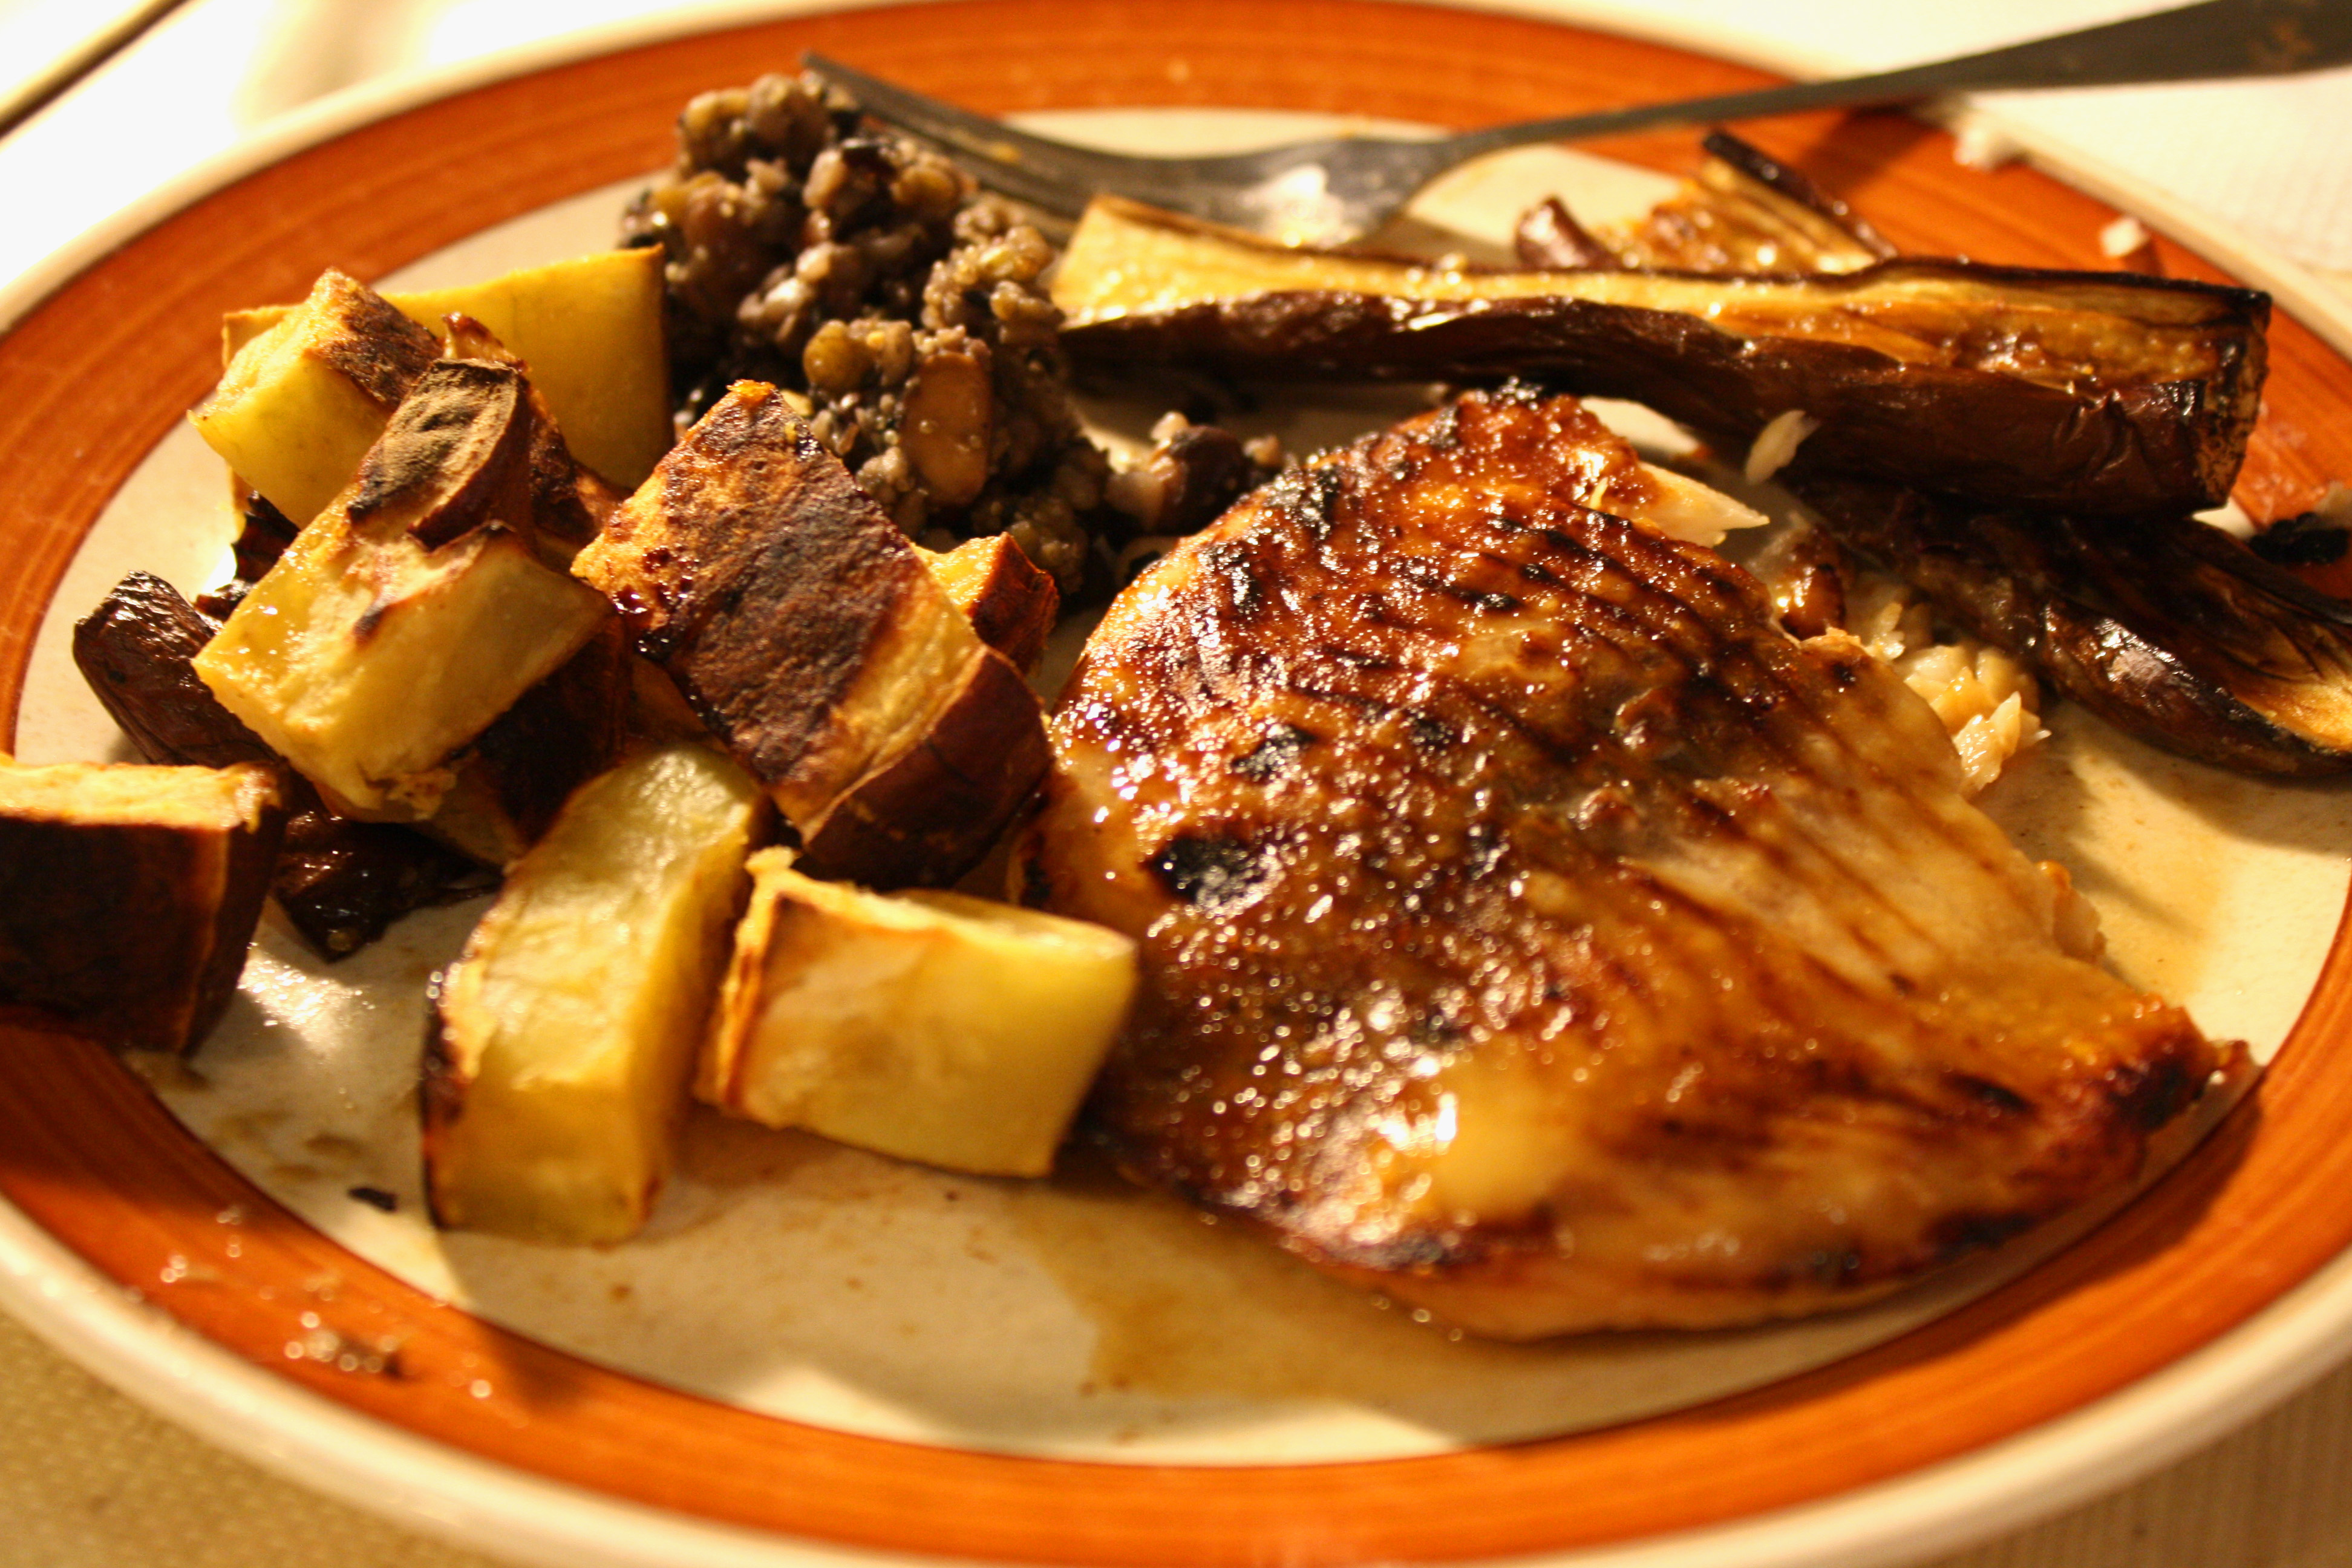
I walked home excitedly, with my purchases in hand and immediately scoured the internet for recipes for Miso glazes. After getting the feel for what went into a basic miso glaze, I created my own and discovered one of the easiest, most delicious dinners I’ve ever made! I’ll definitely be looking for that Satsumaimo again…both Nate and I agreed that it tasted like candy. While this dinner had more obscure ingredients,  you can substitute most everything for the American versions, but you will definitely need Miso paste.

Mah-is-geh deuseyo! (Bon appetit in Korean ;) )


Miso Glazed Fish and veggies

Recipe by Me

2 Tbsp Miso paste (i used yellow but i don’t think it matters)
2 Tbsp seasoned rice vinegar (you can find in any grocery store)
1 Tbsp sake, vermouth, or dry white wine
1 Tbsp sugar
1 Tbsp orange juice
1 Tbsp sesame oil

1 lb white fish fillets (Tilapia works well)
Assorted roasting veggies (i used 2 japanese eggplant and about 3/4 lb sweet potato), chopped into large cubes
1 Tbsp olive oil

Toss vegetables with olive oil. Spread on baking sheet and roast in oven at 450 for 30-40 minutes or until tender, but not too brown.

When veggies are cooked, remove from oven and brush glaze on top.

Broil veggies until glaze is caramelized and browning. Remove from oven.

Spread enough glaze on fish fillets to cover. Broil until fish flakes easily and top is golden. Brush additional glaze on fish and veggies if desired.


I checked the weather before I headed out the door this morning and it said it was going to be in the high 40’s today. Since the last few days had been chilly, I figured this was toasty walkin’ weather! I left my apartment with just a light jacket and no gloves. Totally fine for the morning walk.


It was a different story, however, when I left work this evening. It was blustery out! (Nate loves that word…he says it reminds him of Winnie Pooh and the Blustery Day) Man, that wind was seriously strong and I had decided to walk all the way home to my apt from Grand Central Station, which was a 30 min walk.

When I walked in the door to my apartment, my hands were frozen solid and my ears weren’t much better. It was definitely time to make something for dinner that would warm my tummy! I’d been wanting to make this recipe I saw in the New York Times for some time now, and this seemed like the perfect night.

Yes, that's my towel hanging in the background. Yes, I have to take my pictures in the bathroom since it has the best lighting there is for nighttime. Don't judge.

Thank goodness Nate doesn’t get home til 9ish, because I’m not going to tell you this recipe came together in a snap. There were several steps, and the puff pastry got a little messy (but maybe that’s because I’ve never used it before), but in the end, not only was it beautiful, but delicious as well.

No, I mean seriously amazing. You MUST make this. It was just what I needed to defrost, relax, and enjoy my Friday evening.

Oh, and stay tuned…I got a tasty cheesecake comin this weekend…

Pardon the crappy pictures…they were taken with my point-and-shoot which doesn’t know how to focus on the objects I want it to. Hopefully I’ll have Nate’s nice camera for my next pics.

Butternut Squash and Mushroom Wellington
taken from the New York Times (directions slightly edited by Me)
Serves 6-8

Print this Recipe!

3-4 tablespoons butter
1 small butternut squash (1 1/4 pounds), peeled, seeded and cut into 1/2-inch cubes
1 teaspoon maple syrup
1/2 teaspoon chopped fresh thyme
1/8 teaspoon smoked sweet paprika or regular paprika
1/2 teaspoon kosher salt, or more to taste
2 garlic cloves, finely chopped
1 large shallot, finely chopped
3/4 pound cremini mushrooms, trimmed and roughly chopped
1/3 cup dry white wine
1/4 teaspoon ground black pepper
2 tablespoons chopped parsley
Flour
1 (14-to-16-ounce) package puff pastry
1 cup crumbled goat

1 egg whisked with 1 tsp water

1. Heat the oven to 400 degrees and line a large baking sheet with parchment.

2. In a very large skillet over high heat, melt 2 tablespoons butter. Add the squash in a single layer and cook, undisturbed, for 4 minutes. (If squash won’t fit in a single layer, cook it in batches). Stir and continue to cook until squash is golden, 7 to 10 minutes more. Stir in the syrup, thyme, paprika and 1/4 teaspoon salt; cook one minute. Scrape mixture into a bowl.

3. Turn the heat down to medium and melt the remaining butter in the skillet. Stir in garlic and shallot; cook 1 to 2 minutes. Add the mushrooms and remaining salt. Cook until mushrooms are soft and their juices evaporate, about 10 minutes. Stir in the wine and cook until the mixture is dry, about 5 minutes. Stir in the pepper and parsley. Taste and add more salt if needed.

4. On a lightly floured surface, unwrap the puff pastry. Cut into 2 5-by-15-inch rectangles. *If pastry is already two sheets, no need to cut. Spread mushrooms on each pastry rectangle leaving 1/4-inch border. Spoon the cheese crumbles over the mushrooms. Then spoon the squash over the cheese, leaving a 1 1/2-inch border (it will look like a stripe of squash lying on a bed of cheese and mushrooms).

5. Brush half of the exposed borders of dough on each rectangle with the egg wash(*You will be pinching these together to seal but if both sides to get pinched have egg wash, they wont stick together as well. Better to have one wet side and one dry side meeting). Fold the long sides up to meet in the middle and pinch together to seal; pinch the ends, too. Transfer the pastries to the baking sheet and turn them over so that the seam is face down. Brush the tops with more egg wash. Bake until they are puffed golden, and firm to the touch, about 30 minutes. Let cool for 10 minutes, slice and serve.


For Presidents’ Day weekend, Nate and I did what we usually do on a long weekend…we headed down to his mom’s house in PA (near Wilmington). As always, I used this time to relax, recharge, and make use of her giant kitchen!

Aaaah, so much spaaaace!

I had so much room I didn’t know what to do with myself…so I decided to cook :) It was so nice to be in a space big enough that I didn’t have to trip over myself. Instead, I was tripping over dogs. See if you can find the furry fella in the pic below. Luckily, they were fairly well-behaved.

I chose two dishes that are always winners. One is a chicken dish with apricots that we seem to always make during the holidays.  It’s been around so long that I have no idea where it came from, but trust me, it’s worth making!

The other is a  Brussel Sprout Hash with Carmelized Shallots that has become a regular on our Thanksgiving menu. People start getting all hot and bothered when we mention anything about trying a different vegetable recipe for that year. Recipes are at the bottom of the post.

I actually did some baking too, but I’m working on tweaking the recipe because I want to enter it in a couple of baking contests. It’s my first time ever doing something like that, so cross your fingers for me! After the contest deadline, I’ll be sure to post the recipes :) Does anyone know of any good contests besides Pillsbury?

Man, I thought I knew how to relax on a long weekend…but apparently I got nothing on these pooches:

"I know, I'm adorable"

Nate’s mom has two adorable Golden Retrievers- Haley and Ezra.

Canine camouflage

These doggies are his mom’s pride and joy, so for Christmas I thought I’d paint one of their portraits for her. I chose Haley since she’s a camera whore. Ezra freaks when you try to take his picture. I did the painting of four 6″ canvases that, when put together, form the painting. I hung them on the wall in her living room.

Haley's Portrait, by Me

The sides of the canvases are deep, for a more modern look.

side view of painting. Note deep side edges I made a contrasting color :)

Long weekends are never long enough. I can’t believe I have to go back to work tomorrow and the next long weekend isn’t until Memorial Day I think!


Baked Chicken with Apricots and Currants
Serves 4, source unknown

3-1/2 to 4 lb. chicken, quartered
Salt and pepper to taste
3/4 tsp. ginger
1 c. orange marmalade
¼ c. apple juice
¼ c. orange juice (can be canned)
4 oz. dried apricots
4 oz. currants (or raisins)
2 tbsp. packed brown sugar

Preheat oven 375.

Place chicken, skin-side up in shallow roasting pan – can use disposable.

Sprinkle with salt, pepper and ginger. Spread on jam, pour on 2 juices. Bake 20 minutes.

Remove from oven and add fruit, mixing to incorporate. Sprinkle brown sugar over all. Return to oven and bake, basting frequently, until golden and shiny, about 40-45 minutes.

Remove to platter. Pour some juice over meat and serve.


Brussels Sprout Hash with Caramelized Shallots
Bon Appétit, November 2007
Serves 4-6

3 tbsp. butter, divided into 2 pieces
1/4 lb. shallots, sliced thinly
Salt and pepper to taste
1 tbsp. cider vinegar
2 tsp. sugar
¾ lb. Brussels sprouts, trimmed
2 tbsp. olive oil
½ cup water

Melt 1-1/2 Tbsp. butter in medium skillet over medium heat. Add shallots; sprinkle with salt and pepper. Saute until soft and golden, about 10 minutes.

Add vinegar and sugar. Stir until brown and glazed, about 2 minutes.

Halve sprouts lengthwise. Cut lengthwise into thin (1/8”) slices. Heat oil in large skillet over medium high heat. Add sprouts; sprinkle with salt and pepper to taste. Saute until brown at edges, 5 minutes.

Add water and rest of butter. Saute until most of water evaporates and sprouts are tender but still bright green, 2-3 min. Add shallots, season to taste with salt and pepper.