Ho-tteok is a variety of filled Korean pancake, and is a popular street food of South Korea. According to Wikipedia, it is usually eaten during the winter season, which works out well for this blog post :)
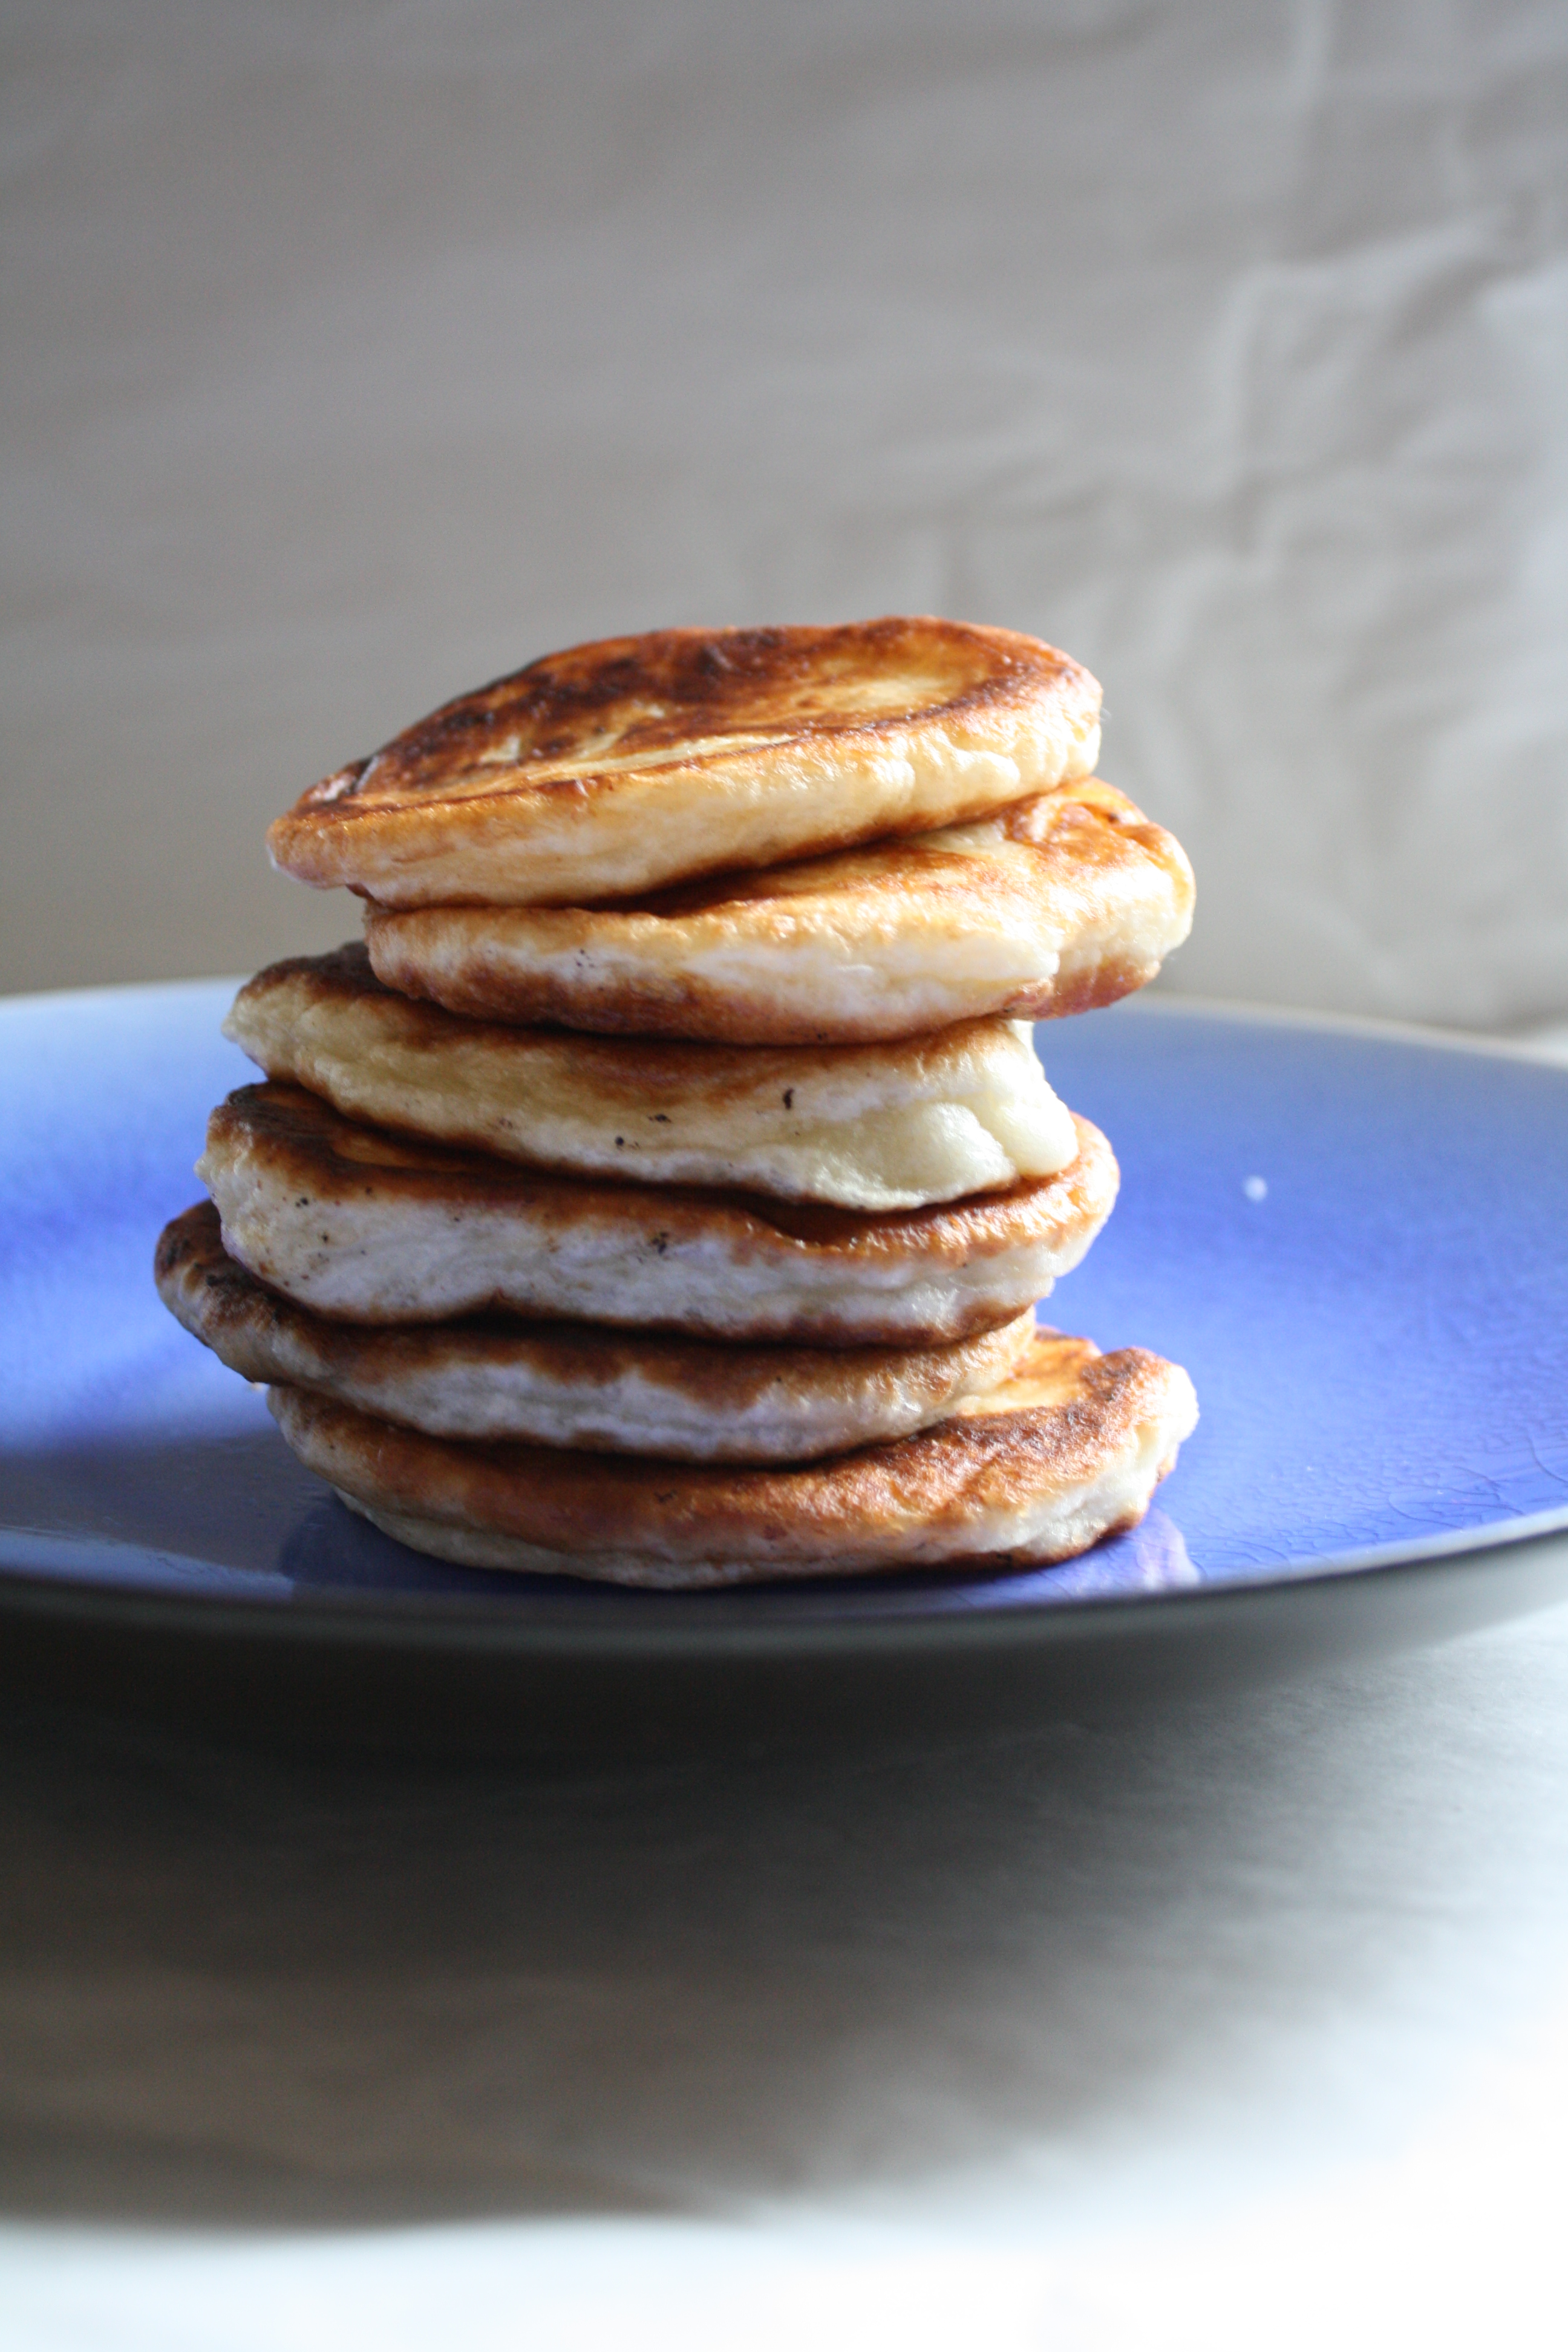
It is believed that hotteok originated from Chinese merchants who immigrated to Korea after the late 19th century. Unlike many Chinese pancakes, which often contain savory meat fillings, hotteok are stuffed with sweet fillings, to suit Koreans’ tastes. They traditionally contain a filling of brown sugar, chopped walnuts or peanuts and cinnamon, that melt when the cake is fried.

I think I first had Hotteok at a Korean supermarket I went to while briefly living in Texas. It was being made right there in front of me, and it came out so fresh and hot that I burned my mouth on the sweet, sugary filling inside because I couldn’t wait for it to cool. Needless to say, it was delicious. You’d think I would have learned my lesson but I always burn my mouth on hot foods due to my impatience.
The main reason I chose to make this (other than going along with the Asian theme of my last post) is because, out of curiosity, I bought some glutinous rice flour (also called sweet rice flour) the last time I was at the Asian supermarket. I don’t know what I was thinking, really. I thought you could just use it in place of white flour in any recipe. I believe you can  with regular rice flour, but the glutinous type is mainly used in Asian desserts. It’s chewy, from the gluten I suppose, which makes it workable and good for stretching around fillings.

These days, the types of hotteok have been changing continuously. Many variations have developed since the early 21st century, such as green tea, pink bokbunja, corn, and more. In my case, I decided to alter the traditional filling by using crunchy peanut butter in place of the nuts and adding some banana because…well because you can’t have peanut butter without banana (or chocolate) ;)
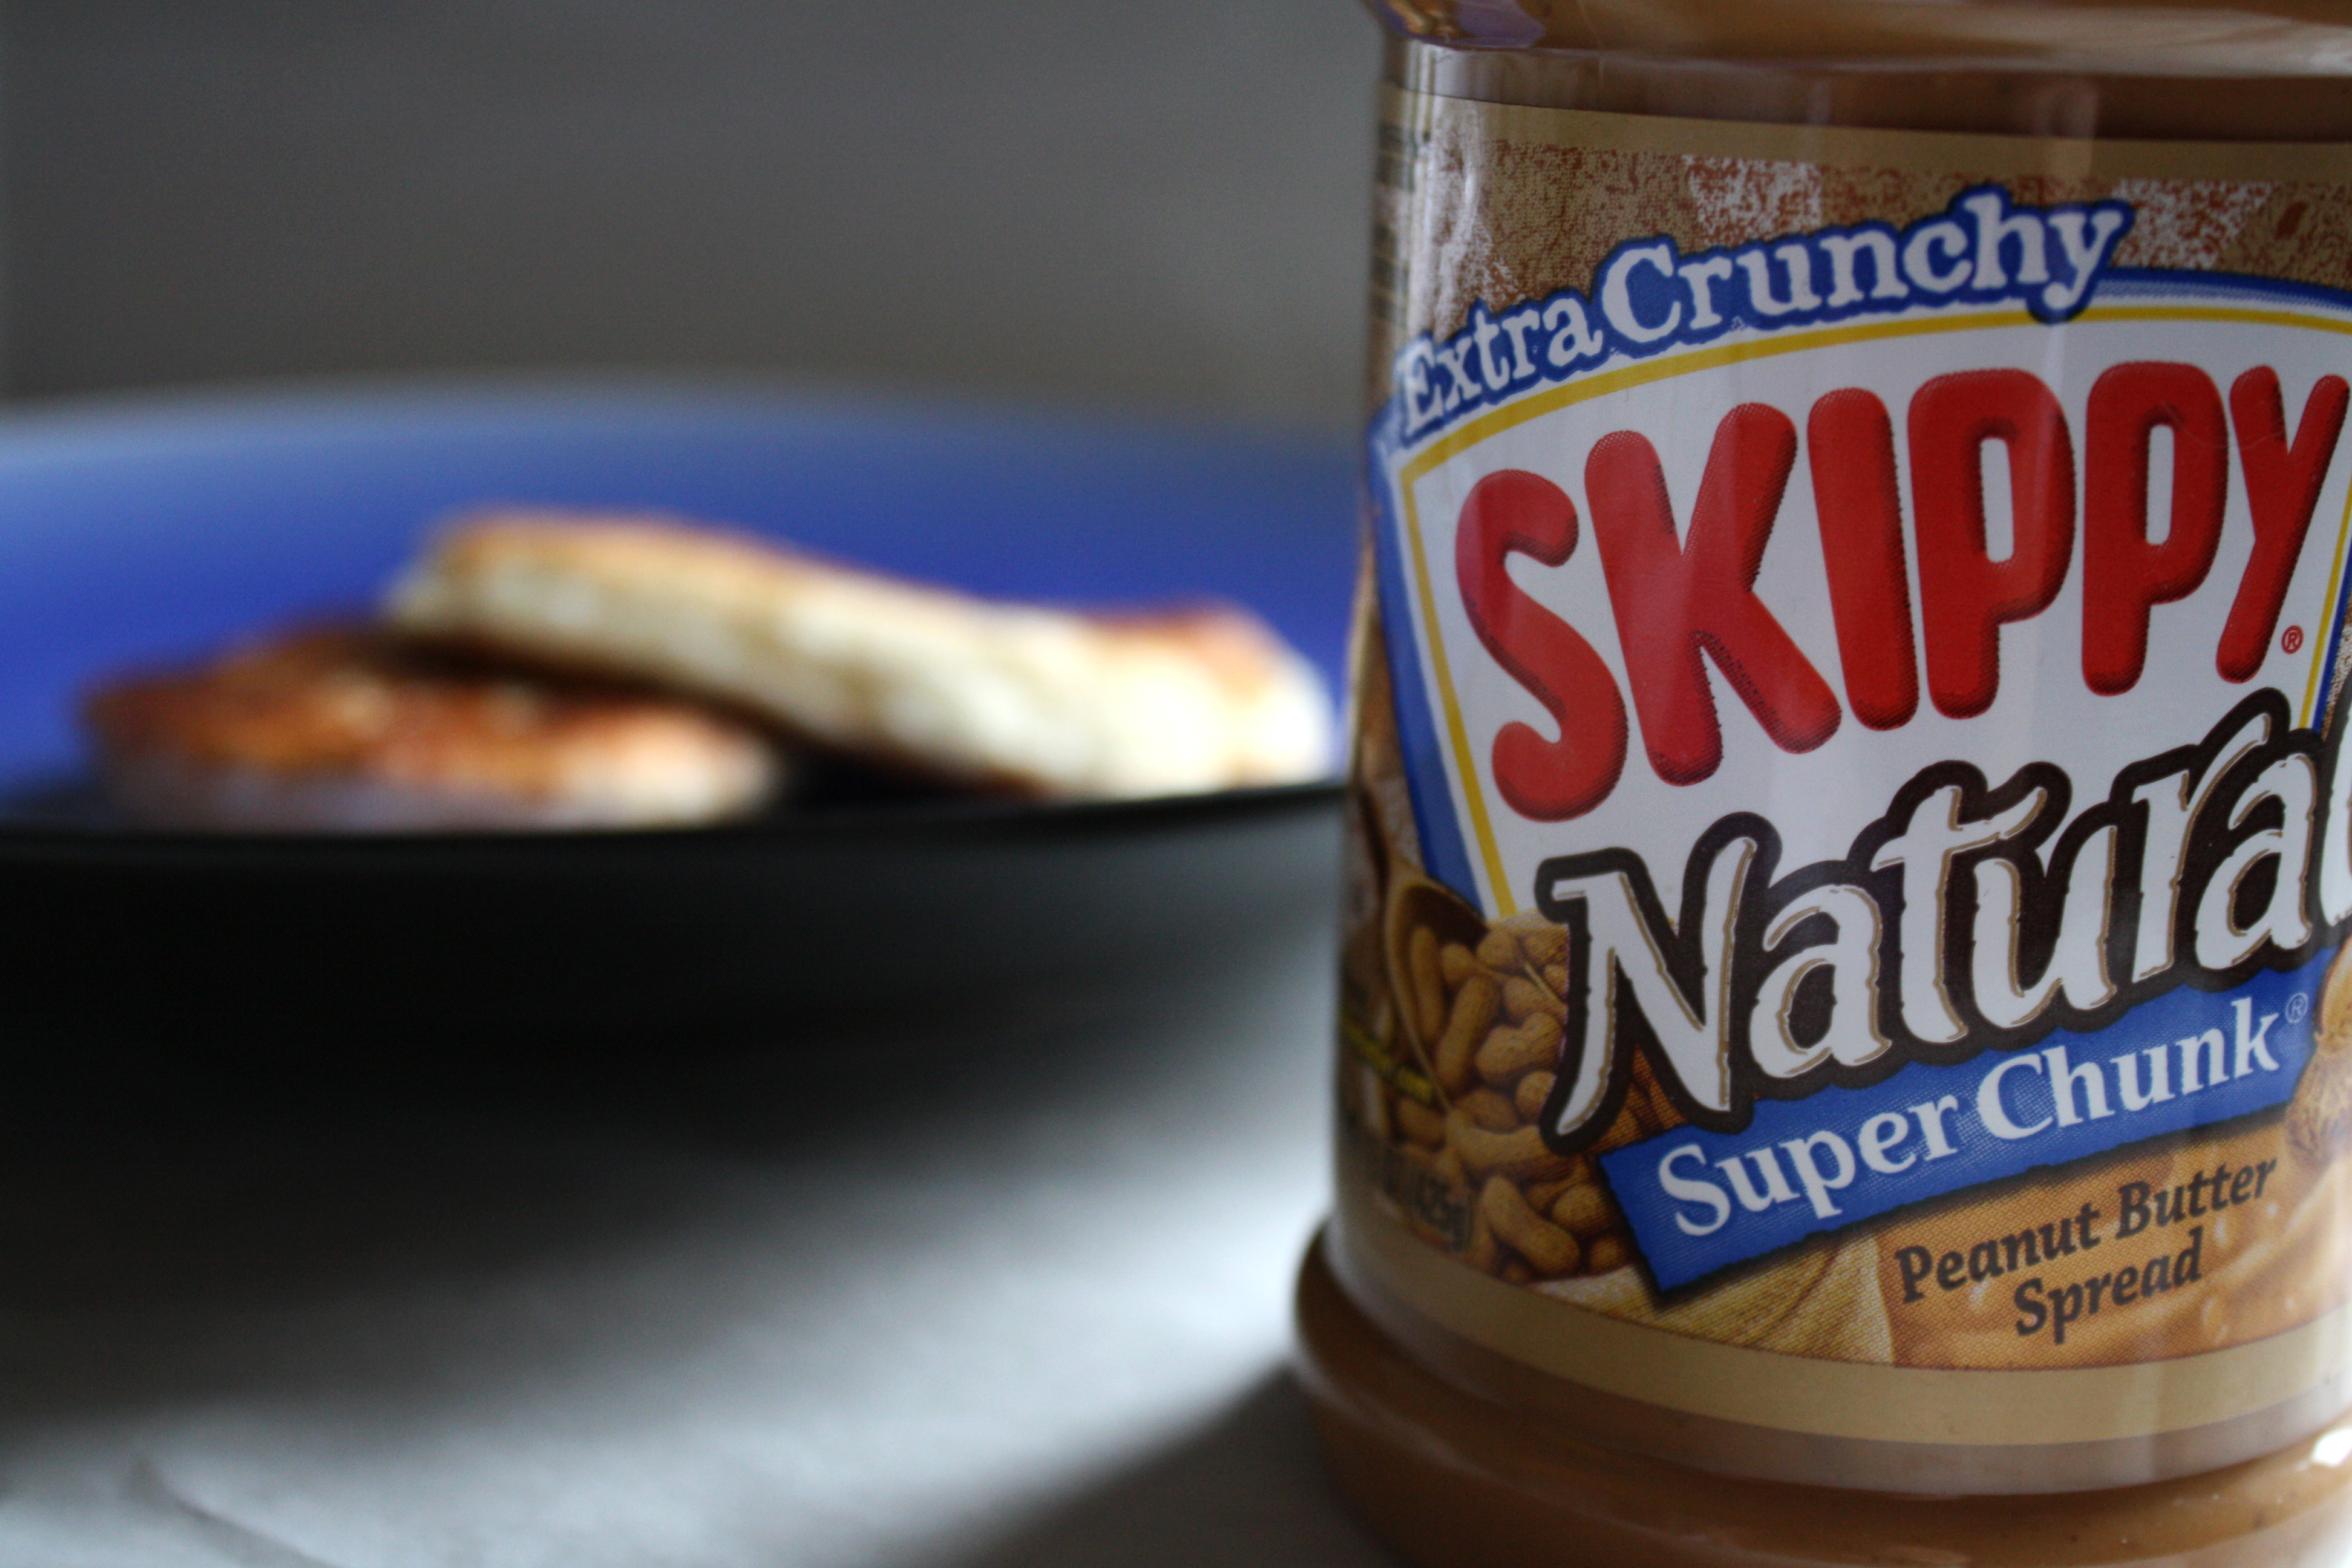
Though the glutinous rice flour can’t be found in a standard supermarket, you can find it in most large Asian grocery stores, or you can order it online. I highly recommend trying it. And with the leftover, you can make mochi ice cream!

The batter was so delicious that I may try thinning it out and making waffles with it. Whether you choose to make this for breakfast, dessert, or as a snack, I can guarantee you won’t be able to wait to eat it either…and when you burn your mouth, don’t say I didn’t warn you ;)

I submitted my recipe to Yeast Spotting!


Hotteok (Sweet Korean Pancake) stuffed with Brown Sugar, Peanut Butter and Banana

Adapted from One Fork, One Spoon
makes 8-10 small pancakes

¼ cup lukewarm water
2 tablespoons sugar
1 teaspoon active-dry yeast
1 cup flour
¾ cup glutinous rice flour
½ teaspoon salt
½ cup milk
3 tablespoons canola or vegetable oil

filling:
¼ cup brown sugar
1/4 cup crunchy peanut butter
1 ½ teaspoon ground cinnamon
1/3 banana, diced

Stir together the lukewarm water, one tablespoon of sugar, and active-dry yeast in a small bowl until the sugar and yeast dissolve.  Let it sit for 10 minutes, during which time it will start to bubble and foam.

Combine the flour, glutinous rice flour, salt and remaining tablespoon of sugar in a large bowl.  Add the yeast-sugar mixture and the milk.

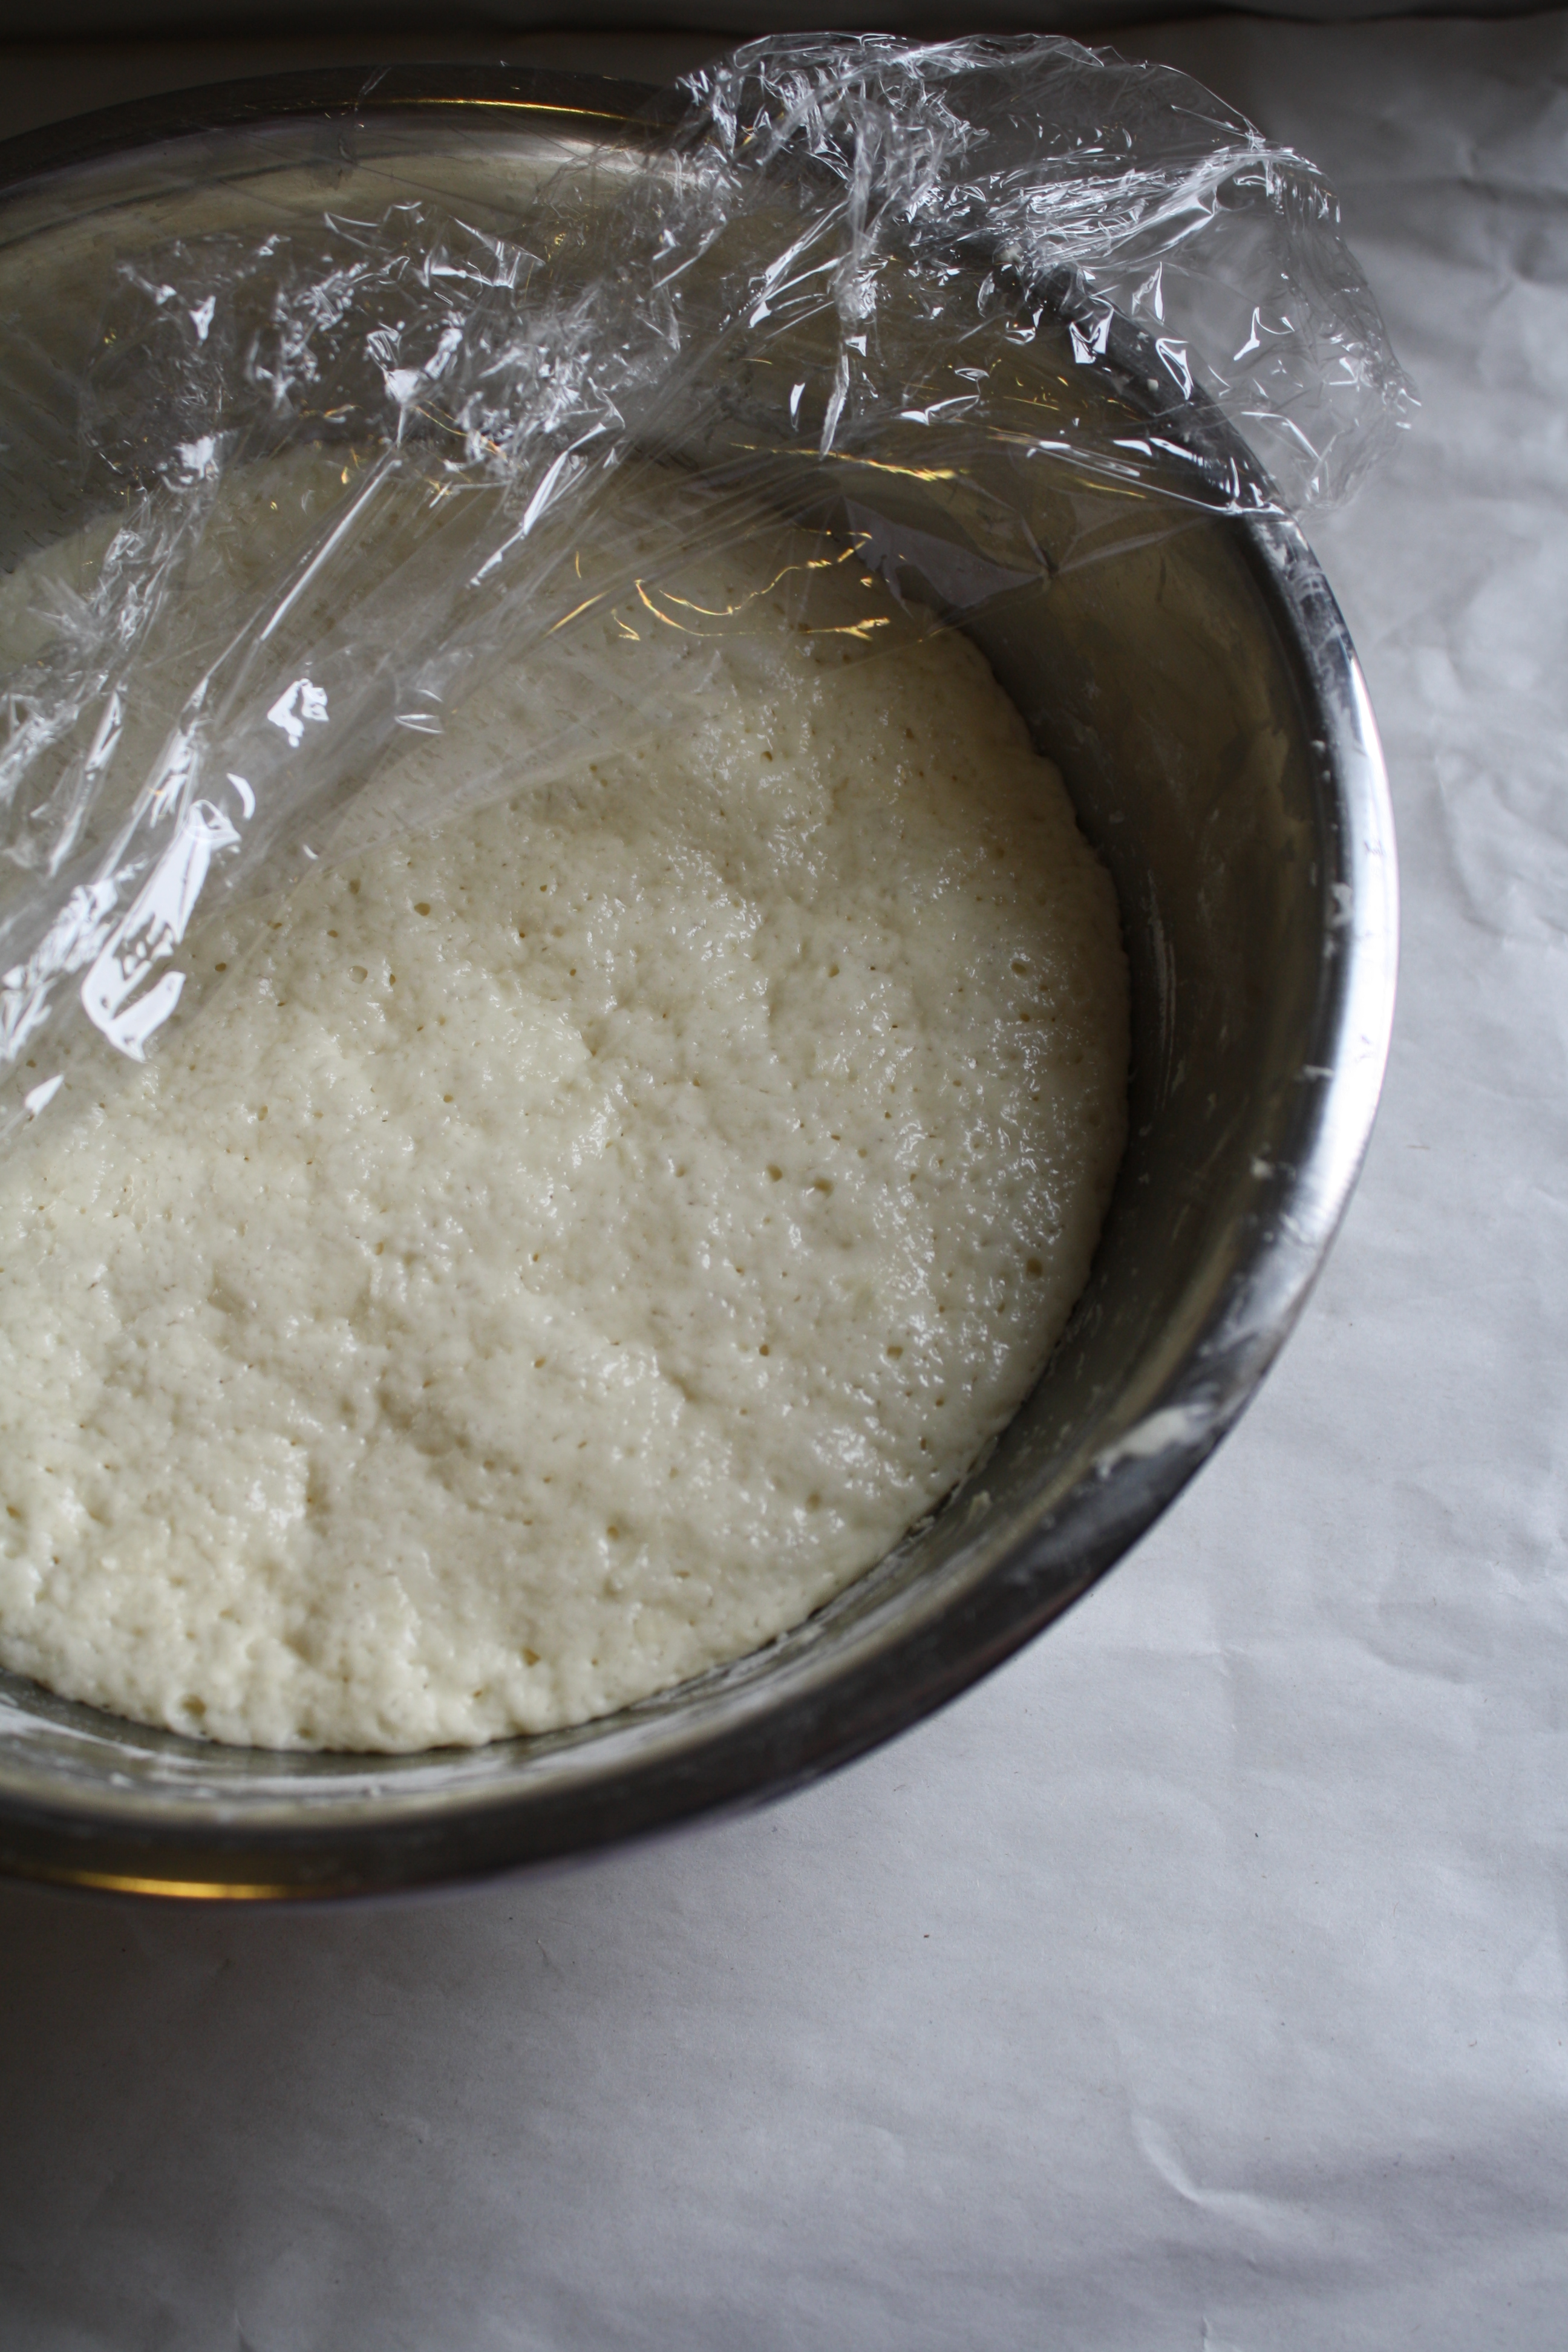
Using your hands, bring the dough together into a sticky ball.  Knead it a couple of times, for about two or three minutes.  The dough will be sticky, but it should still come off your hands and stay together.  Cover with plastic and place in a warm spot for 3 hours.  (I put my oven on 200 for 30-40 seconds then turned it off and put dough in and turned on oven light)

After 3 hours, the dough will have doubled in size.  It will look pretty puffy.  Knead the dough a couple times until it becomes more elastic, but keep in mind that it will never become a smooth, elastic ball of dough.

Combine the brown sugar, peanut butter and cinnamon in a small bowl. Chop banana into small pieces and put to side.

Heat the oil in a large pan on medium-high heat.  Make sure your pan is hot before you start — your pancake should sizzle when it hits the pan or it won’t form a good crisp crust.  Oil your hands and pinch off a piece of dough, about 2-3 tablespoons.  Knead it into a smooth ball and then stretch it out into a loose circle, creating a depression in the middle.  Fill the depression with the sugar mixture, about a tablespoon worth.  Stretch and seal the dough around the sugar mixture and flatten it between the palms of your hands.

Drop the flattened ball of dough into the pan.  The oil should be hot enough to sizzle.  Smooth some oil on your spatula and press down on the ball of dough, flattening it further.  Continue making balls of dough until the pan has 3 or 4 pancakes in it. Be careful not to crowd the pan.

Fry the pancakes until golden-brown, about 3 minutes on each side.  Remove from the pan and let them drain on a paper towels or a wire rack.  Serve warm.


Sunrise Mart at sunset, that is! Sunrise Mart is a japanese supermarket near Union Square that I discovered last year in my quest to find asian grocers in nyc.

I love asian supermarkets. I believe this penchant for exotic/unusual and, more specifically, asian groceries developed back when I was in my asian dating phase. Yep, you heard right…I exclusively dated asian men, better known as yellow fever (now, luckily for Nate, I have beardo fever!). Now don’t go asking me why I had this particular condition, because even I’m not sure of the exact catalyst for this phenomenon encompassing the majority of my adult life, but what I derived from these experiences was a love for asian food…both eating it and making it.

With each relationship, I taught myself to cook the food from the country of origin of the guy I was dating. It was mainly Vietnamese and Korean, but I consider Korean my specialty. In addition, I even learned to speak, read, and write Korean. I wish I had practiced enough to be really fluent, but as with most hobbies that came with guys I dated (paintball and motorcycles to name a couple), the korean classes, along with my desire to study, ceased when the relationship ended. But at least I can read the signs and menus in New York’s K-town ;)


I’m not sure if you’re at all familiar with Korean food, but they have these little side dishes that come to your table when you sit down, called panchan. They are DELCIOUS. They usually involve pickled veggies, or sauteed ones, or a korean version of potato salad, or these yummy black beans, and lots of other things. All korean grocery stores sell them, and this Sunrise Mart happens to sell them too, along with some other Korean items.

Prepared food case at Sunrise Mart

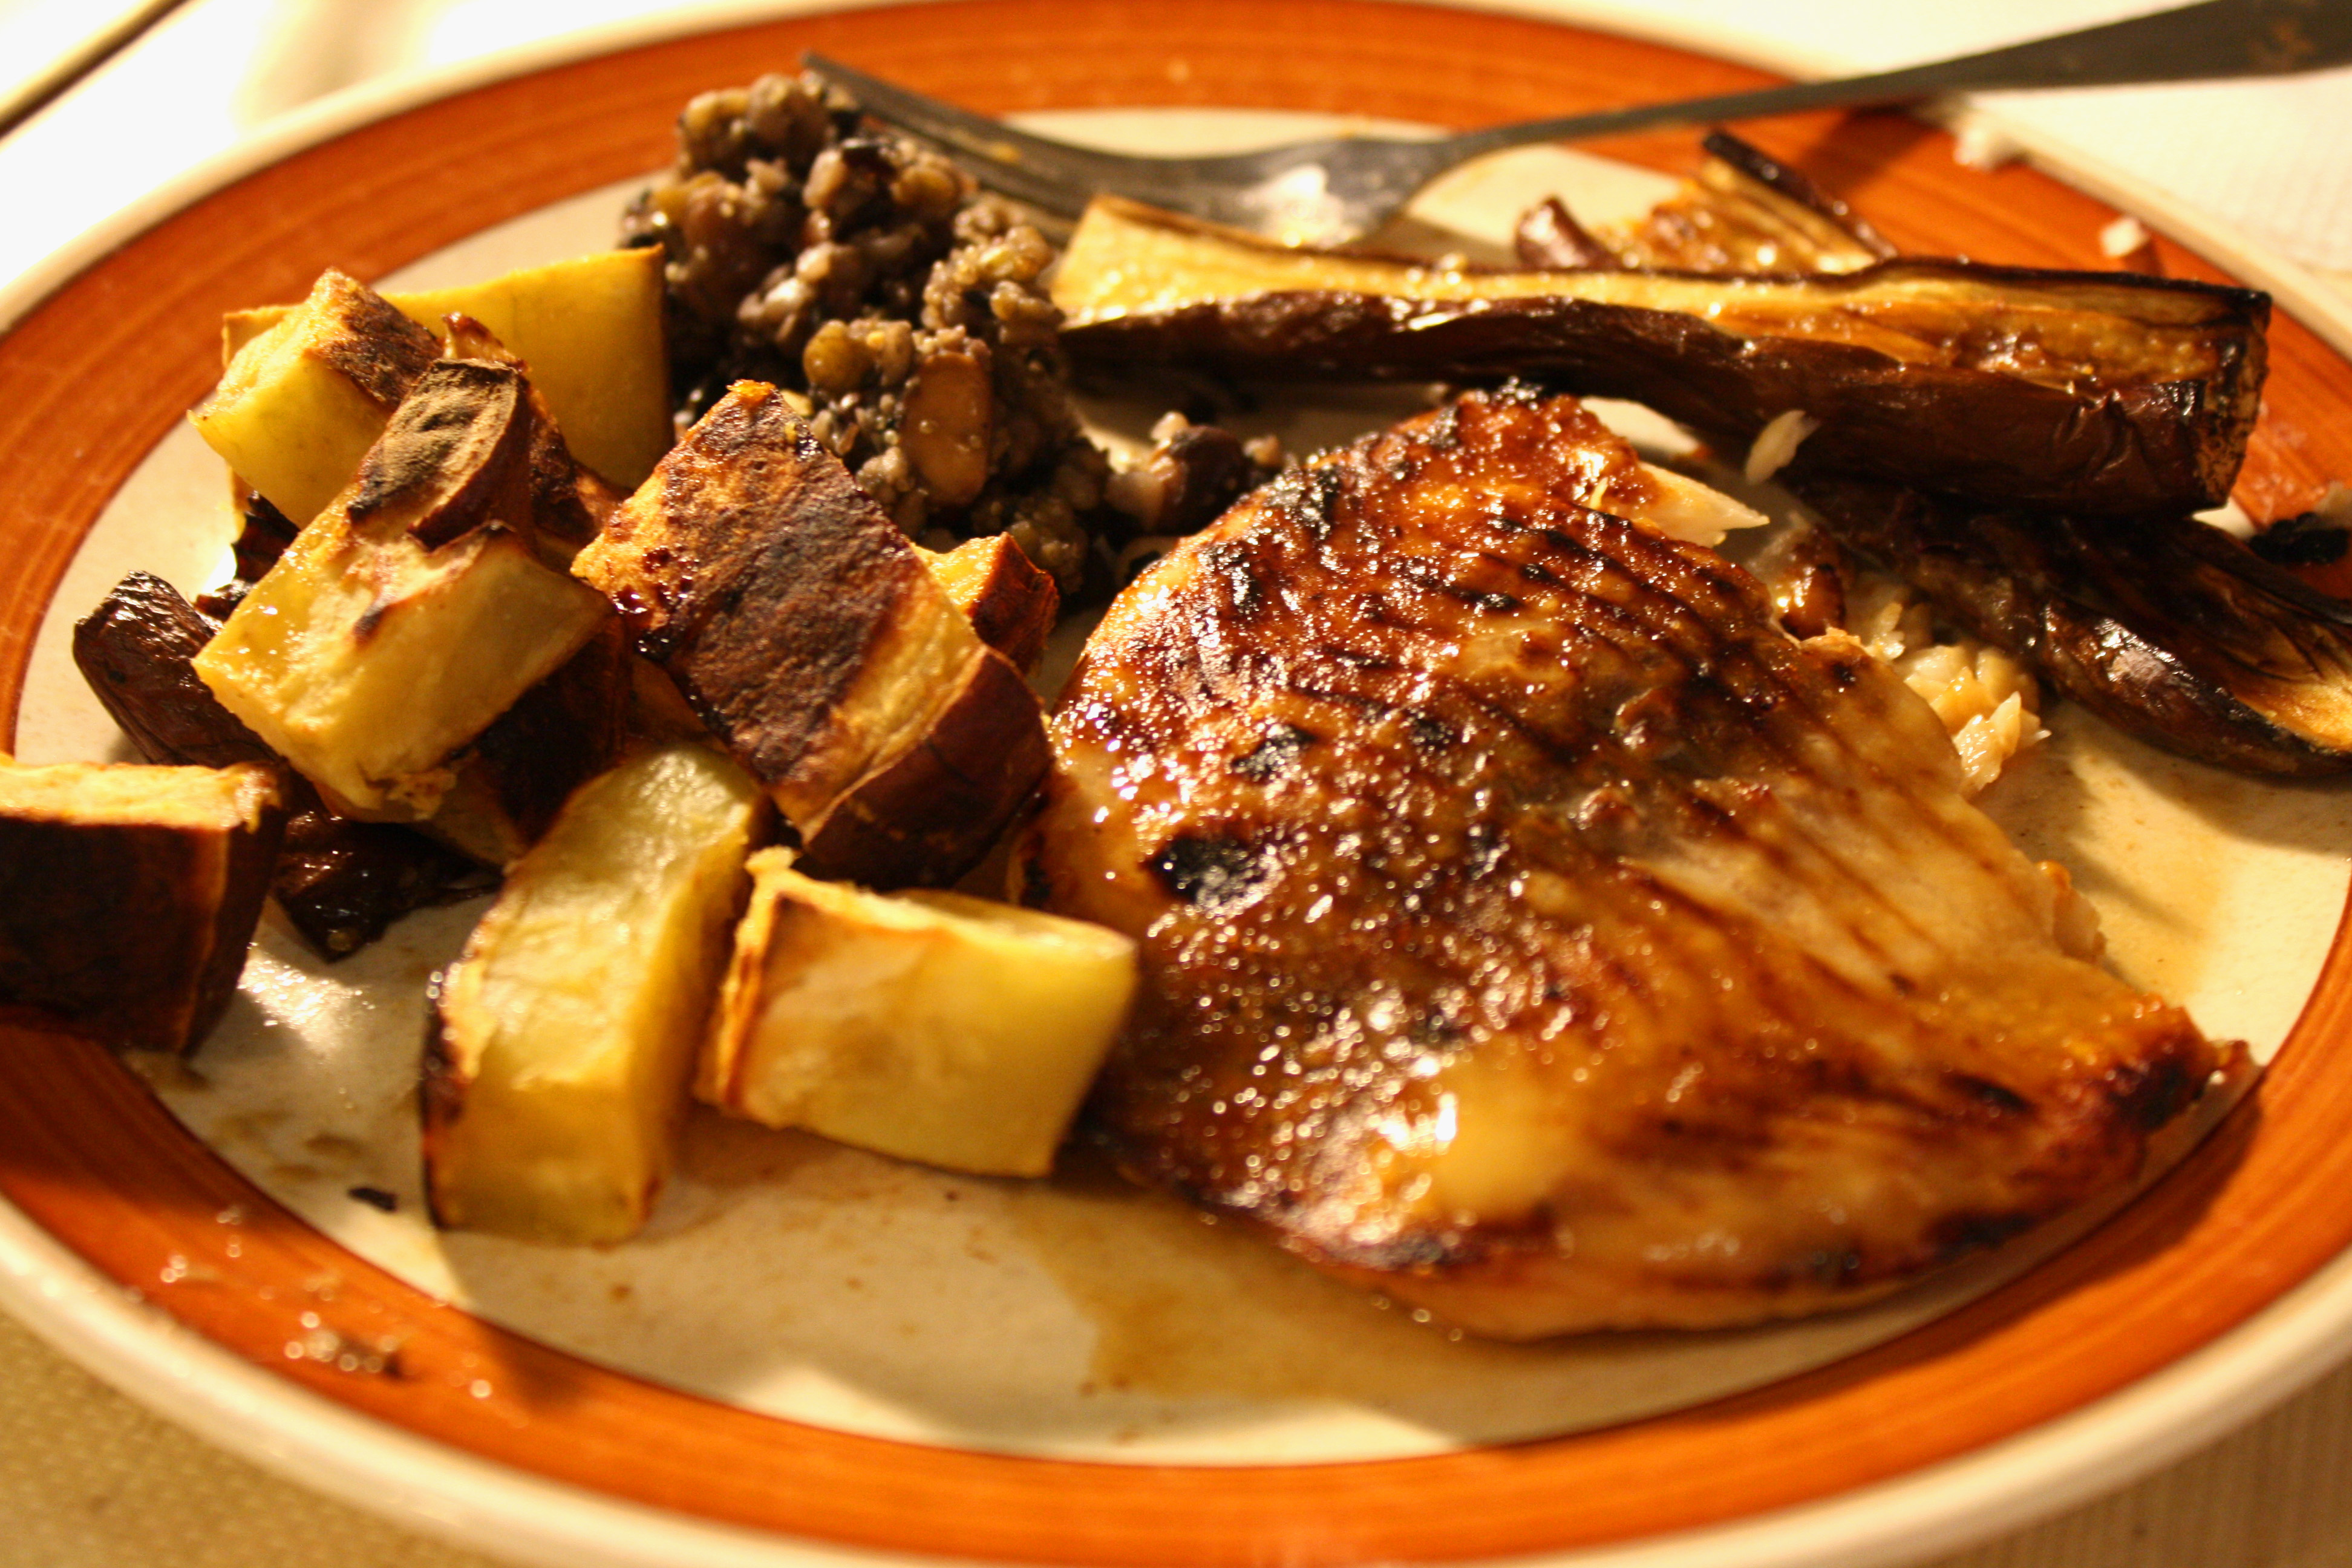
The point of all of this background information (yes, I realize I’m very wordy!) is that i was seriously craving some panchan yesterday. So I decided that I would go to the store and buy some, and then make some asian-inspired dinner to go along with it. I wasn’t sure what I would make but knew it would involve broiling fish and roasting veggies with some sort of asian glaze.

When I got to Sunrise Mart, I went over to the veggie area and selected some Japanese eggplant, along with what I thought was a very large sweet potato, although the label said Satsumaimo. This didn’t deter me because I knew that if it wasn’t a sweet potato, it was some other root veggie that could most likely be cooked similarly. I also picked up some white fish fillets also with a name I didn’t recognize, but it looked vaguely like Tilapia. (I looked up Satsumaimo when I got home and found out that it’s a japanese sweet potato with a milder flavor, softer flesh, and a lighter yellow coloring than an American sweet potato).

Satsumaimo, or japanese sweet potato

Source

I wandered around the store further ( I could literally spend hours in an asian grocery store picking up and investigating every item) and came across a case of Miso paste. I’ve been wanting to buy miso for the longest time, so I took some of that and figured I could incorporate it into my glaze.

Tasty taters!

I walked home excitedly, with my purchases in hand and immediately scoured the internet for recipes for Miso glazes. After getting the feel for what went into a basic miso glaze, I created my own and discovered one of the easiest, most delicious dinners I’ve ever made! I’ll definitely be looking for that Satsumaimo again…both Nate and I agreed that it tasted like candy. While this dinner had more obscure ingredients,  you can substitute most everything for the American versions, but you will definitely need Miso paste.

Mah-is-geh deuseyo! (Bon appetit in Korean ;) )


Miso Glazed Fish and veggies

Recipe by Me

2 Tbsp Miso paste (i used yellow but i don’t think it matters)
2 Tbsp seasoned rice vinegar (you can find in any grocery store)
1 Tbsp sake, vermouth, or dry white wine
1 Tbsp sugar
1 Tbsp orange juice
1 Tbsp sesame oil

1 lb white fish fillets (Tilapia works well)
Assorted roasting veggies (i used 2 japanese eggplant and about 3/4 lb sweet potato), chopped into large cubes
1 Tbsp olive oil

Toss vegetables with olive oil. Spread on baking sheet and roast in oven at 450 for 30-40 minutes or until tender, but not too brown.

When veggies are cooked, remove from oven and brush glaze on top.

Broil veggies until glaze is caramelized and browning. Remove from oven.

Spread enough glaze on fish fillets to cover. Broil until fish flakes easily and top is golden. Brush additional glaze on fish and veggies if desired.


Last night was pretty windy out, but it was almost 60 degrees , so I decided to hoof it home from work. I work down in the financial district and live on the Upper East side. For those of you not from the nyc area, I walked 6 miles home…and let me tell you, 2 hrs of walking can leave your mind to think about all sorts of things.

But the main thing my mind always drifts back to is food. You better believe I was dinner brainstorming. I was trying to figure out what I could do with the barley in my pantry, that would also involve the butternut squash I had left in my fridge from roasting a couple nights before.

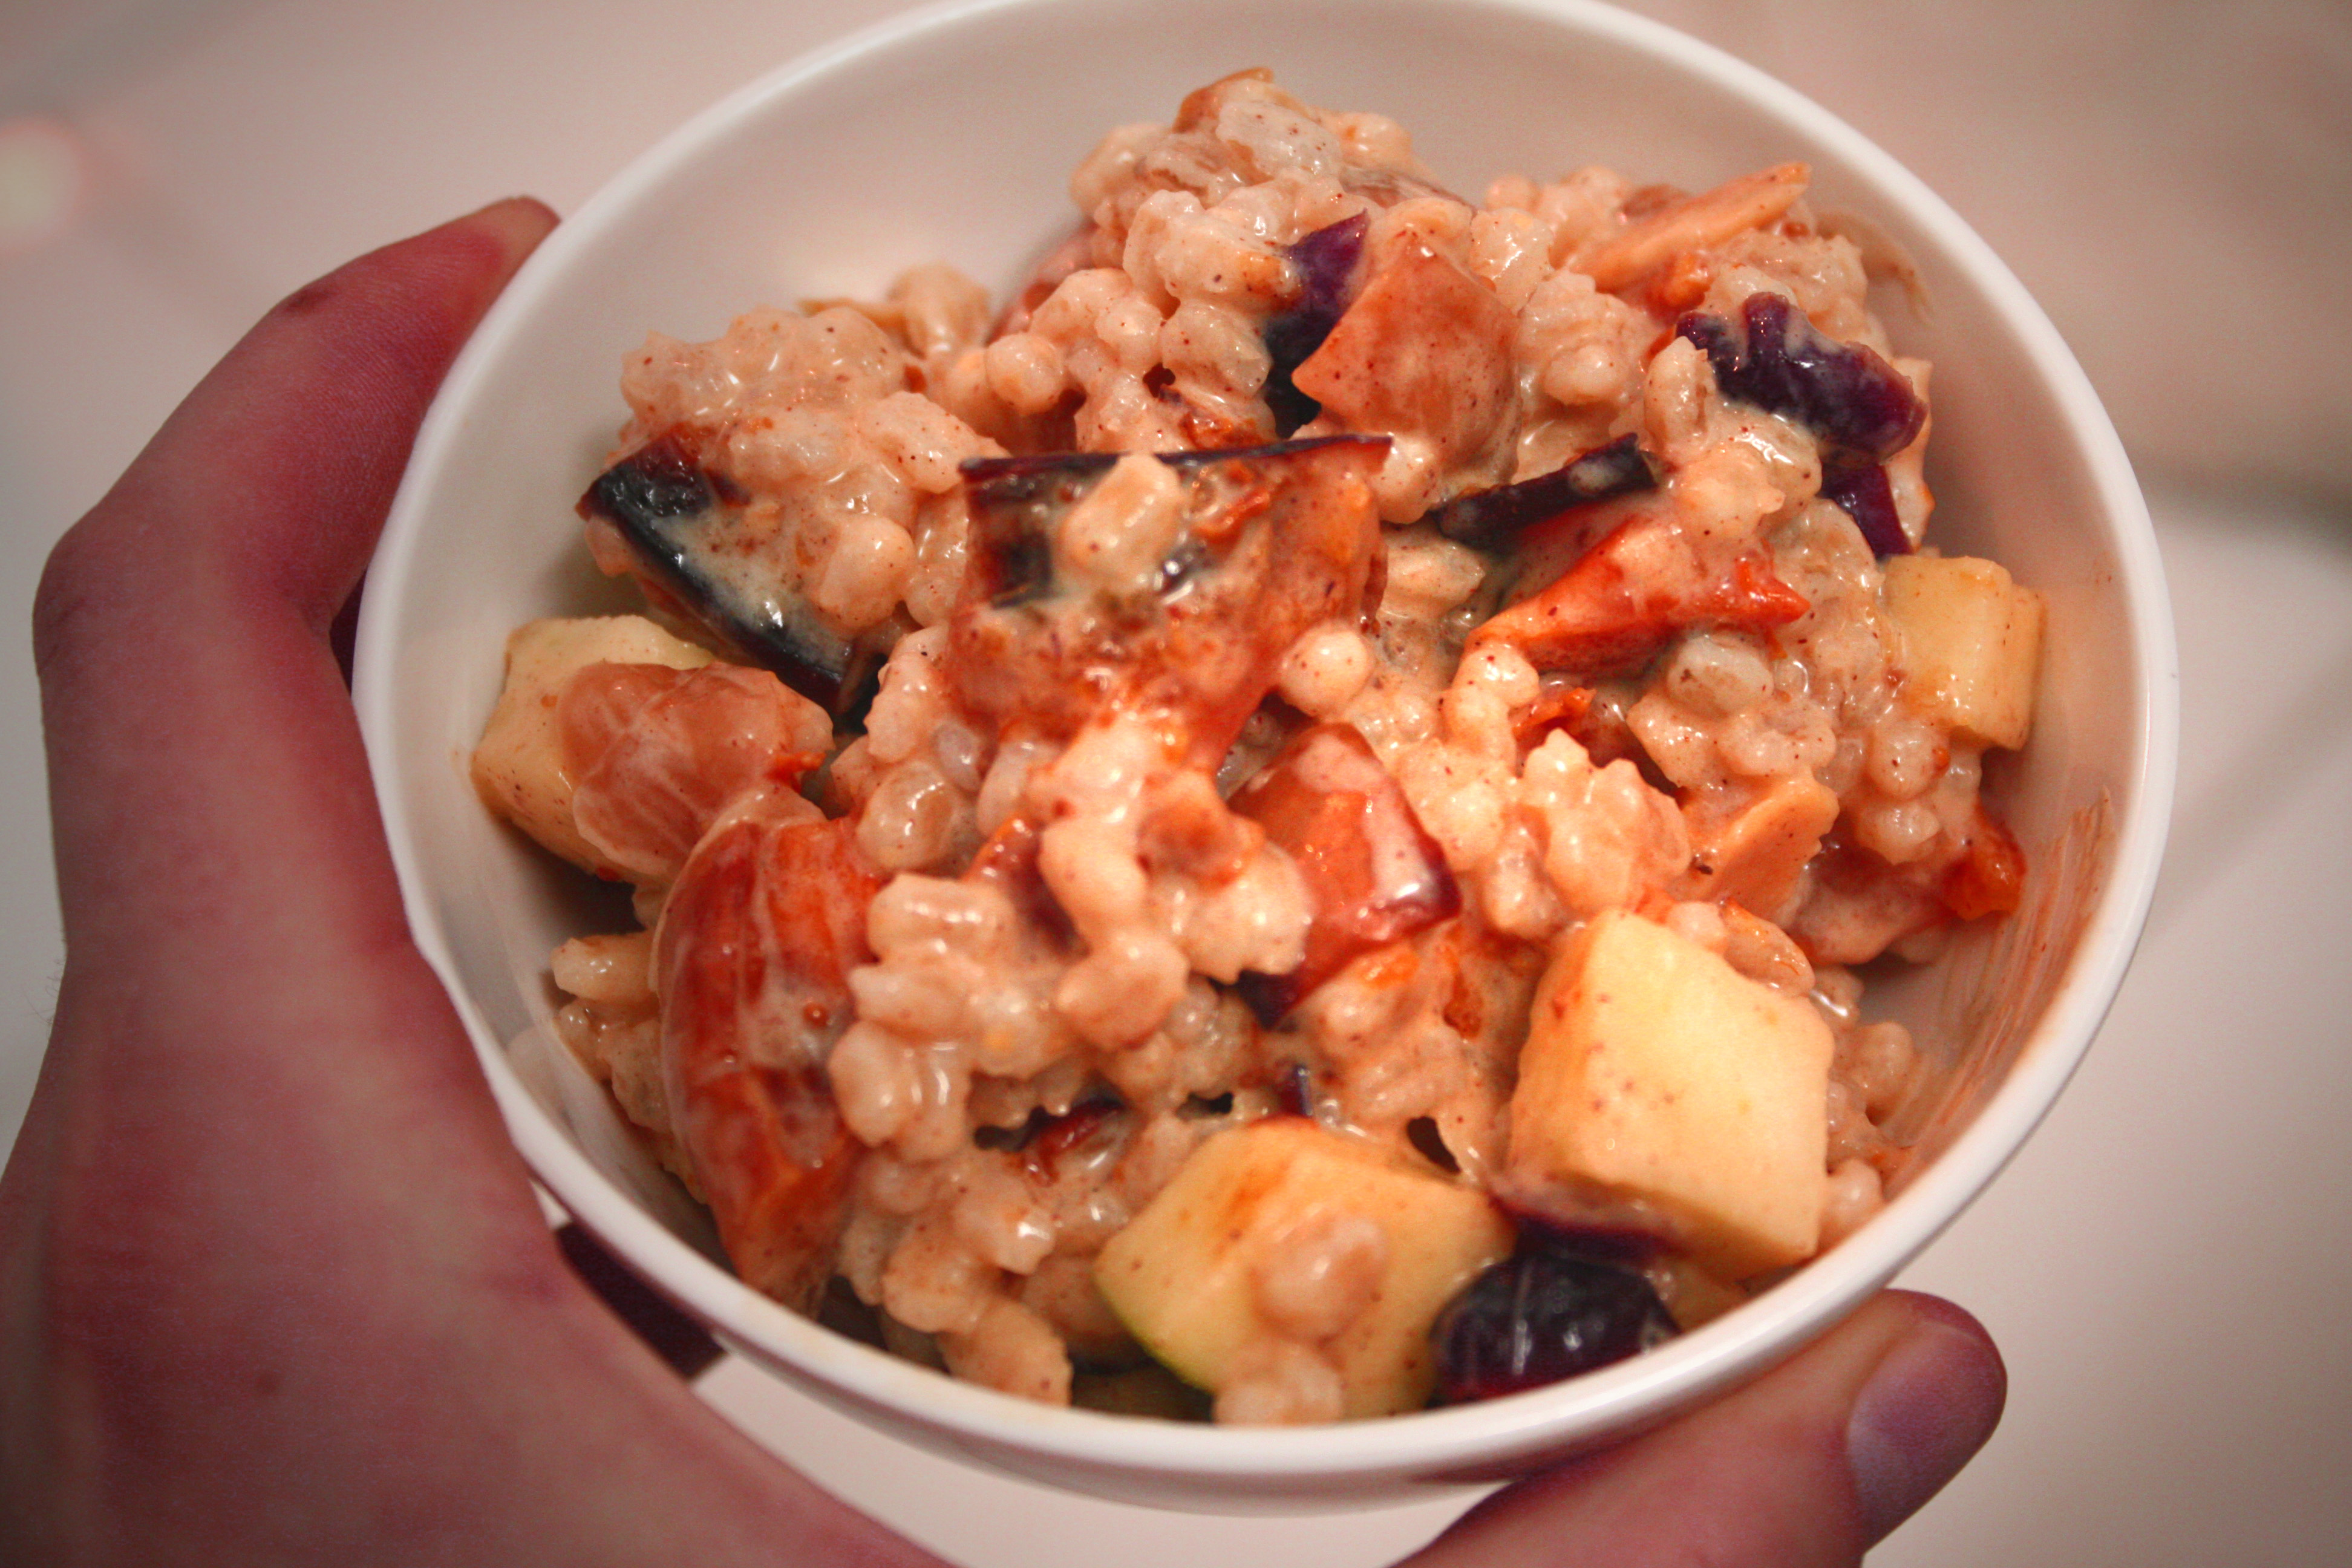
I decided I could go with something on the sweet side…adding some dried fruit (feel free to use whatever types you have on hand rather than the specific ones I chose to use) and fresh fruit. This kind of got me thinking about Waldorf Salad, and because I had a lot of yogurt in my fridge, I thought a nice creamy, sweet yogurt sauce would be the perfect addition. I also added some toasted sliced almonds to give it a crunch (much to Nate’s dismay) and a little cinnamon for some spice.

I have to say, it came out better than I expected. The only thing lacking were the photos because I was really hungry and didn’t feel like setting up my nice backdrop. Also, I was going to sprinkle the almonds on top (which would have been prettier), but I forgot and mixed them in.

Pardon the appearance, but do try it for yourself! It would even make a delicious breakfast.

Also, I submitted my recipe in a nut butter contest and you can check it out featured here!:

They haven’t announced a winner yet, so we’ll see.


Creamy Fruited Barley Salad

Recipe by Me
makes 2-4 servings as a side dish

1/2 cup pearl barley, uncooked
1/2 cup orange juice
1/4 cup dried apricots, chopped
1/4 cup dried cranberries
3-4 dried figs, chopped
1/3 Granny Smith apple, chopped (about 1/2 cup)
1/4 cup sliced almonds, toasted
1/2 cup cooked butternut squash, cubed
salt to taste

4 oz. honey flavored Greek yogurt (or plain with honey added)
1/4 tsp cinnamon
1/4 cup orange juice

Boil 2 cups of water and and bring to a boil. When boiling, add barley and cook til tender and liquid is absorbed.

While barley is cooking, put orange juice through figs in a small pot and bring to a boil. Simmer until liquid is absorbed and fruit is tender.

Whisk yogurt, cinnamon and 1/2 cup orange juice into a sauce.

Add cooked barley and toss to coat. Add rest of the fruits/veggies. Sprinkle with almonds and serve.

I love baking for no reason. But I really love having an actual event to bake for…particularly because then I know the goods won’t be sitting in my kitchen, calling my name at all hours of the night. I only wish I was kidding about my abilities to communicate with cake.

Birthdays are the perfect reason to bake up something good. So I took this opportunity for Nate’s friend’s birthday to make a Chocolate Fudge Cheesecake I’ve been wanting to try.

The recipe said it made 2 cakes. Even with a celebration like a birthday, I’m not sure why anyone would want to make 2 cakes…or at least 2 of the same cake. Ridiculous. Plus, I didn’t have 2 springform pans. So I halved the recipe and hoped for the best.

It turned out beautifully, and delicious. And the birthday boy seemed to enjoy it, which is the real result you hope for on any birthday baking endeavor :)

cheesecake, pre-glazing


Now if you’ll excuse me, I think I hear something calling my name from the refrigerator.


Chocolate Fudge Cheesecake

Adapted from Southern Living
makes one 9-inch cheesecake

Cake

1/4 cup toasted, chopped pecans
2 (1-ounce) bittersweet chocolate baking squares
1/2 cup butter, softened
1 cup sugar
2 large eggs
1/2 cup all-purpose flour
1/2 teaspoon vanilla extract
1/2 cup semisweet chocolate morsels
2 (8-ounce) packages cream cheese, softened
3/4 cup sugar
3 large eggs
1 teaspoons vanilla

Sprinkle 1/4 cup pecans evenly over the bottom of each of 1 greased and floured 9-inch springform pan.

Microwave chocolate squares in a microwave-safe bowl at MEDIUM (50% power) 1 1/2 minutes, stirring at 30-second intervals until melted. Stir until smooth.

Beat butter and 1 cup sugar at medium speed with an electric mixer until light and fluffy. Add 2 eggs, 1 at a time, beating just until blended after each addition. Add melted chocolate, beating just until blended.

Add flour, beating at low speed just until blended. Stir in 1/2 teaspoon vanilla and chocolate morsels. Divide batter evenly between pans, spreading over chopped pecans.

Beat cream cheese at medium speed with an electric mixer until smooth; add 3/4 cups sugar, beating until blended. Add 3 eggs, 1 at a time, beating just until blended after each addition. Stir in 1/2 teaspoons vanilla. Divide cream cheese mixture evenly between each pan, spreading over brownie batter.

Bake at 325° for 1 hour and 15 minutes or until set. Remove from oven; cool completely on wire rack.

Spread top of cooled cheesecake with 1 recipe Chocolate Glaze (see below); cover and chill 8 hours. Remove sides of pans before serving. Garnish, if desired.

Chocolate Glaze

1 (12-ounce) package semisweet chocolate morsels
1/2 cup whipping cream

Melt 1 (12-ounce) package semisweet chocolate morsels and 1/2 cup whipping cream in a 2-quart microwave-safe bowl at MEDIUM (50% power) 2 1/2 to 3 minutes or until chocolate begins to melt. Whisk until chocolate melts and mixture is smooth.

*Note: The top glaze layer came out extremely thick and rich. I think if I were to make it again, I’d halve the amount.

I checked the weather before I headed out the door this morning and it said it was going to be in the high 40’s today. Since the last few days had been chilly, I figured this was toasty walkin’ weather! I left my apartment with just a light jacket and no gloves. Totally fine for the morning walk.


It was a different story, however, when I left work this evening. It was blustery out! (Nate loves that word…he says it reminds him of Winnie Pooh and the Blustery Day) Man, that wind was seriously strong and I had decided to walk all the way home to my apt from Grand Central Station, which was a 30 min walk.

When I walked in the door to my apartment, my hands were frozen solid and my ears weren’t much better. It was definitely time to make something for dinner that would warm my tummy! I’d been wanting to make this recipe I saw in the New York Times for some time now, and this seemed like the perfect night.

Yes, that's my towel hanging in the background. Yes, I have to take my pictures in the bathroom since it has the best lighting there is for nighttime. Don't judge.

Thank goodness Nate doesn’t get home til 9ish, because I’m not going to tell you this recipe came together in a snap. There were several steps, and the puff pastry got a little messy (but maybe that’s because I’ve never used it before), but in the end, not only was it beautiful, but delicious as well.

No, I mean seriously amazing. You MUST make this. It was just what I needed to defrost, relax, and enjoy my Friday evening.

Oh, and stay tuned…I got a tasty cheesecake comin this weekend…

Pardon the crappy pictures…they were taken with my point-and-shoot which doesn’t know how to focus on the objects I want it to. Hopefully I’ll have Nate’s nice camera for my next pics.

Butternut Squash and Mushroom Wellington
taken from the New York Times (directions slightly edited by Me)
Serves 6-8

Print this Recipe!

3-4 tablespoons butter
1 small butternut squash (1 1/4 pounds), peeled, seeded and cut into 1/2-inch cubes
1 teaspoon maple syrup
1/2 teaspoon chopped fresh thyme
1/8 teaspoon smoked sweet paprika or regular paprika
1/2 teaspoon kosher salt, or more to taste
2 garlic cloves, finely chopped
1 large shallot, finely chopped
3/4 pound cremini mushrooms, trimmed and roughly chopped
1/3 cup dry white wine
1/4 teaspoon ground black pepper
2 tablespoons chopped parsley
Flour
1 (14-to-16-ounce) package puff pastry
1 cup crumbled goat

1 egg whisked with 1 tsp water

1. Heat the oven to 400 degrees and line a large baking sheet with parchment.

2. In a very large skillet over high heat, melt 2 tablespoons butter. Add the squash in a single layer and cook, undisturbed, for 4 minutes. (If squash won’t fit in a single layer, cook it in batches). Stir and continue to cook until squash is golden, 7 to 10 minutes more. Stir in the syrup, thyme, paprika and 1/4 teaspoon salt; cook one minute. Scrape mixture into a bowl.

3. Turn the heat down to medium and melt the remaining butter in the skillet. Stir in garlic and shallot; cook 1 to 2 minutes. Add the mushrooms and remaining salt. Cook until mushrooms are soft and their juices evaporate, about 10 minutes. Stir in the wine and cook until the mixture is dry, about 5 minutes. Stir in the pepper and parsley. Taste and add more salt if needed.

4. On a lightly floured surface, unwrap the puff pastry. Cut into 2 5-by-15-inch rectangles. *If pastry is already two sheets, no need to cut. Spread mushrooms on each pastry rectangle leaving 1/4-inch border. Spoon the cheese crumbles over the mushrooms. Then spoon the squash over the cheese, leaving a 1 1/2-inch border (it will look like a stripe of squash lying on a bed of cheese and mushrooms).

5. Brush half of the exposed borders of dough on each rectangle with the egg wash(*You will be pinching these together to seal but if both sides to get pinched have egg wash, they wont stick together as well. Better to have one wet side and one dry side meeting). Fold the long sides up to meet in the middle and pinch together to seal; pinch the ends, too. Transfer the pastries to the baking sheet and turn them over so that the seam is face down. Brush the tops with more egg wash. Bake until they are puffed golden, and firm to the touch, about 30 minutes. Let cool for 10 minutes, slice and serve.