Sorry I haven’t posted in a while. My grandpa passed away last week and I’ve been spending time down in Florida with my family. As sad as it is that he wasn’t there with us, it was really nice to see everyone all in one place. It doesn’t happen often that we’re all together.

My grandpa had been wanting our whole family (aunts, uncles, cousins) to get together for his and my grandma’s 60th anniversary and earlier last year we had been planning to take a trip somewhere together. After he got sick he knew that trip would never happen and really was just hoping he could at least make it to my wedding in October. It’s sad that we were all finally able to be together and my grandpa couldn’t join us. And my wedding will definitely feel like there’s something missing.

This month’s bloghop ingredient is berries. I really wanted to bake up something that my grandpa would have loved.

His and my birthday were only 2 days apart so either my mom or I would bake a cake every year and the two of use would celebrate together, blowing out the candles on our cake.

birthday with grandpa

Birthday with Grandpa- 8 yrs old

I contemplated baking a carrot cake because I remember how much he loved when we made a carrot layer cake for his birthday, complete with cream cheese frosting. I also remember a time we made a white cake with lemon curd filling and blueberries- the only berry he would eat because he hated seeds getting in his teeth.

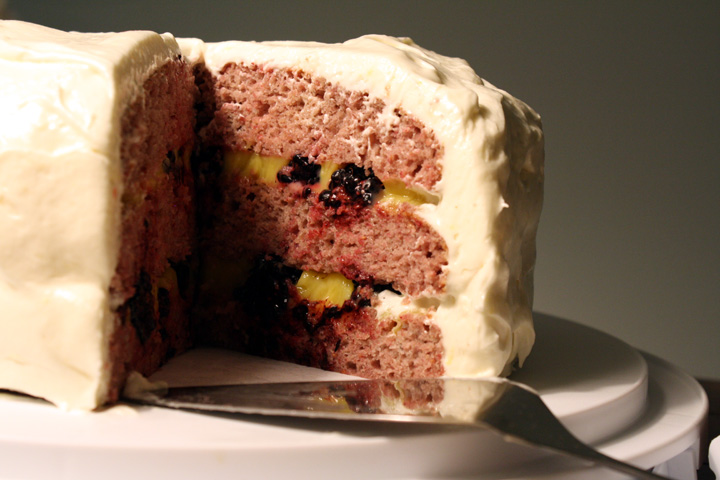
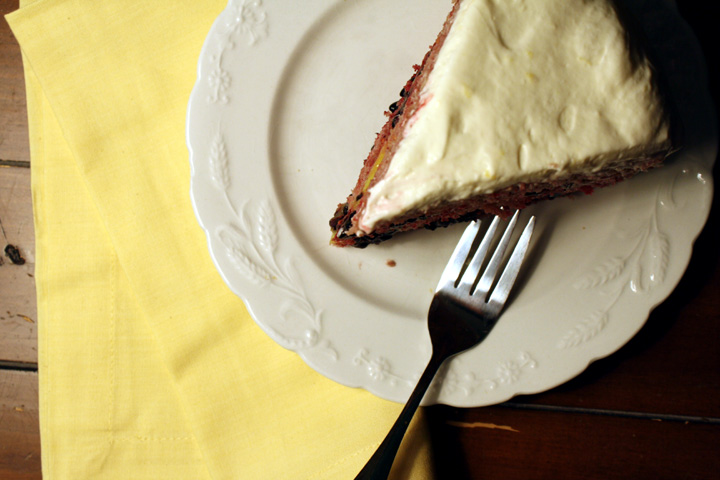
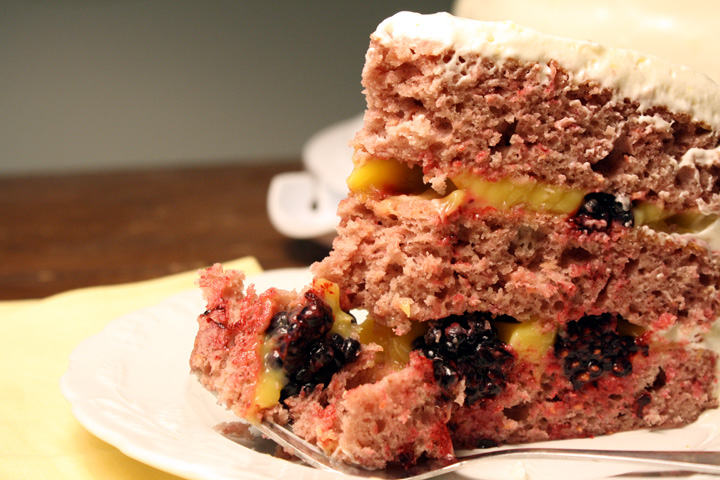
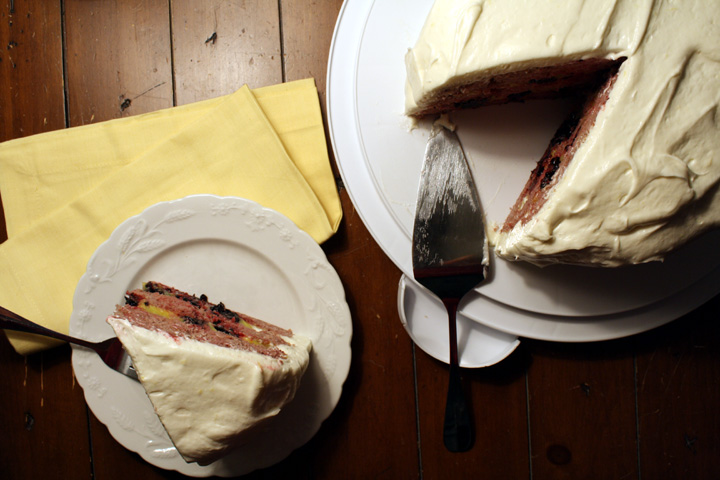
I kind of combined the two and made a raspberry cake (I think he wouldn’t have minded the seeds are baked in but you could easily strain them out), with lemon curd filling and a cream cheese frosting. There were no good blueberries so I used blackberries in this filling.

I think my grandpa would have loved this cake. I miss him already.

I’m posting this as part of the #berryove April bloghop. I’m co-hosting with the following:
A little bit of everythingBaker StreetBaking and Cooking, A Tale of Two LovesBigFatBakerBon à croquerCake DuchessEasily Good EatsGeorgie Cakes, Hobby And MoreJava CupcakeMis PensamientosNo One Likes Crumbley CookiesOh CakeQueen’s NotebookRico sin AzúcarSimply ReemSoni’s Food for ThoughtTeaspoon of SpiceThat Skinny Chick Can Bake!!!The Art of Cooking Real FoodThe Wimpy VegetarianVegan Yack AttackVegetarian Mamma

Please join in on the #berrylove fun by linking up any berry recipe from the month of April 2012. Don’t forget to link back to this post, so that your readers know to come stop by the #berrylove event! The twitter hashtag is #berrylove :). See below recipe for linkup!

Raspberry Cake with Lemon Filling and Cream Cheese Frosting

Cake adapted from DixieMockingbird, frosting from my Valentine’s Day Cake

Print this recipe!

Makes one 9 inch 3-layer cake

Cake Ingredients:
parchement paper:
butter and flour – for the cake pans

3 cups all purpose flour
2 cups granulated sugar
1 Tbsp + 1 tsp baking powder
1/2 tsp salt
3/4 cup vegetable oil
1 1/2 cup raspberry puree* (I used about 1.5 12 oz bags of frozen berries, thawed)
1 teaspoon vanilla extract
4 large eggs, beaten

2 pints fresh raspberries (i used blackberries because raspberries were ridiculously expensive)
8 oz lemon curd ( I bought some but you could easily make it)

*For raspberry puree – simple run two to three cups of raspberries through the blender or food processor until very smooth. You can strain the puree to remove seeds if you wish, but I didn’t

Frosting Ingredients:
8 oz. of 1/3 less fat cream cheese, room temperature
4 oz. butter, room temperature
1 tsp vanilla
zest of 1 lemon
2 cups confectioners sugar
8 oz. containter of non-dairy whipped topping (I used Cool Whip Free)

Preparation:

Preheat oven to 325F. Butter and flour three 8 inch cake pans, and set aside.

In a medium bowl, combine flour, baking powder and salt.

In a large mixing bowl, whisk together sugar, vegetable oil, raspberry puree, vanilla, and eggs.

Gently whisk in the flour mixture until just combined.

Evenly divide the batter evenly among the prepared cake pans. Bake in preheated oven for 20 minutes or so. The tops of the cakes should be springy to the touch, and a cake tester (aka wooden toothpick or skewer) inserted into the center of each cake should come out clean.

Allow cakes to cool in their pans for 10 minutes, then turn cakes out onto wire cooling racks to cool completley. You can frost them once they reach room temperature, but it is better to chill the cakes for at least an hour before assembling and frosting.

While cake is cooling, beat cream cheese, butter, vanilla and lemon zest with an electric mixer. Beat in confectioners sugar. Fold in cool whip.

Place one cake layer on a plate. Spread half of lemon curd on cake. Place enough raspberries to cover.

Place next cake layer on top and press down, smushing raspberries. Spread rest of lemon curd on cake and place raspberries on top.

Place top cake layer on top and press down again. Dump frosting on top of cake and spread evenly over sides. You may not need all the frosting. Refrigerate cake before cutting to firm up the frosting.

 

We went down to PA to visit Nate’s mom this past weekend and it was a fun, relaxing time as always. We stopped by a few antique shops on the search for some things I want to use in the wedding. I didn’t have much luck though. I’m thinking next time a flea market will be a better bet.

Another reason we went down is because Nate’s dad gave us a whole set of never-been-used bedroom furniture because he’s turning his guest room into a gym. Although we can’t fit the huge sleigh bed into our teeny NYC bedroom, we’re super excited about when we have room for it!

I figured after getting such a nice little present, I should say thank you in the only way I know how: baking.

After my success with making granola bars the other day, I thought about what else I could make from scratch that would be as good as or better than store-bought.

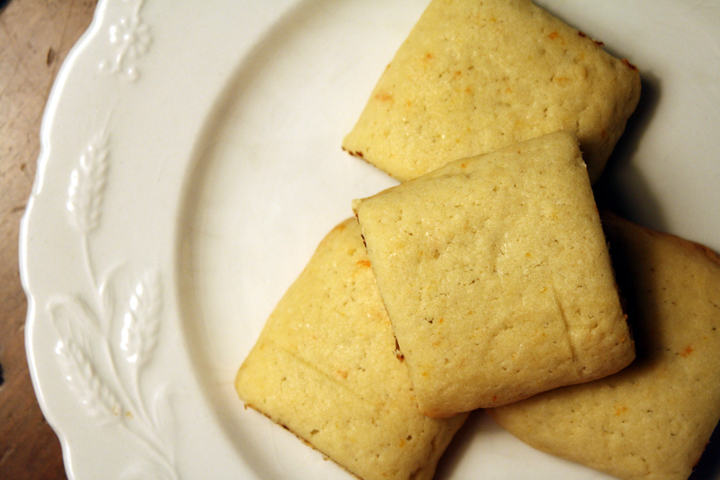
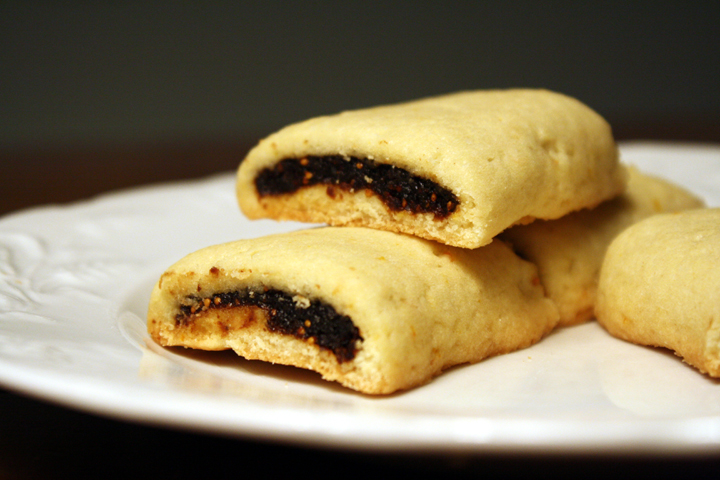
I had seen some look-alike Fig Newtons online and thought that I would have to try them. Nate told me his dad likes Fig Newtons so I thought it would be the perfect time to give this recipe a try. I wish I was closer to my parents, because growing up I remember my Dad loving Fig Newtons too. Next time I go down to Florida to visit, I’ll have to make these for him.

The dough was a but sticky and kind of ripped when I folder it over the filling, but all-in-all it was very forgiving after it cooked up. In addition, you definitely have to plan ahead with these since the dough has to be refrigerated for several hours and the filling takes a while to cook.

Next time I think I’ll try this with a different flavor inside :)

*Note, for great step-by-step pictures, visit the site I got the recipe from, Oh Nuts

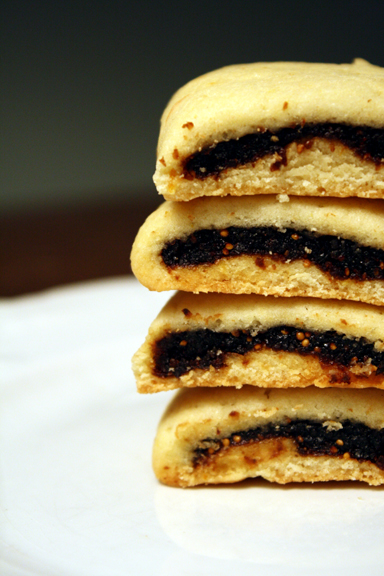
Homemade Fig Newtons!

Taken from Oh Nuts

Print this recipe!

makes about 30 cookies

For the filling:

1 generous cup Calimyrna dried figs
1-1/2 cups water
1 cup apple juice
1/4 cup sugar
zest of 1/2 grated orange

For the cookie dough:
4 oz (8 tbsp) softened butter
1/2 cup granulated sugar
zest of 1/2 grated orange
1 egg white, room temperature
1 tsp vanilla extract
1.5 cups all-purpose flour

Both parts of this recipe require extensive down-time, so make sure you plan ahead and leave enough time for cooking and chilling. To make the dough, start by combining the butter and 1/2 cup of sugar in the bowl of stand mixer (or use a large bowl and a hand mixer.) Beat them together on medium speed until light and fluffy, about 2 minutes.

Add the egg white, the grated zest of half an orange, and the vanilla extract, and beat everything together until you have a silky smooth mixture. Scrape down the sides of the bowl and the beaters. Add the flour, and mix on low until everything is mixed together and there are no streaks of flour remaining.

When you’re finished, you should have a soft dough similar to a sugar cookie dough. Wrap it tightly in plastic wrap and refrigerate it until it’s firm enough to roll, for about two hours.

While you wait for the dough to chill, it’s time to get figgy with it! (Yes, I’ve been dying to use that joke this whole time.) Take those dried figs and chop them up into small pieces.

Combine the chopped figs, water, apple juice, and 1/4 cup of sugar in a medium saucepan, and bring it to a boil over medium heat. After it starts boiling, reduce the heat to low and simmer it until the figs are soft and practically disintegrating, anywhere from 90 minutes to 2 hours. Stir the figs occasionally so they don’t scorch on the bottom of the pan.

When the figs are done, most of the water will have cooked off and they will have the consistency of a thick, sticky jam. Cool the fig mixture at room temperature or in the microwave. It’s ok if it’s not as thick as you might think, as it will get blended.

Transfer the fig mixture to a food processor or blender, and add the grated zest of half an orange. Blend until you have a smooth paste.

Now it’s time to bring together the two halves of our Fig Newton. Preheat your oven to 350 degrees F.

Take your chilled dough from the refrigerator and dust a work surface and rolling pin with flour. The dough will get sticky as it warms up, so it’s best to do this quickly and avoid adding any more flour than necessary. Roll the dough out into a very thin rectangle, about 16 inches long by 12 inches high. Remember how thin the cookie part of a Fig Newton is? Yeah, it’s a wee little layer. That’s what we’re going for.

Cut your dough into 4 strips, so that you end up with 4 long thin rectangles 4 inches across and 12 inches high.

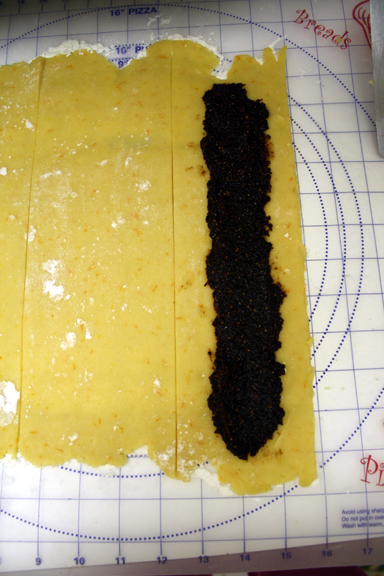
Take about a quarter of the fig mixture and spread it along the center of one of the strips of dough. Gently fold one side over the fig mixture, then fold the second side over the first, so that you are left with a long tube of dough enclosing the fig filling. Repeat until all four dough strips have been filled and folded.

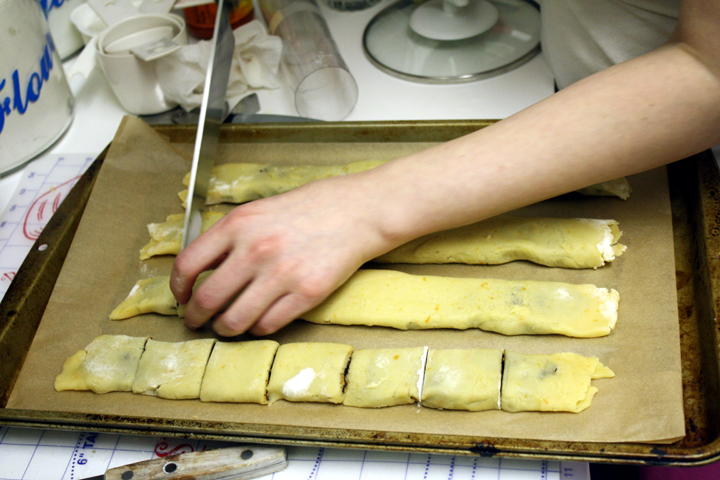
Gently (gently!) transfer the strips of dough to a parchment-covered baking sheet. I found it was easiest to do this by sliding them onto a long metal spatula, but even a large chef’s knife might work for his purpose. You can either cut them into cookies before or after baking–I prefer before, because I think it’s a little easier to get clean cuts that way, but either way works fine.

Bake the cookies in the 350 degree oven for 12-15 minutes, until they’re puffed and golden brown around the edges.

**These cookies are even better the next day. Fresh from the oven, the cookie layer is a little crispy, more like a shortbread. But after they’ve had time to mellow, it softens like a real fig newton. Keep in tupperware on counter up to a week or longer in fridge.

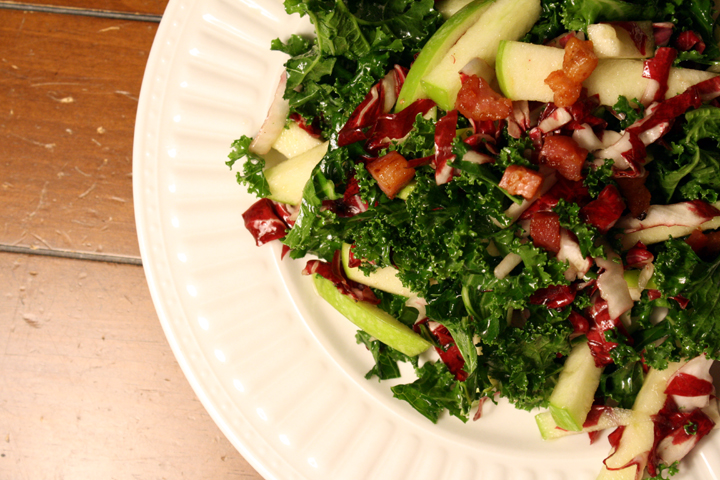
It seems like Kale is the 2012 super food. I mean I know it existed before that, obviously, but everywhere I turn, I’ve been seeing recipes for it.

Usually I’m not a fan of raw kale since it’s a lot tougher than a typical salad leaf. I like to sauté or braise it. But I found this recipe  for Kale, Apple and Pancetta Salad in one of my trusty food emails the other day and thought it sounded too good to pass up.

Most of the recipes I had seen for kale in salad called for massaging it. Yep, you read right. While you’re peeling and chopping those poor other veggies, lucky Kale is getting a rub down.

Massaging kale is actually some sort of a scientific process. You add some oil/dressing, grab bunches of it in both hands and squeeze. Then rub them together. And repeat. The tough cellulose structure breaks down and the leaves wilt. The leaves will darken and shrink to almost half their pre-massage volume.

This salad actually didn’t call for such a technique, although I think it could have used it. Nate might have gotten a bit jealous though ;)

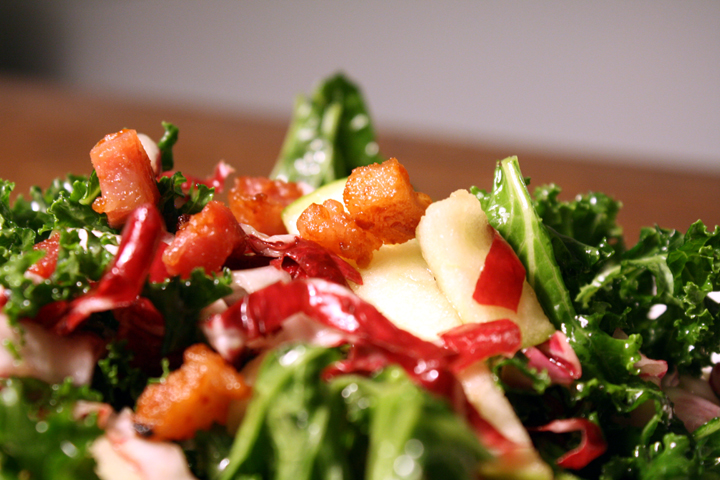
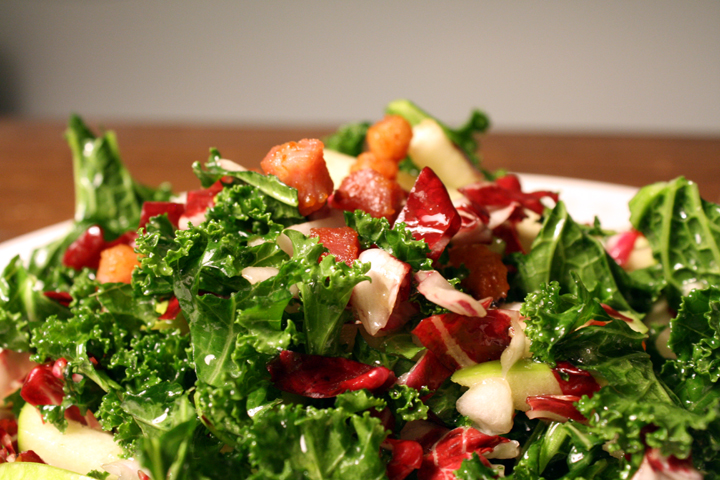
In the end the flavors were totally delicious but I think if I made it again I would either massage it or lightly saute just the greens before mixing it with everything else. And oh my, the pancetta MADE this salad. If you don’t eat pork, you must substitute something else similar (maybe turkey bacon), as it just wouldn’t be the same without that saltiness.

I’m posting this as part of the #greenslove March bloghop hosted by:
Al Dente GourmetAstig VeganBadger Girl Learns to CookBaking and Cooking: A Tale of Two Loves,BigFatBakerBon a CroquerCafeTerraBlogCake DuchessCheap Ethnic EatsEasily Good Eats,GeorgiecakesKitchen BelleiciousMis PensamientosMy Twisted RecipesNo One Likes Crumbley Cookies,Oh CakeQueen’s NotebookRico Sin AzucarSavoring Every Bite, Simply ReemSoni’s Food for Thought,Sprint 2 the TableTeaspoon of SpiceThat Skinny Chick Can Bake!!!The Art of Cooking Real FoodThe Spicy RDThe Wimpy VegetarianVegan Yack AttackVegetarian Mamma.

I didn’t get my stuff together early enough to host with them this month, but hopefully I will in April!

 
Here are the rest of the entries!:

Kale Apple and Pancetta Salad

Taken from Serious Eats

Print this recipe!

Serves 4-6

1/3 cup extra virgin olive oil
4 ounces sliced pancetta, diced
1/4 cup Champagne vinegar
1/4 cup pure maple syrup
1/4 teaspoon salt
1/4 teaspoon freshly ground black pepper
1 small head radicchio, shredded
1 8-ounce bunch kale, stems discarded, leaves shredded
2 tart yet sweet apples, sliced into thick matchsticks
3/4 cup pecans, toasted if desired

Combine the olive oil and pancetta in a small saucepan over medium heat. Cook, stirring frequently, until pancetta is golden and crispy. Strain the pan drippings into a small bowl and leave the crispy pancetta off to the side to cool. Add the Champagne vinegar, maple syrup, salt and pepper and whisk well.

Combine the radicchio, kale, apples and pecans in a large bowl. Toss while adding the dressing, little by little, until salad is well dressed. Taste and adjust seasoning with salt and pepper. Garnish with crispy pancetta.

**NOTE TO ALL MY SUBSCRIBERS:

If you were an email subscriber before and you haven’t switched over to Feedburner, please do so!

To do this, go to the right hand column and scroll down to where it says “Get Elephant Eats Sent to your Inbox!” If you haven’t done this yet, you probably received an ugly text email about my post today…but when you switch over you’ll get a better html version. I’ll make sure to take you off the other list when you do.

WordPress subscribers please follow my directions in my other post. Thanks!

I’m not sure if I mentioned this before, but Nate likes to have bread of some sort with dinner every night. He usually buys his beloved Trader Joe’s whole wheat dinner rolls, but every once in a while I like to make him something fresh.

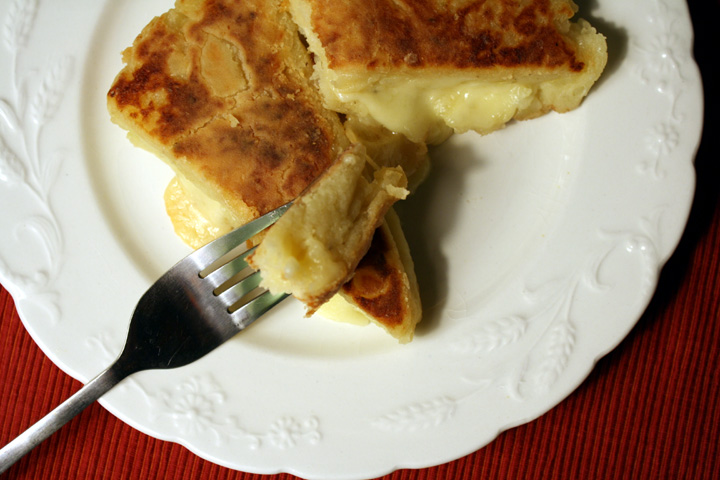
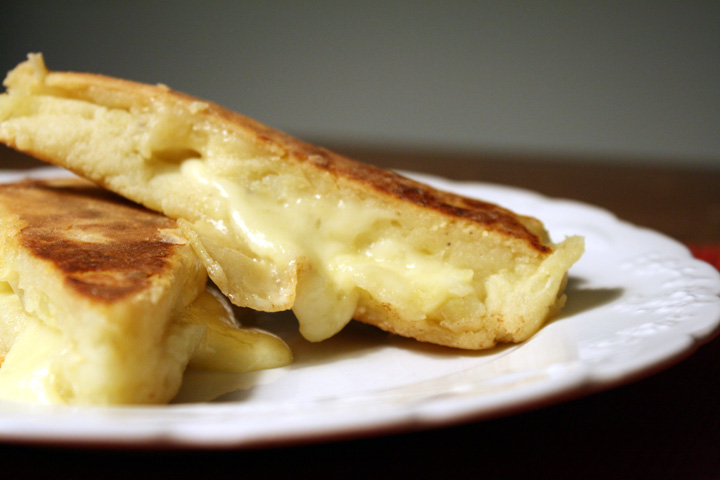
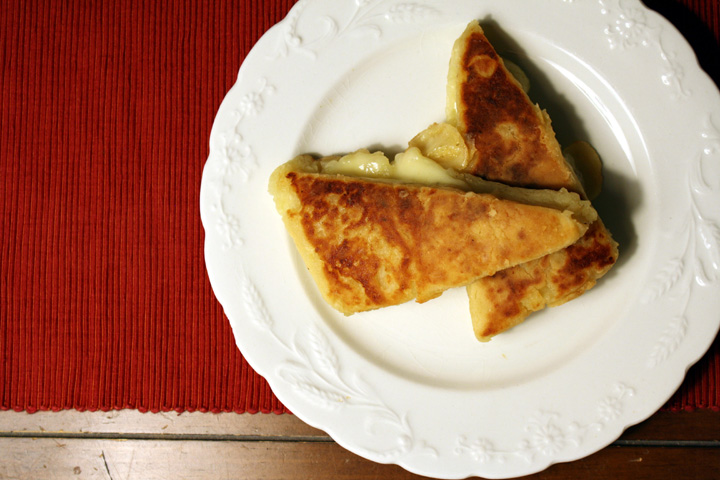
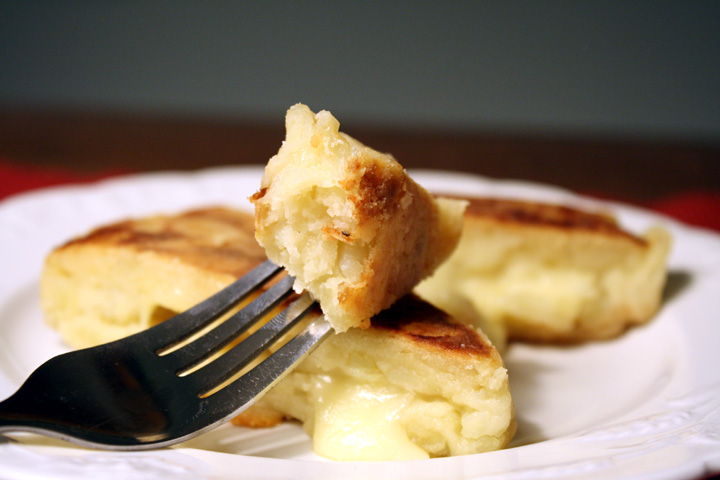
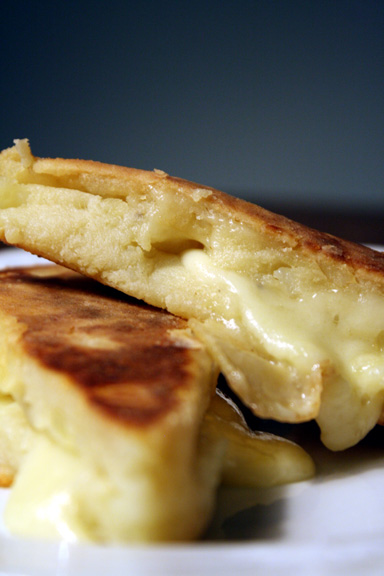
When I was reading Martha Stewart Living magazine the other day, I came across this interesting-looking recipe for Potato Scones. I guess they were called scones because mashed potatoes were combined with flour to form a dough. But unlike typical bready scones, these were filled with cheese and pan fried, rather than baked.

I can’t think of anything that wouldn’t benefit from the addition of cheese and being fried in butter, so I figured I’d give them a try.

Man, these were so easy and SO delicious! You have to try them…seriously. I think they’d be an amazing use for leftover mashed potatoes, but I followed the recipe and boiled and mashed potatoes just for this recipe.

Nate and I both gave this one a giant thumbs up!

Potato Scones

Taken from Martha Stewart

Print from Martha’s site

Makes 8 scones

2 large russet potatoes, peeled and cut into large cubes (or 2.5 cups mashed)
Coarse salt and freshly ground black pepper
3/4 stick (6 tablespoons) unsalted butter, room temperature, plus 2 teaspoons for skillet
1 cup all-purpose flour, plus more for rolling
1/2 teaspoon baking powder
1/4 pound Tipperary cheese or sharp white cheddar, diced small (about 1/3 inch)
Directions

Bring potatoes to a boil in a pot of lightly salted water. Reduce heat, and simmer until fork tender, 10 to 12 minutes. Drain well.

While still warm, push potatoes through the large holes of a ricer, or use a potato masher to mash them until smooth (you should have 2 1/2 cups). Stir butter into warm potatoes until combined well. Stir together flour, baking powder, 1 teaspoon salt, and 1/4 teaspoon pepper, then stir into potatoes with a wooden spoon until just combined. Form dough into a ball on a lightly floured work surface. Cover with a dish towel, and let cool for 20 minutes.

Dust rolling pin and work surface with flour, and roll out dough to an 8-by-10-inch rectangle. Sprinkle half with cheese, and fold to create a 4-by-10-inch rectangle. Gently roll out. With a floured knife, cut dough into four 2 1/2-by-4-inch rectangles, then cut each in half diagonally.

Heat a griddle or a large cast-iron or non-stick skillet over medium heat, and add 1 teaspoon butter. When it has completely melted and is sizzling, cook 4 scones until golden brown and cheese melts, 3 to 4 minutes per side. Keep scones warm in a 200-degree oven while you cook the remaining dough.

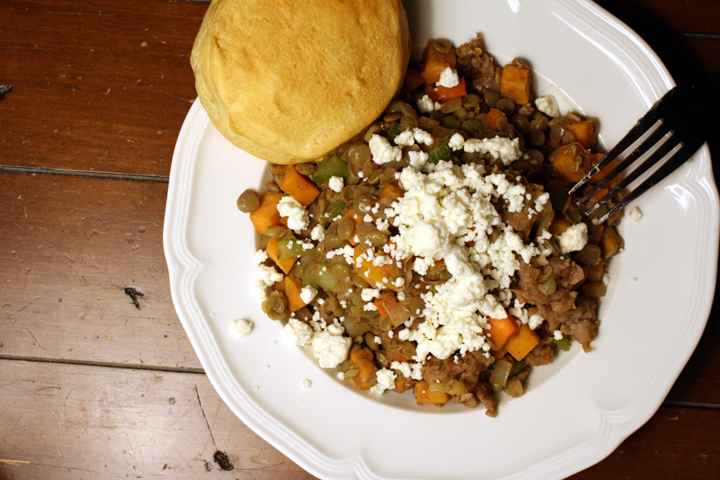
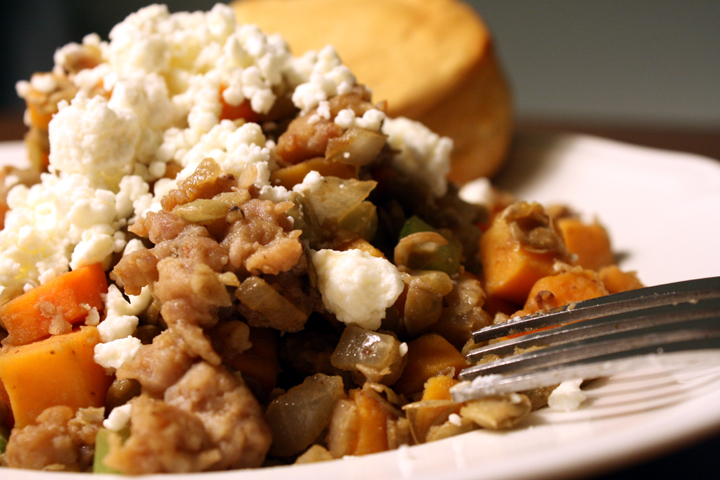
This is the meal that I made Nate for Valentine’s day…because nothing says love like lentils.

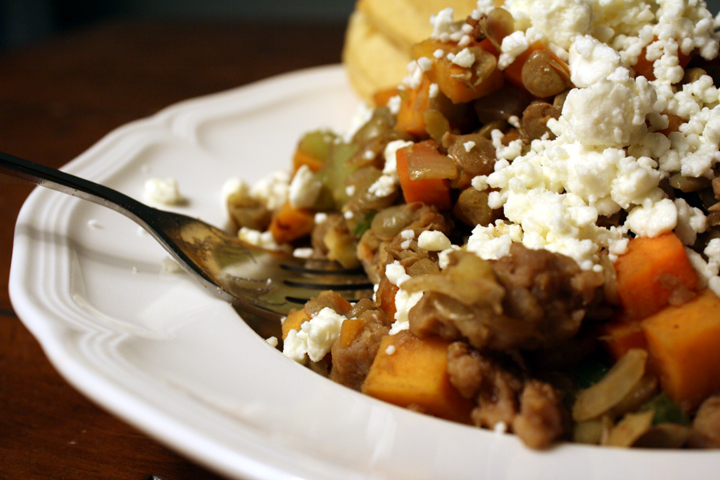
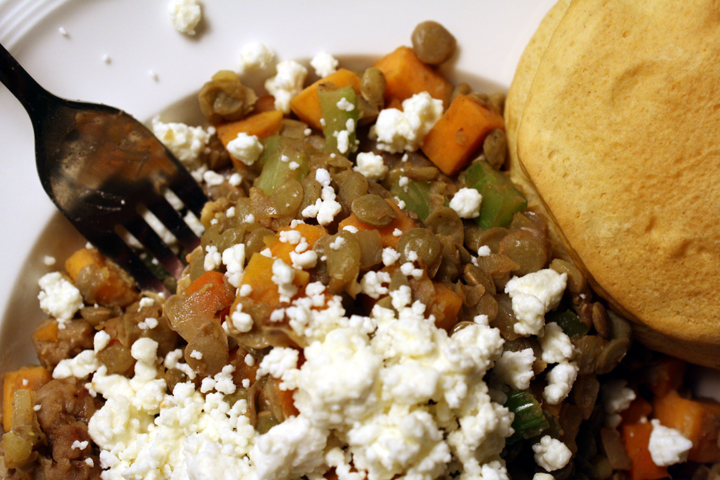
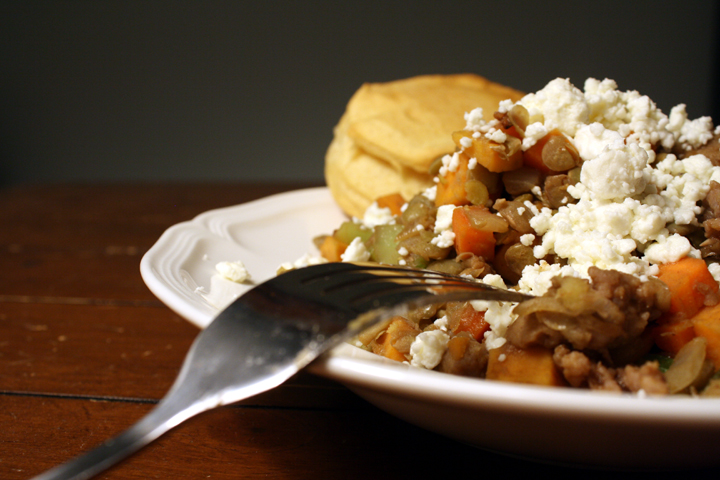
Also because I didnt’ have any better ideas and I got a craving for something like this. I know this isn’t much to look at, but it tastes amazing!

We could have gone out to dinner but making something seemed a little more special.

I don’t think Valentine’s day really needs to be a meal any different than a regular dinner.

Dessert, on the other hand, must be either red, pink, or heart-shaped, but as you may remember, I had that covered!

P.S. Those biscuits you see…I totally cheated. They’re Pillsbury. Who doesn’t love Pillsbury biscuits?!

**NOTE: If you were an email subscriber before and you haven’t switched over to Feedburner, please do so! To do this, go to the right hand column and scroll down to where it says “Get Elephant Eats Sent to your Inbox!” If you haven’t done this yet, you probably received an ugly text email about my post today…but when you switch over you’ll get a better html version. I’ll make sure to take you off the other list when you do. Thanks!

Lentils with Sausage, Sweet Potatoes, Feta and Balsamic Dressing

Print this recipe!

makes 5 very generous servings 

1 cup dry lentils
1 lb sweet italian turkey sausage
2 medium sweet potatoes, peeled and diced into 1/4″ cubes
1 medium onion, diced
2 carrots, peeled and finely diced
2 celery stalks, finely diced
1 Tbsp olive oil
s+p to taste
1 1/4 cups feta

Dressing:
2 Tbsp balsamic vinegar
1 Tbsp dijon mustard
1 tsp olive oil

Rinse and drain lentils, then add to a 4 quart pot filled halfway with water. Bring to a boil. Reduce heat and simmer 15-20 min or until lentils are tender but not mushy. Drain lentils and set aside.

Remove sausage from casings and heat in a large saucepan over med-high heat, breaking up with a wooden spoon. Stir until cooked through. Remove with slotted spoon to a bowl and set aside.

Add sweet potato to pan with sausage drippings and cook over med heat for 5 minutes.

Raise heat back to med-high, add 1 Tbsp oil, onions, carrots and celery and cook 5-10 minutes or until onion is soft.

Add sausage and lentils into veggies and stir until warm.

Mix dressing ingredients and pour over lentil mixture, tossing well.
Serve with a generous serving of feta sprinkled on each plate, or toss into lentil mixture if desired.