I have the most romantic fiancé ever…

Shrimp Quesadilla

The other day at work, Nate and I were talking on gchat and he asked me what I was making for dinner:

me: why don’t you get a pizza for dinner

Nate: im just not sure i want pizza

me: well how do you know you’d be in the mood for whatever i made for dinner?

Nate: i can’t make these decisions anymore
thats why i’m getting married
so i don’t have to
my food thinking days are over

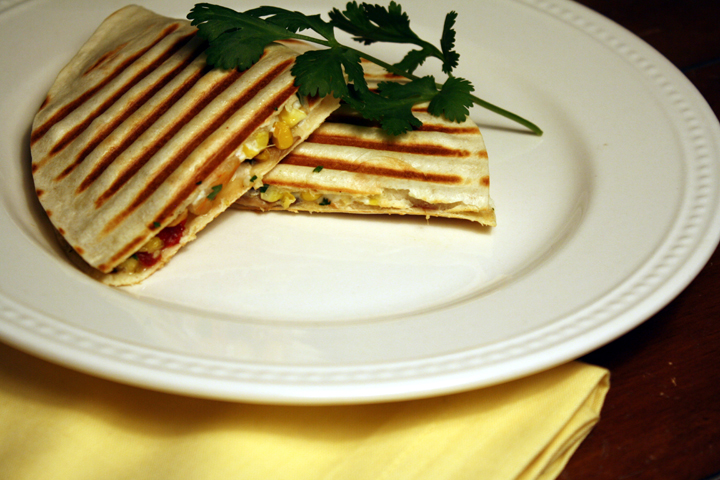
Shrimp Quesadilla

If that’s not a reason to get married (to someone you had a “good” date with), I don’t know what is.

Since Nate never has any idea what he wants for dinner, I have to come up with these things myself.

I knew I wanted to use my new panini press, one of my bridal gifts!! I immediately thought of quesadillas and tried to figure out what else was in my fridge.

Shrimp Quesadilla

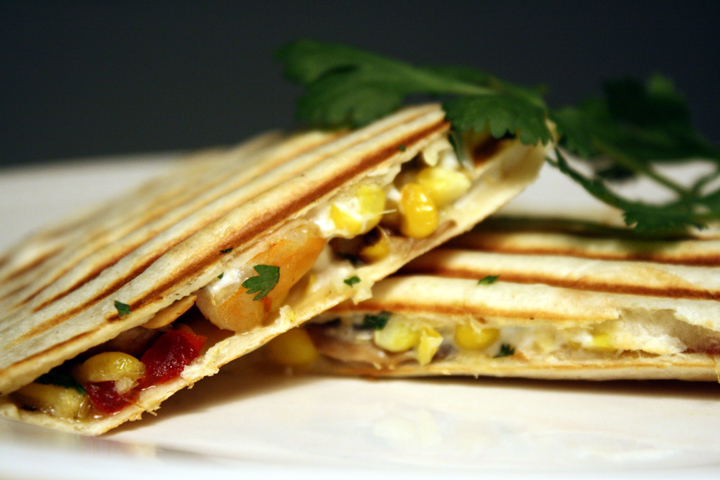
I had that goat cheese I’ve been meaning to use, plus some Trader Joes Red Pepper Jelly that I haven’t tried yet (courtesy of Nate’s mom). For some reason I knew I wanted roasted corn too, and then I threw in mushrooms to add some more veggies and sauteed shrimp for protein.

Before I knew it, a delicious quesadilla was born.

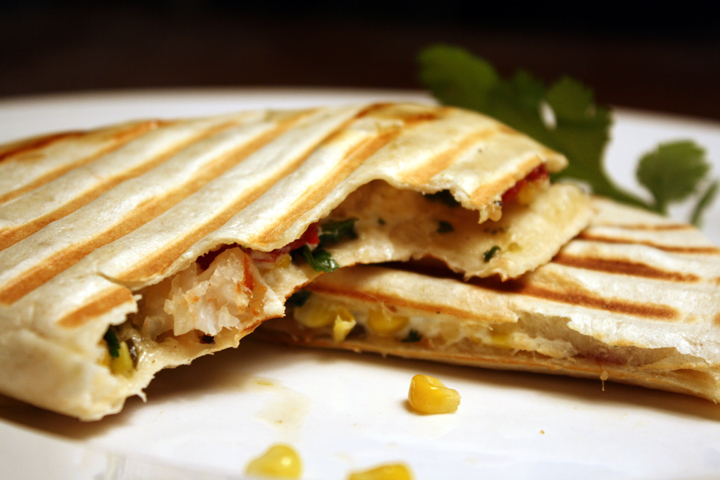
Shrimp Quesadilla

Since Nate doesn’t mind making me come up with dinner ideas and cooking every day, I didn’t mind hiding some chopped up shrimp, his most hated of foods, into this tasty meal :)

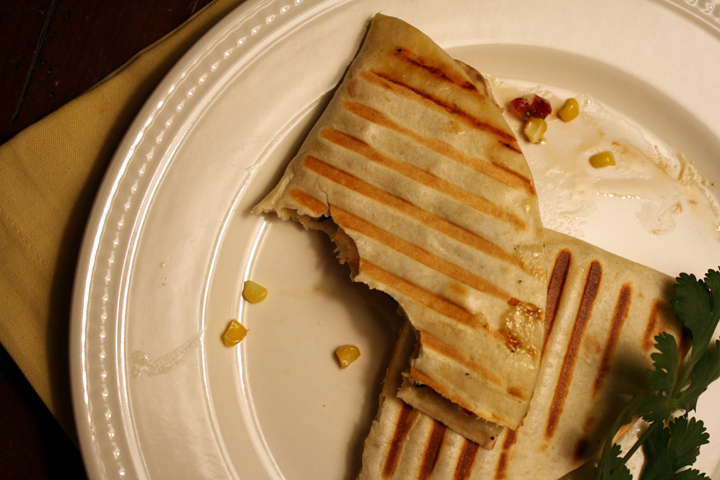
Had it not been for a small piece of shrimp falling out of these very messy quesadillas, Nate never would have known.

And you know what? He saw it fall out and kept eating. They were THAT GOOD people!

Roasted Corn, Shrimp, Mushroom and Goat Cheese Quesadilla with Red Pepper Jelly and Salsa Verde

Recipe by Me

Print this recipe!

makes 4 quesadillas

*Note: amounts are not exact, as it really depends what you like

4 tortillas
15ish small shrimp
3 ears corn, kernels cut off (about 1 cup kernels I think?)
Olive oil
8 oz. sliced mushrooms
Cilantro
3-4 oz. crumbled goat cheese
Salsa verde (any jarred version is fine, or you could make your own)
salt and pepper to taste
1/4 cup Red Pepper Jelly

Toss corn kernels with some oil, spread on a foil-line baking sheet, and sprinkle with pepper.

Broil corn kernels, keeping an eye on them, until lightly browned. Set aside.

Put about a teaspoon of oil in a grill pan or skillet and heat over medium heat. Add mushrooms and cook, stirring until they begin to soften. Add a tablespoon of salsa, stir, and push to one side of the pan.

Toss shrimp with olive oil, cilantro, salt and pepper. Add shrimp to the empty half of the pan containing the mushrooms.

Flip shrimp over when the bottom side turns pink, and continue cooking another minute or two until entire shrimp is pink.

Remove shrimp from pan and cut each into quarters.

Remove mushrooms from heat and set aside.

Put 1 tortilla down. Spread half with about 1 Tbsp red pepper Jelly. Sprinkle 3-4 shrimp (9-12 chopped pieces) evenly over the jelly. Top with 1 Tbsp mushrooms and about 3-4 Tbsp corn. Sprinkle with an ounce of goat cheese, cilantro and 1 Tbsp salsa verde. (Amounts are all approximate and can vary based on your taste)

Fold tortilla over the filling and cook in a panini press for a few minutes or until crispy on outside and cheese is melted.

Cut in half and enjoy!

I’m the most indecisive person you’ve ever met. My family and Nate can certainly vouch for that.

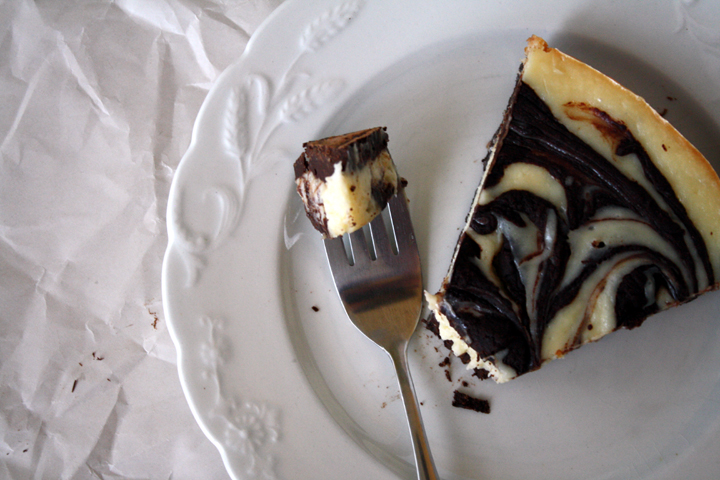
Chocolate Fudge Cheesecake

I rarely buy things for myself, so when I do you can imagine how long I spend deciding exactly what item I want. I will literally stand in a department store with a blue shirt and a red shirt in each hand, looking back and forth for a good 30 minutes to figure out which one I really want.

I’m not exaggerating.

At restaurants I will agonize over what to order because everything sounds so good and I know I can only get one thing. I usually make the waiter go to everyone else and take my order last just so I have that extra 1 minute to finalize my choice.

It’s like making decisions paralyzes me.

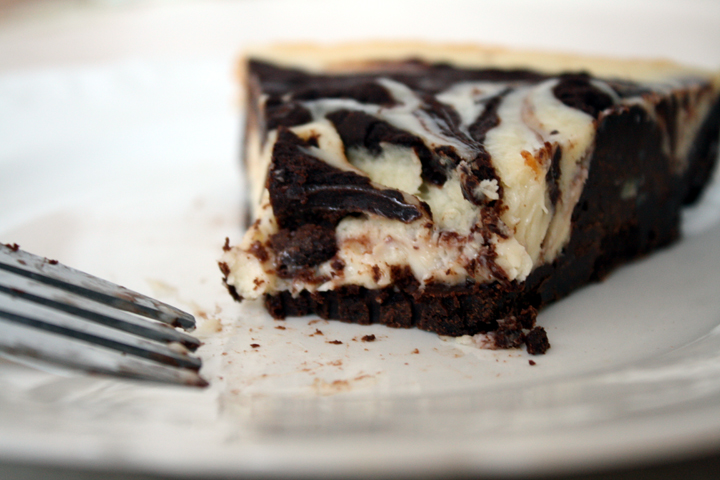
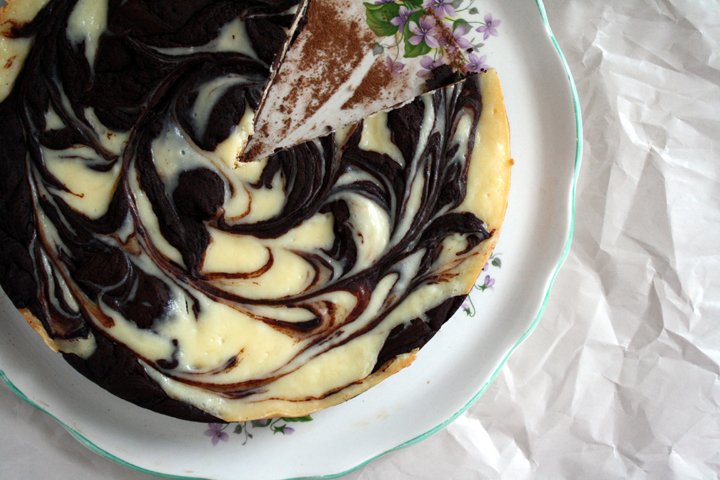
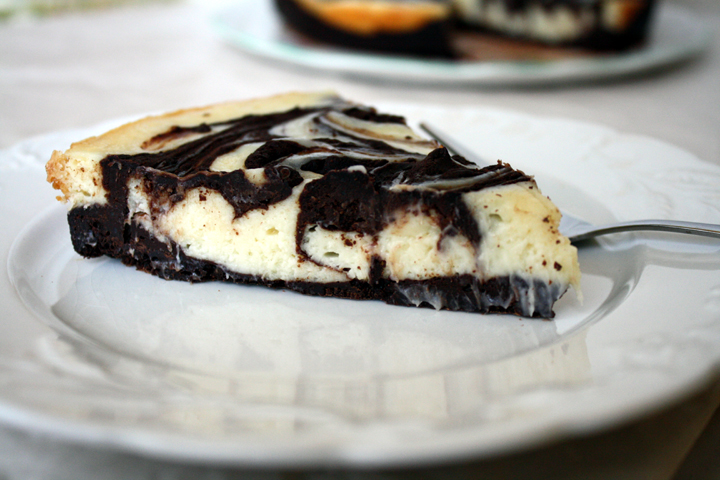
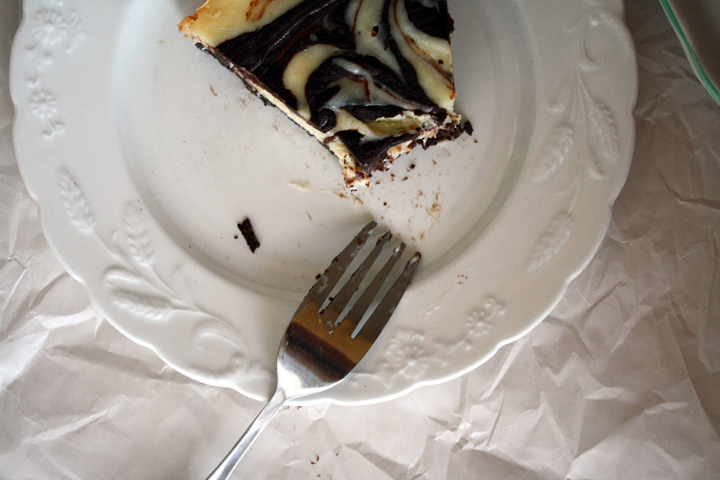
How do you choose what to have??! Well with this recipe you don’t have to. There’s a super dense chocolate layer for the chocoholic in all of us, and then there’s the tangy cheesecake marbeled throughout for those of us cheesecake lovers!

This is not for the faint of heart. If you like serious chocolate desserts than this is for you. Nate could barely finish his slice…although it could be because it was a large slice and we had just had a giant mac and cheese dinner. Man, I wish I had his metabolism…

Marbled Chocolate Fudge Cheesecake

slightly adapted from Baker Street

Print this recipe!

makes one 9″ round cake

For the vanilla batter:
8 oz. cream cheese, softened to room temperature
2/3 cup granulated sugar
1 large egg
1 tsp. pure vanilla extract

For the chocolate batter:
8 oz. bittersweet chocolate, finely chopped
1 stick (8 Tbsp) unsalted butter, cut into pieces
3 large eggs
1/3 cup granulated sugar
1 Tbs. dark rum or espresso
1 tsp. pure vanilla extract
1 Tbsp flour
Pinch table salt
Cocoa powder for dusting

Preheat the oven to 300°F.

Lightly grease a 9 inch round cake pan and /or line the bottom with parchment.

Make the vanilla batter:
In a medium bowl, beat the softened cream cheese with an electric mixer until smooth.

Add the sugar and continue beating until well blended and no lumps remain. Add the egg and vanilla and beat just until blended. Set aside.

Make the chocolate batter:
In a medium bowl, melt the chocolate and butter in a large metal bowl over a pan of simmering water or in the microwave.

Whisk until smooth and set aside to cool slightly. With a stand mixer fitted with the whip attachment (or with a hand mixer), beat the eggs, sugar, rum or espresso, vanilla, and salt on medium high until the mixture is pale and thick, 3 to 4 min.

With the mixer on low, gradually pour in the chocolate mixture and continue beating until well blended. Beat in the flour.

Spread about half of the chocolate batter in the bottom of the pan. Alternately add large scoopfuls of each of the remaining batters to the cake pan.

Using a knife or the tip of a rubber spatula or a toothpick gently swirl the two batters together so they’re mixed but not completely blended.

Tap the pan against the countertop several times to settle the batters.

Bake until a pick inserted about 2 inches from the edge comes out gooey but not liquid, 40 to 42 min.; don’t over bake.

The top will be puffed and slightly cracked, especially around the edges. It will sink down as it cools. Let cool on a rack until just slightly warm, about 1-1/2 hours. Let cool completely. Cover and refrigerate until very cold, at least 4 hours or overnight, or freeze.

Remove cake from fridge one hour before serving. Loosen the cake from the pan by holding the pan almost perpendicular to the counter; tap the pan on the counter while rotating it clockwise. Invert onto a large flat plate or board. Remove the pan and carefully peel off the parchment. Sift some cocoa powder over the cake (this will make it easier to remove the slices when serving).

Let sit until cake warms to room temperature before serving. (or eat it cold if you like that!)

Invert again onto a similar plate so that the top side is up.

Well, the marathon didn’t go exactly as planned. Monday in Boston ended up being even hotter than predicted and it reached 90 degrees, with very little humidity.

The weather was so hot that the marathon organization did something the’ve never done before: they offered a deferment to the 2013 Boston Marathon for participants who decide not to race.

In addition, they highly recommended that only those who qualified for the marathon should race, i.e. not the charity organization runners because they’re usually not as highly trained. They also stressed that people pay very careful attention to their bodies and stop the second they felt any signs of heat exhaustion or dehydration.

And finally, they kept the finish systems open an additional hour on race day to allow people to run extra slowly so they didn’t hurt themselves.

Basically the only point in running was really to say you ran a marathon (which Nate had no need to do), because no one, not even the elite athletes, could get a personal record on this race.

In the end, Nate decided not to defer. the combination of the fact that Nate had a full fan club (my parents flew in, his aunt took the train down, his mom and I came along) and the fact that he actually worked with a trainer for this race compared to just training on his own for the others made him really not want to wait til next year.

He hydrated a ton but got to mile 8 and just felt like crap so he stopped. A ton of other runners dropped out midway too, including last year’s male winner. The winner this year was a full 10 minutes slower than last years time, so you can imagine what the situation must have been like.

I think for Nate it was a physical plus a mental exhaustion.  It had been a stressful choice just to decide to actually run, but he just didn’t want to hurt himself and ruin every race after because of an injury or bad memories of running.

Nate was definitely bummed by the whole thing and we all felt really bad for him.  I was worrying so much about him before he even left for the race. When I stopped getting text updates about his progress in the race I was silently freaking out. I was SO glad when he had gotten back to the hotel and was able to call me!

I definitely think it was the wisest decision he could have made and I’m so glad he didn’t hurt himself.

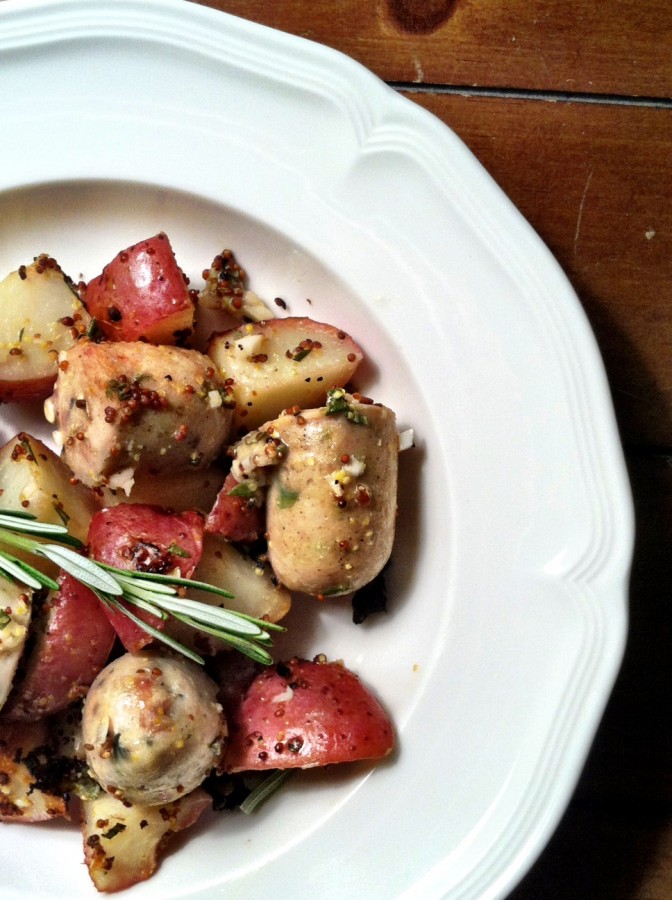
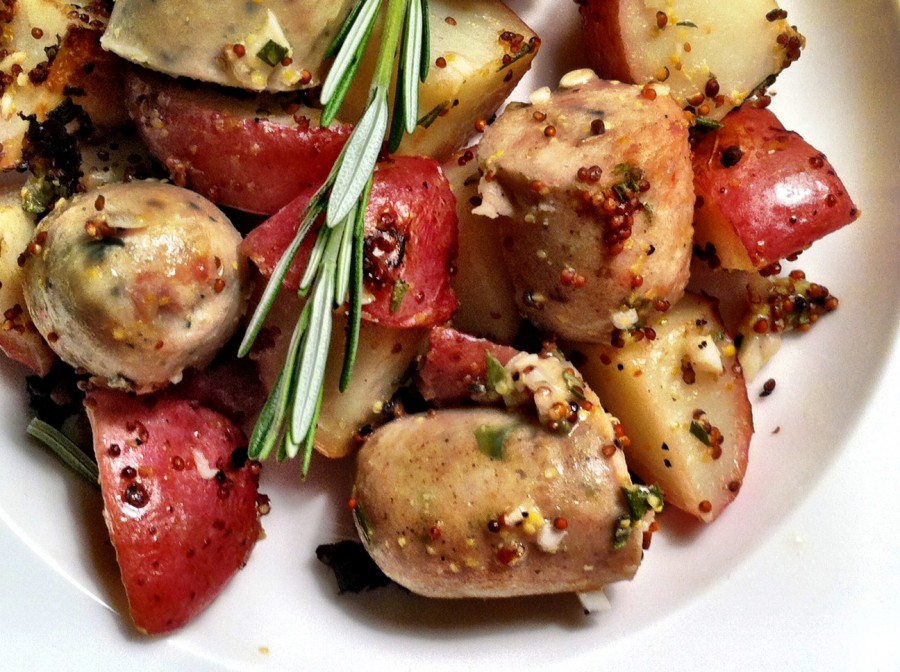
We got back yesterday and were all a little drained. I really didn’t want to cook up some extravagant dinner, so I made this really easy meal I saw over on Confessions of a Chocoholic.

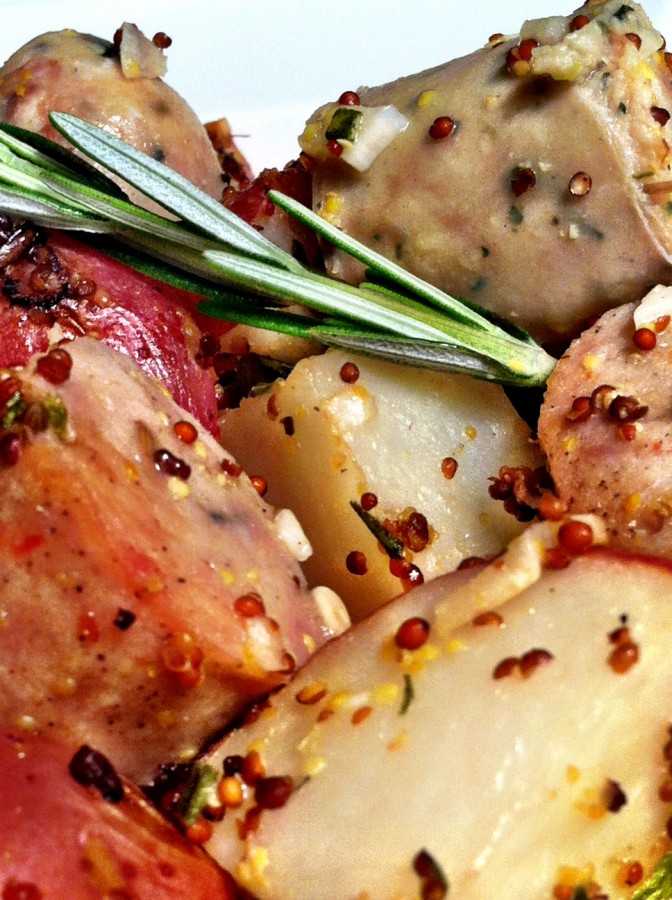
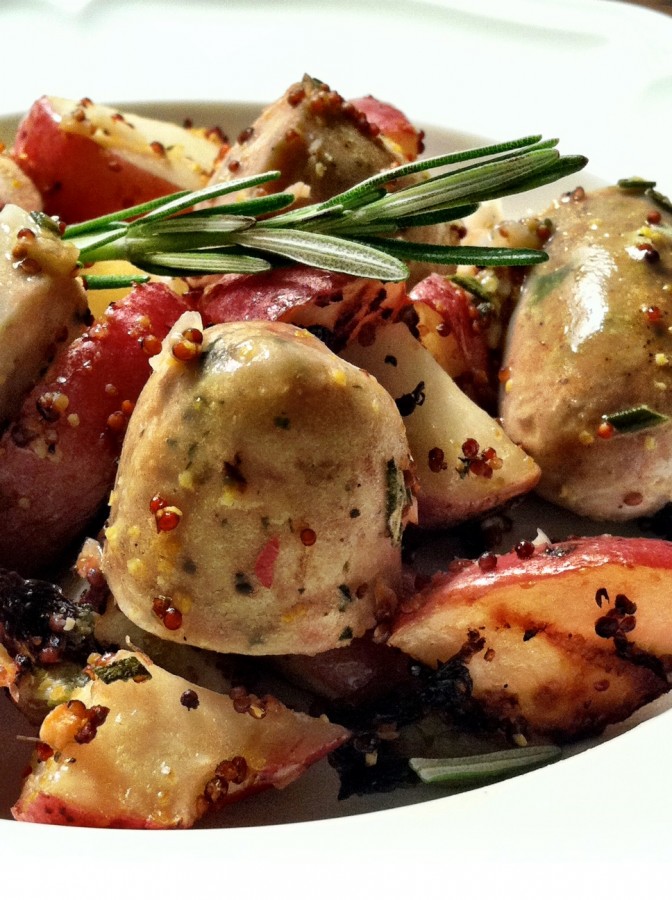
I also didn’t feel like dragging out the camera, so I experimented with taking pictures on my new iphone app Camera+. What do you guys think of how the pics came out? Not bad for a camera phone I think.

Roasted Dijon Sausage and Potatoes

I very slightly adapted the recipe and made some buttered Pastina to go along with it. Yum!


Dijon Roasted Potatoes and Sausage

Very slightly adapted from Confessions of a Chocoholic

Print this recipe!

Serves 6-8

36 oz. chicken sausage (the fully-cooked kind), cut in quarters
2.5 lbs small red potatoes, cut into 1 inch pieces
1/2 cup whole grain Dijon mustard
2 tablespoons extra-virgin olive oil
juice of 1 lemon
3 Tbsp water
3 garlic cloves, minced
2 sprigs rosemary, chopped
1 teaspoon coarse kosher salt
freshly ground pepper

Preheat oven to 425 degrees F.

Whisk mustard, olive oil, lemon juice, water, garlic, rosemary, salt and pepper in large bowl to blend.

Add potatoes, tossing to coat. Place potatoes in a large baking sheet lined with foil, leaving excess mustard mixture behind in the bowl. Roast for about 45 minutes or longer, turning potatoes midway, until the potatoes are crusty outside and tender inside.

While the potatoes are cooking, toss the sausage into the remaining mustard mix. Spread evenly on a separate baking sheet lined with foil. Place inside the oven about 20 minutes after the potatoes, and roast for 25 minutes. (i.e. the potatoes and sausage should finish cooking at the same time.

Take out both baking sheets from oven and toss potatoes and sausages together. Serve warm or at room temperature.

As I mentioned in one of my previous posts, Nate will be running the Boston Marathon this coming Monday! I’m so so proud of him. I can’t even run a mile, no less a marathon that you actually have to qualify for.

I highly doubt you need to carbo-load for a full week leading up to any marathon race (since I’m sure most of it gets digested the day after you eat it), but Nate requested that this week be “pasta week,” so that’s what I gave him!

What a cruel joke that the week of Passover (i.e. THE WEEK I CAN’T EAT PASTA) coincided with Nate’s pasta week.

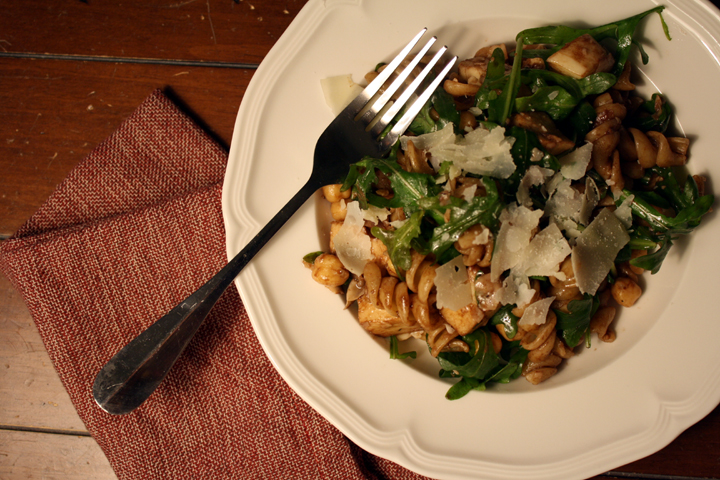
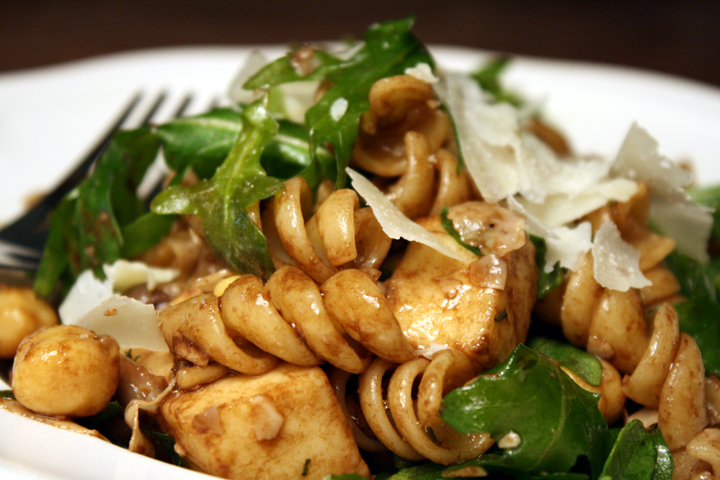
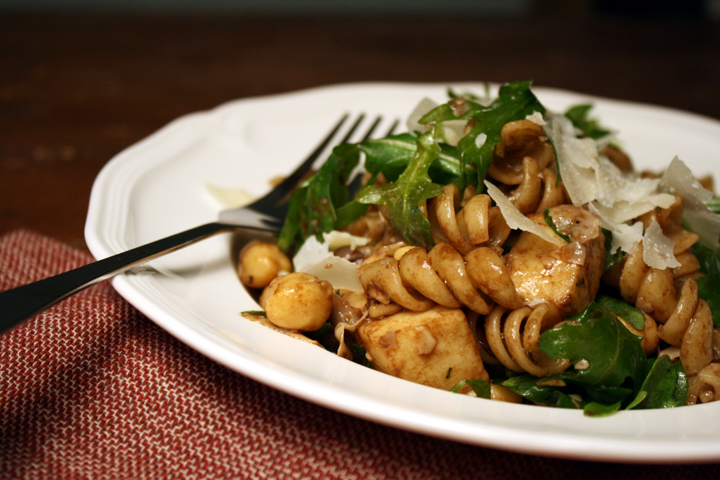
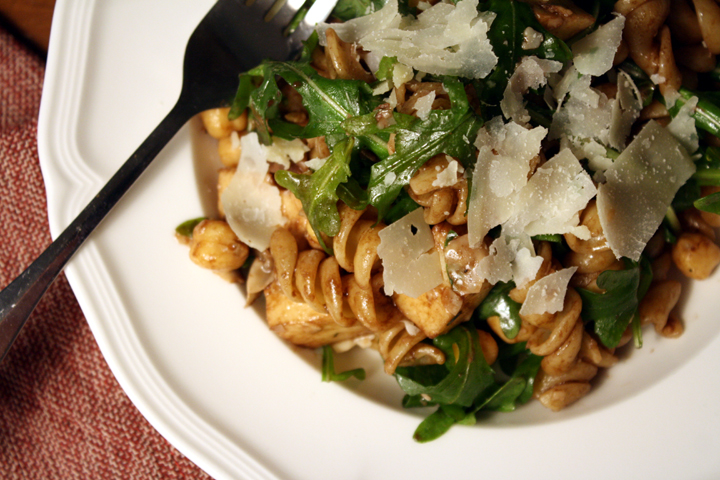
I found this recipe on one of my favorite sites, SeriousEats.com. I find their recipes extremely reliable, and delicious!

I wanted something a little different than our standard rotation of pasta with sausage and red sauce, pesto, or broccoli and garlic. It also continues with my vegetarian theme. Next time I’m going to try soaking dried chickpeas if I have the forethought, rather than using the canned variety.

We’re heading up to Boston on Friday for a relaxing, site-seeing weekend leading up to the actual race.

When Nate gets his best time ever (knock on wood!!!), I will definitely attribute it to this meal that I made him eat all week long, since I only know how to cook enough for an army. Luckily the boy likes leftovers as much as me.

On a side note, please cross your fingers that the weather forecast showing 75 degrees for the race on Monday is totally wrong!

I copied this recipe directly from Serious Eats, so head over there for the recipe! But in case you wanna know what’s in it without having to click on a link, here are the ingredients:

1/4 cup balsamic vinegar
1 garlic clove, minced
3/4 teaspoon Kosher salt, plus more for the pasta water
black pepper
1/2 teaspoon dried thyme
1/2 teaspoon dried oregano
1/4 cup olive oil
1 (15-ounce) can chickpeas, drained and rinsed
1/2 pound fresh mozzarella, chopped into 1/4-inch pieces
1/2 pound pasta shells
1/4 cup grated Parmesan cheese
2 cups chopped arugula

I’m not a vegetarian by any means. In fact, there are days when I’m absolutely craving a good piece of steak, and a rare one at that!

But Nate doesn’t eat beef (he doesn’t like the taste), and there are only so many ways to cook a piece of chicken or turkey. Not to mention I DETEST touching raw poultry. I’m totally paranoid about Salmonella and it takes me forever to cut it up and dispose of the infected knife/cutting board and then thoroughly cleanse every surface it might have touched.

So sometimes it’s easier, and spices things up, to just go vegetarian for a meal. I’ve been using a lot of beans lately because they’re just so simple to use (especially when you get them precooked in a can). Not to mention vegetarian sources of protein are much lower in fat than animal sources.

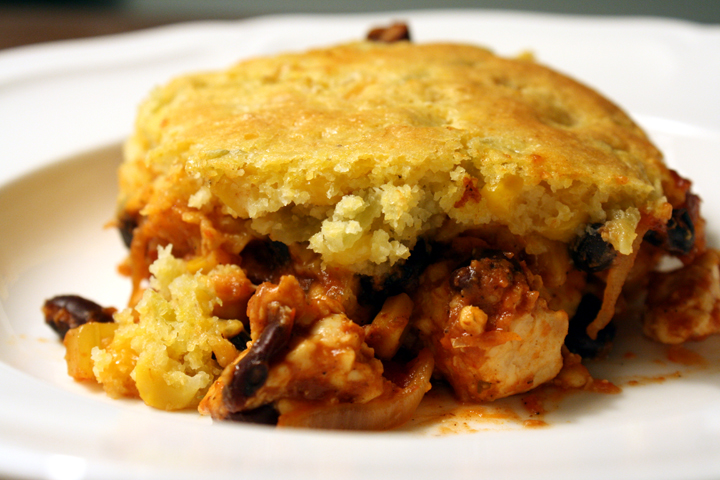
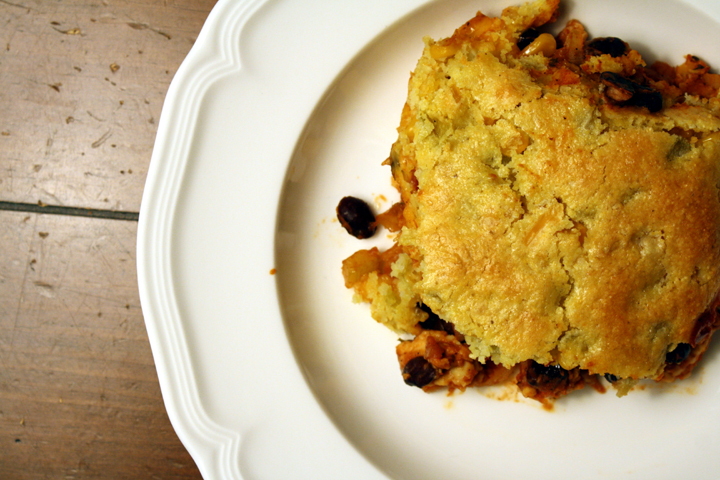
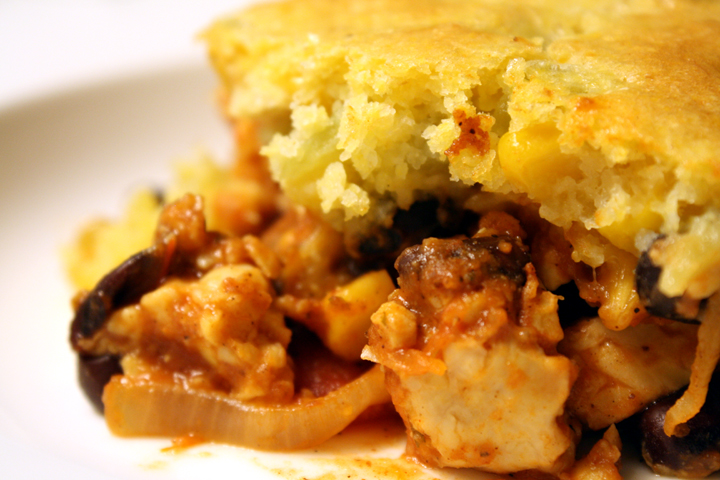
I had seen a recipe for Tamale pie that just had me totally craving something similar, and that’s when it hit me to sub Tempeh for the beef. Now in this case I more than made up for the fat I was saving by adding the cheese and cornbread topping, but that’s neither here nor there ;)

You can crumble it up to get it into similarly sized pieces as ground beef. I’m telling you, a man meat-lover will not even know that it has no meat!

This wasn’t a super spicy version and I think next time I’d add even more mexican spices (or maybe just use a packet of taco seasoning instead of the chili powder/cumin/salt!), but it was still mighty tasty.

I dare you to make this “meaty” meal and see how many people notice there’s no meat involved!

P.S. Please don’t judge this recipe by the photos. I had a hungry man on my hands when this came out of the oven and had to rush.

“Meat Lovers” Vegetarian Tamale Casserole

Print this recipe!

Serves 6-8

1 Tbsp olive oil
1 medium onion, cut in half and then into thin slices
2 ribs of celery, diced
2- 8 oz. packages of Tempeh, crumbled
1 Tbsp chili powder (*alternatively use taco seasoning instead of chili powder, cumin, and salt)
1 tsp cumin
1- 19 oz. can black beans, drained and rinsed
1- 8.75oz can corn, drained
2 Tbsp Worcestershire sauce
2 tsp tabasco (or more to taste)
2 Tbsp apple cider vinegar
1- 10 oz. can enchilada sauce
2 cups tomato sauce
s+p to taste
1.5 cups shredded cheddar cheese
Sour cream for garnish (optional)

Topping ingredients:
1- 8.5 oz. cornbread mix (such as Jiffy)
1/3 cup milk
1 egg
1- 4.25 oz can diced green chiles
1- 8.75 oz can corn, drained

Preheat oven to 375.

Heat oil in a large saucepan over med-hi heat. Cook a few minutes until onions have started to soften. Add celery, Tempeh. Cook until Tempeh begins to brown, 5-10 minutes, stirring occasionally.

Add spices and stir well. Stir in beans and next 6 ingredients. Cook until warmed through. Salt and pepper to taste.

Remove mixture from heat and spread into a 9×13 pan. Sprinkle cheese evenly on top.

Mix cornbread mix, milk and egg until smooth. Stir in chiles and corn. Put drops of cornbread mixture even over Tempeh mixture and then spread into a thin layer.

Bake casserole for 40 minutes or until top begins to turn golden around the edges.

Cool 5 minutes before serving.