Cookies and Cream Bars

I know I shouldn’t be tempting you guys more dessert posts after that last doozy. But since my blogging is falling by the wayside, it’s been a week since then…and if you’re living in my household, that cake is long gone!

Cookies and Cream Bars

I also know I shouldn’t be making these desserts when I have 6 weeks left to look lovely in my wedding dress. And now that I’ve had my first fitting I’d really not like to gain any weight!

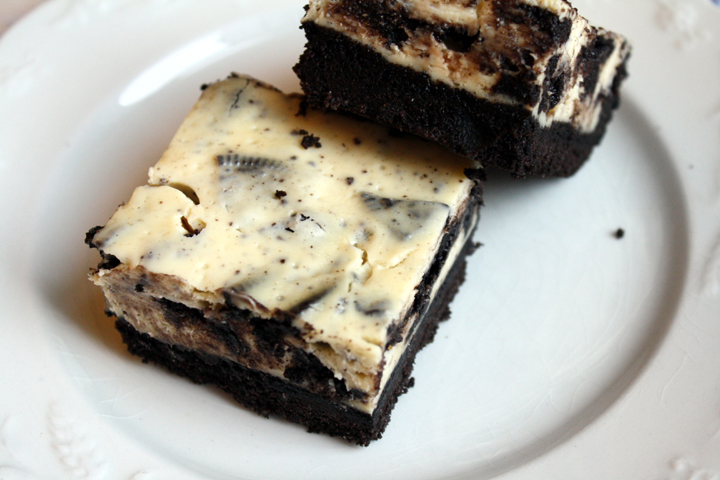
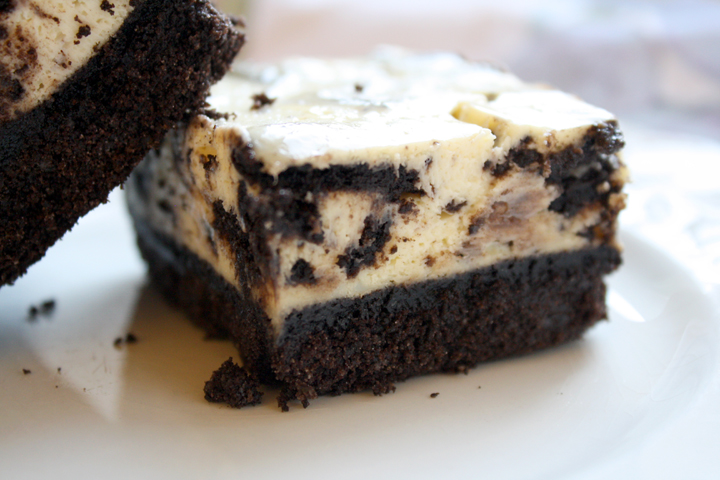
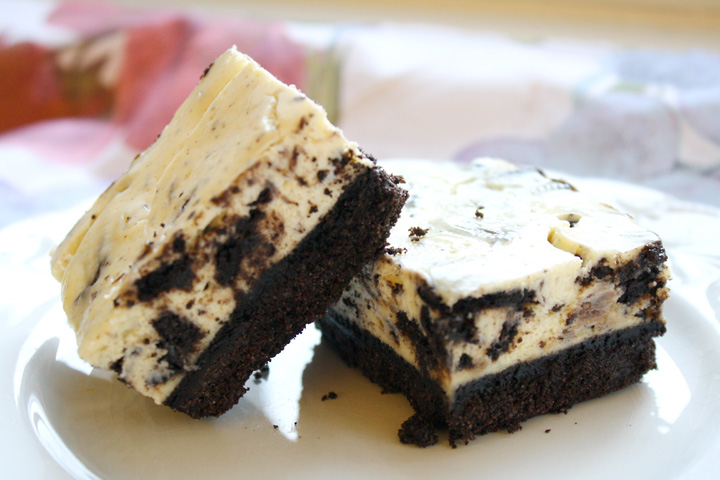
But I’m sorry I just had to share these. I saw them online thinking they reminded me of “cookies ‘n cream” (even though they were called Oreo Cheesecake Bars), but figuring they wouldn’t really taste like it….but they did!

Cookies and Cream Bars

You can’t taste the cheesecake tang in these as much as just a creamy vanilla filling and they’re CHOCK FULL of oreos- like almost-two-entire-packages-full. And worth every little calorie.

Cookies and Cream Bars

I was afraid to figure out how many calories are actually in these, so I didn’t. Instead I cut myself off a half of a piece each night and savored it…and then sometimes went back for the other half. Oops.

This week i’m only eating salad…let’s hope I fit in my dress!

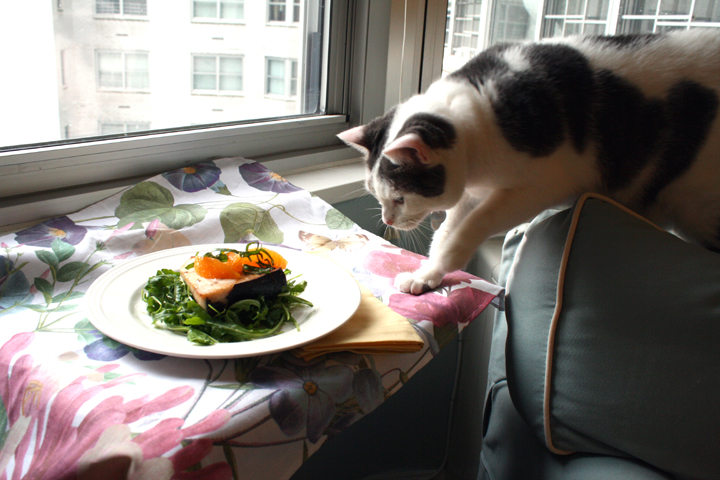
Luckily LC doesn’t have to fit in a dress for the wedding, because she’s one lazy cat…

Cookies and Cream Bars

From Blissfully Delicious (following her doubling directions) via Annie’s Eats

Print this recipe!

makes 24 bars

For the crust
46 Oreo cookies (almost 2 entire packages including the ones in the cheescake layer)
4 Tbsp unsalted butter, melted

For the cheesecake:
24 oz. cream cheese, at room temperature
3/4 cup sugar
3/4  cup. sour cream, at room temperature
1 tsp. vanilla extract
1/2 tsp. salt
2 large egg plus 2 egg yolk
24 Oreo cookies, roughly chopped

Preheat the oven to 325˚ F. Line a 9×13 pan with aluminum foil or parchment paper.

Make the crust: place cookies in the bowl of a food processor. Process, pulsing, until the cookies are finely ground. Add in the melted butter and pulse until the cookie crumbs are moistened. Transfer the mixture to the prepared baking pan. Press the crumbs into an even layer over the bottom of the pan. Bake the crust for 10 minutes, then set aside and prepare the filling while maintaining the oven temperature.

Make the filling: add the cream cheese to the bowl of an electric mixer fitted with the paddle attachment. Beat on medium-high speed until light and smooth, about 2 minutes. Mix in the sugar until well combined. Blend in the sour cream, vanilla and salt. Beat in the eggs and egg yolks on medium-high speed until incorporated, scraping down the bowl as needed. Stir in the chopped cookies with a rubber spatula.

Pour the cheesecake batter over the prepared crust, smoothing the top with a spatula. Bake for about 45 minutes, until the cheesecake is set around the edges but slightly wobbly in the center. Transfer the pan to a wire rack and let cool about an hour to room temperature. Cover the pan and refrigerate until well chilled, about 3 hours or overnight.

To cut the bars, pull the cake from the pan by lifting the foil up out of the pan. Place on a cutting board, peel away the foil, and slice into bars. Clean the knife blade between each slice to keep the edges neat. Keep refrigerated until ready to serve.

Chocolate Peanut Butter Cake

As you all know, this past Thursday was Nate’s birthday….or as Nate likes to call it, the day he’s “on vacation.” By this he means that I’m not allowed to make him run any errands.

Nate’s currently home during the day while I’m at work, and as most of us working folk know, most stores that you need to run errands at are only open during the hours we’re at work. So annoying, right?! I’ve been having Nate run some errands for me and he’s been none too pleased.
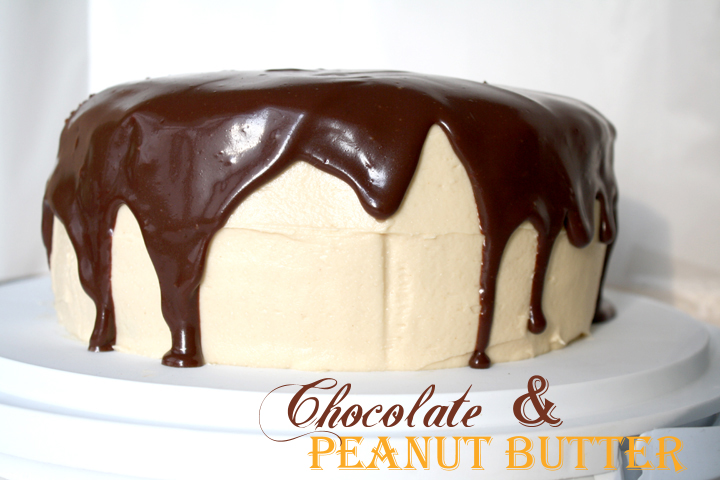
Chocolate Peanut Butter Cake

I did really want to give him “the day off” on his birthday, but my library books were about to expire so I asked him to do me a favor and return my books to the library across the street from our apartment. I don’t even want to tell you how much he complained….but then I reminded him about this wonderful cake that I’d be serving him that evening. I didn’t hear another word. At least for a day.

Nate is a man of simple tastes, so when it came time to figure out what to bake up for his bday, I only had to think of his few favorite combos: chocolate-mint, red velvet/carrot cake + cream cheese frosting, and of course, chocolate peanut-butter.
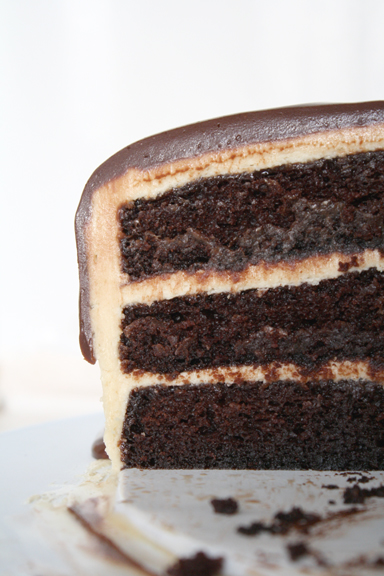
Chocolate Peanut Butter Cake

It seems that Deb’s ( from Smitten Kitchen) husband is a choco peanut butter fan too, and so when I saw this recipe on her site, I knew I had to make it. I’ve had good luck with the recipes on her site because they’re well-tested, so I was pretty sure this one would be a winner.

I have to say that as I added the 1.5 cups of water the recipe calls for and stirred it up, I was slightly skeptical. The batter before the water was added had normal cake consistency but after it was incredibly watery. I checked the site and no one had said anything in the comments about a typo, so I forged ahead.
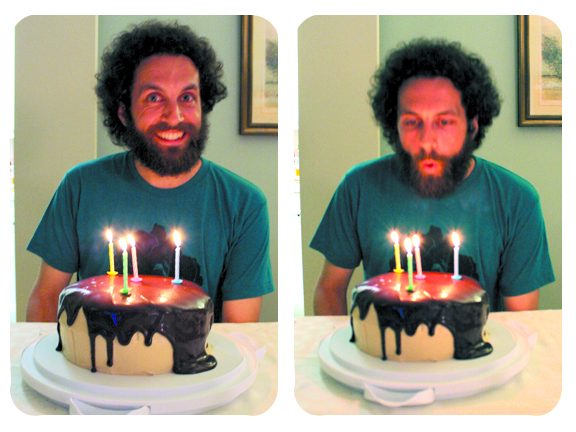
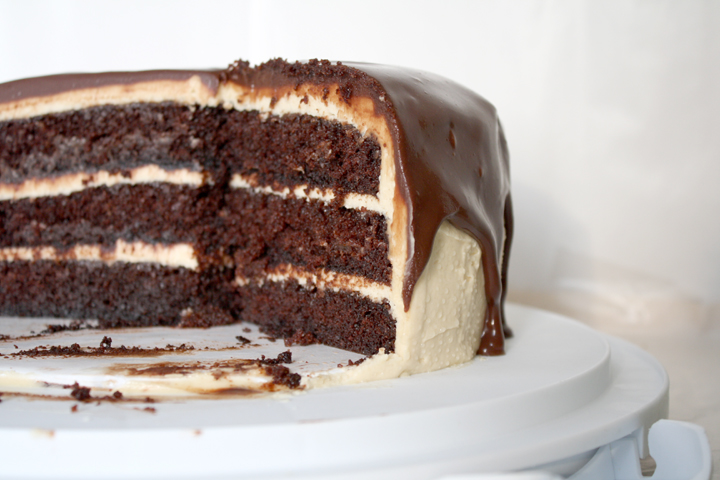
please ignore the giant glob of glaze puddled on that side…

35ish minutes later I had the most fluffy looking cake I’d ever seen. After cooling the cakes in the pans for 20 minutes, I following Deb’s advice and shoved them in the freezer for about 30 minutes, which seems to have been a good choice given how delicate these cakes were.

My only other comment is that the glaze seems kind of clumpy when you melt the chocolate, pb, etc in the pan, but after adding the half and half and vigorously mixing, it smooths out nicely….so fear not!

Anyway, I know this is a bold statement, but I think it may be the most delicious cake I’ve ever made or eaten. Ever. 
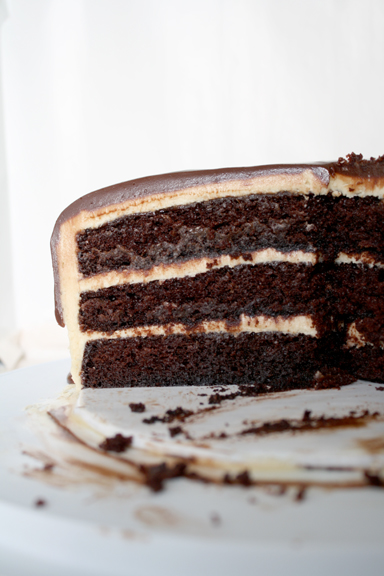
Chocolate Peanut Butter Cake

And I wasn’t the only one who thought that. Nate and I had 3 friends over to dinner and the only sounds coming from them after biting into the cake were ooohs and aaaahs…and a few “this is amazing”s.

I know it may look complicated, but following Deb’s tips regarding the cooling times, it was surprisingly easy. I made the cake and pb frosting and frosted it all within 3 hours or so after I got home from work. After sticking it in the fridge overnight, I made the chocolate glaze the next evening, poured it onto the cold cake, stuck it back in the fridge to firm up while we started eating dinner. I then took the cake out about 30 min to an hour before we were ready for it so it could soften up.

YOU NEED TO MAKE THIS. Seriously, you don’t know what you’re missing.

Sour Cream-Chocolate Cake with Peanut Butter Frosting and Chocolate-Peanut Butter Glaze

From Smitten Kitchen via Sky High: Irresistable Triple-Layer Cakes

Print this recipe!

makes one 8 inch 3 layer cake

2 cups all-purpose flour
2 1/2 cups sugar
3/4 cup unsweetened cocoa powder, preferably Dutch process
2 teaspoons baking soda
1 teaspoon salt
1 cup neutral vegetable oil, such as canola, soybean or vegetable blend
1 cup sour cream
1 1/2 cups water
2 tablespoons distilled white vinegar
1 teaspoon vanilla extract
2 eggs

1. Preheat the oven to 350 degrees F. Butter the bottoms and sides of three 8-inch round cakepans. Line the bottom of each pan with a round of parchment or waxed paper and butter the paper.

2. Sift the flour, sugar, cocoa powder, baking soda, and salt into a large bowl. Whisk to combine them well. Add the oil and sour cream and whisk to blend. Gradually beat in the water. Blend in the vinegar and vanilla. Whisk in the eggs and beat until well blended. Scrape down the sides of the bowl and be sure the batter is well mixed. Divide among the 3 prepared cake pans. **Note batter will be incredibly watery

3. Bake for 30 to 35 minutes, or until a cake tester or wooden toothpick inserted in the center comes out almost clean. Let cool in the pans for about 20 minutes. Invert onto wire racks, carefully peel off the paper liners, and let cool completely. (Deb’s note: These cakes are very, very soft. I found them a lot easier to work with after firming them up in the freezer for 30 minutes. They’ll defrost quickly once assembled. You’ll be glad you did this, trust me.)

4. To frost the cake, place one layer, flat side up, on a cake stand or large serving plate. Spread 2/3 cup cup of the Peanut Butter Frosting evenly over the top. Repeat with the next layer. Place the last layer on top and frost the top and sides of the cake with the remaining frosting. (Deb note 1: Making a crumb coat of frosting–a thin layer that binds the dark crumbs to the cake so they don’t show up in the final outer frosting layer–is a great idea for this cake, or any with a dark cake and lighter-colored frosting. Once you “mask” your cake, let it chill for 15 to 30 minutes until firm, then use the remainder of the frosting to create a smooth final coating. Deb note 2: Once the cake is fully frosted, it helps to chill it again and let it firm up. The cooler and more set the peanut butter frosting is, the better drip effect you’ll get from the Chocolate-Peanut Butter Glaze.)

5. To decorate with the Chocolate–Peanut Butter Glaze, put the cake plate on a large baking sheet to catch any drips. Simply pour the glaze over the top of the cake, and using an offset spatula, spread it evenly over the top just to the edges so that it runs down the sides of the cake in long drips. Refrigerate, uncovered, for at least 30 minutes to allow the glaze and frosting to set completely. Remove about 1 hour before serving. Decorate the top with chopped peanut brittle.

Peanut Butter Frosting
Makes about 5 cups

10 ounces cream cheese, at room temperature
1 stick (4 ounces) unsalted butter, at room temperature
5 cups confectioners’ sugar, sifted
2/3 cup smooth peanut butter, preferably a commercial brand (because oil doesn’t separate out)

1. In a large bowl with an electric mixer, beat the cream cheese and butter until light and fluffy. Gradually add the confectioners’ sugar 1 cup at a time, mixing thoroughly after each addition and scraping down the sides of the bowl often. Continue to beat on medium speed until light and fluffy, 3 to 4 minutes.

2. Add the peanut butter and beat until thoroughly blended.

Chocolate-Peanut Butter Glaze
Makes about 1 1/2 cups

8 ounces semisweet chocolate, coarsely chopped
3 tablespoons smooth peanut butter
2 tablespoons light corn syrup
1/2 cup half-and-half

1. In the top of a double boiler or in a bowl set over simmering water, combine the chocolate, peanut butter, and corn syrup. Cook, whisking often, until the chocolate is melted and the mixture is smooth. **Note the consistency will be incredibly thick and slightly grainy but this is normal.

2. Remove from the heat and whisk in the half-and-half, beating until smooth. **It will separate before it combines and smooths out. Use while still warm.

Citrus Swordfish

Nate and I were down in PA last weekend, where I was working on more wedding-day crafts. I made the signs for the back of our chairs and they turned out exactly how I wanted! I used some more of the old fence I had found that I used for the signs. I’m going to post a whole bunch of pics with tutorials after the wedding.

Speaking of which, I can’t believe I’m getting married in 9 weeks. It’s totally crazy. I think maybe it’s starting to feel more real. I still have a bunch more stuff to do.

Citrus Swordfish

Nate and I are writing our own vows and I’m not sure I love what I have so far. I know Nate’s going to totally steal the show on this…he’s much funnier than I am. He claims that his vows are going to make our guests both laugh and cry. My goal is just to make Nate get a little teary-eyed since he claims he isn’t going to.

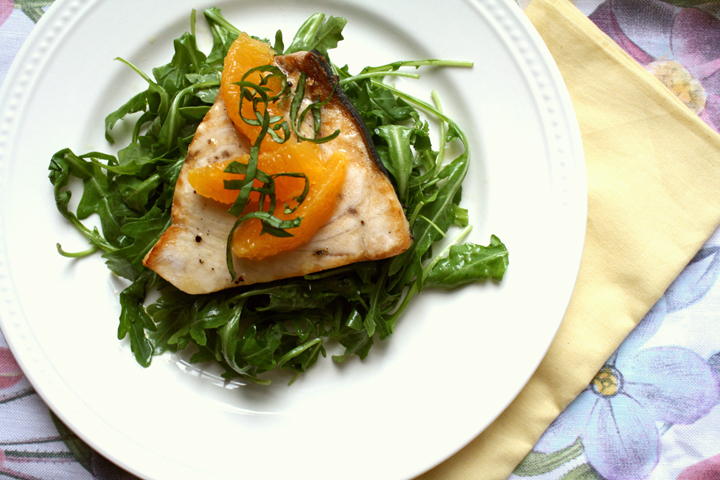
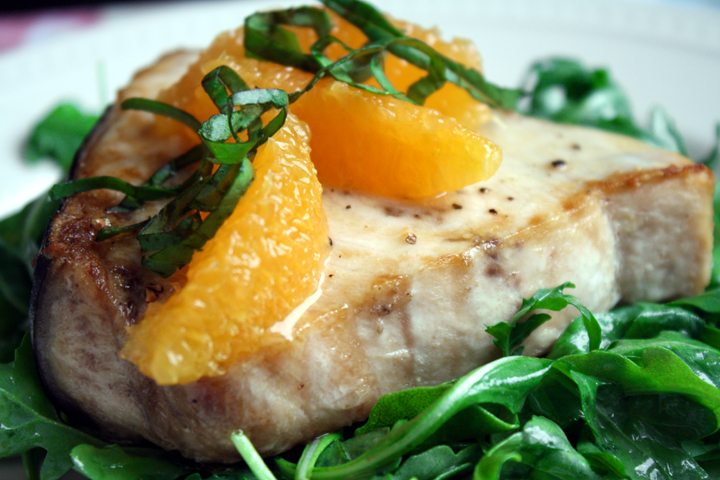
Obviously with the wedding fast approaching, I’ve been trying to cook pretty healthy. In fact, I had my first dress fitting on Tuesday!!! Anyway, I think that Nate and I don’t eat enough fish so when I saw some frozen swordfish filets at Trader Joes, I decided to get them. I’ve never cooked with Swordfish before. I think that I thought it was dry and that I didn’t like it.

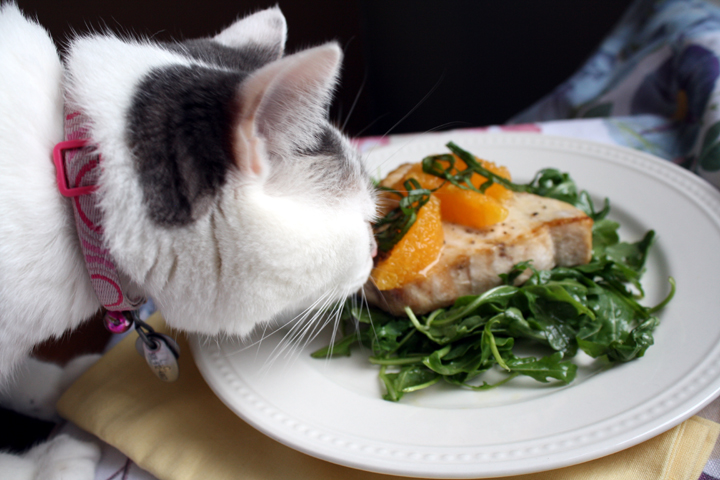
I learned that I actually don’t mind Swordfish, although parts of it were a bit too fishy tasting. I also discovered that L.C. likes it…or at least she thinks she does judging by the way she photobombed my pics!

Citrus Swordfish

Citrus Swordfish

I tried to stop her but when she reaches out her little arm to try to grab things, it’s just so cute that I can’t yell at her. Nate says I’m not strict enough with her. But look at that little face!!!

Citrus Swordfish

Citrus Swordfish over Arugula

Adapted from Emeril 

Print this recipe!

serves 6-8

Ingredients
1/4 cup rice wine vinegar
2 oranges
2 teaspoon Dijon mustard
salt and pepper to taste
1/4 cup plus 2 Tbsp extra-virgin olive oil
2 tablespoons chopped fresh basil leaves
4 (6-ounce) swordfish fillets
6 cups arugula

Segment (supreme) the two oranges, squeezing out and saving all the juice that remains after removing the segments. Set the segments aside and put the juice in a medium bowl.

To the bowl of juice, add the rice wine vinegar and Dijon, season with salt and pepper. Whisk to combine. Drizzle in the 1/4 cup of the olive oil in a slow and steady stream to properly emulsify the vinaigrette. Add the chopped basil and set aside as you prepare the rest of the dish.

Turn on broiler and set oven rack about 6 inches from flame.

Season each swordfish fillet with salt and pepper. Brush with the remaining olive oil and place on the broiler pan. Cook for 6 minutes minutes, turn over, salt, pepper and oil, and cook another 6 minutes or until cooked thru. Remove the swordfish.

In a large bowl, combine the baby greens, and 1/3 cup of the vinaigrette. Toss to combine and divide the salad among the 4 plates with the swordfish. Top each fillet with a few orange segments. Drizzle a bit of the remaining vinaigrette over each swordfish fillet and serve immediately.

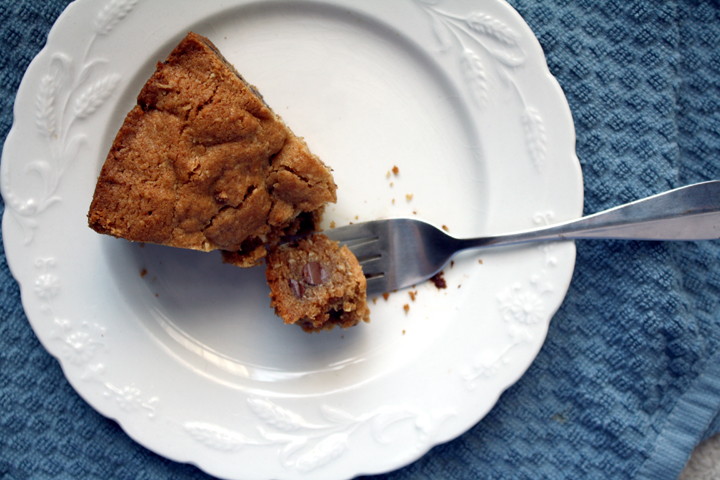
Whole Wheat Cookie CakeSo I’ve still been busy taking care of a bunch of stuff for the wedding. The invitations arrived last weekend and I spent about 6 hours assembling and stuffing them. I’d like to say Nate helped. In his defense, he was working on his wedding video…and I’m a bit of a control freak so I probably would have ended up yelling at him anyway :)

Whole Wheat Cookie Cake2

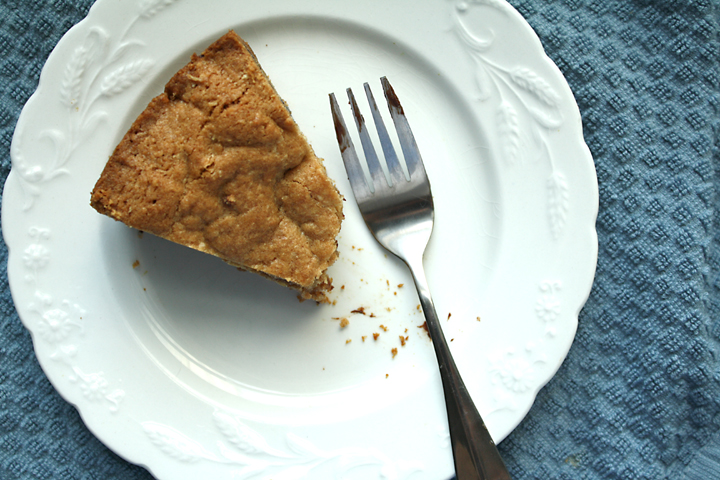
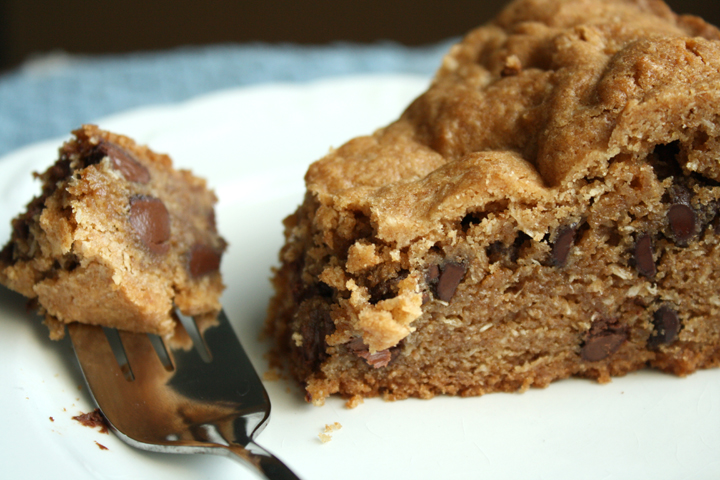
After my last few healthy posts, I figured you guys might be itching for something a little bad. While this recipe may fool you with “whole wheat” in the name, It has a decent amount of butter and chocolate.

That’s not to say that it doesn’t have its benefits. The whole wheat flour and coconut add a little fiber. And really, you should indulge now and then anyway.

Whole Wheat Cookie Cake3

Nate was lacking on desserts in the apartment so I thought I’d do something nice. This is a cinch to mix up and will bake up in no time.

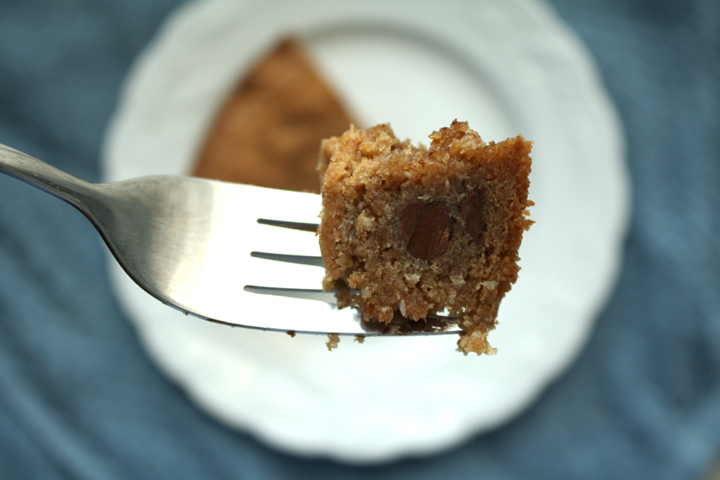
I was extremely sad that I didn’t have a little vanilla ice cream to eat with this when it was warm from the oven. But even so, it was outstanding- dense, gooey, everything you’d want in a giant cookie cake!

Whole Wheat Cookie Cake4

I can’t take credit for this recipe. I got it off the site Bran Appetit. The recipe below makes a couple very small changes.

Whole Wheat Chocolate Chip Cookie Cake

Print this recipe!

VERY slightly adapted from Bran Appetit

Serves 16 (if you can stand to only eat a small piece)

8 oz. butter, softened, plus 2 Tbsp for buttering your pan
1 and 1/4 cups brown sugar
3/4 cup sugar
2 tsp vanilla extract
2 eggs
3 cups whole wheat flour
1 and 1/2 tsp baking powder
3/4 tsp baking soda
1 tsp salt
2 cups semi-sweet chocolate chips
1 cup shredded unsweetened coconut

Preheat oven to 350 degrees. Grease a 9 inch springform pan.

Dump the 8 oz. of butter into a large bowl (stand mixer or other big bowl) and pour in the brown sugar and sugar. Beat together for 3-5 minutes until the mixture is light and fluffy.

Beat in the vanilla, then add the eggs, one at a time, to the butter and sugar mixture.

Pour the flour, baking powder, baking soda, and salt into the bowl and mix into the butter.

Once the dough has come together, add the chocolate chips and coconut and beat the mixture for another minute until the chips are mixed into the dough.

Dump your dough into your pan and press into an even layer.

Bake at 350 degrees for 35-40 minutes until the top is golden and a toothpick comes out clean (or a little wet).

Let the cookie rest for at least 10 minutes before serving.


Peach and Arugula Salad

There’s a lovely blogging group, that you may or may not know about, called the Love Bloghop. Every month they highlight a seasonal ingredient and we all link up together so you can see everyone’s recipes. I’ve participated many times, but as you know, life has a way of keeping you busy…and I think this is my first time back in several months!

I really love doing these bloghops, not just because of the extra exposure one gets, but also because it’s a great way to discover delicious, new recipes from all over the web in one convenient place!

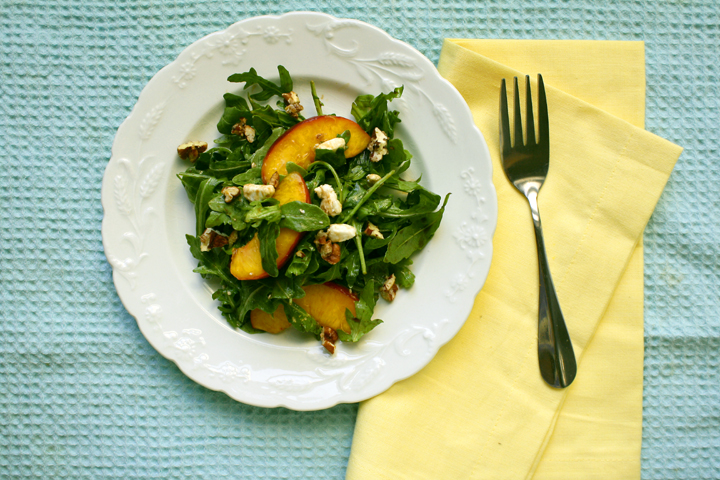
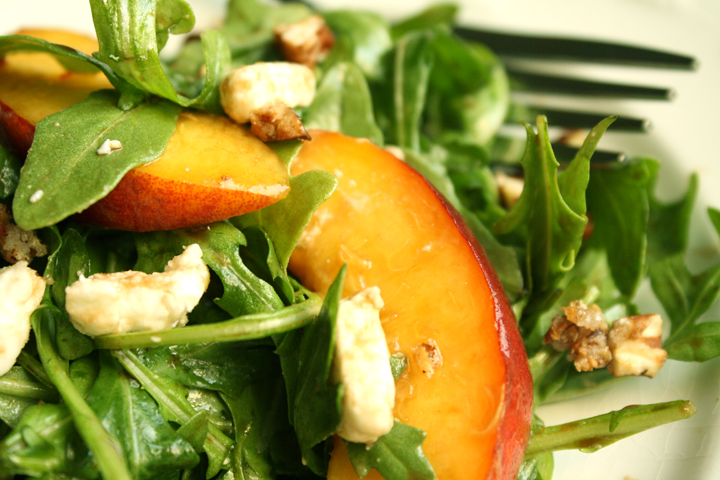
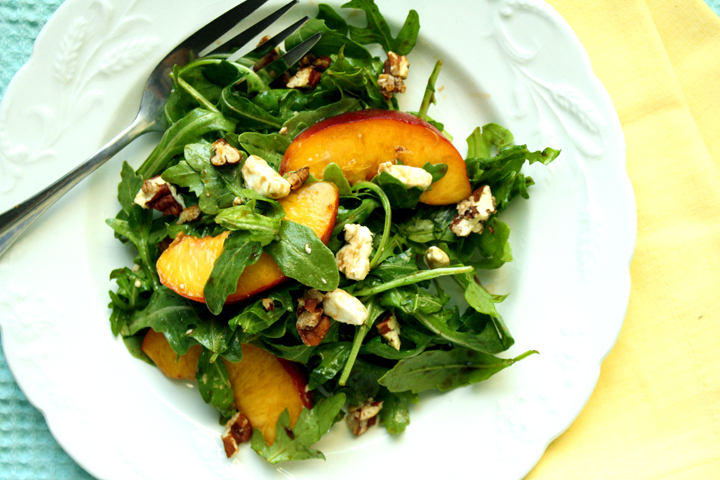
Peach and Arugula Salad

In recent months, I have become obsessed, perhaps even infatuated, with watermelon salad. I combine juicy, delicious watermelon atop a bed of arugula, sprinkle with some mint (or basil), goat cheese, and a drizzle of oil and balsamic vinegar, and I’m in heaven.

Seriously, you can ask Nate, I ate this salad for dinner every night for at least 2 weeks straight. But now that peaches are equally juicy and in season, I couldn’t help myself from buying a few the other day. And you know what? They are just as good, if not better in this same simple salad.

Peach and Arugula Salad

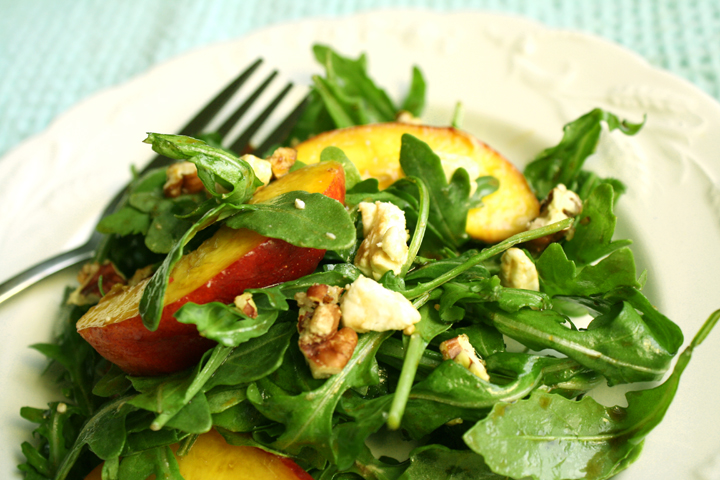
The bitter arugula, sweet peaches, creamy goat cheese and fragrant mint combine in the most amazing way. Also, at Nate’s insistance, I added some candied pecans on top.

If it looks like there isn’t mint in my pictures, it’s because I forgot it at the market when I photographed this and wasn’t about to go back and get it. But trust me, you don’t want to leave it out!

Peach and Arugula Salad

I join with the following lovely hosts this month for #peachlove!

Becky @ Baking and Cooking, A Tale of Two Loves  
Betsy @ Java Cupcake
T.R. @ No One Likes Crumbley Cookies
Jessica @ Oh Cake
Shelia @ Pippi’s in the Kitchen Again
Helena @ Rico sin Azúcar 
Linda @ Savoring Every Bite 
Liz @ That Skinny Chick Can Bake!!! 
EA Stewart @ The Spicy RD 
Susan @ The Wimpy Vegetarian
Serena @ Teaspoon of Spice Serena

Please join in on the #peachlove fun by linking up any peach recipe from the month of August 2012. Don’t forget to link back to this post, so that your readers know to come stop by the #peachlove event! The twitter hashtag is #peachlove :).

Recipe is below linkup!

Arugula Salad with Peaches, Goat Cheese, Mint, and Candied Pecans

Print this recipe!

Serves 2

1/4 cup chopped pecans
1 Tbsp sugar
3 cups arugula
1 ripe and juicy peach, sliced
3 Tbsp crumbled goat cheese
1/4 cup fresh mint, chopped
2 tsp extra virgin olive oil
2 tsp balsamic vinegar

Put chopped pecans in a small saute pan over med-hi heat. Sprinkle with the sugar. Stir occassionally until sugar melts and coats pecans. Turn the candied nuts out onto a piece of tinfoil to cool.

Put arugula and mint in a medium-sized bowl and toss with the oil and vinegar. Add peaches and goat cheese and toss to combine. Divide on plates and sprinkle with pecans