As I mentioned in one of my previous posts, Nate will be running the Boston Marathon this coming Monday! I’m so so proud of him. I can’t even run a mile, no less a marathon that you actually have to qualify for.

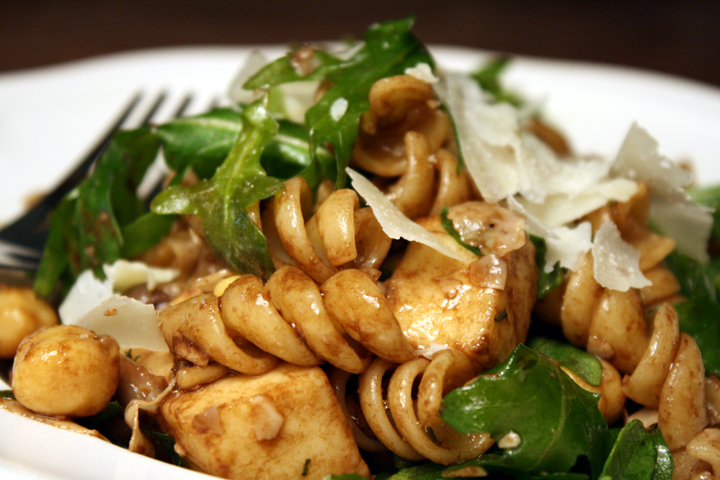
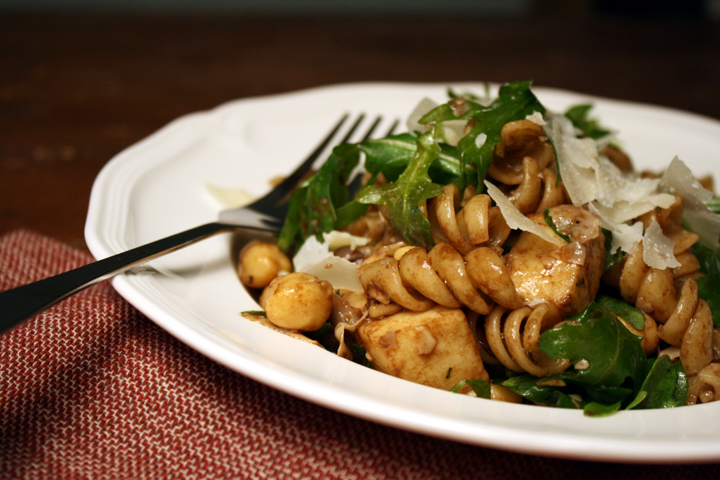
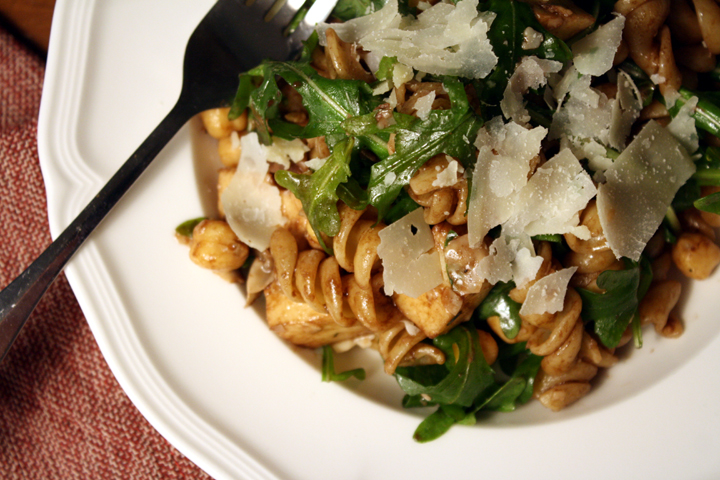
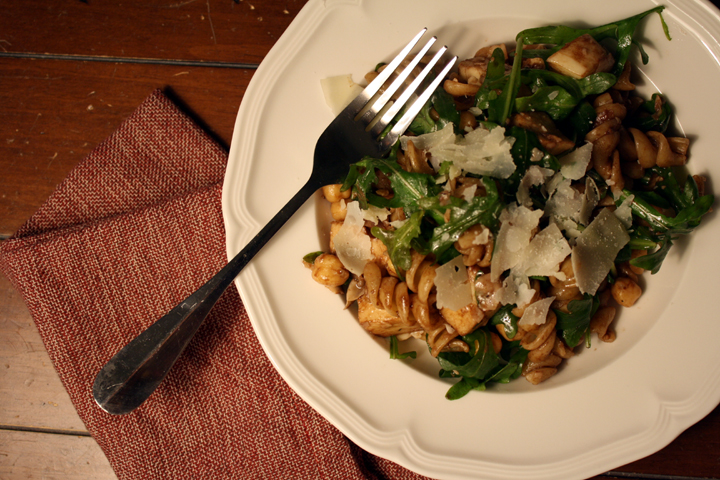
I highly doubt you need to carbo-load for a full week leading up to any marathon race (since I’m sure most of it gets digested the day after you eat it), but Nate requested that this week be “pasta week,” so that’s what I gave him!

What a cruel joke that the week of Passover (i.e. THE WEEK I CAN’T EAT PASTA) coincided with Nate’s pasta week.

I found this recipe on one of my favorite sites, SeriousEats.com. I find their recipes extremely reliable, and delicious!

I wanted something a little different than our standard rotation of pasta with sausage and red sauce, pesto, or broccoli and garlic. It also continues with my vegetarian theme. Next time I’m going to try soaking dried chickpeas if I have the forethought, rather than using the canned variety.

We’re heading up to Boston on Friday for a relaxing, site-seeing weekend leading up to the actual race.

When Nate gets his best time ever (knock on wood!!!), I will definitely attribute it to this meal that I made him eat all week long, since I only know how to cook enough for an army. Luckily the boy likes leftovers as much as me.

On a side note, please cross your fingers that the weather forecast showing 75 degrees for the race on Monday is totally wrong!

I copied this recipe directly from Serious Eats, so head over there for the recipe! But in case you wanna know what’s in it without having to click on a link, here are the ingredients:

1/4 cup balsamic vinegar
1 garlic clove, minced
3/4 teaspoon Kosher salt, plus more for the pasta water
black pepper
1/2 teaspoon dried thyme
1/2 teaspoon dried oregano
1/4 cup olive oil
1 (15-ounce) can chickpeas, drained and rinsed
1/2 pound fresh mozzarella, chopped into 1/4-inch pieces
1/2 pound pasta shells
1/4 cup grated Parmesan cheese
2 cups chopped arugula

Sorry I haven’t posted in a while. My grandpa passed away last week and I’ve been spending time down in Florida with my family. As sad as it is that he wasn’t there with us, it was really nice to see everyone all in one place. It doesn’t happen often that we’re all together.

My grandpa had been wanting our whole family (aunts, uncles, cousins) to get together for his and my grandma’s 60th anniversary and earlier last year we had been planning to take a trip somewhere together. After he got sick he knew that trip would never happen and really was just hoping he could at least make it to my wedding in October. It’s sad that we were all finally able to be together and my grandpa couldn’t join us. And my wedding will definitely feel like there’s something missing.

This month’s bloghop ingredient is berries. I really wanted to bake up something that my grandpa would have loved.

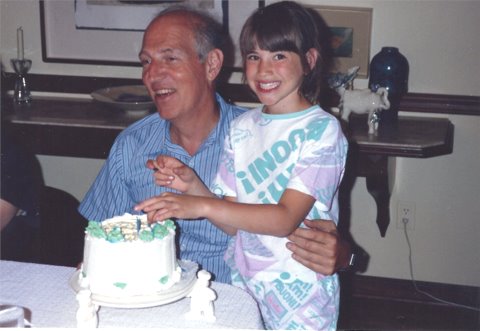
His and my birthday were only 2 days apart so either my mom or I would bake a cake every year and the two of use would celebrate together, blowing out the candles on our cake.

birthday with grandpa

Birthday with Grandpa- 8 yrs old

I contemplated baking a carrot cake because I remember how much he loved when we made a carrot layer cake for his birthday, complete with cream cheese frosting. I also remember a time we made a white cake with lemon curd filling and blueberries- the only berry he would eat because he hated seeds getting in his teeth.

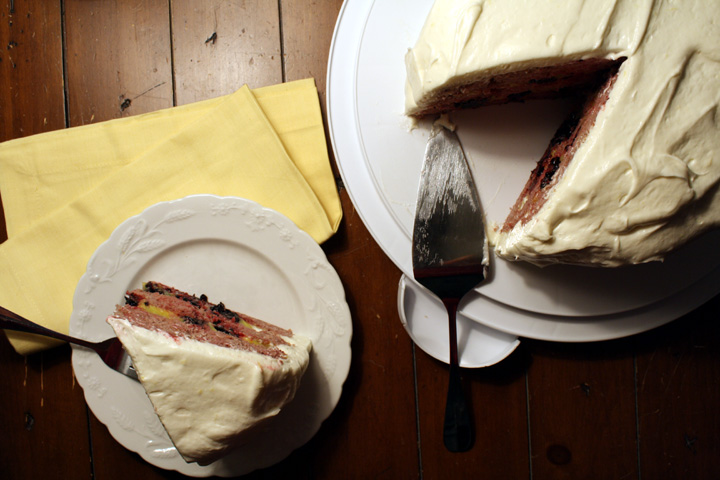
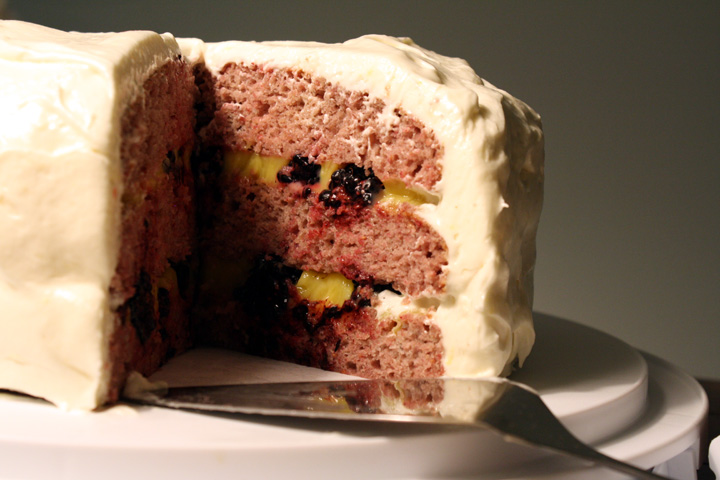
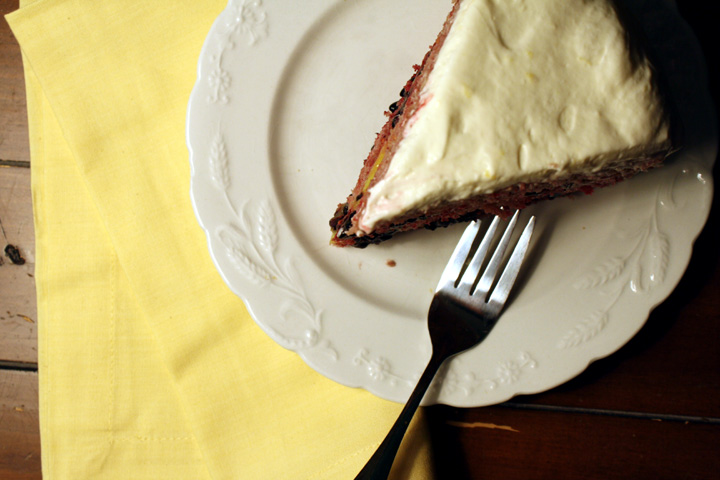
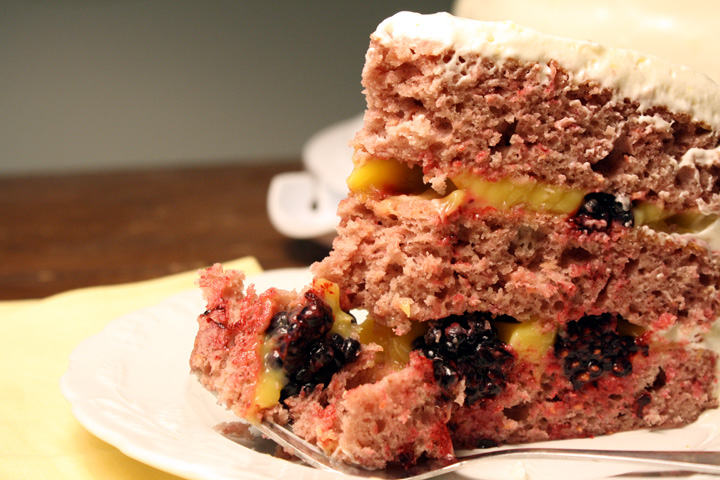
I kind of combined the two and made a raspberry cake (I think he wouldn’t have minded the seeds are baked in but you could easily strain them out), with lemon curd filling and a cream cheese frosting. There were no good blueberries so I used blackberries in this filling.

I think my grandpa would have loved this cake. I miss him already.

I’m posting this as part of the #berryove April bloghop. I’m co-hosting with the following:
A little bit of everythingBaker StreetBaking and Cooking, A Tale of Two LovesBigFatBakerBon à croquerCake DuchessEasily Good EatsGeorgie Cakes, Hobby And MoreJava CupcakeMis PensamientosNo One Likes Crumbley CookiesOh CakeQueen’s NotebookRico sin AzúcarSimply ReemSoni’s Food for ThoughtTeaspoon of SpiceThat Skinny Chick Can Bake!!!The Art of Cooking Real FoodThe Wimpy VegetarianVegan Yack AttackVegetarian Mamma

Please join in on the #berrylove fun by linking up any berry recipe from the month of April 2012. Don’t forget to link back to this post, so that your readers know to come stop by the #berrylove event! The twitter hashtag is #berrylove :). See below recipe for linkup!

Raspberry Cake with Lemon Filling and Cream Cheese Frosting

Cake adapted from DixieMockingbird, frosting from my Valentine’s Day Cake

Print this recipe!

Makes one 9 inch 3-layer cake

Cake Ingredients:
parchement paper:
butter and flour – for the cake pans

3 cups all purpose flour
2 cups granulated sugar
1 Tbsp + 1 tsp baking powder
1/2 tsp salt
3/4 cup vegetable oil
1 1/2 cup raspberry puree* (I used about 1.5 12 oz bags of frozen berries, thawed)
1 teaspoon vanilla extract
4 large eggs, beaten

2 pints fresh raspberries (i used blackberries because raspberries were ridiculously expensive)
8 oz lemon curd ( I bought some but you could easily make it)

*For raspberry puree – simple run two to three cups of raspberries through the blender or food processor until very smooth. You can strain the puree to remove seeds if you wish, but I didn’t

Frosting Ingredients:
8 oz. of 1/3 less fat cream cheese, room temperature
4 oz. butter, room temperature
1 tsp vanilla
zest of 1 lemon
2 cups confectioners sugar
8 oz. containter of non-dairy whipped topping (I used Cool Whip Free)

Preparation:

Preheat oven to 325F. Butter and flour three 8 inch cake pans, and set aside.

In a medium bowl, combine flour, baking powder and salt.

In a large mixing bowl, whisk together sugar, vegetable oil, raspberry puree, vanilla, and eggs.

Gently whisk in the flour mixture until just combined.

Evenly divide the batter evenly among the prepared cake pans. Bake in preheated oven for 20 minutes or so. The tops of the cakes should be springy to the touch, and a cake tester (aka wooden toothpick or skewer) inserted into the center of each cake should come out clean.

Allow cakes to cool in their pans for 10 minutes, then turn cakes out onto wire cooling racks to cool completley. You can frost them once they reach room temperature, but it is better to chill the cakes for at least an hour before assembling and frosting.

While cake is cooling, beat cream cheese, butter, vanilla and lemon zest with an electric mixer. Beat in confectioners sugar. Fold in cool whip.

Place one cake layer on a plate. Spread half of lemon curd on cake. Place enough raspberries to cover.

Place next cake layer on top and press down, smushing raspberries. Spread rest of lemon curd on cake and place raspberries on top.

Place top cake layer on top and press down again. Dump frosting on top of cake and spread evenly over sides. You may not need all the frosting. Refrigerate cake before cutting to firm up the frosting.


The goal of the Pinterest Challege, is to make one thing each season that’s inspired by all the gorgeous stuff that we’ve pinned on  Pinterest!

The Pinterest challenge is hosted by:

Sherry from Young House Love
Katie from Bower Power Blog
Erin from The Great Indoors
Cassie from Hi Sugarplum

You may remember I participated in this challege last summer and made myself a jewelry holder! I have to confess that as gorgeous as that jewelry holder looked, it hasn’t been working out quite so well. The earrings are very precariously hanging and I need to have a way for them to stay better so they don’t all fall off every time I touch it. If you have any ideas, please let me know! I’ve already lost an earring that fell off and I have no idea where it went.

Aaaaaanyway, so this time I knew what I wanted to do way ahead of time. You see, during my Pinterest browsing, I came across this really cool bird made out of buttons.
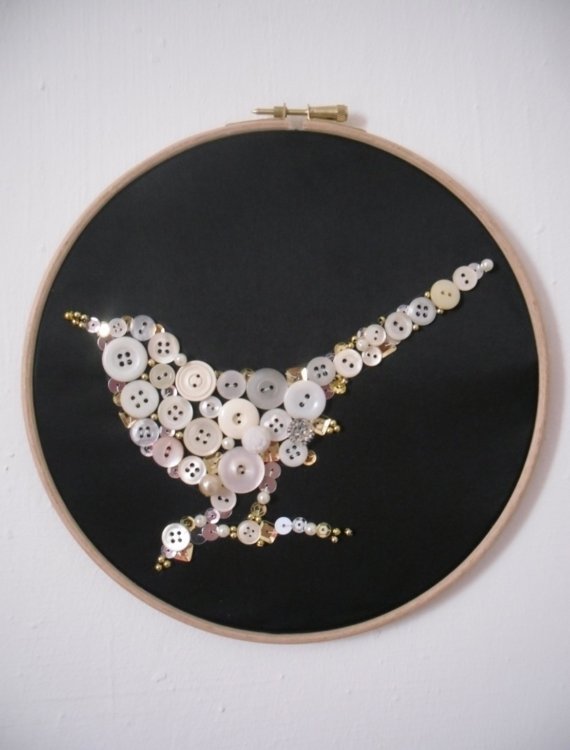
source

I knew that it would be a perfect Christmas present for Nate’s mom (she loves birds), if I could figure out how to make it.

First I went online and did endless searching for a pretty bird silhouette. I decided that I wanted mine to have a prominent branch, unlike the inspiration. This is the image I found, although I actually ended up flipping the image, blowing it up, and cropping it so it fit nicely on my 8″ embroidery hoop.
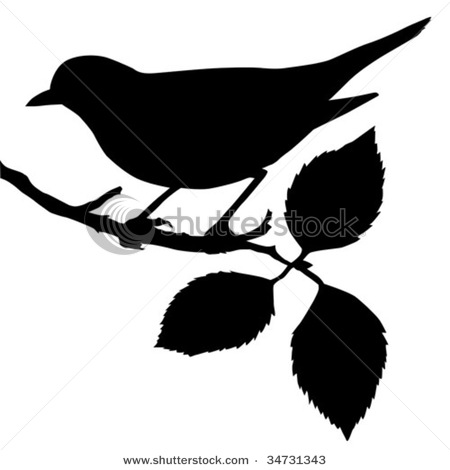
Sorry, I have no progress photos…I didn’t think about it :(
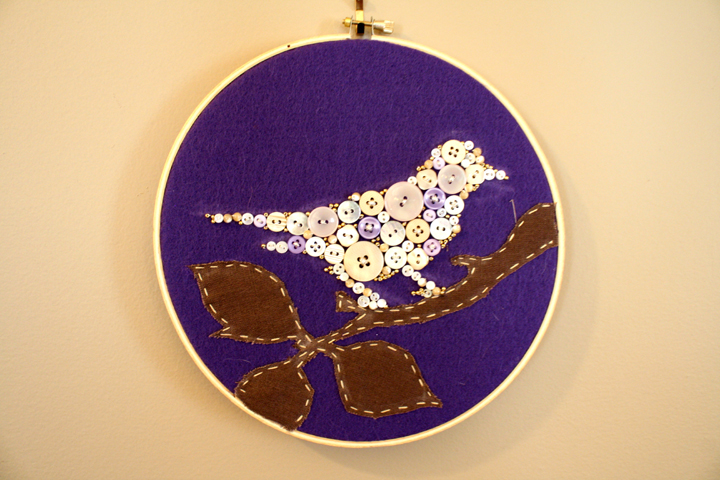
Next I ventured out to the fabric store to get fabric and thread for the branch. I knew I wanted felt for the background and picked purple since Nate’s mom loves that color. I ended up finding a small piece of it at Michaels. I would have liked a lighter purple but ended up just going with lighter buttons instead.

Finally, I had to figure out where to get all those buttons. I ended up finding this button store on the Upper East Side in nyc called Tender Buttons, which admittedly was probably not the best place to go. The buttons were gorgeous, with a huge selection of colors, but also super expensive and mostly fancier than I was looking for. 100 something dollars later, I left with my purchases in hand :( I just told myself that since this was a present anyway, it was ok to spend a little more than I was expecting.

I also ended up going online and found some cheaper buttons to throw into the mix. I have to say that the pricey buttons were gorgeous and probably worth the $$ but it was nice to mix it up with different shapes/sizes/colors.
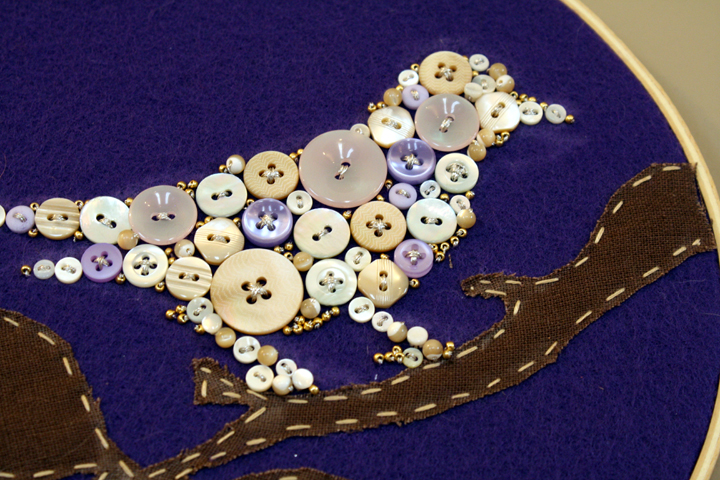
Ok, on to the actual process:

First I put the felt in the embroidery hoop and stretched it as much as I could. The hoop was really loose and I don’t know if it was because it was a cheap hoop or what, but at the very end I glued the felt to the sides of the hoop in the back to keep it from slipping. (I did this after the whole thing was complete). I can thank my mom for that wonderful idea :)

I had to figure out the best way to transfer the image. I ended up freehanding it with chalk. In the end it was hard to get all the chalk lines off the felt, but I don’t know what else I could have done.
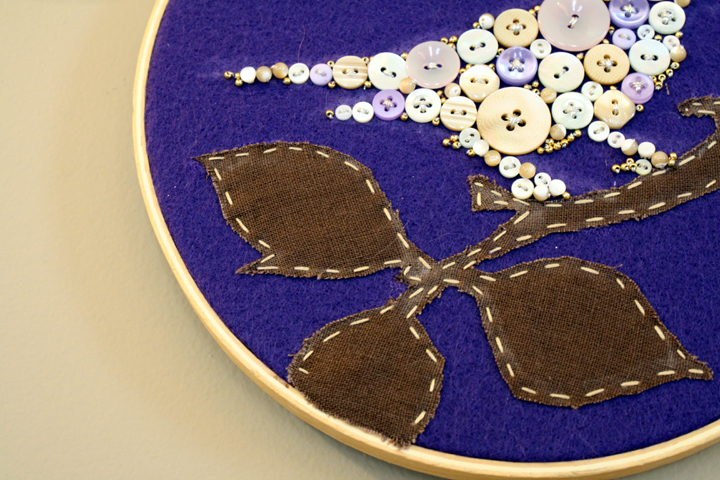
After transferring the image, I cut out the branch fabric to the appropriate shape and sewed it to the felt with contrasting stitching to give it a rustic look.

Next was the hardest part by far. I took all my buttons and placed them on the felt til I thought they best filled up the bird shape, making sure I got a good variation in colors, shapes, etc. I used pins that i stuck thru the button holes and then thru the felt to hold the buttons in place while I began my sewing.

I chose a silvery thread and just started at one end, sewing each button on. I used the same thread for several buttons until I needed a new piece. In other words, I didn’t sew it off after each button.

The buttons shifted a lot while I was doing this and it was super frustrating to keep rearranging it, but again I don’t know what a better way to do it would have been.
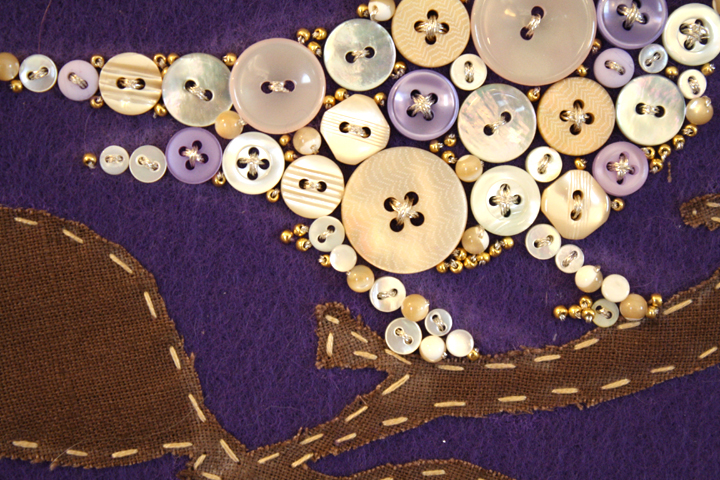
In the end, to make it look more like a bird and less like a bird-like blob, I used little plastic and glass beads to fill in the empty areas that were too small for any buttons. It seems like the inspiration button bird lady did something similar.

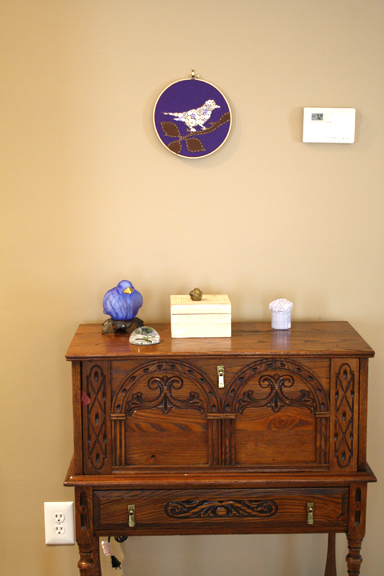
This project was NOT easy. I definitely cursed the day I decided to attempt this multiple times during creation of my button bird. But in the end, I love how it came out. And Nate’s mom loved it too! I hung it in her bedroom over a little table she has and I think it looks great :)
Pin It

Look, I know I’m a few days late on the Valentine’s Day blog posts.

Every other blogger seems to get it together a week ahead of time so that their blog readers have all sorts of recipes and ideas for the upcoming holiday.

The fact is that Nate and I can only eat so much dessert and I only have so much time…and I want the Valentine’s Day dessert I make for him to be eaten on Valentines day, and not a week ahead of time. If I posted this a week ago then I’d have to bake up something new for Valentine’s day.

But you know what’s great? These can be made any day of the year.

There doesn’t have to be a special holiday to share some chocolate goodness, or to tell someone you love them.

Nate showed me he loved me by walking all the way across the city to Trader Joes to pick me up some sea salt for the top of these bars :)

These are EXTREMELY rich…only for true chocolate lovers. I thought the hot chocolate from the other day was rich, but these were even too much for me. Luckily, Nate was a fan.

From my  to your stomach :)


Dark Chocolate-Cherry Ganache Bars

From The NYTimes

You can print this recipe from the original link

Makes 18 bars

150 grams all-purpose flour (about 1 1/2 cups)
90 grams confectioners’ sugar (about 3/4 cup)
26 grams unsweetened cocoa powder (about 1/4 cup)
1/2 teaspoon fine sea salt
12 tablespoons cold unsalted butter
1 teaspoon vanilla extract
52 grams cherry jam (about 2 tablespoons)
340 grams bittersweet chocolate, at least 62 percent, chopped (12 ounces)
2/3 cup heavy cream
3 tablespoons kirsch, rum, brandy or other spirit
1/2 teaspoon fleur de sel, for sprinkling.

In a food processor, pulse together the flour, sugar, cocoa powder and fine sea salt. Pulse in the butter and vanilla until the mixture just comes together into a smooth mass. Line an 8-inch square baking pan with parchment or wax paper. Press the dough into the pan. Prick all over with a fork. Chill for at least 20 minutes and up to 3 days.

 Heat the oven to 325 degrees. Bake the shortbread until firm to the touch and just beginning to pull away from the sides, 35 to 40 minutes.

Cool in the pan for 20 minutes on a wire rack. Brush jam over shortbread’s surface and let cool thoroughly.

Place chocolate in a heatproof bowl.

In a saucepan, bring the cream to a simmer. Pour over the chocolate and whisk until smooth. Whisk in the kirsch. Spread over shortbread. Sprinkle fleur de sel on. Cool to room temperature; cover and chill until firm. Slice and serve.

*Note: I chilled these overnight and I think it was too long. Only chill for an hour or if chilling overnight, let it come to almost room temp before serving. I found the shortbread part to be too dry and crumbly when straight from the fridge.

14. February 2012 · 13 comments · Categories: crafts, life · Tags: ,

One of my lovely blog readers saw one of my very first posts in which I showed a painting I made for Nate’s mom of one of her dogs (I should thank Kelly for that since it was all because she linked to a recipe  from that post!). Anyway, this woman liked it so much that she wrote to me asked if I could make one for her too!

I was/am so so flattered and honored to be commissioned to make a painting for someone. I was a little nervous since the ones I’ve made have usually been for gifts, and I felt like this one had to be even better.

Luckily, she got the painting in the mail the other day and was thrilled with the result :) So I present to you “Hannah:”

I told my customer to take some pics once it’s hanging on the wall so I’ll update the post with those soon.

If you know anyone looking to have a painting of their pet done, please sent them my way!