Cheesy  Herb Breadsticks

Sorry I’m late in sharing recipes for Thanksgiving. Since you’ve probably already got your main meal covered (if you’re anything like my family, the menu is NOT ALLOWED to change from year to year. We like our traditions!), I thought I’d bring you some ideas for appetizers and drinks.

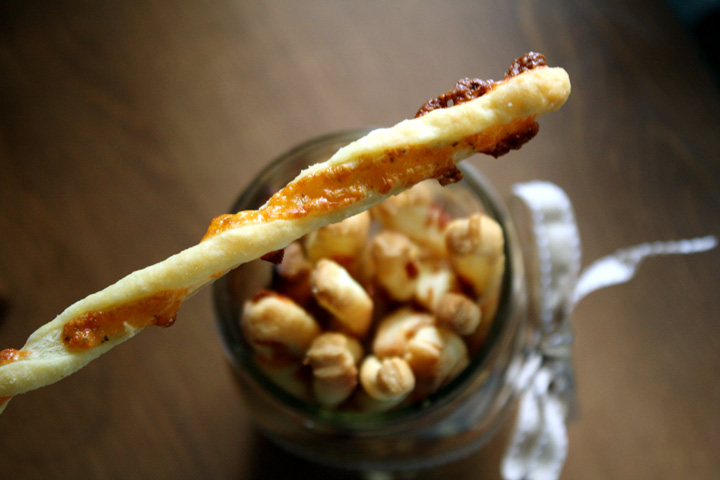
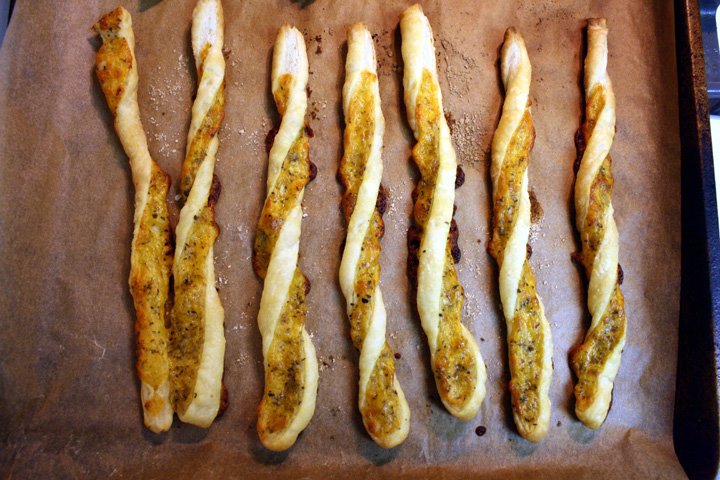
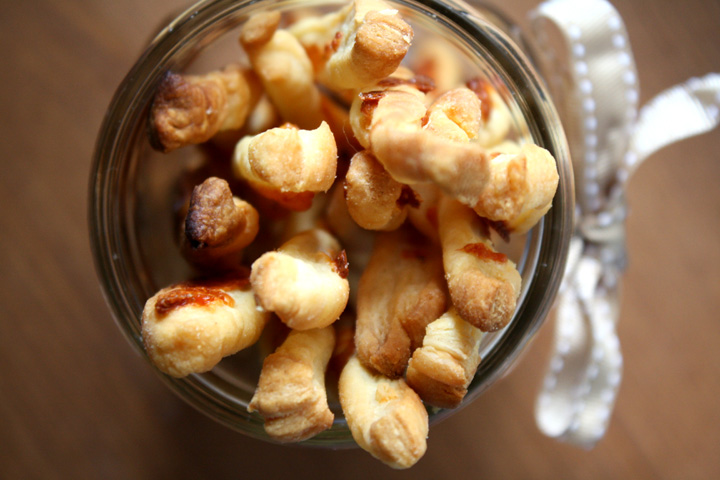
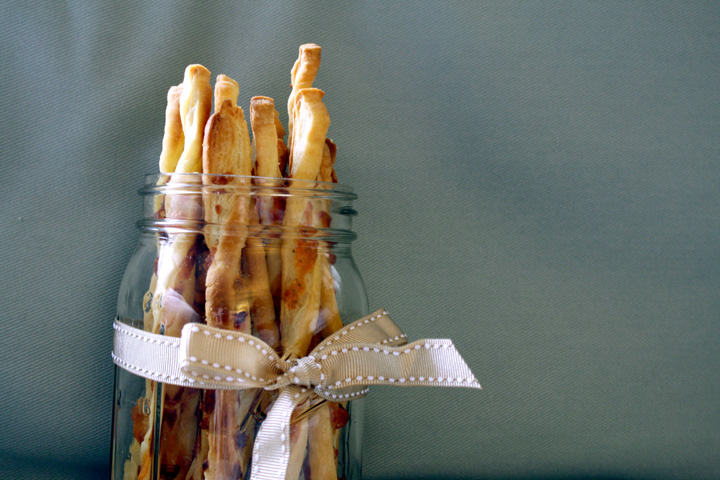
Cheddar Herb Twists

Several weeks ago, we made plans to celebrate after the NY Marathon. Nate’s mom was going to be in the city and so we invited a few friends to join us later in the day after the marathon for some drinks and appetizers before we all headed to dinner.

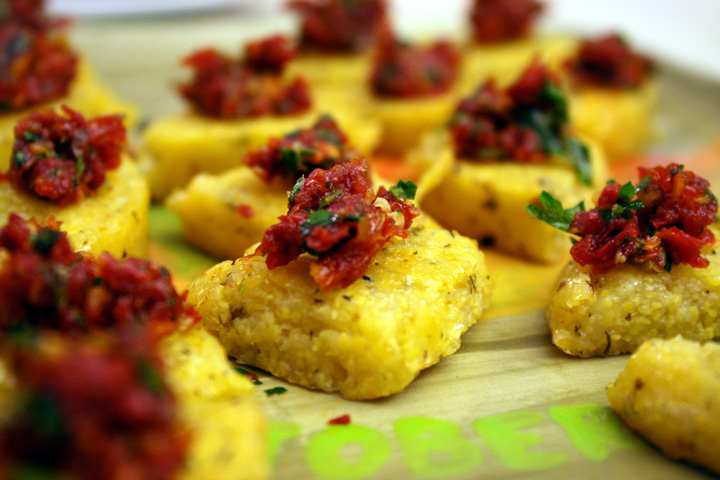
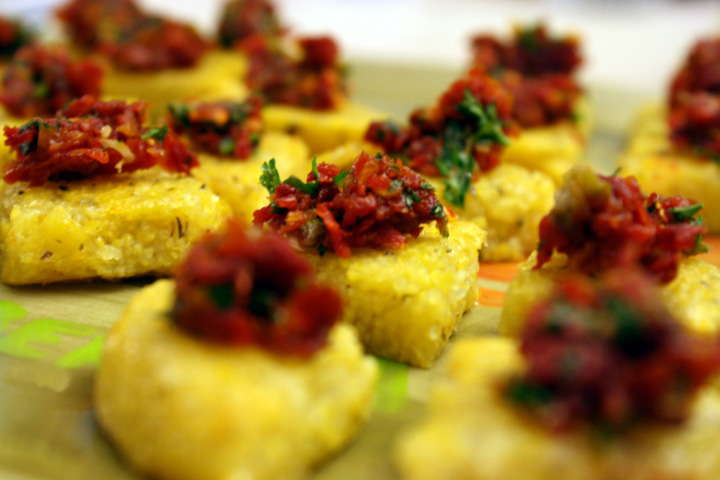
Polenta with Tomato Tapenade

Unfortunately, Hurricane Sandy came and went and destroyed many things in it’s wake, including any prospect of Nate getting to run a marathon this year.

But, on a positivie note, my mother-in-law (I think that’s the first time I’ve gotten to say that!) and our friends still came over. We just decided to celebrate good friends instead of marathon-finishing.

Polenta with Tomato Tapenade

I wasn’t feeling well and I just wanted a couple easy appetizers to make. I did some searching and came across what I thought were two simple recipes.

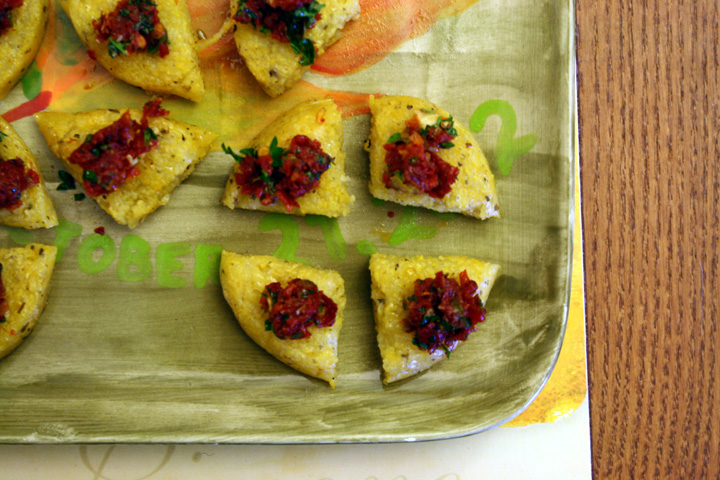
The polenta triangles were totally delicious and TOTALLY simple. The polenta is pre-made and you can buy it in a tube at the market. I suppose you could make your own if you wanted to, but that would make it way harder. The accompanying tapenade can get quickly whipped up in a mini food precessor.

Polenta with Tomato Tapenade

*as a side note, the plate I served the polenta on was the plate I made at my bachelorette party! We went to one of those pottery painting places, then to a nice dinner and then came back to my apt for a chick flick! A perfect day :) I painted a leaf and wrote the date of the wedding on the plate. 

Cheddar Herb Twist

The breadsticks were more labor intensive, but according to my guests were totally worth it. Easy for them to say, right? It was quite a pain to twist every stick, but in the end I think I could have halved the recipe because it made A LOT.

Cheddar Herb Twists

I’m just linking to the recipes below since I didn’t change them at all:

Polenta wedges with tomato tapenade

Cheddar Herb Twists

I also made the Cider Sangria from HowSweetEats, but I made a couple changes. I subbed ginger ale for the club soda and regular brandy for ginger brandy. It was delicious!

I hope everyone has a wonderful Thanksgiving tomorrow (if you celebrate it)!!!! We’re headed to my parents house in Florida. Thanksgiving is my favorite holiday!

*Warning- photo overload in this post!
Squash Chickpea Raisin Stew with Couscous

Well, our honeymoon was a blast! Due to hurricane Sandy, we actually got an extra day since our original flight was cancelled. I don’t think I actually told you guys where we were headed, but we spent 10 days in the Pacific Northwest. My first time, but not Nate’s.

We spent our first 2 days in Seattle, staying downtown at the Edgewater. It was a really cute room.

Seattle Edgewater

We managed to eat as much as we walked…stopping for some donuts in Pike’s Market plus a cookie later in the day. We had an amazing meal at The Pink Door for dinner one night, which I highly recommend for anyone visiting the area. We also took a tour of Theo Chocolate factory and ate a ton of samples- including a freshly roasted coffee bean.

Theo chocolates

But the highlight of the tour was the fact that Nate had to wear a facial hair net. There actually was another bearded guy on the tour so he wasn’t the only one.

beard net

We then headed NE of Seattle to a small town called Woodinville that’s known for its wineries. My parents’ friend’s sister owns a Winery there called Columbia Winery, and she VERY generously pulled a few strings and we got a free upgrade to the biggest, nicest suite we’d both every seen at Willows Lodge…complete with fireplace, 4 poster bed, huge bathtub…and some chocolate covered strawberries waiting for us!

She also sent over a bottle of champage and wine from her winery plus a coupon for a free tasting. We took her up on it the next morning. Unfortunately the well-known restaurant at Willows Lodge, the Barking Frog, was all booked due to restaurant week, so we headed into town to a place they recommended called Purple. They also had restaurant week so we lucked out and had huge portions of delicious food for a reasonable price!

There are some big leaves way over in Washington…
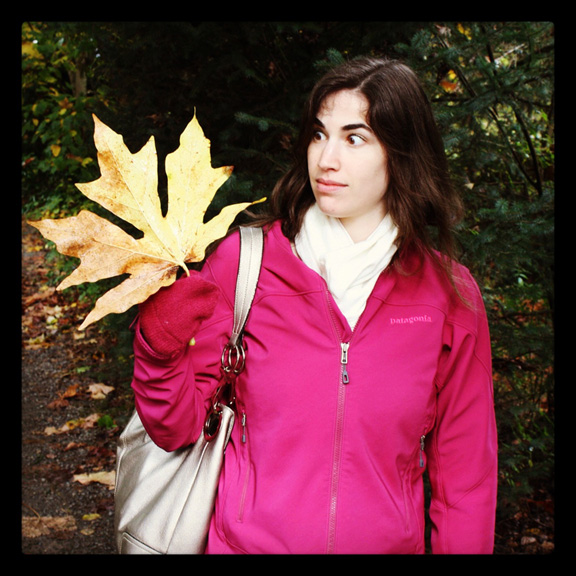
dino leaf

Unfortunately we only spent one night at Willows Lodge. Before we left though, we did happen to stumble upon the home of their truffle sniffing pig…what a cutie!

truffle sniffing pig

The next day we headed to a little resort NE of Mt Rainier called Suncadia. We thought we’d be close enough to Mt Rainier to hike there, but unfortunately the closest entrance was closed for the season, so instead we enjoyed the hikes near the resort.

Cooper River Trailhead

When we got to our room there, there was a bottle of champagne and chocolates waiting for us…and by mistake they brought us another bottle and more chocolates a few minutes after we got into our room!

Suncadia lodge

Then they gave us more special treatment with MORE champagne and chocolate covered strawberries when we got to dinner- we ate at one of their in-house restaurants since the town nearby was extremely small. On the last eve there, the chef prepared a special 5 course tasting menu. To say we left stuffed is an understatement.

outdoor fire pit Suncadia

Next it was on to Hood River. We stayed in an awesome little cabin at a place called Carson Ridge B&B on the Washington side of the river. We had our own porch :)

Carson Ridge Cabins

They had a tasty homemade breakfast daily. Aside from the rain every day until 5pm-ish, it was really nice. We hiked to a couple waterfalls- the very hidden Panther Creek Falls and the larger Tamanawa Falls- both were breathtaking. The hike to Tamanawa was very rainy and unfortunately my raincoat was sub-par, completely absorbing all the water that hit it. I wasn’t a happy camper.
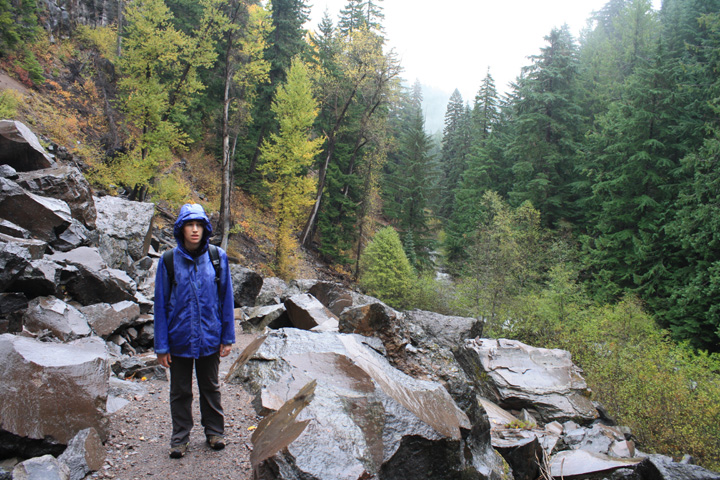
Tamanawa Falls

We also managed to walk over a mile in the wrong direction due to poor signage. We arrived at the falls cold and wet (at least I was), but it was definitely worth it!
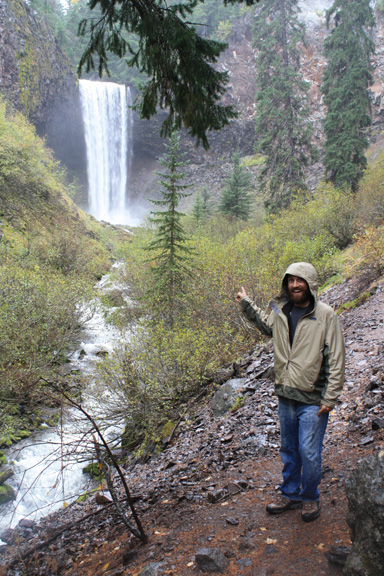
 Tamanawa Falls2

Finally, we headed over to Portland by way of Cannon Beach.
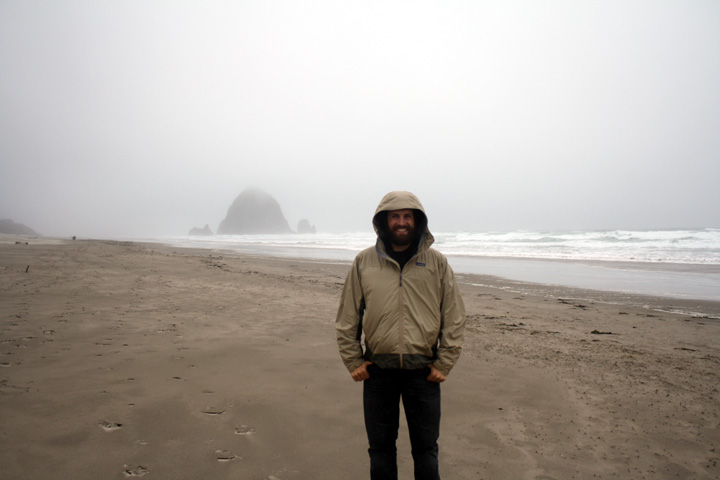
Cannon beach

Portland was the cutest little city. Our first stop was to Patagonia to buy me a new raincoat :) A very smart purchase given the weather for the rest of the trip. The fall foliage in Portland was gorgeous, and despite the rain we enjoyed ourselves. Again, we found some amazing little restaurants: Tasty ‘N Sons and The Original Diner. I highly recommend both. We made stops at Pittock mansion, The Rose Test Gardens, Voodoo Donuts…
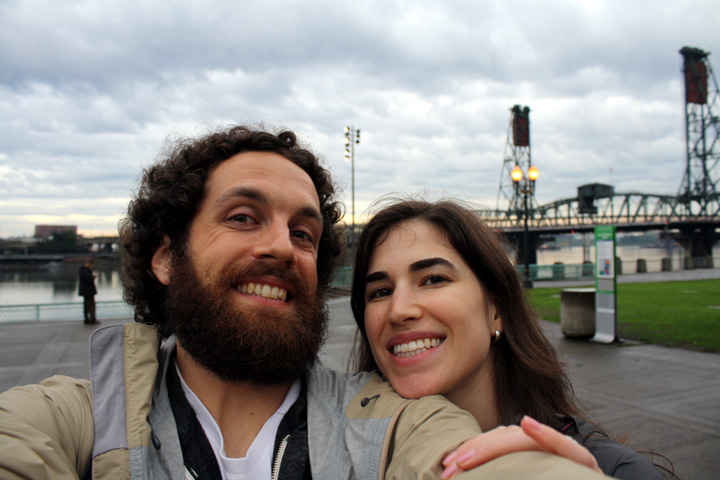
(I have way more photos but wasn’t sure how many I could get away with posting since I haven’t given you a recipe in weeks!)

By the time we made it back to NY, I think I probably gained back the weight I lost in that last frantic week before the wedding…which is totally fine by me. But Nate and I were both sick of carbs and rich food and were craving a healthy, veggie-ful meal.
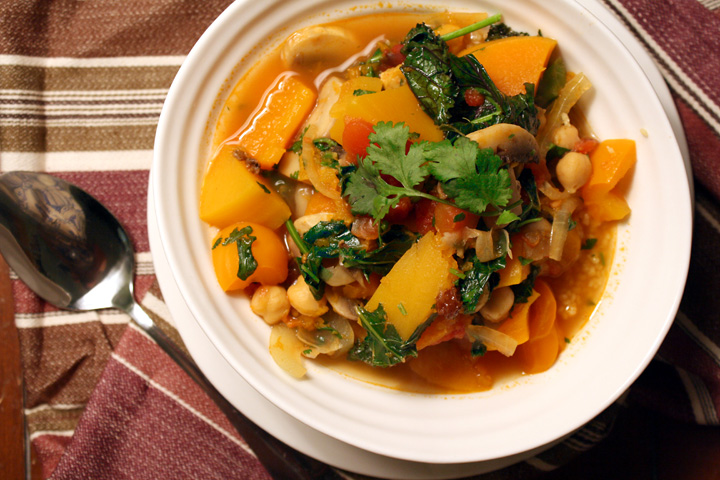
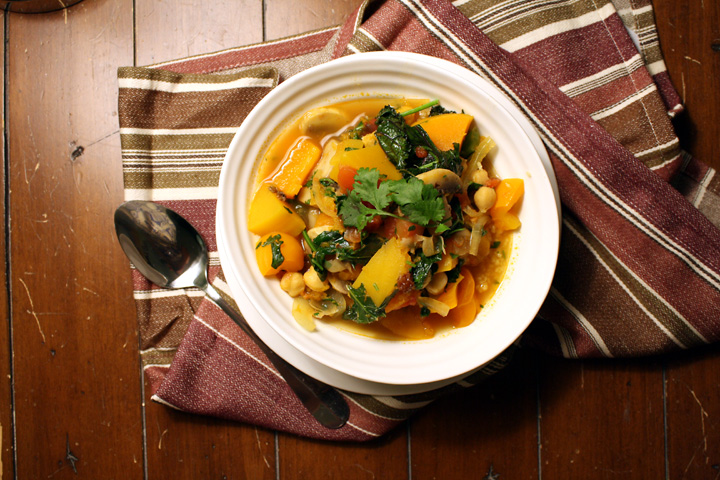
Squash Chickpea Raisin Stew with Couscous

This one hit the spot. It was warm and comforting, perfect for these chilly days we’ve been having in NY. And I changed the original recipe to include even more vegetables! A perfect end to a perfect couple of weeks!
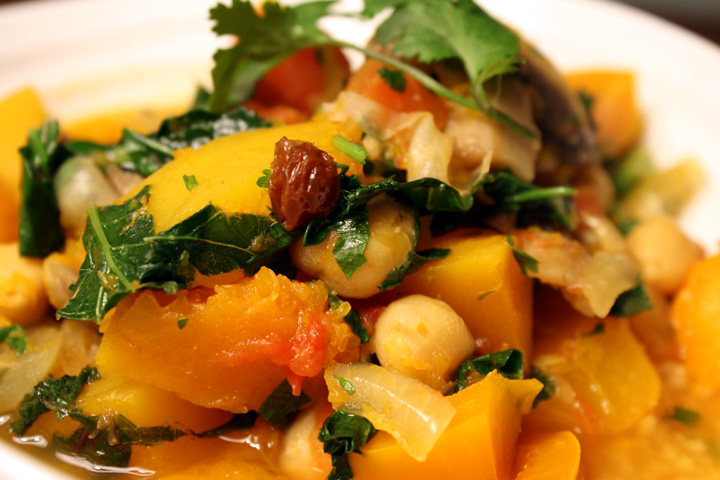
Squash Chickpea Raisin Stew with Couscous

P.S. Check out my beautiful new everyday dishes in the photos!

Chickpea, Squash and Veggie Stew with Raisins and Couscous

Adapted from Serious Eats

Print this recipe!

Serves 4-6

1 teaspoon ground ginger
1 teaspoon ground cumin
1 teaspoon ground paprika
1/4 teaspoon ground turmeric
1/4 teaspoon cayenne
2 Tbsp Olive oil
1 cinnamon stick, about 2 inches
1 medium onion, peeled and cut into fine half rings
1- 14oz can chopped tomatoes
1- 15.5 oz can chickpeas,  rinsed and drained
1 red or orange pepper, in 1 inch pieces
8 oz. sliced mushrooms
2 heaped cups peeled, seeded pumpkin or butternut squash cut into 1-inch dice
3 tablespoons raisins
3 1/2 cups vegetable or chicken stock
1 tsp salt
5 oz. bagged kale (or kale with stems removed and torn in pieces)
2 cups couscous
1/4 cup finely chopped cilantro

Combine the spices in a small cup and set aside.

Put the oil in a large saucepan and set over medium-high heat. When it is hot, put in the cinnamon stick. Stir for a few seconds and then add the onion. Stir and fry for about 3 minutes, or until the onion is medium brown and soft (about 10 min).

Stir in the cup of mixed spices; almost right away, add the tomatoes. Stir and cook for 3 to 4 minutes, or until the tomatoes have softened.

Add the chickpeas, pumpkin or squash, peppers, mushrooms, raisins, stock, and salt and bring to a simmer. Cover, turn the heat to low, and cook for 13 to 15 minutes, until the pumpkin is just tender when pierced with the point of a knife. Add the kale and stir in, simmering until wilted.

While the vegetables simmer, make the couscous. Bring 2 cups of water to a boil. When it is about to boil, heat a tablespoon of olive oil over a medium flame and toast the couscous in it for 2 to 3 minutes. Pour the boiling water into the pot of couscous, add a teaspoon of salt, and stir once. Immediately cover the pot, turn the heat to low, and cook very gently for 5 minutes. Remove the pot from the heat and let it sit somewhere warm, still covered, for 15 minutes.

Stir in the cilantro. Fluff the couscous thoroughly with a fork. Put a mound of couscous on each plate. Make a well in the center and use a slotted spoon to fill it with solids from the stew. Dampen the couscous generously with the liquids.
12. November 2012 · 46 comments · Categories: life · Tags: ,

I PROMISE I will have a food post up later this week, but I just couldn’t wait any long for this…

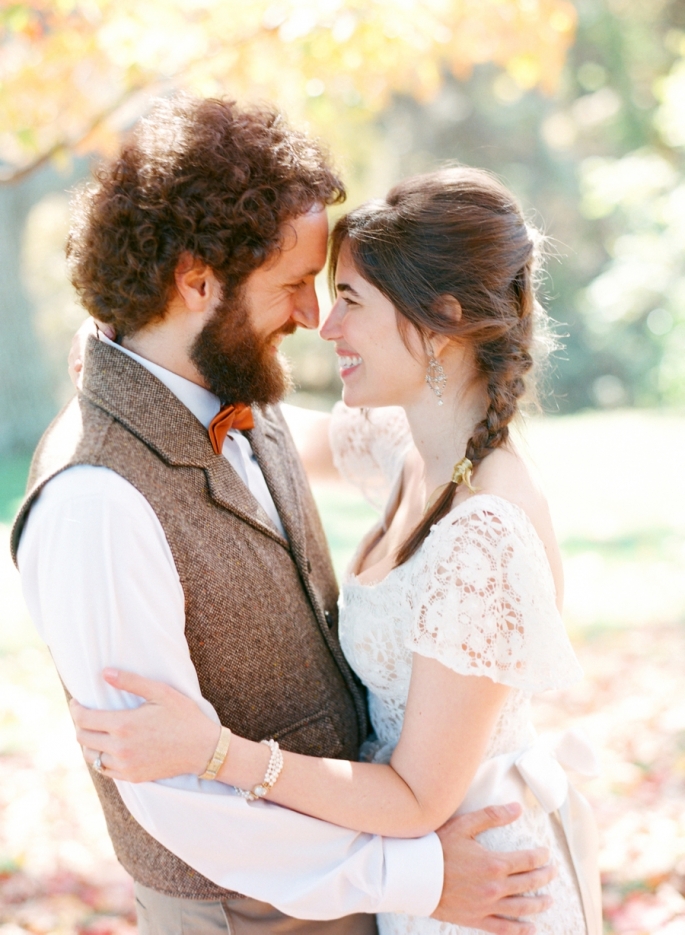
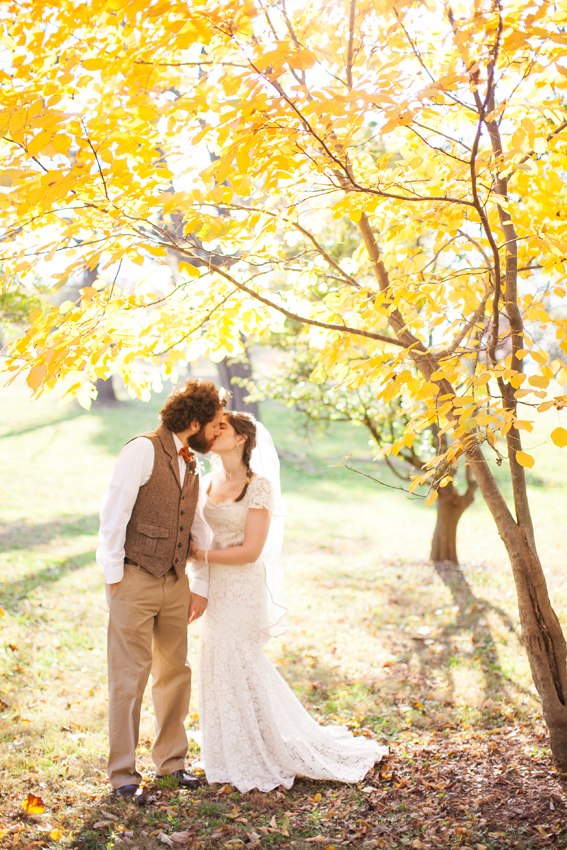
by Jodi Miller Photography

First off, how awesome is this pic the photographer took?! I love it so much. She just posted this little sneak peek but I’m so excited to see the rest!!!

Ok, so I don’t know how you’ve been feeling, but I’ve been SO anxious to show you this video Nate made to play at the wedding for all our guests. I know I’ve hinted at it a lot, but couldn’t really reveal it until the wedding.

Also, I don’t think there’s a way to acurately describe this amazing video in words. It’s just something you have to see for yourself.
I just want to say how proud I am of my husband (I love saying that word!). I think you’ll see why after you watch. Honestly, I knew Nate went to school for film but I really had no idea how creative and talented he was until I saw the process of him dedicating his free time to making this video. It was something that he could contribute to the wedding, when I essentially did all the planning. This video is so much more than any decisions or ideas I had regarding the wedding, because this video will be around forever and every time I watch it, it will remind me of our wedding day, and of how much Nate loves me and how perfect we are for each other.

To most of you, who don’t really know me, hopefully this will give you a little glimpse into who I am and who Nate is. There are some things that may not really make sense, but I think the video does a good way of explaining the strange dating life I had before Nate, and gives you a glimpse into the weirdo quirkiness that defines each of us ;)

So without further ado, here is Nate’s video. Make sure you enlarge it to full screen and turn the volume up. I hope you all love it as much as I do :)

(I swear I don’t normally say “like” as much as I do in this video)

Carota Wedding Video from Nathaniel Carota on Vimeo.

The little stop-motion at the end are the cake toppers that I made! So cute.

I’m back from my honeymoon!…and just in time for a Pinterest Challenge!

I promise I’ll be back with honeymoon details and my regularly scheduled FOOD programming shortly….

Two of my favorite DIY blogs do something every season called a Pinterest Challenge. The goal of the Pinterest Challege, is to make one thing each season that’s inspired by all the gorgeous stuff that we’ve pinned on  Pinterest!

This month, the challenge is hosted by: SherryKatieCarmel, and Sarah

You may remember I participated in this challege last summer and made myself a jewelry holder! I also participated in the winter and made a lovely button bird for Nate’s mom’s Xmas present :)

This time around, I had been stockpiling projects from the wedding, which I will be sharing with you over the coming months. But the one I thought I’d share first is my “Here Comes the Bride” sign for our flower girl.

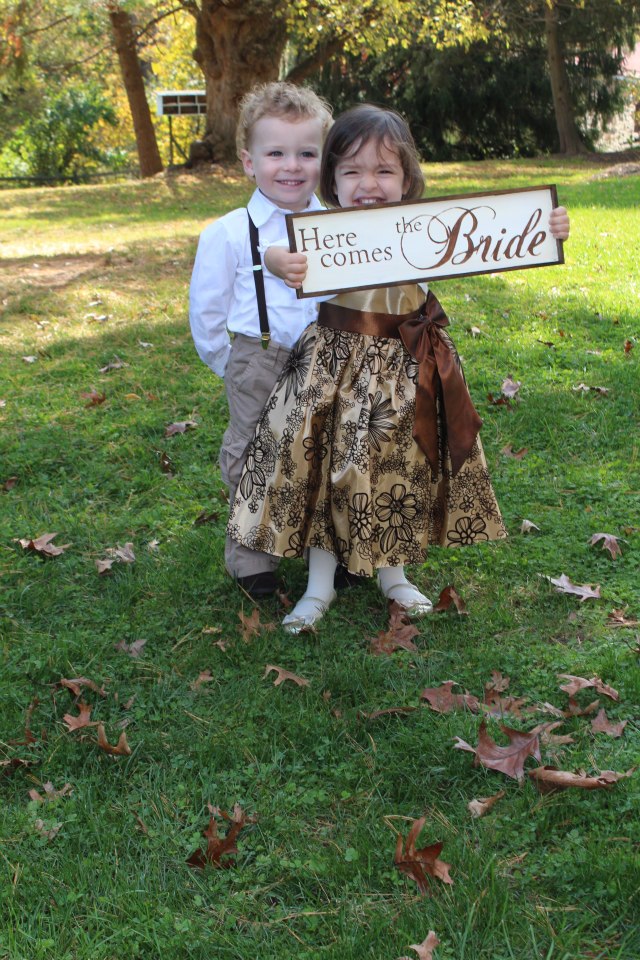
FlowerGirlSign

Before I go into to my inspirations for this project…HOW FREAKING CUTE ARE MY FLOWER GIRL AND RING BEARER?! Omg, I can’t stand it.

Anyway, I knew I wanted to do something different for my flower girl. I had seen these signs around the web and thought it was cuter, and cheaper than going with a basket that my florist was going to charge me for.

These were some ones I saw:

http://pinterest.com/pin/68117013084590660/

 Since my flower girl is only 2 1/2 years old, I knew I needed something light weight. I also wanted something that would be easy to read. I contemplated fabric but it’s a pain to paint on and would flap around if it was windy.

I wanted to use wood but thought it would be too heavy for her to carry. So my first go-round, I got some poster board, and spent an unecessarily long time making it look like wood and then painting the words on it. But when i was done I just wasn’t happy with it. It didn’t look like wood because you could see the styrofoam on the edges. I hated to waste it but I wanted it to be perfect.

So I headed to Michaels to try to find a piece wood that was light enough for a kid to hold. I spent a long time there examining all the options…a LONG time. I tend to have a hard time making decisions. Luckily my aunt was with me to encourage me to pick something.

I found this weird, VERY lightweight piece of framed balsa (?) wood. We asked a random kid at Michaels to hold it to see if it was too heavy but it passed the test! I forgot to take a pic but you can get the idea from the finished product. It was 14.5″ x 17.25″ and is in the section with all their wood frames.

I used photoshop to make the words fit inside the dimensions of the frame and to play around with fonts I liked. After much deliberating (and pestering Nate for his opinion…apparently he doesn’t have one) I made a decision and saved the file as a .jpg. If anyone would like this file as a .psd or .jpg, let me know.

Because a lot of my wedding projects involved an old white picket fence and brown paint, I thought I’d go that same route color-wise.

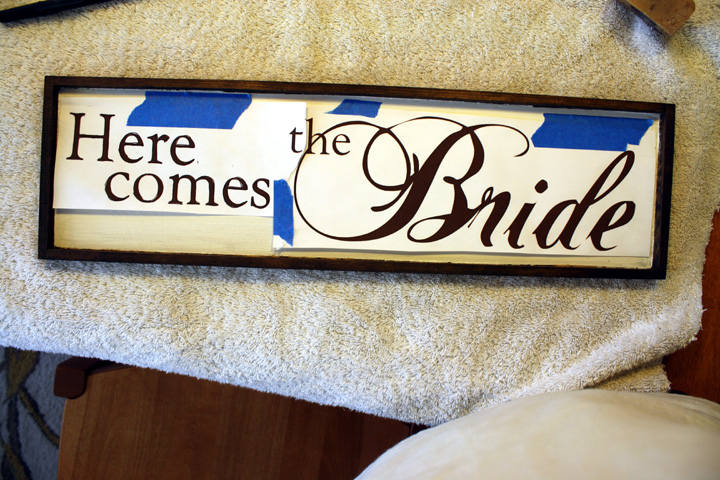
The first thing I did was stain the back sides and inside edges of the frame with a dark walnut stain I had. I taped off the inside while doing it, put the stain on with a brush and then wiped off excess with a paper towel.

After that dried for a day, I taped off the inside edges and painted the inside main surface with plain old white paint. I had some leftover from a furniture project.

Once the paint was dry, I printed out my letters on two pieces of paper since it didnt fit on one and taped it onto my wood.

The next problem was getting the letter transfered somehow so I could paint them. I didn’t want to freehand it. I had some charcoal transfer paper leftover from my wedding signage project (that I’ll be sharing with you soon), so first I tried that. It was just messy.

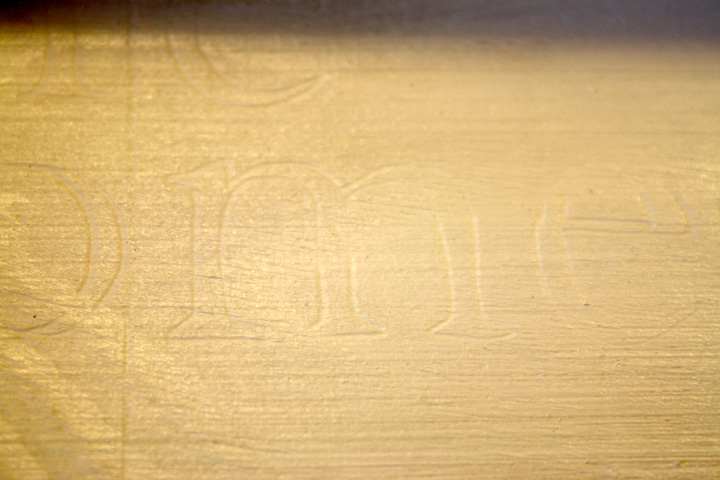
The next thing I tried was something i had seen online. Since the wood was so soft, I just pressed really hard with a pen while tracing all of the letters and a faint outline appeared on the wood.

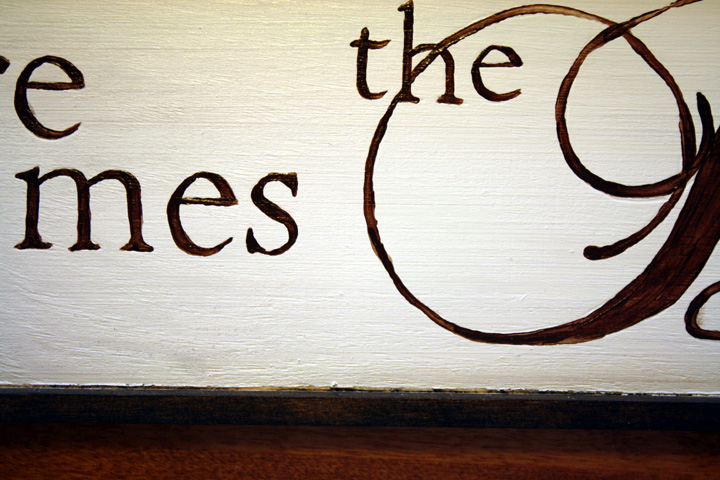
After I finished this, I went to town with my leftover brown paint and slowly and VERY carefully painting in the lines. I went over everything twice because the craft paint I used was kind of watery.

The painting part wasn’t perfect, but it was definitely good enough.

I’m SO pleased with the result…and especially with my lovely model :) It was worth the time that went into it, which honestly wasn’t all that long.

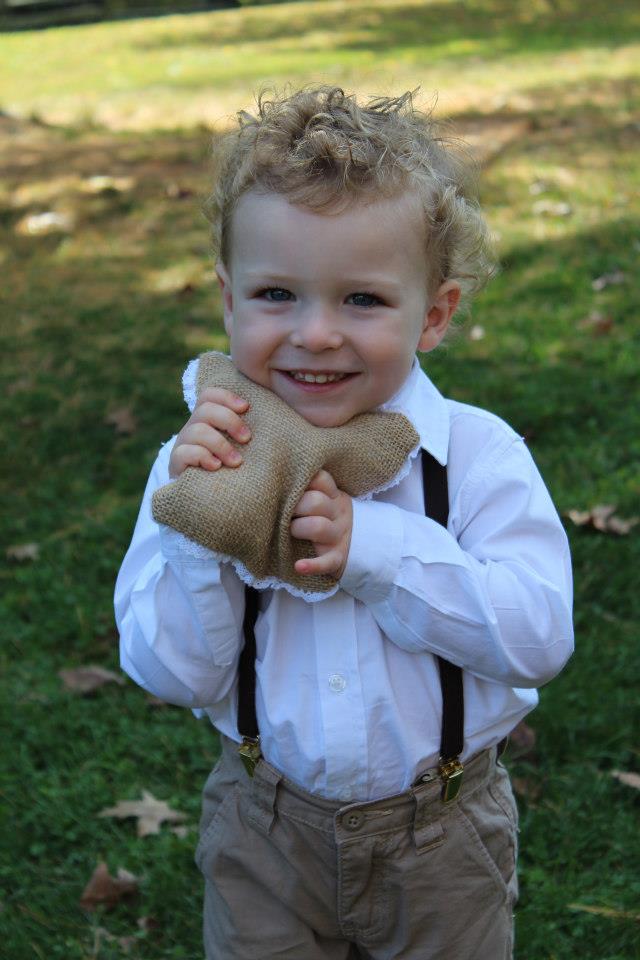
Also, for a bonus, I won’t be doing a post on the ring bearer pillow I made (also inspired by pinterest), since I just sewed some burlap with lace, but how cute is my ring bearer??

His suspenders, shirt, and khakis match the groomsmen! :)

Here’s another shot of the pillow up close:

P.S. Go check out the owl pumpkin I carved this Halloween and entered in Movita’s Pumpkin Carve-off 2012! It made it to the finals but sadly didn’t win :(

23. October 2012 · 60 comments · Categories: life · Tags:

We couldn’t have asked for a more beautiful day. And after everything, the sleeves on the dress worked out fine, although I wouldn’t wish that experience on anyone.

We’re on our honeymoon now. Thought I would leave you with this pic our photographer already posted:

by Jodi Miller Photography

**Update- For more wedding photos check out:
Our photographer’s blog post about the wedding.
Our wedding feature on Green Wedding Shoes!