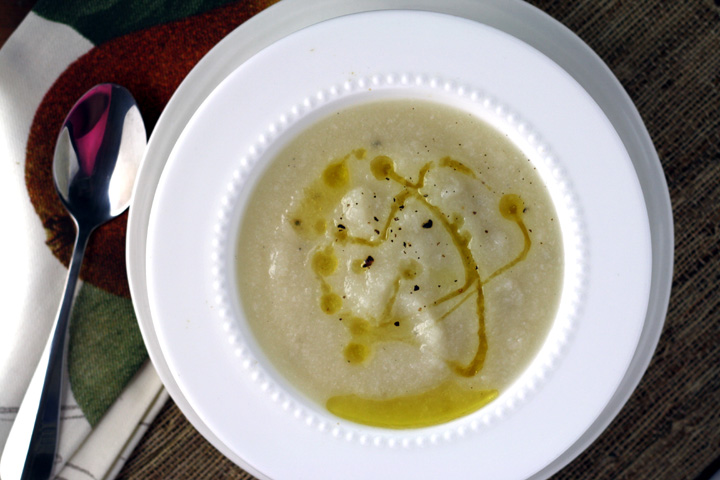
cauliflower soup

Sorry for my absence. I was sick with some stomach virus and then a cold, and then I was in California for the long weekend. Being sick totally sucked, especially since I lost my appetite. I had poor Nate ordering pizza for dinner while I slept.

California, on the other hand, was so much fun. I got to spend time with my family and one of my closest friends, all of whom live in L.A. The weather was totally gorgeous. We went on a beautiful hike (and I realized how out of shape I truly am), and just spent a lot of time relaxing and eating yummy food. Thank goodness my appetite fully returned.

IMG_7220sm

I came back on Monday, while Nate is staying there for a month or so doing some job-searching. Since Nate’s gone, this is my perfect opportunity to cook all the foods I love that Nate doesn’t…starting with cauliflower!

The inspiration for this soup is another one of our honeymoon meals. Everyone told us we had to get a meal from one of the many food trucks while we were in Portland. Nate is kind of a picky eater, despite his claims otherwise, so the only food truck that seemed ok was a soup truck called Savor Soup House. Plus, it was a cold, rainy day and i love soup. We decided to get a 3 soup sampler- we ended up going with a basic tomato soup, a chicken tortilla and I think black bean with ham. They were all pretty awesome.
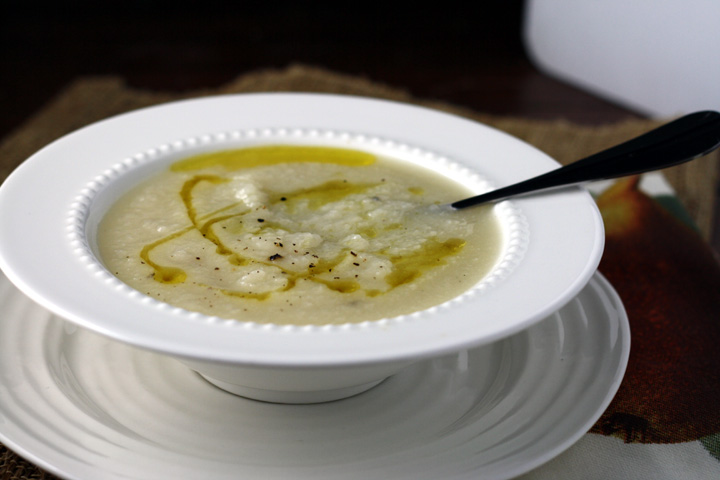
cauliflower soup

It was hard to decide between all the yummy choices, but I knew the cauliflower soup on their menu wasn’t an option since Nate says he detests caulflower. I guess the truck owner heard my lament about the fact that I couldn’t order the cauliflower soup, and so he gave me a little taste. It was seriously amazing.

The soup was so simple but so flavorful. I asked what was in it, and he told me it was just cauliflower, vegetable broth, salt, pepper and a little olive oil. I knew immediately that I’d have to find a way to make it myself.
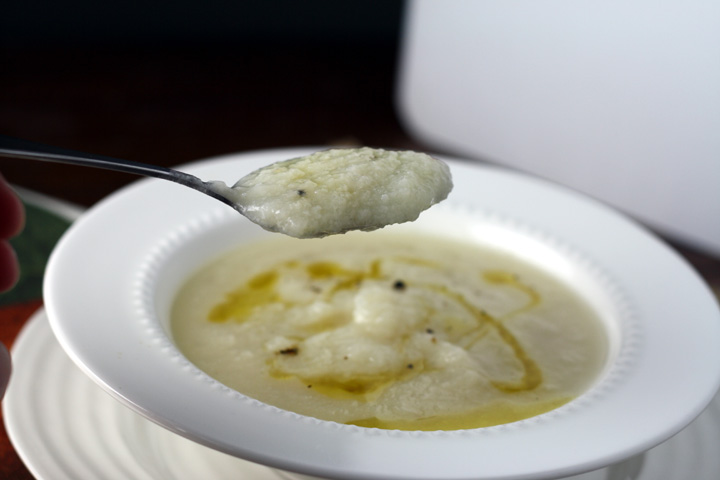
cauliflower soup

In addition, I’ve been dying to use one of our wedding presents- an immersion blender! I made sure to keep my fingers away from the blade after this horrific article Nate sent me last week. Although, those people sound like idiots.

The soup came out great, but I honestly can’t remember if it was as good as the one in Portland. I wasn’t in the mood for plain cauliflower soup, so I added a drizzle of buffalo sauce and a sprinkle of blue cheese to take it up a notch. Seriously yummy.
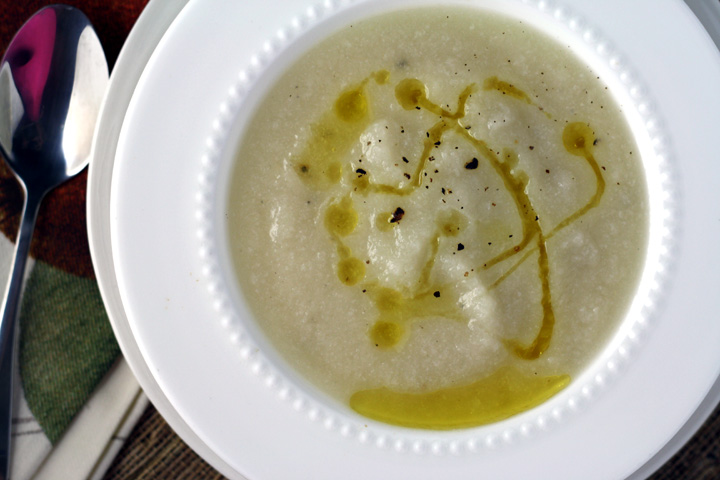
cauliflower soup

Simple Cauliflower Soup

Print this recipe!

Serves 5-7

1 head cauliflower
4 cups vegetable or chicken broth
1 Tbsp extra virgin olive oil + more for garnish
salt and pepper to taste

Cut end and core out of cauliflower. Cut into chunks and put in large pot. Add the stock, cover and bring to a boil.

Simmer covered for 15 minutes or until cauliflower is tender.

Using an immersion blender, puree cauliflower and broth until smooth.* Alternatively, add soup and cauliflower in batches to a blender. Make sure not to fill blender more than half full because hot liquids expand.

Add olive oil, salt and pepper to taste.

Serve with a drizzle of olive oil and a sprinkle of pepper. (or for something different, do what I did and drizzle with buffalo sauce and sprinkle with blue cheese- so good!)

Roasted Vegetable and candied bacon salad

One day on our honeymoon, we had been hiking all day in the cold, pouring rain and after visiting several of the orchards on the Fruit Loop, petting some very cute alpacas and checking out a glass-blowing shop, we had nothing left to do that day before dinner.

Roasted Vegetable and candied bacon salad

The cabins we were staying at were a long and treacherous drive away and since I was the designated driver, I didn’t want to deal with driving back to the cabins for an hour or two and then back into town. You see, we were staying in Washington and dinner was in Oregon, and so we had to go over this really really really really scary little metal bridge to get from one to the other. The bridge probably wouldn’t be so scary in broad daylight on a nice clear day, but we had neither weather or sun in our favor on this occasion.

And so Nate and I headed early to dinner and played Letterpress (a highly addicting word game) against each other in the car for an hour while we waited for it to be late enough for us to legitimately arrive for our dinner reservation. We had plans to eat at this delicious restaurant in the Hood River Valley called Nora’s Table, as per Nate’s father’s recommendation.

Roasted Vegetable and candied bacon salad

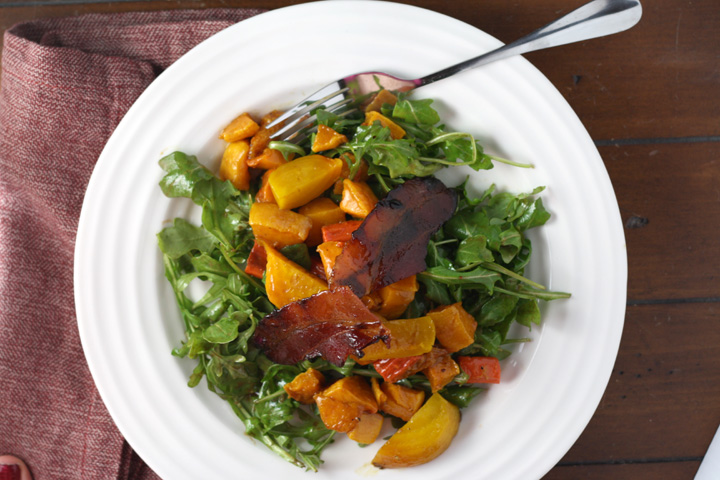
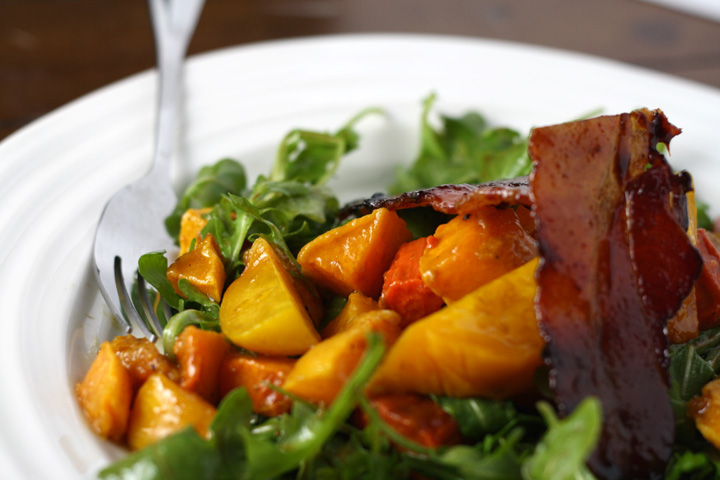
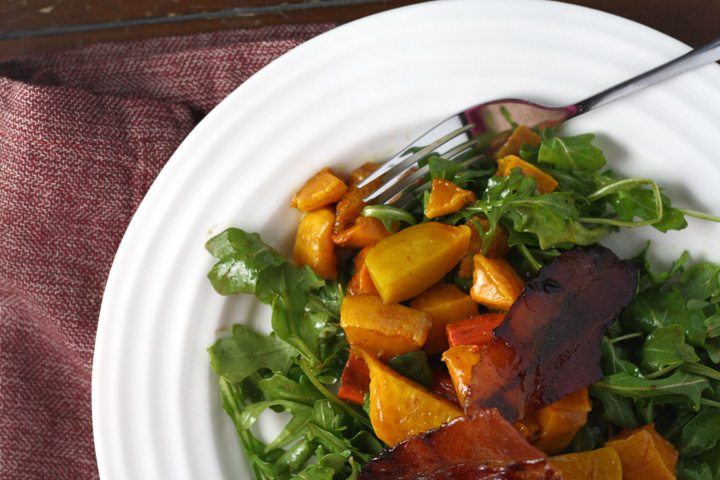
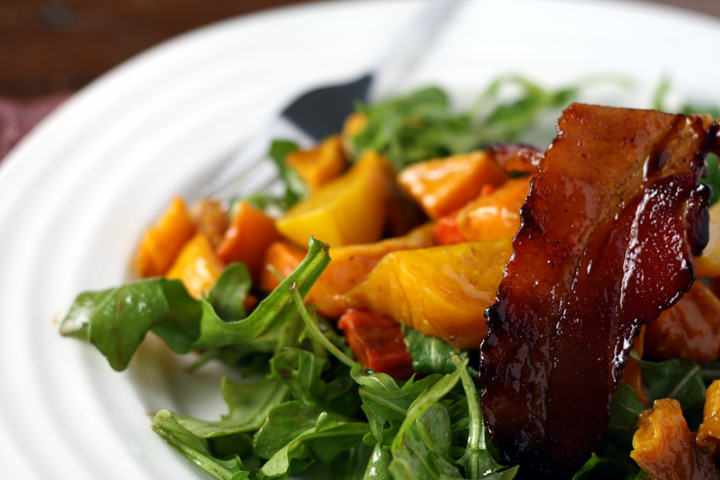
The restaurant is small and cozy and I believe they vary their menu based on the season. On that particular day, there was something on the menu that was cold roasted veggies in a balsamic dressing on top of arugula, with candied bacon. I can’t remember the exact combo of veggies but I know there was definitely butternut squash and beets…and i remember there being some other squash or root veggie.

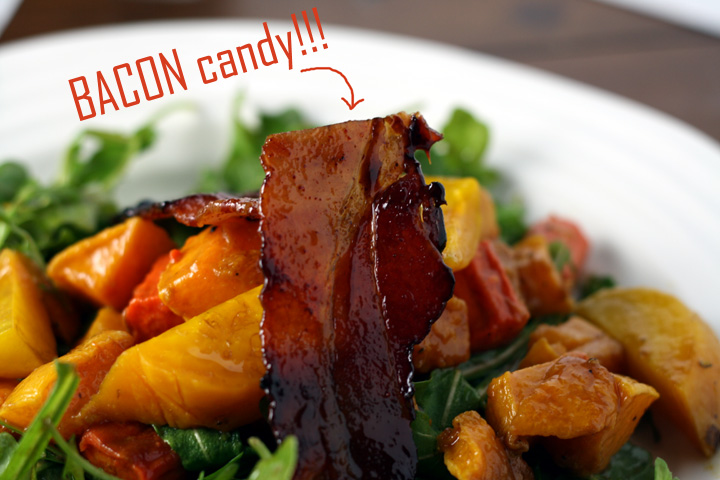
I had meant to recreate this recipe because the candied bacon was the most delicious thing either Nate or I had ever eaten….but I just never got around to it. Then a couple weeks ago, Shannon posted a recipe for bacon candy, and I knew it was a sign from the food blog gods that I really needed to get on this recipe recreation, STAT. It was also because after telling Shannon about said meal, she threatened my life if I didn’t begged me to immediately make this recipe and share it with her.

Roasted Vegetable and candied bacon salad

And so I took this threat request very seriously. Plus I now had a recipe for the most delicious part of the recipe (bacon candy!), courtesy of her. So I came up with a little something that I think gives Nora’s Table a run for their money. I hope you enjoy it.

*Just a note/warning: I tried using yellow beets for this recipe to maintain a yellow/orange color theme. However, I unfortunately learned that yellow beets oxidize to an ugly blackish color when left in the fridge overnight. Since these veggies need to be made the day before (or earlier in the day to cool to room temp), I recommend using red beets. If you were going to make the veggies same-day and serve room temp, then yellow would probably work.

Roasted Vegetable and candied bacon salad

Roasted Balsamic Squash & Root Vegetable Salad with Candied Bacon

Print this recipe!

Serves 4-6 large servings

1 bunch red beets* (see note above recipe)
1 medium butternut squash, peeled, seeded and cut into 1″ cubes
3 carrots, peeled and cut into 1″ chunks
olive oil
5 oz. arugula
Dressing:
1/4 cup balsamic vinegar
1/4 cup + 2 Tbsp olive oil
2 Tbsp dijon mustard
salt and pepper

Candied Bacon (recipe to follow)

*It’s best to roast the vegetables the day before you want to eat this so you can serve them cold, or room temperature

Preheat oven to 400

Thoroughly wash beets, trim off greens leaving 1 inch (you can saute the greens for a yummy side dish!). Wrap beets individually with a bit of olive oil in a piece of foil and wrap tightly. Put on a baking sheet in case of leaking. Roast for an hour or until beets are easily pierced with a knife. Let cool until easy to handle and rub skin off under running water. Pat dry and cut into 1″ thick slices.

Toss squash and carrots with 1-2 Tbsp olive oil, 1 tsp salt and some pepper. Spread on a foil-lined baking sheet. Add to oven after beets have been cooking for 15 min. Roast for 45 min total or until slightly browned, tossing halfway through.

Cool veggies to room temp or refrigerate over night.

When ready to serve, combine dressing ingredients in a bowl and whisk well. Add salt and pepper to taste. Toss all veggies with about half of dressing, or however much you like.

Toss arugula with more dressing. There will probably be a little extra, depending on how much you like.

Put arugula on plate, top with mound of veggies and a couple slices of the halved candied bacon.

Candied Bacon
adapted from Shannon’s blog

1/4 cup + 2 Tbsp brown sugar
1/2 teaspoons chili powder
6 slices thick-cut bacon

Preheat oven to 400˚F. Line a lipped baking sheet with heavy duty foil, completely covering.

In a small bowl, whisk together the brown sugar and chile powder with a fork until evenly distributed and all brown sugar lumps are out. Press bacon into brown sugar mixture, heavily coating both sides.

Spoon excess brown sugar mixture onto the bacon.

While your bacon is baking, get out a metal cooling rack, overtop some paper towels.

Bake in the oven for 18-22 minutes, checking at the 15-minute mark and watching like a hawk from that point on. Watch for your bacon to turn a deep red color towards the center and darker at the edges. Take it out when it is almost crisp and the sugar is caramelized. DO NOT BURN.

Remove the bacon from the oven and transfer the pieces to the wire rack using tongs. Be careful as it will be VERY hot. Allow to cool, as it will and crisp up. Cut each piece in half.

tteok rice cakes

I’m so excited, Santa gave me a Lowell Ego Light Set for Christmas!! Now I can finally take good pictures at night, since that’s the only time I have to take my food photos. I’m definitely jealous of food bloggers who have time to cook and photograph during the day!

tteok rice cakes

Unfortunately, Nate will be in California for most of January looking for a full-time job, and he said he’s taking his camera with him. I’ll be left with my crappy point-and-shoot, which I honestly have no idea where it is. But at least the lights might help a bit? I’m so mad because my parents got me a new lens for chanukah and it’s great for food photos!!! Maybe I can convince Nate to leave his camera with me for safe keeping ;)

Anyway, I got the opportunity to use my new lights last weekend when I invited a friend over for dinner! The lights + my new lens were as amazing a team as I’d imagined.

tteok rice cakes

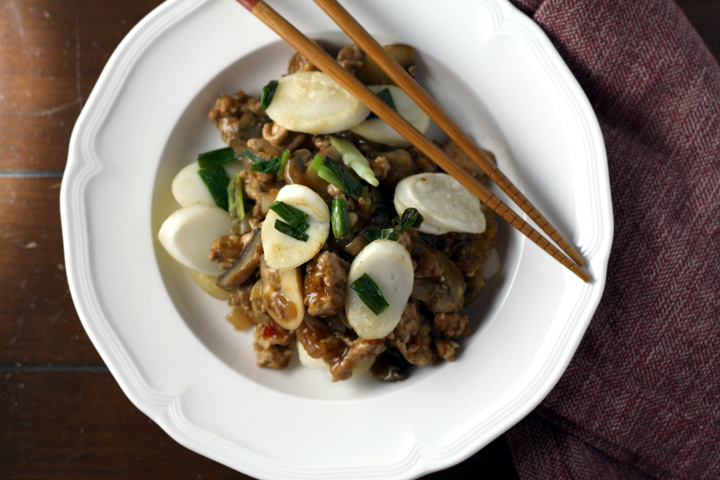
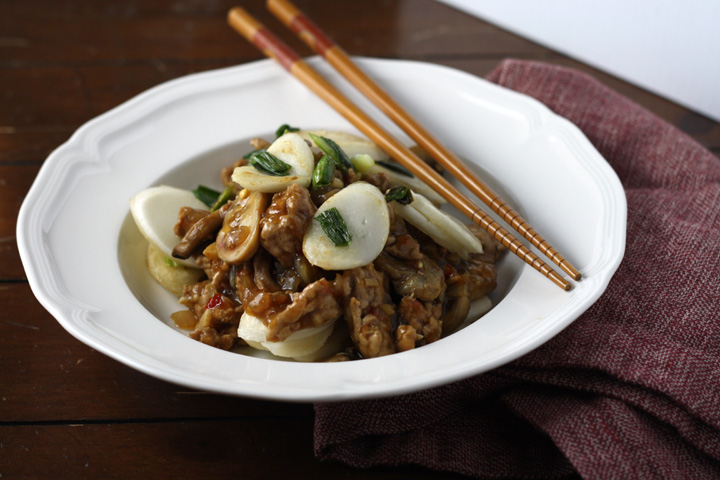
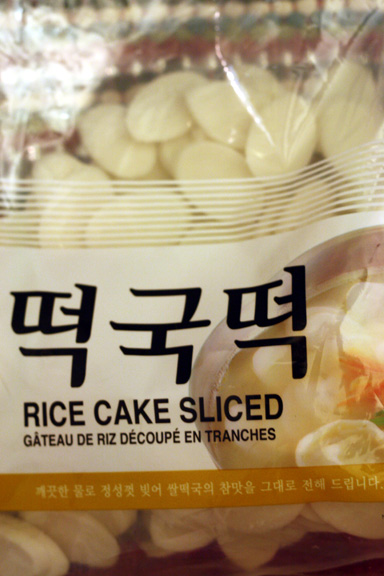
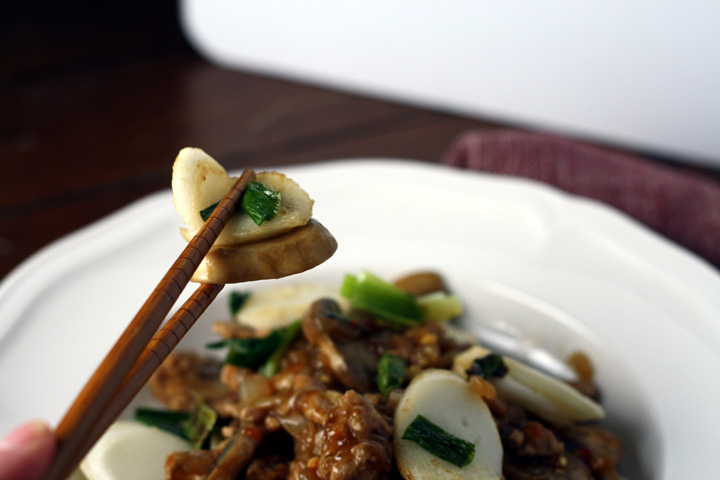
I’m not sure if you’re familar with these korean rice cakes (tteok/dduk). They’re not the puffed rice cakes you’re probably thinking of that we eat in america. Instead, tteok are made of glutinous rice flour and when cooked, they become chewy and delicious. They come in many shapes this particular type is sliced into little flat disks.

IMG_7203

I had only had them before in korean soups, where they act kind of like noodles or dumplings. Recently, however, I came across this recipe in which they’re stir-fried and they become slightly puffy and crispy on the outside, and I was intrigued! *You can find them in the freezer section of your local asian grocery store.

tteok rice cakes

I don’t think this dish is authentically from any asian cuisine in particular- more of a mix of korean and chinese. It was super quick to make and really delicious! I added some mushrooms to bulk it up a bit more in the veggie department.

tteok rice cakes

Stir-fried Spicy Rice Cakes with Pork and Mushrooms

Slightly adapted from Cooking LIght

Print this recipe!

Serves 4

2 tablespoons dark sesame oil, divided
4 cups sliced rice cakes (rice ovalettes), divided
1 bunch green onions, trimmed and cut into 1-inch pieces
12 ounces lean ground pork
8 oz. sliced mushrooms
1/2 cup chopped onion
1/4 teaspoon kosher salt
3 large garlic cloves, minced
2 teaspoons cornstarch
2 cups no-salt-added chicken stock (such as Swanson)
3 tablespoons lower-sodium soy sauce
1 tablespoon sambal oelek (ground fresh chile paste)
4 lime wedges

Heat a wok or large skillet over medium-high heat. Add 1 tablespoon oil to pan; swirl to coat. Add 2 cups rice cakes, separating the stuck-together ones as best as you can (otherwise they won’t cook as well); stir-fry 3 minutes or until blistered, turning to brown on both sides. Remove rice cakes from pan; place in a large bowl. Add remaining 1 tablespoon oil; swirl to coat. Add remaining 2 cups rice cakes; stir-fry 2 minutes. Add green onions to pan, and stir-fry for 1 minute or until rice cakes are blistered, turning to brown on both sides. Remove rice cake mixture from pan; add to cooked rice cakes.

Add pork to pan; sauté for 2 minutes, stirring to crumble. Add mushrooms and saute 2 more min or until brown.

Stir in chopped onion, and salt; sauté 3 minutes, stirring occasionally. Add garlic; sauté 30 seconds, stirring constantly. Stir in cornstarch. Gradually add stock; bring to a boil. Stir in soy sauce and sambal; cook for 1 minute, stirring frequently. Divide rice cake mixture evenly among 4 shallow bowls; top each serving with 3/4 cup pork mixture. Serve with lime wedges.

Spiced Cranberry Ricotta Scones

Well here we are approaching Christmas, and I actually have my act together enough to post a festive recipe for you ahead of time! Hopefully you can make this for your family on Christmas morning…or on any morning :)

Before I met Nate, I had never celebrated Christmas. I guess every family does it differently, but at his house (or technically his mom’s house) the whole family wakes up Christmas morning, opens presents, and then has a big, yummy breakfast. You need food after all that exhausting unwrapping.

Spiced Cranberry Ricotta Scones

The first year I got to spend Christmas morning with them, I wanted to contribute something, so I made these delicious overnight cinnamon rolls. They’re definitely a good choice! They get prepped the night before and then you just take them out about an hour before you wanna bake them to let them warm to room temp. Nate’s mom also makes turkey sausage and bacon and has plain croissants and chocolate croissants and blood orange juice! I told you it was a big, yummy breakfast ;)

 Spiced Cranberry Ricotta Scones

If you want to be really decadent, you could make this thick and rich hot chocolate too. It’s practically like eating (drinking?) dessert.

But another great breakfast food is scones. Ok, maybe not in England because I think they eat them for tea time there. But in America, scones are lovely for breakfast.

Spiced Cranberry Ricotta Scones

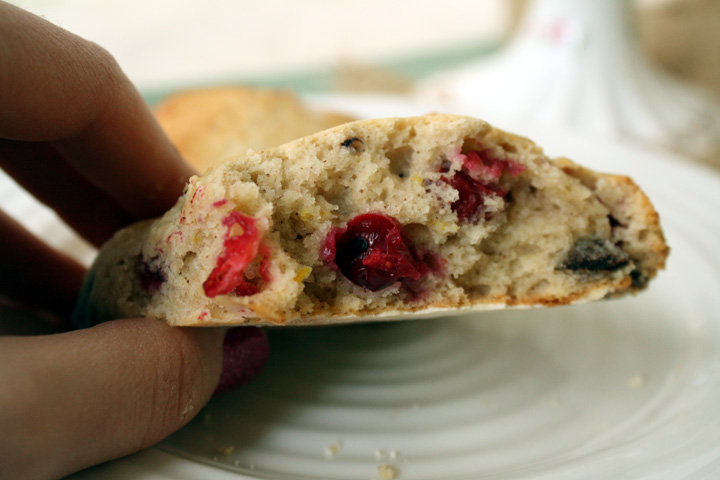
We had some leftover ricotta the other day and I knew Nate loves scones, so I tried to  come up with something festive. Not only did I succeed (I think cranberries and spices definitely scream holiday), but Nate said they were “AMAZING.” And I think I have to agree ;)

Spiced Cranberry Ricotta Scones

Spiced Cranberry Orange Chocolate Ricotta Scones

Print this recipe!

Makes 8 large scones

2 1/2 cups all-purpose flour
1 Tbsp baking powder
3/4 cup granulated sugar
1/2 teaspoon salt
1 tsp cinnamon
6 Tbsp cold unsalted butter, cut in small pieces
1 cup fresh cranberries (or thawed frozen ones)
1 cup dark chocolate chips (I actually used mini nonpareils because I had them and they’re festive!)
1 cup whole milk ricotta
1/3 cup whole milk + 2 Tbsp to brush tops of scones
zest of one orange (about 1 Tbsp)
1 egg

Preheat oven to 425. Line a large baking sheet with parchment paper or silpat. In a large bowl, whisk flour, baking powder, sugar, salt and cinnamon together.

Add the butter and use the a pastry cutter (and/or your fingertips/ potato masher or ricer) to cut/blend the butter into the flour mixture until the biggest pieces are the size of small peas. Toss in cranberries and use the cutter again to break them into pieces and quarter berry sized chunks. Add chocolate chips.

In a small bowl, blend ricotta, milk, egg and orange zest. Stir them into the flour mixture to form a dough with stiff spatula or wooden spoon. The dough will be very wet.

Dump dough on to a very well-floured counter, flour the top of the dough and pat it into a 1-inch thick circle. With a large knife, divide the dough 8 pieces, cut like a pizza (or whatever shape you like your scones). Transfer the scones to prepared baking sheet with a spatula and keep them at least 1-2 inches apart because they will spread. Brush scones lightly with milk.

Bake the scones for about 20-25 minutes, until lightly golden at the edges. Cool in pan for a minute, then transfer to a cooling rack.

Best served warm but still delicious the next day. They even stay pretty moist when straight out of the fridge!


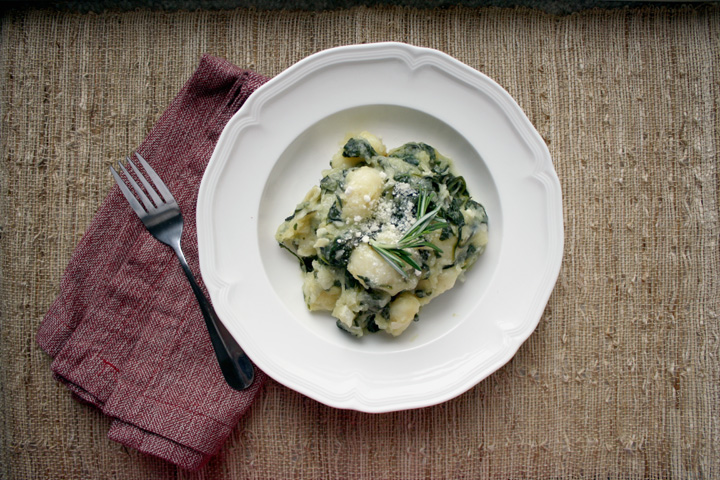
Gnocci with Spaghetti Squash, Spinach and Rosemary

I’ll have a festive Christmas brunch/breakfast recipe for you soon. Nate and I finally got into the holiday spirit. It’s my first Christmas season as an honorary (by marriage) Christmas celebrator.

Speaking of marriage, we got our wedding photos on cd today! And the photographers sent us one of EVERY photo!!! So so sweet of them. Can’t wait to pick out which we want for our album :)

Anyway, the first thing I did for our Christmas decorating was pick up a cute cotton ball and jingle bell wreath from Target. I didn’t want anything too Christmas-y since we are still a multi-holiday household. I thought the wreath was a little too boring though, so I bought a couple different sized berries branches from Michaels and I cut them up and hot glued them on. Muuuch better I think :)

Upgraded Target wreath

We have a tiny apartment and a michievous feline, so we knew we couldn’t get a full-fledged Christmas tree yet. Instead we went to Michael’s to see what we could find. We ended up getting the cutest miniature tree and there were all kinds of mini ornaments and garlands you could get to decorate it!!! Btw, I love anything in miniature. We also picked up a silver reindeer from Home Goods and I broke up some branches to make a little festive setting on our living room mantle dresser.

I have also since pulled out our gorgeous new menorah that we got for a wedding present. I’m so excited to finally have a nice menorah :)

All this holiday decorating was done in preparation for our little cookie-decorating party we hosted this past weekend. Since all my friends who came are cat lovers like us, I baked up some gingerbread cookie paws and cats in addition to the traditional gingerbread men. After we exhausted the possible decorating combos for the paws/cats, we decided to get creative. This was what I came up with:

cat paw cookie turned sideways and upside down!

LC even put on her Christmas best in honor of the party.

a most photogenic feline- photo credit, Erica Harmon :)

It was a fun weekend. Despite the fact that we both OD’d on cookies throught the day, Nate and I had this delicious gnocchi dish for dinner.

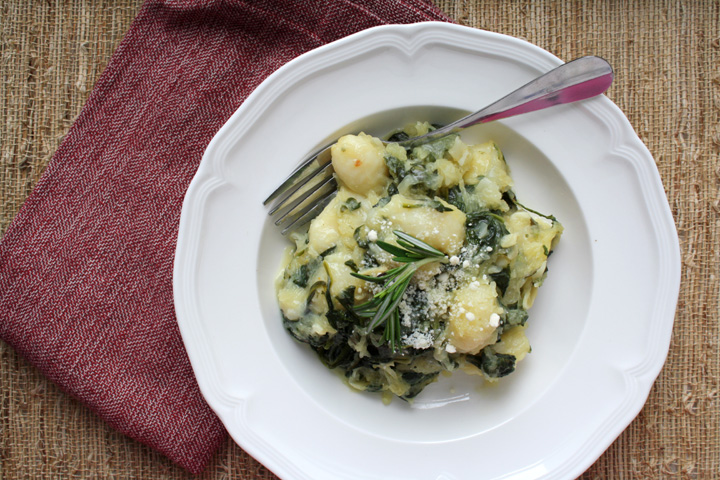
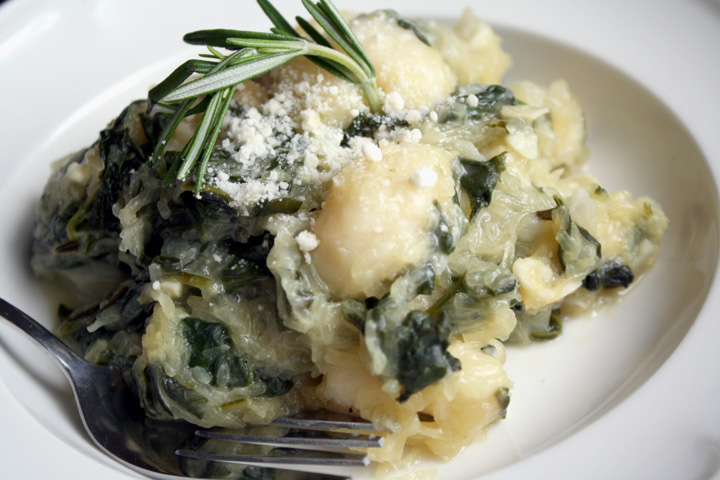
We eat a decent amount of pasta, but I never think to cook gnocchi. It wasn’t until I made this recipe that I realized how quickly it cooks (if you buy it rather than making it) and how much I love it’s chewy texture.

Gnocci with Spaghetti Squash, Spinach and Rosemary

I randomly came across a Food Network recipe and since I didn’t have any of the ingredients, I subbed in my own similar ones and it was a major hit. Nate and I couldn’t stop raving about how delicious it was.

Gnocci with Spaghetti Squash, Spinach and Rosemary

Gnocchi with Spaghetti Squash, Spinach and Rosemary

Adapted from the The Food Network

Print this recipe!

Serves 4

Ingredients
1 small-medium spaghetti squash
2 tablespoons unsalted butter
1 small onion, diced
4 cloves garlic, thinly sliced
1 tablespoon roughly chopped fresh rosemary
1/4 teaspoon red pepper flakes
Kosher salt
1 1/4 cups low-sodium chicken broth or water
11 oz package baby spinach
1 17.5-ounce package potato gnocchi
3/4 cup grated parmesan or pecorino romano cheese

Cut squash in half, remove seeds, and put cut side down in a microwaveble dish. Put 1/4 cup water in bottom of dish, cover with plastic wrap and microwave for 11 minutes (you want it cooked but still slightly “al dente.” Cool til you can handle it and scrape pulp out into a dish.

Melt 1 tablespoon butter in a large ovenproof skillet over medium heat. Add the onion and cook, until soft, about 8 minutes. Add the squash, garlic, rosemary, red pepper flakes and 1 teaspoon salt; cook until the garlic is soft, about 2 more minutes.

Preheat the broiler. Add the chicken broth to the skillet. When it starts to simmer, stir in the spinach and cook until it wilts slightly, about 2 minutes. Add the gnocchi, stirring to coat. Cover and cook until the gnocchi are just tender, about 5 minutes. Uncover and stir in 1/4 cup parmesan and the remaining 1 tablespoon butter. Sprinkle with the remaining 1/2 cup parmesan; transfer to the broiler and cook until golden and bubbly, about 3 minutes.