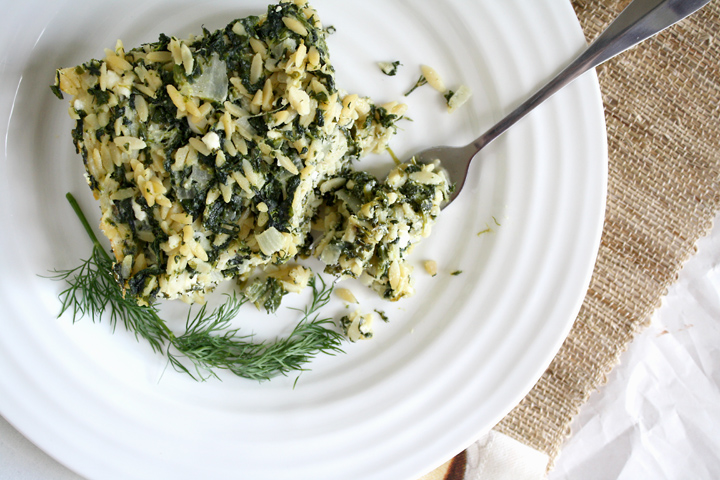
Spanikopita Pasta Bake

We’re coming down the home stretch with wedding preparations, and let’s just say I’m getting super stressed.

Among other things, I feel like there are so many incompetent people that I’m dealing with, or maybe I just see them that way, but it’s making me seriously worried that things aren’t going to get done on time…and to my liking.

Do I just have high expectations? or maybe I’m asking for things that normal people don’t ask for? But whatever it is, I feel like no one “gets” what I want! I just really hope that in the end it all turns out ok.

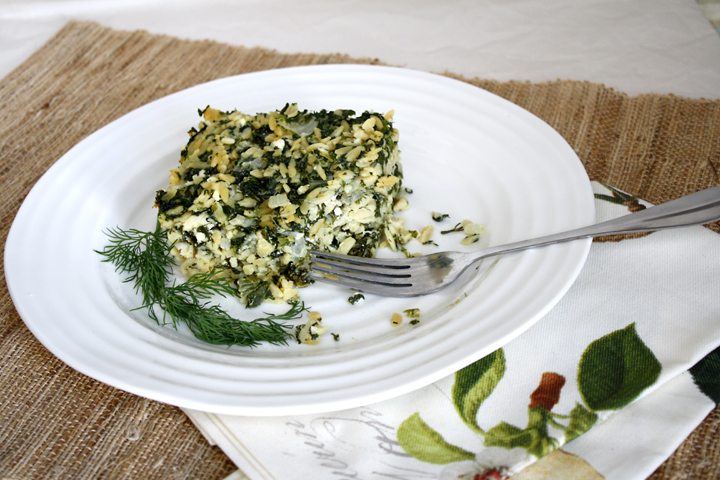
Spanikopita Pasta Bake

Nate and I have been watching Bridezilla on the WE channel. I hope that’s not how I come across to the people I come in contact with.

I made an appointment over a month ahead of time for the only person I trust to do my eyebrows. The salon called me on Sunday to tell me that they had to cancel my appointment because the woman (with whom I had already made an appointment) decided she’s going on vacation FOR A MONTH. Seriously?!

They told me she’d be back on October 16th, which is exactly one day before I leave to head down to PA for the wedding. I’m not sure if you know this about me, but I like to do NOT like to leave things til the last minute because I always expect the worst to happen.

She’s foreign so I have a feeling she’s going home to visit her family in Europe, but the vacation seems so sudden that now I’m paranoid she won’t be back on the 16th and I’ll be stuck with no one to do my eyebrows. I was so worried that I dragged Nate with me to the salon to talk with them in-person to assure me that she was in fact only going on vacation and that she’d be back on the 16th.

After 5 minutes of listening to me voice my every concern, the guy at the front desk told me there was no reason to think she wouldn’t be back in time for my appointment…and then he turned to Nate and said “Are you sure you still want to marry her?”

I.kid.you.not.

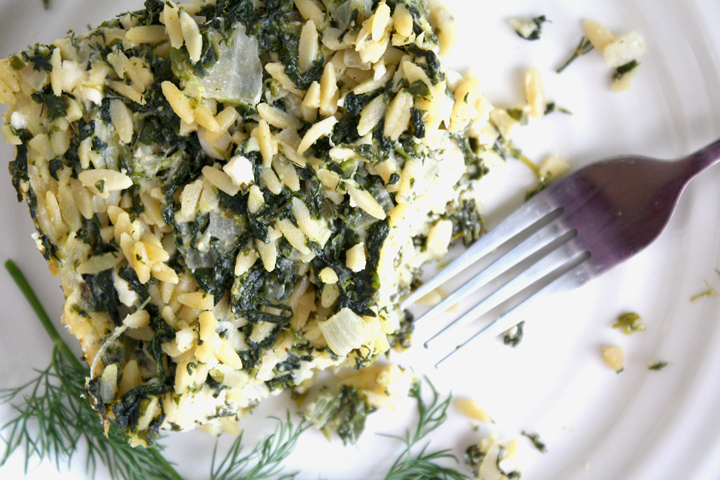
 Spanikopita Pasta Bake

The only benefit of being stressed is losing my appetite. At least I hopefully won’t have to worry about not being able to fit into my dress that has now officially been taken in. They still have some adjusting to do with other parts, so I suppose they could change the size a bit if they had to.

Although depending on how stressed I am, sometimes I eat more. Let’s hope that’s not the case this time.

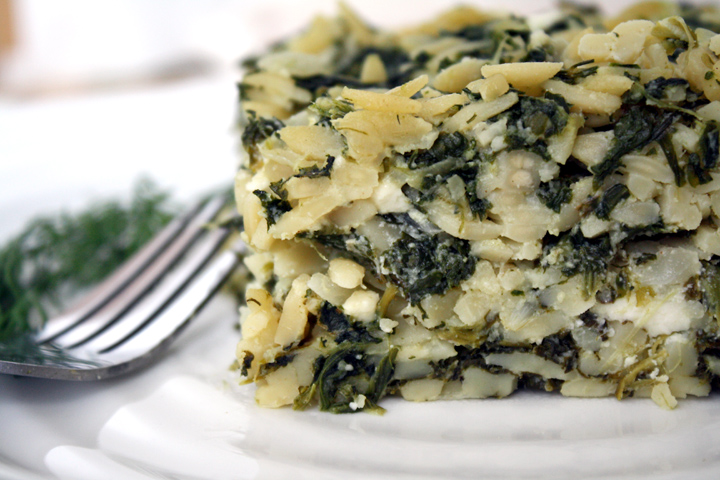
Spanikopita Pasta Bake

A dinner like this won’t hurt too much in your weight loss goals. If you’re trying to lose a few pounds like me, you could easily serve it with a nice green (or Greek!) salad and take a smaller portion.

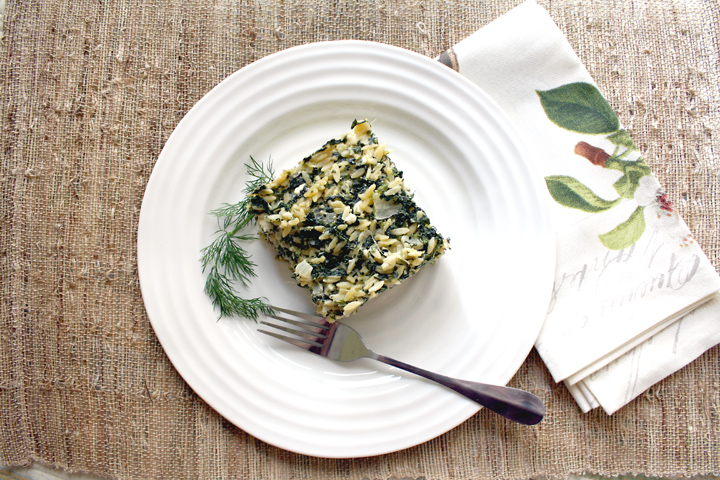
I got inspired by a recent orzo pasta bake on saw on Smitten Kitchen’s site. I thought if I subbed the mozzarella for feta, it seemed kind of Greek-inspired. I tried to figure out what else I could add to feta and when I thought of spinach, I knew I had to try to create the flavor of Spanakopita.

Spanikopita Pasta Bake

I looked up a few spanakopita recipes to get the ratio correctly and then just kind of winged it. This recipe uses several tablespoons of butter but it’s spread over the entire pan. This was so good I kept going back for more…perhaps the only negative thing about making it :)

“Spanakopita” Pasta Bake

Recipe by Me

Print this recipe!

Serves 8-10

3- 10 oz. packages chopped frozen spinach
16 oz. Orzo shaped pasta
2 large onions, diced
4 garlic cloves, thinly sliced
4 Tbsp butter
2 tsp salt + pepper to taste
1/4 tsp nutmeg
1/2 cup fresh dill, chopped
12 oz. feta cheese
8 oz. Ricotta cheese
2 eggs, lightly beaten

Preheat oven to 350.

Boil water and cook pasta. While pasta is cooking, thaw spinach in microwave and drain THOROUGHLY. You will need to squeeze as much water as possible out of the spinach. Set aside.

Melt 4 Tbsp butter in a large saute pan. Add onions and cook 5 min. Add garlic and cook til onions are soft. Stir in spinach and warm through. Stir in salt, pepper, nutmeg and dill. Cool slightly.

In a very large bowl, combine feta, ricotta and 2 eggs together. Stir spinach mixture into egg mixture and mix thoroughly. Stir in drained pasta.

Pour mixture into a 9×13 baking pan. Bake 30 min or until top is crispy and mixture is bubbling at bottom. Let rest for a few minutes before digging in.

Citrus Swordfish

Nate and I were down in PA last weekend, where I was working on more wedding-day crafts. I made the signs for the back of our chairs and they turned out exactly how I wanted! I used some more of the old fence I had found that I used for the signs. I’m going to post a whole bunch of pics with tutorials after the wedding.

Speaking of which, I can’t believe I’m getting married in 9 weeks. It’s totally crazy. I think maybe it’s starting to feel more real. I still have a bunch more stuff to do.

Citrus Swordfish

Nate and I are writing our own vows and I’m not sure I love what I have so far. I know Nate’s going to totally steal the show on this…he’s much funnier than I am. He claims that his vows are going to make our guests both laugh and cry. My goal is just to make Nate get a little teary-eyed since he claims he isn’t going to.

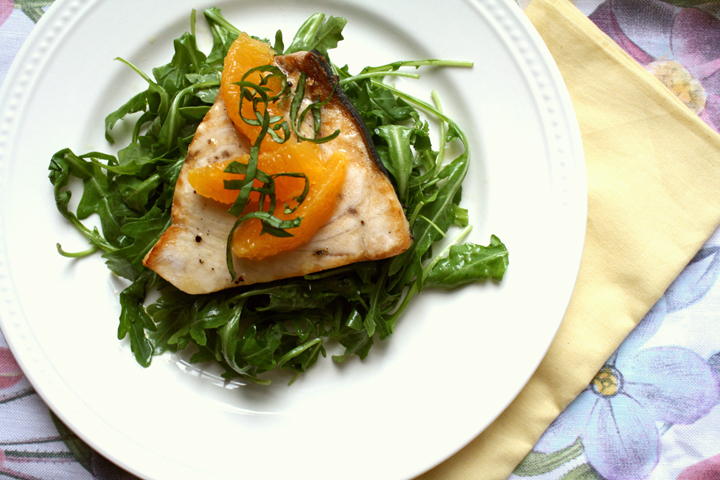
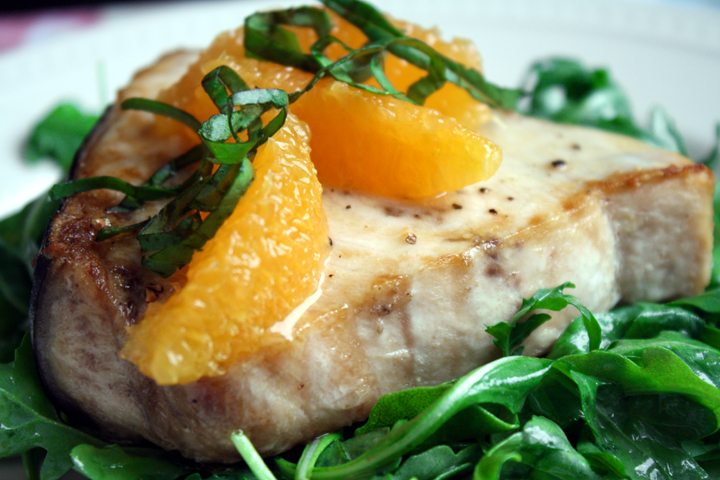
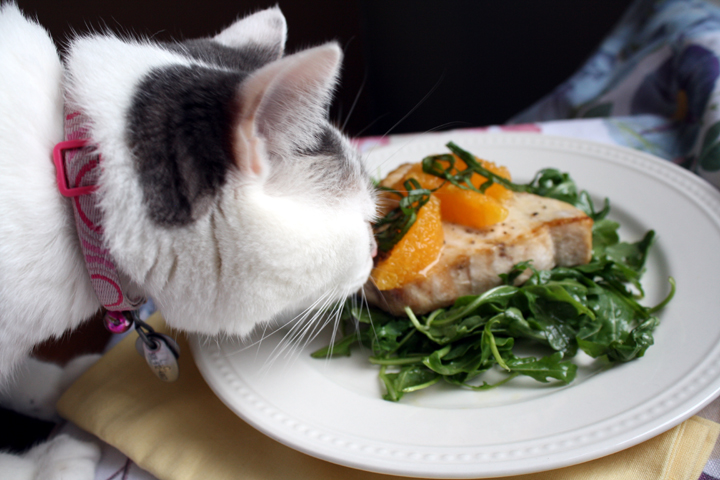
Obviously with the wedding fast approaching, I’ve been trying to cook pretty healthy. In fact, I had my first dress fitting on Tuesday!!! Anyway, I think that Nate and I don’t eat enough fish so when I saw some frozen swordfish filets at Trader Joes, I decided to get them. I’ve never cooked with Swordfish before. I think that I thought it was dry and that I didn’t like it.

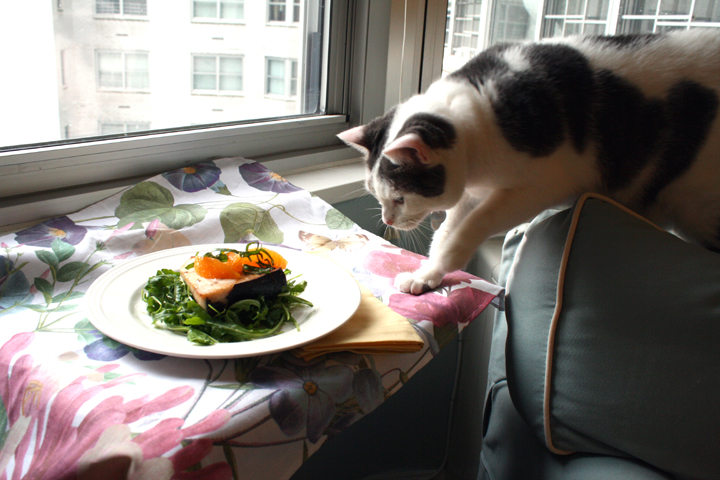
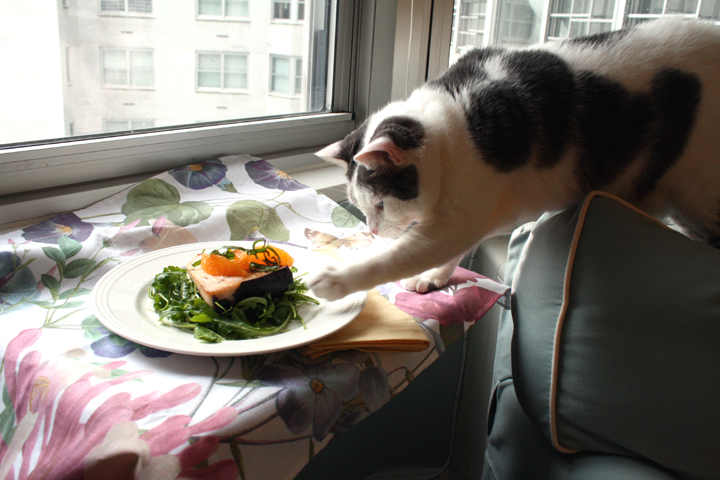
I learned that I actually don’t mind Swordfish, although parts of it were a bit too fishy tasting. I also discovered that L.C. likes it…or at least she thinks she does judging by the way she photobombed my pics!

Citrus Swordfish

Citrus Swordfish

I tried to stop her but when she reaches out her little arm to try to grab things, it’s just so cute that I can’t yell at her. Nate says I’m not strict enough with her. But look at that little face!!!

Citrus Swordfish

Citrus Swordfish over Arugula

Adapted from Emeril 

Print this recipe!

serves 6-8

Ingredients
1/4 cup rice wine vinegar
2 oranges
2 teaspoon Dijon mustard
salt and pepper to taste
1/4 cup plus 2 Tbsp extra-virgin olive oil
2 tablespoons chopped fresh basil leaves
4 (6-ounce) swordfish fillets
6 cups arugula

Segment (supreme) the two oranges, squeezing out and saving all the juice that remains after removing the segments. Set the segments aside and put the juice in a medium bowl.

To the bowl of juice, add the rice wine vinegar and Dijon, season with salt and pepper. Whisk to combine. Drizzle in the 1/4 cup of the olive oil in a slow and steady stream to properly emulsify the vinaigrette. Add the chopped basil and set aside as you prepare the rest of the dish.

Turn on broiler and set oven rack about 6 inches from flame.

Season each swordfish fillet with salt and pepper. Brush with the remaining olive oil and place on the broiler pan. Cook for 6 minutes minutes, turn over, salt, pepper and oil, and cook another 6 minutes or until cooked thru. Remove the swordfish.

In a large bowl, combine the baby greens, and 1/3 cup of the vinaigrette. Toss to combine and divide the salad among the 4 plates with the swordfish. Top each fillet with a few orange segments. Drizzle a bit of the remaining vinaigrette over each swordfish fillet and serve immediately.

Tex Mex Mac n Cheese

Sorry for the lack of posts lately. As you may or may not know, I’m getting married in 4 months and I decided to take on quite a bit of DIY projects for the wedding. Any free time I have has been spent cutting, painting, gluing, and sewing.

Here’s just a peek of one of the projects I have going on…wedding signage!

wedding signage

The white parts are an old picket fence I picked up off the street. The directional signs I made use the pointed parts of the fence, but this one doesnt since it doesn’t need to be pointing anywhere. Painting on the letters was quite time-intensive, but I’m so pleased with how it came out! The rest you’ll have to wait and see when I post wedding pics ;)

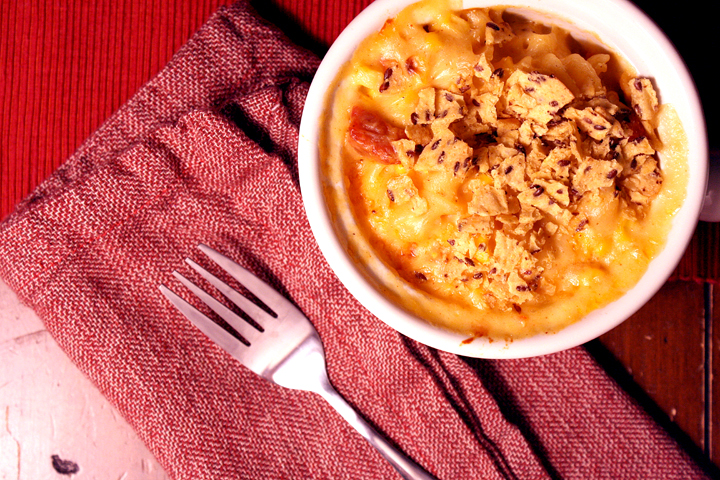
Anyway, on to the food. I think this must be my third or fourth mac and cheese recipe on the blog, but honestly I don’t think there can ever be too much mac and cheese! (I totally just typed man and cheese by mistake…there can’t be too much of that either!)

Tex Mex Mac n Cheese

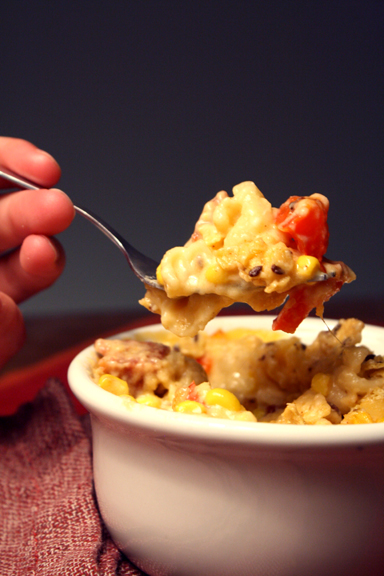
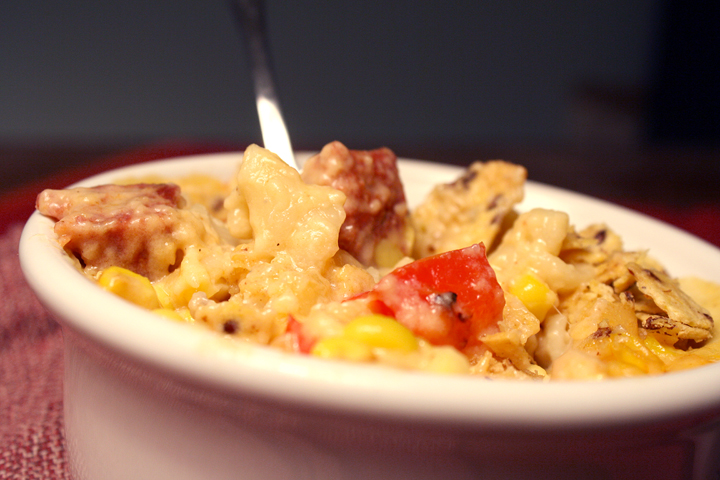
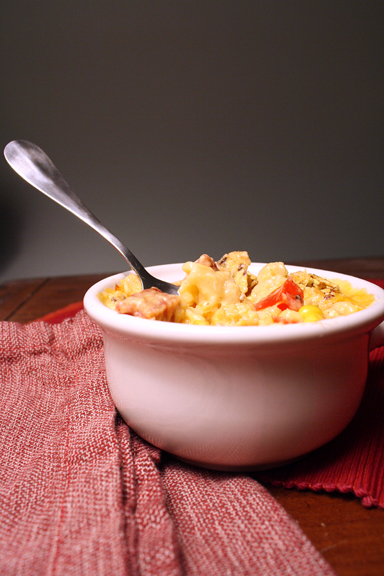
This one takes advantage of the fresh corn in season now. It was kind of annoying to roast the corn and peppers but at least it could be done while the pasta was cooking. The chorizo and mexican blend cheese take it to a whole other level!

All in all it came together pretty quickly, which was good because I didn’t have much time.

Tex Mex Mac n Cheese

Since I had plans to meet friends after work later in the week, I knew this would be a perfect meal to start the week off with since it would last for several days. Nate could just portion some out and reheat it in the microwave.

The chorizo totally made this! It added so much flavor to the meal. I also topped my portion with buffalo sauce :)

 Tex Mex Mac n Cheese

I doubled the recipe, but think perhaps I didn’t need to double the sauce. There was a LOT there, but i just left a little out when mixing it up.

Overall, I’d give this two thumbs up for when you’re looking for something a little different than your regular old macaroni and cheese.

Tex Mex Mac and Cheese

Slightly adapted from Southern Living

Print this recipe!

Serves 8-10

1 cup cherry tomatoes
2 red peppers, diced
4 ears fresh corn, husks removed, kernels stripped from cob
16 ounces uncooked rotini or fusilli pasta
1 cup chopped cooked Mexican-style chorizo (the hard, cured kind…not raw)
5 tablespoons butter
1/3 cup all-purpose flour
6 cups milk
6 cups shredded pepper Jack cheese
2 teaspoon salt
1/2 teaspoon freshly ground pepper
1.5 cup crushed tortilla chips

Preheat broiler with oven rack 5 1/2 inches from heat. Broil peppers, tomatoes and corn at the same time on an aluminum foil-lined jelly-roll pan. Broil 20 minutes or until charred, turning every 5 minutes. Reduce oven temperature to 400°.

Cook pasta in boiling salted water to cover 8 to 10 minutes or until al dente. Drain.

Melt 5 Tbsp. butter in a large heavy saucepan over medium heat; whisk in flour until smooth, and cook, whisking constantly, 2 minutes or until golden brown. Slowly whisk in milk, and cook, whisking often, 10 to 12 minutes or until thickened. Remove from heat, and gradually add cheese, stirring until smooth. Stir in chopped peppers, corn kernels, chorizo, salt, and pepper. Gently stir together cheese mixture and pasta in a large bowl. Spoon into a 9×13 baking pan.

Sprinkle with crushed tortilla chips. Bake at 400° for 12 to 15 minutes or until golden and bubbly. Let stand 5 minutes before serving.

While going through my grandpa’s recipe collection, I came across a recipe for a sort of Mulligatawny. At least, that’s what the recipe called it although I’m fairly certain it’s not very authentic.

In case you don’t know, a Mulligatawny is a a curry-flavoured soup of Anglo-Indian origin (as per Wikipedia).

There are many variations on the recipe for mulligatawny. In the West, the soup typically has a yellow colour and contains chicken or other meat, and it is often thickened with rice.

This recipe said to add both chicken and rice, but since I knew it was something Nate wouldn’t want to eat anyway, due to the spices, I eliminated both and kept it light for me.

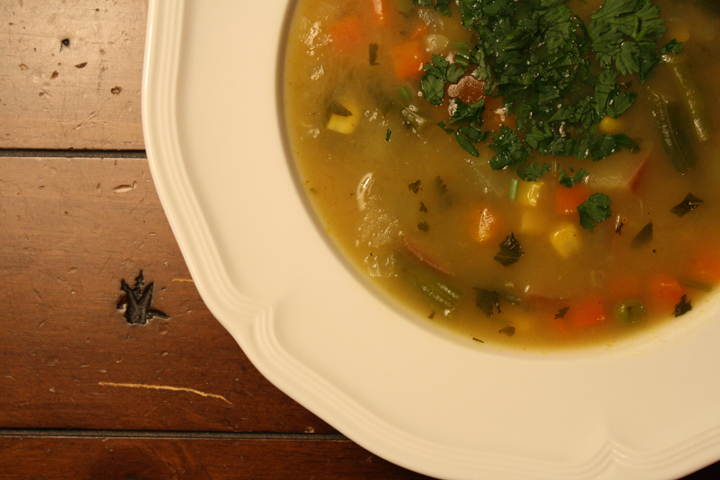
This is definitely a shortcut way to make this soup, but it was way tastier than I was expecting! The apple adds a nice sweetness and the hot sauce plus spices give it a real kick and make it full of flavor.

While this soup isn’t hearty enough to be a full meal, it would make a delicious first course. It’s always nice to change it up a bit in the kitchen, so if you’re in the mood for something different, give this a try! I garnished mine with a dallop of sour cream and it was perfect :)

Quick Mulligatawny Soup

Print this recipe!

Serves 6-8

2 Tbsp unsalted butter
1 1/2 cups chopped onion
1 package (10 oz) frozen mixed veggies, thawed
2 Tbsp flour
2 tsp curry powder
1 tsp salt
1/2 tsp hot pepper sauce, or more to taste
1/4 tsp ground cloves
1 quart water
1 can (10.5 oz) condensed low fat cream of chicken soup (or chicken with rice soup, if you want rice)
1 cup chopped apple
optional- 1 cup diced cooked chicken

Melt butter over med-high heat in a large soup pot.

Add onion and mixed veggies, saute just until onion is tender.

Stir in flour, curry powder, salt, hot pepper sauce and cloves. Add water, soup, apple (and chicken if using).

Bring to a boil; reduce heat to low and simmer, covered, for 20 min or until slightly thickened. Serve with additional pepper sauce if desired.

Vegetable Lasagna

Since my grandpa passed away a couple months ago, my mom and aunt decided to help my grandmother go through her house to clean it up. Both my grandma and grandpa love(ed) to save things…I unfortunately inherited this packrat tendency.

This cleanup was necessary both because their house contains all sorts of crap, but also because my grandma will be downsizing to an apartment.

Vegetable Lasagna

During the cleanup my mom found and bequeathed to me a collection of recipes my grandfather had saved.

The ironic thing is that my grandfather didn’t cook (though he loved to watch the Food Network), and my grandmother also doesn’t cook…which makes you wonder what exactly he was saving these recipes for.

I think I also inherited his recipe clipping addiction.

Vegetable Lasagna

When my mom mentioned giving me this collection, my grandmother got upset, saying that maybe she would make some of these recipes now…even though she hadn’t made any of them for the last 50 years.

A lot of his recipe clippings came from newspapers and the back of food cartons, and some were hand written ones scribbled while watching cooking shows on tv.

Vegetable Lasagna

The recipes were super organized. He had different envelopes on each of which he wrote a category: Dessert, Salad/Vegetables, Side Dishes, Meat and Poultry, etc. There must have been 10 different categories.

Going through each category I was able to learn a little something about my grandpa- his favorite foods. There were about 20 recipes for the practically the same dish in each category, though the sources varied.

Apparently his favorite dessert was apple crisp/pie, he loved any type of chili, and in the pasta category, he preferred Lasagna.

Vegetable Lasagna

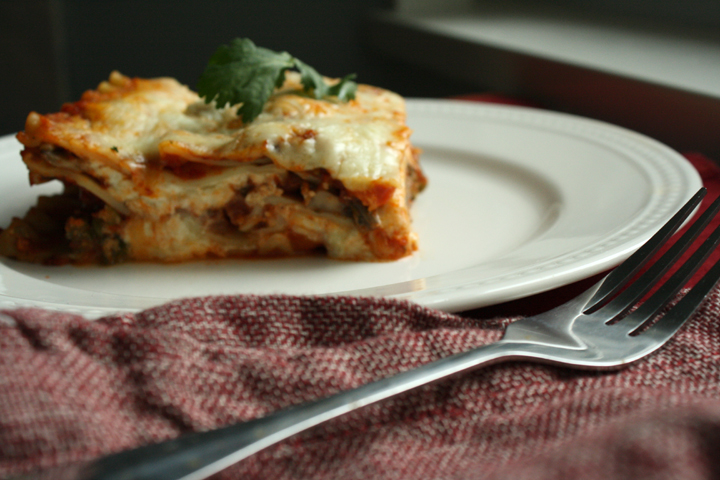
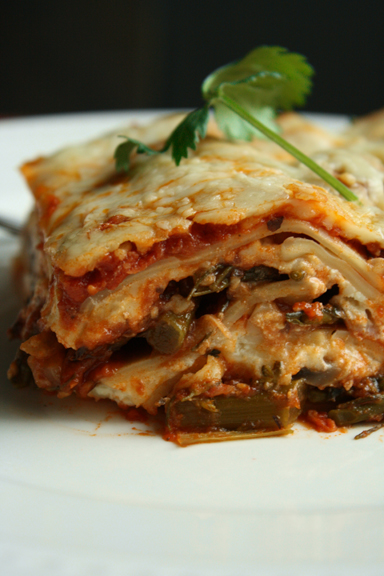
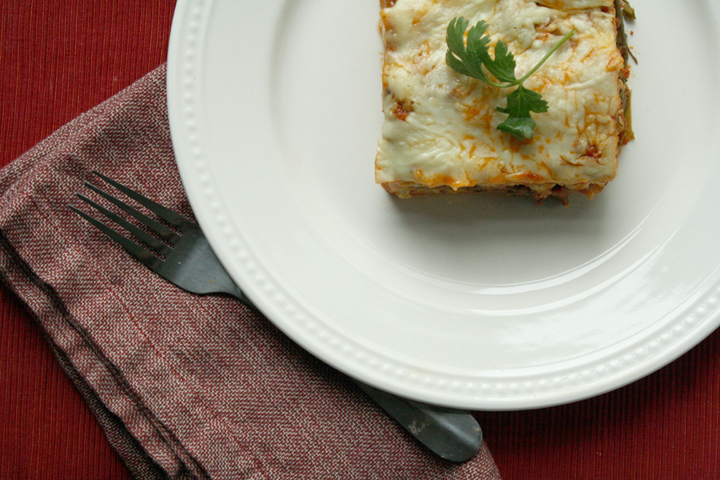
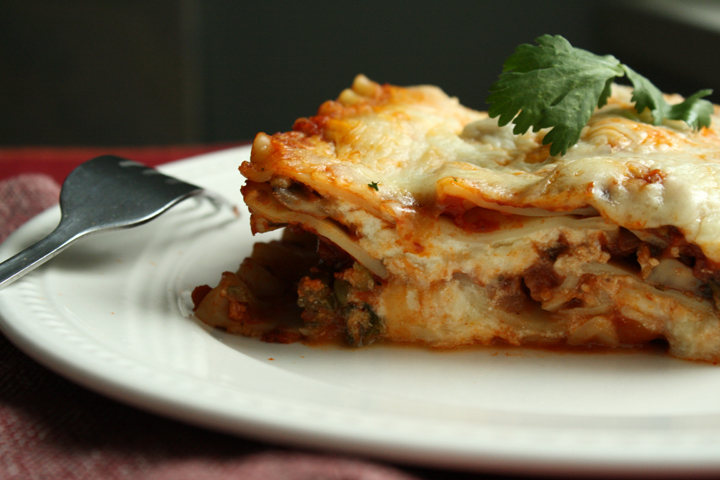
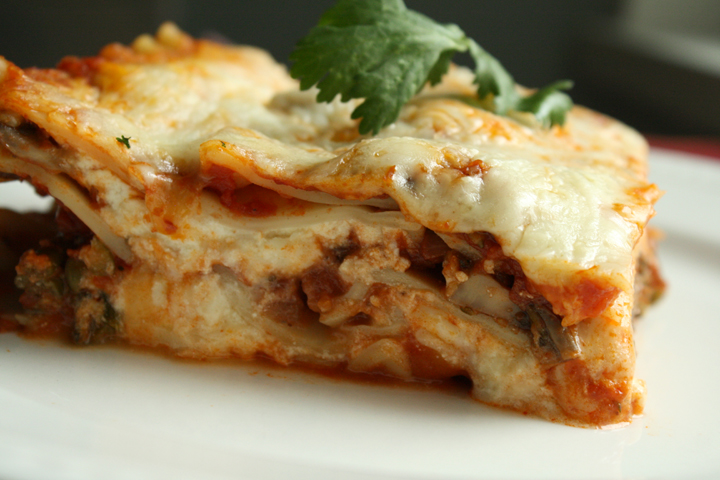
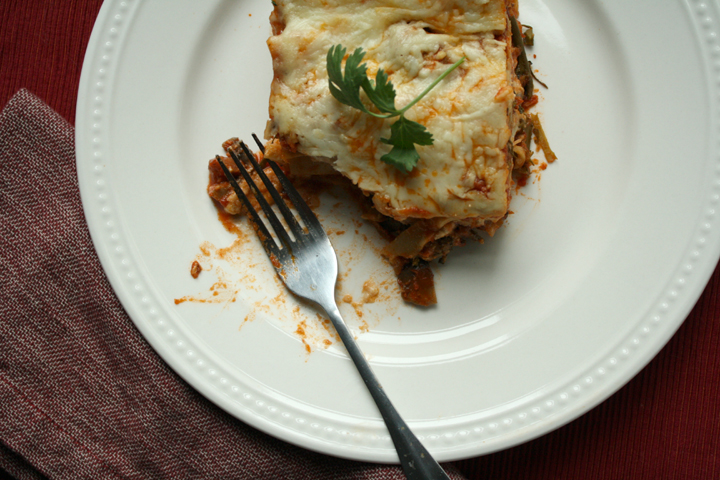
The recipe in this post came about from adapting one of “his” recipes. I think it must have come from the back of some lasagna noodle box, and I have to say that it turned out delicious! I’ll be sharing more of his recipes in the coming weeks.

When my mother gave me my grandpa’s recipe clippings, I knew exactly what I had to do- finally cook the dishes my grandpa had been saving for someone to make.

I guess maybe he was saving it for me :)

Vegetable Lasagna

Hearty Vegetable Lasagna

Print this recipe!

Serves 8-10

1 lb lasagna noodles, not the “no boil” ones
1 lb sliced mushrooms
1 bunch broccolini, chopped in 1/2 inch pieces
3 cloves garlic, chopped
2 Tbsp vegetable oil
2- 26oz jars pasta sauce
1.5 tsp dried italian seasoning
15 oz Ricotta cheese
16 oz (4 cups) shredded mozzarella cheese
2 eggs
1/2 cup grated parmesan cheese

Preheat oven to 350.

Cook pasta 8 min or until just tender. Drain and rinse with cold water. Spread noodles onto a sheet pan coated with cooking spray so noodles don’t stick together.

While pasta is cooking, heat a large saucepan over med-hi heat. Heat oil and add onion. (**You could easily add ground beef here and skip the broccolini if you wanted it to be non-vegetarian). Cook onion 2 minutes then add mushrooms, broccolini and garlic and cook until tender.

Stir in 4 cups (1 1/3 jars) pasta sauce and italian seasoning. Bring to a boil, then reduce heat and simmer 15 minutes.

Mix ricotta, 2 cups mozzarella and eggs.

Spread 1 cup remaining sauce in greased 9×13 casserole dish.

Layer 5 noodles on top of sauce, slightly overlapping noodles to fit. Spread 2 cups of the veggie sauce over the noodles. Dollop with 1/2 of the ricotta mixture, spreading evenly in pan. Sprinkly with 2 Tbsp parmesan cheese.

Repeat above step, layering noodles, veggie sauce, ricotta, parmesan.

Top with 5 more noodles and top with rest of sauce.

Sprinkle with 2 cups mozzarella cheese. Bake uncovered 40 minutes or until bubbly. Put a sheet pan covered with foil underneath to catch any drips.

Let stand 15 minutes. Refrigerate leftovers.

*Note: I found this recipe much better the next day. Some of the sauce gets absorbed into the noodles and it’s not watery.