If you’ve been following my blog, you know that for the last few years, I’ve been really getting into pumpkin carving at Halloween. I had seen these really cool pumpkins online and thought “i could do that,” so I picked up some wood-carving tools and was on my way!
Two years ago, I did a “Where the Wild Things Are” pumpkin:
[caption id="attachment_1793" align="aligncenter" width="720"]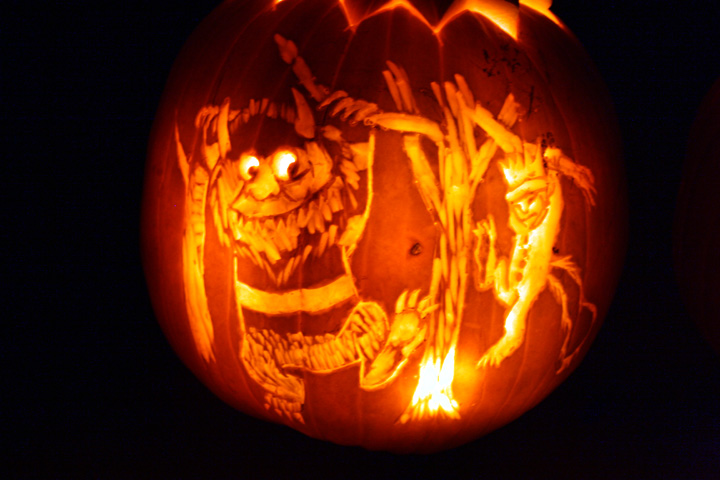 My 2011 “Where the Wild Things Are” jack-o-lantern[/caption]
Last year was an owl in honor of our wedding (in which there was a real owl!).
I, sadly, missed winning Movita’s Carve-Off 2012 competition by a hair!
[caption id="attachment_4861" align="aligncenter" width="720"]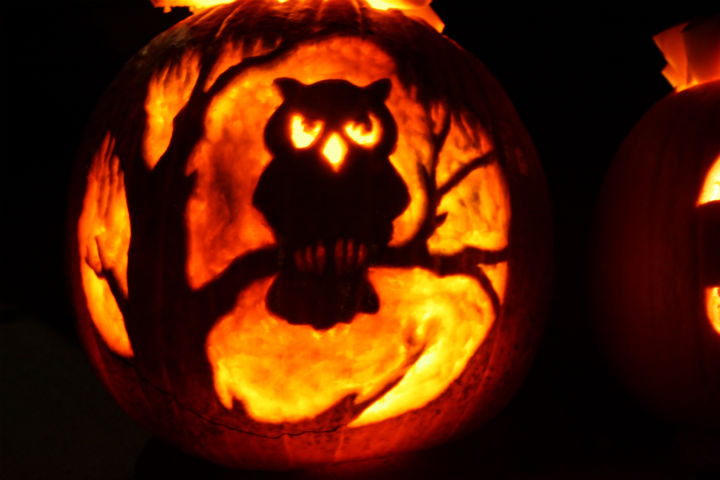 My 2012 owl jack-o-lantern[/caption]
Now that I’ve had 2 years to hone my pumpkin-carving skills, I think that I did my best one yet!
Movita actually posted a link on her facebook page to the Maniac Pumpkin Carvers last week. I had never been to their page before, but when I looked thru their SERIOUSLY AWESOME pumpkins, I saw that the Wild Things pumpkin I had found on pinterest two years ago (that inspired mine) was actually theirs.
I wanted to pick up some pumpkin carving tips, so I actually emailed them (not expecting a response) to find out A) where they cut the hole in their pumpkins since it’s obviously not the top and B) how they light them so well.
Well, they wrote back like immediately which made me so excited. I found out that they actually cut a hole in the back of the pumpkin, which is what I did this year.
They also told me they rig it up with LED or CFL lights inside the pumpkin…but I didn’t have time to get the lights, so I just stuck a flashlight in my pumpkin and called it a day :)
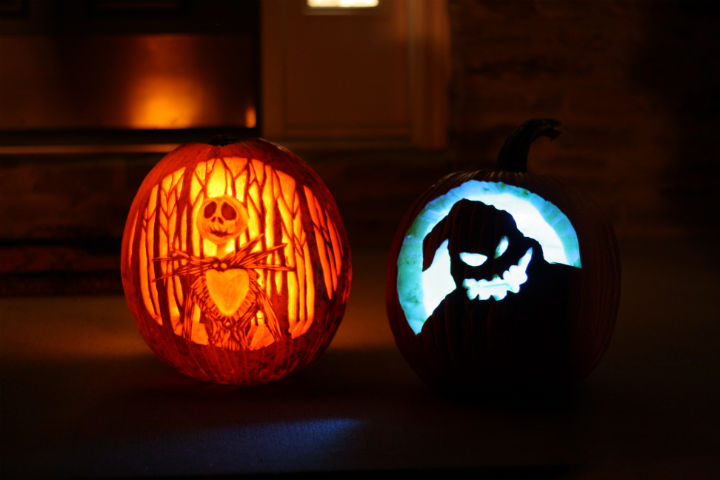
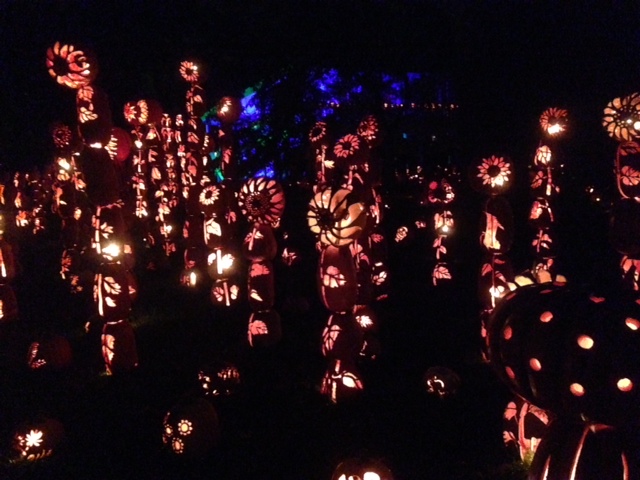
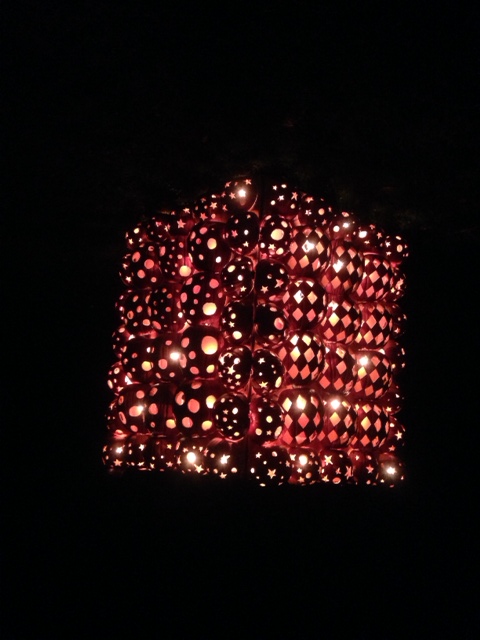
[caption id="attachment_4862" align="aligncenter" width="720"]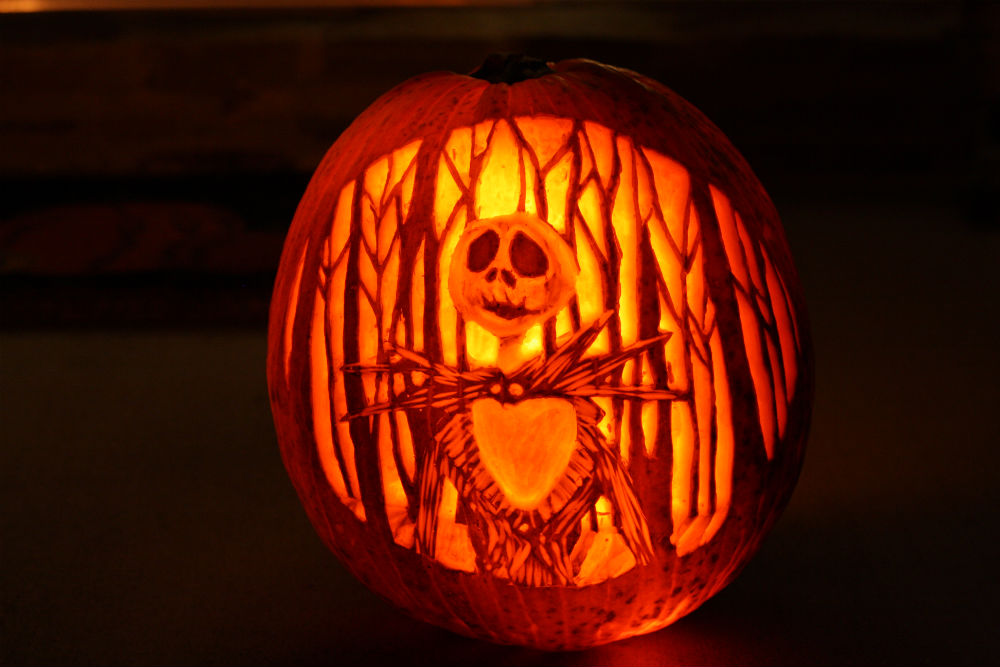 My 2013 “Nightmare Before Christmas” Jack Skellington jack-o-lantern[/caption]
We also finally remembered to use the tripod to take pics this year, since that’s really the only way to get a good pic of anything in the dark.
Nate carved the Oogie Boogie Man to go along with the “Nightmare Before Christmas” theme. I don’t know how we’re going to top these pumpkin next year.
*I’ve updated this post to include a few pumpkin carving tips:
- Find a pumpkin with a nice wide, flat-ish surface on the part you’re going to carve.
- Cut a hole in the backside of your pumpkin that’s big enough for your hand to fit through. Remove all the seeds (and save them to eat!) and then scrape away all the stringy pumpkin gook.
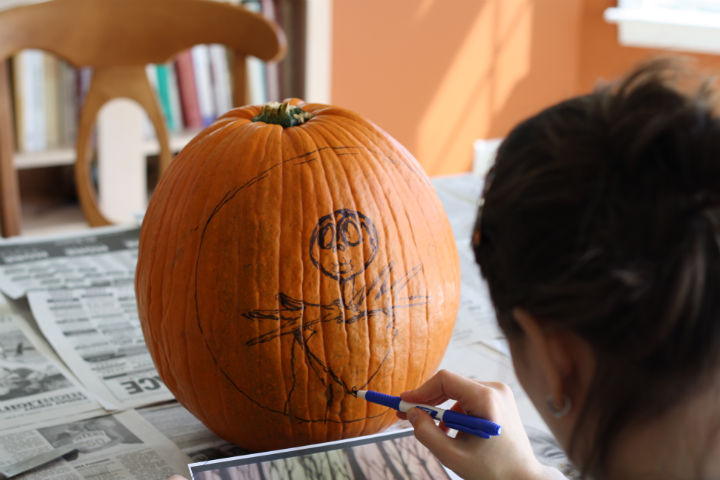
- Find an image. It’s best to work from an image that’s in black and white. Either find one that is already b+w or convert it with some photo-editing software. Pixlr.com is a good one and I think picmonkey.com might be able to do it too.
- Use dry-erase or washable markers to sketch out the image on your pumpkin
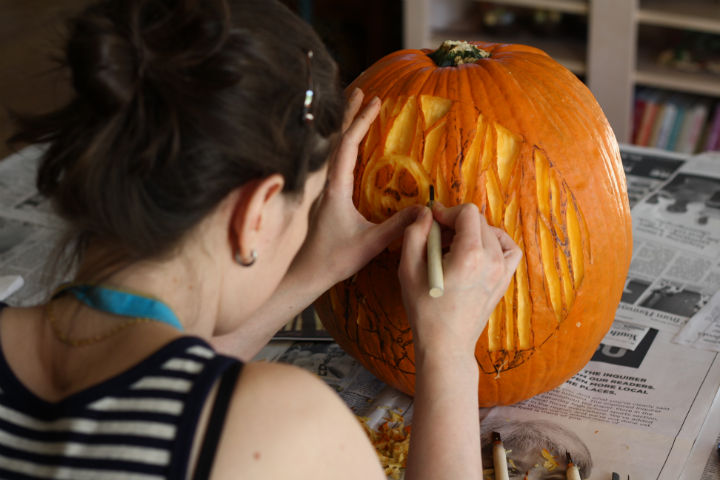
- Get some wood carving tools, knives, or any other instruments you think will help with scraping the flesh off your pumpkin- some of these need to have small points as you might have intricate details to scrape.
- This is kind of obvious, but the lightest areas on your inspiration image will be the parts that you scrape/carve the deepest.
- I don’t actually ever cut all the way through the pumpkin flesh- the light areas are simply scraped quite deep into the flesh.
- Start with scraping/carving out the lightest areas on your pictures so you have a reference of how deep the lightest areas are compared to not scraping at all (the darkest areas) and then you can estimate how far to scrape for the in-between gray areas.
- When you think you’re done, take one of those pumpkin scooper tools they sell in the pumpkin carving sets and scrape the inside of the pumpkin behind your design as much as you can. This will ensure that there isn’t much flesh between the inside and your “lightest” areas. Your design will show better this way because when you put the light inside, it will be able to shine through best.
- Either rig up a light bulb or put a mini flashlight in your pumpkin. The little pumpkin lights they sell in the store aren’t bright enough to shine through a “scraped” pumpkin enough to really show off your design.
- That’s it! Now light up the pumpkin and impress all your friends!
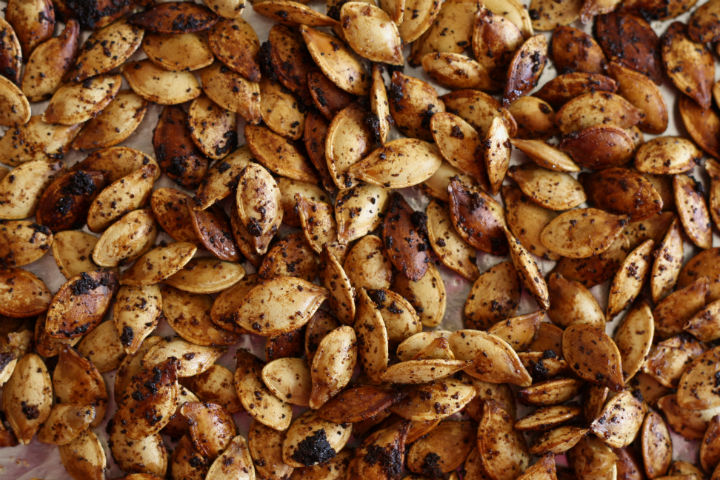
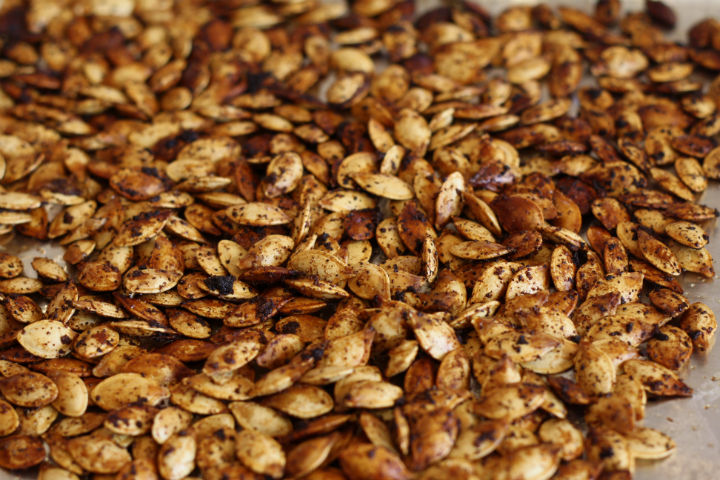
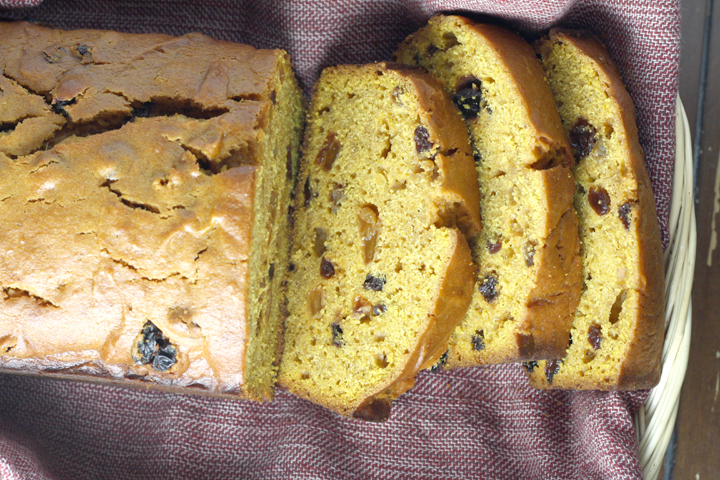
Since we had two huge-ass pumpkins, I was able to get quite a few pumpkin seeds from them. Roasting pumpkin seeds has been a tradition in my house since I was little whenever we carved Jack-o-Lanterns. When I made them the first year I knew Nate, he became obsessed with them and now he looks forward to pumpkin carving for the seeds more than for the pumpkin I think :)
Last year I saw a Rachel Ray recipe that recommended boiling the seeds before roasting them. I decided to give it a try and they came out great! So I thought I’d share that recipe with you today. Enjoy!


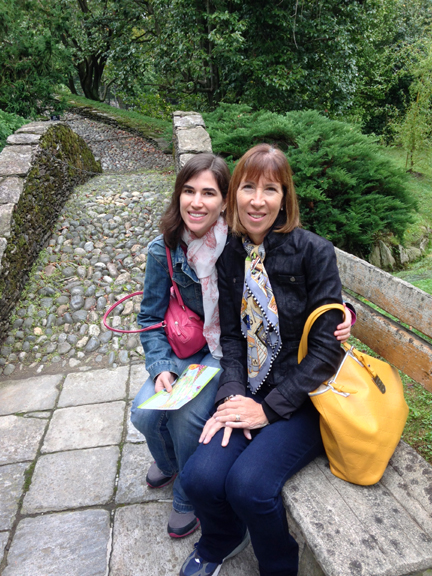


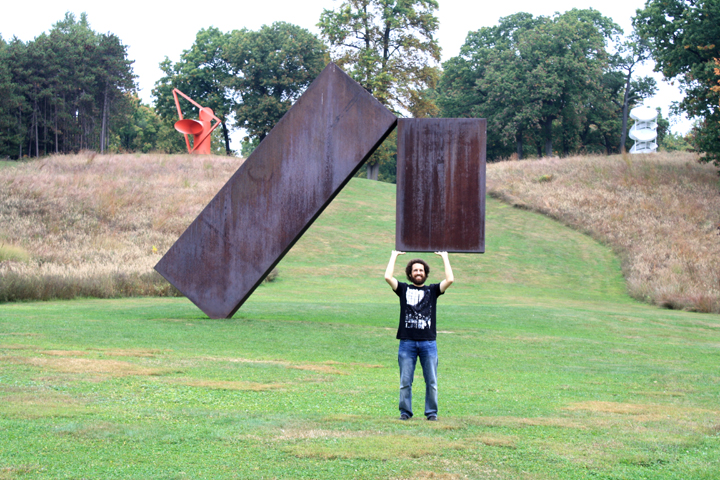
 Storm King Sculpture Park- not sure what I’m doing…[/caption]
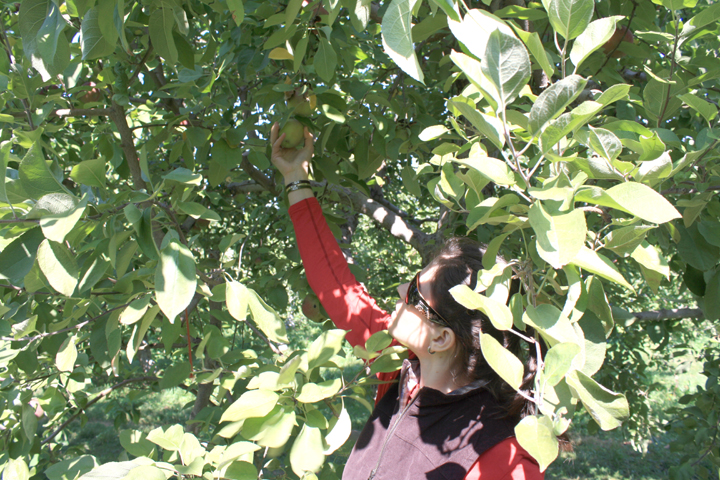
 Nate hard at work again! I wish he helped that much at home ;)[/caption]


.jpg)