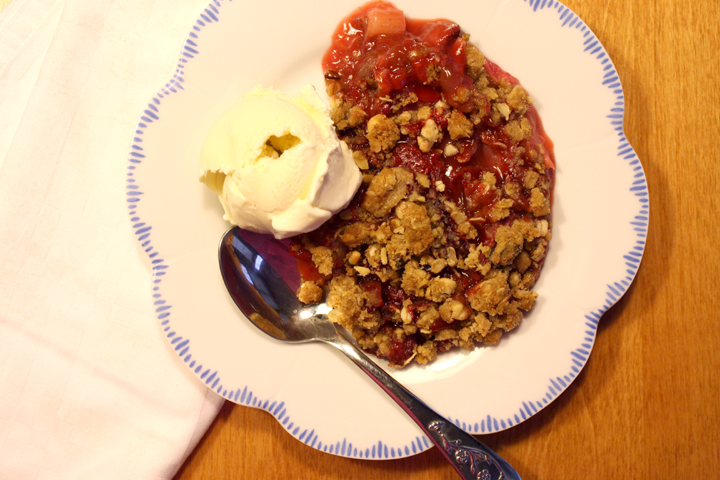
Rhubarb Strawberry Crisp

There are so many senses that bring back memories: sights, smells, tastes. Seasons bring back memories for me too. When the weather gets warm I immeditately think back to the summers of my childhood on Martha’s Vineyard.

Unfortunately, I have to work during the summer now and I don’t have long sunny days filled with going to the beach, running around outside, and farmer’s markets. But even so, as soon as I walk out of the office and the warm breeze hits my face, it brings me that feeling of calm and happiness that I used to feel back in my carefree Vineyard days.

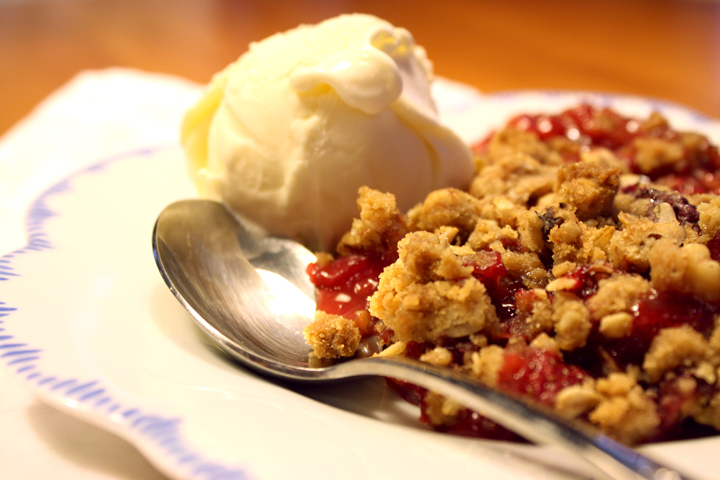
Rhubarb Strawberry Crisp

There were certain recipes that, for some reason, we only made during these summers. Maybe it’s because they’re warm weather foods, but maybe it’s because we wanted them to be forever associated with our wonderful summers.

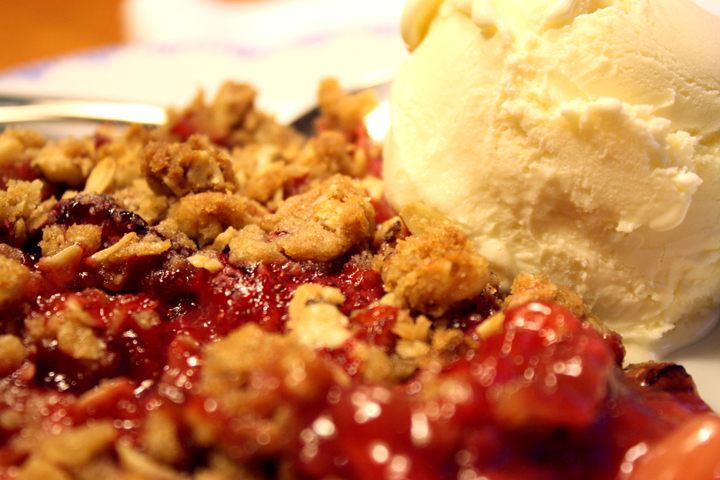
Rhubarb Strawberry Crisp

So as soon as the temperatures reach the 70s and the air gets sticky and hot, I bring out my mom’s recipe boxes and pull out our usual summer rotation of recipes: Brad’s Salsa, Michigan Blueberry Pie (I’ll have to make that soon and post it!), and especially her Rhubarb Strawberry Crisp- the epitome of a summer dessert.

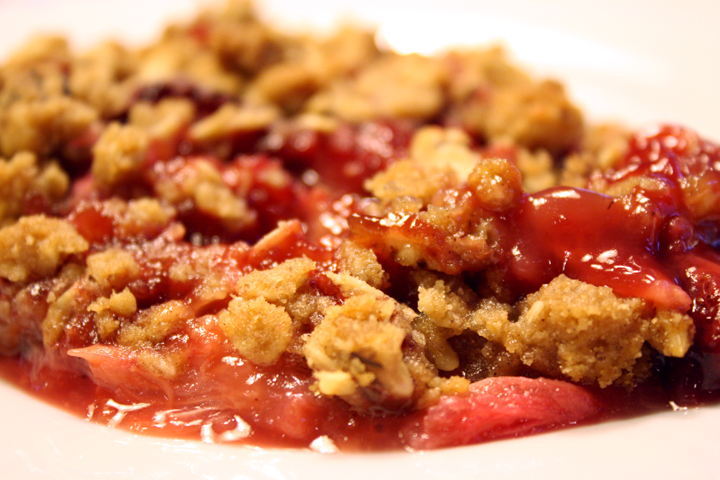
Rhubarb Strawberry Crisp

This dessert is best served with a hefty scoop of vanilla ice cream that melts into it. There’s really no better way to end a warm weather meal! When I take a bit of this and close my eyes, I’m instantly transported to our deck in Martha’s Vineyard, bathing suit still damp, covered in sand, sleepy from a long day in the sun and a belly full my mom’s best summer recipes.

Rhubarb Strawberry Crisp

Print this recipe!

Serves 6-8

Ingredients:

4 cups sliced rhubarb
4 cups whole, stemmed strawberries
1 cup sugar
1 1/3 cups flour, separated
1/2 tsp cinnamon
1 cup packed brown sugar
1/2 cup regular oats
3/4 cup chopped nuts (any kind)
8 Tbsp unsalted butter, cold, in small pieces

Preheat oven to 275. Butter a baking/casserole dish (9×13 is fine).

Combine fruits, sugar, 1/3 cup flour, cinnamon. Put in dish.

Combine 1 cup flour and rest of ingredients with fingers until crumbs form. Sprinkle over fruit.

Bake 35-45 minutes.

chocolate souffle

Pardon the iphone pics…

Nate went to California this weekend with his mom, to visit his brother who lives there. I wish I could have gone but I hate having to take a red eye and having such a long flight for such a short trip.

I knew that I should spend the weekend doing some wedding-related projects, but I also decided to sign up for a souffle baking class! I’ve made a chocolate souffle before but I figured I could use a few pointers, and I had a coupon for half-off. I can’t refuse a deal!

The class was through DessertTruck Works. Dessert Truck used to be an actual truck that drove around NYC, dispensing tasty treats out its window. I guess their business grew so much that they decided to open a store. I saw them on the Food Network once in a Throdown with Bobby Flay…and they won!

chocolate souffle

My friend did it with me and had a great time. We got to catch up and eat chocolate…what could be better ;)

I did learn a few things. There are 3 different types of meringue: French, Swiss, and Italian. They differ in that French is the least stable is is simply whipped egg whites with sugar. Swiss is slightly more stable because the whites are cooked with the sugar over a water bath. Finally, Italian is the most stable and involves pouring a boiling sugar syrup into the whites while they’re being whipped.

French meringue is therefore the simplest, quickest and easiest. Because the teacher wanted to show us how to make souffle without any fancy appliances, we had to whip the egg whites by hand. My friend and I switched off whipping and my arm is still SO sore! I told the teacher that she should have an exercise class that consists of different cooking techniques. Kneading dough without a KitchenAid made my arms and abs extremely sore the last time I did it!

chocolate souffle

I also learned that you should run your finger around the inside rim of the ramekin so that the souffle doesn’t get stuck on the sides as it begins to rise, and thus has an easier time rising. This will prevent slanted souffles and also cracks on top. Good to know :)

Souffles were a perfect recipe for a 1.5 hour class because you assemble and cook them in a very short amount of time. They only have to bake for 10 minutes when made in small ramekins.

I highly recommend this recipe. It was the perfect texture, not too sweet and very chocolatey. We got to eat it with a Creme Anglaise they had that was perfect with it.

*They gave this recipe out and already had everything measured for us, so sorry it’s in grams instead of cups. If I make it again I’ll update the recipe.

Chocolate Souffle

From DessertTruck Works!

Print this recipe!

makes Five 4 oz. ramekins

Ingredients:
approx. 4 Tbsp of softened unsalted butter (for ramekins)
approx. 1/2 Cup of granulated sugar (for ramekins)
250 g egg whites
120 g granulated sugar
3 g cream of tartar or lemon juice
150 g 70% dark chocolate
35 g egg yolks

Preheat your oven to 375 degrees F. Using a brush, generously brush the interior of the ramekins with softened butter, ensuring that the entire interior is buttered. Coat the butter with sugar, knocking out any excess sugar.

Using a double-boiler, melt the chocolate over simmering water, stirring occasionally.

Place the egg whites, the cream of tartar or lemon juice and a pinch of sugar in a large bowl. Using a whisk or an electric mixer with a whisk attachment, whip the whites and gradually add the rest of the granulated sugar. Whip the whites until you get stiff peaks. You now have a meringue.

Stir in about one-third of the meringue into the melted chocolate. Then fold this mix into the remaining meringue, making sure you use a rubber spatula at this point.

Now fold in the egg yolks into approximately one-third of the chocolate-meringue mixture. Fold in the rest of the chocolate-meringue mixture into the mix with the yolks.

Spoon or pipe the souffle mix into your ramekins. Level the tops of each ramekin so that the souffle mixture is even with the top of the ramekins.**Note, at this point you can refrigerate or freeze your souffles for baking at another time. If you refrigerate them, just take them out of the fridge 15 minutes before you plan to bake them.

Run your thumb along the inside edge of each ramekin rim. Bake the souffles on the middle rack until they have risen, formed a crust on top, but are still jiggly in the center, approximately 10 minutes.
Serve immediately.

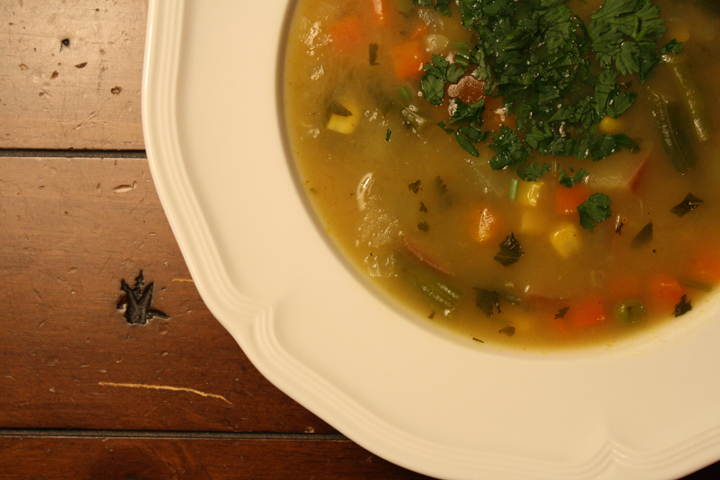
While going through my grandpa’s recipe collection, I came across a recipe for a sort of Mulligatawny. At least, that’s what the recipe called it although I’m fairly certain it’s not very authentic.

In case you don’t know, a Mulligatawny is a a curry-flavoured soup of Anglo-Indian origin (as per Wikipedia).

There are many variations on the recipe for mulligatawny. In the West, the soup typically has a yellow colour and contains chicken or other meat, and it is often thickened with rice.

This recipe said to add both chicken and rice, but since I knew it was something Nate wouldn’t want to eat anyway, due to the spices, I eliminated both and kept it light for me.

This is definitely a shortcut way to make this soup, but it was way tastier than I was expecting! The apple adds a nice sweetness and the hot sauce plus spices give it a real kick and make it full of flavor.

While this soup isn’t hearty enough to be a full meal, it would make a delicious first course. It’s always nice to change it up a bit in the kitchen, so if you’re in the mood for something different, give this a try! I garnished mine with a dallop of sour cream and it was perfect :)

Quick Mulligatawny Soup

Print this recipe!

Serves 6-8

2 Tbsp unsalted butter
1 1/2 cups chopped onion
1 package (10 oz) frozen mixed veggies, thawed
2 Tbsp flour
2 tsp curry powder
1 tsp salt
1/2 tsp hot pepper sauce, or more to taste
1/4 tsp ground cloves
1 quart water
1 can (10.5 oz) condensed low fat cream of chicken soup (or chicken with rice soup, if you want rice)
1 cup chopped apple
optional- 1 cup diced cooked chicken

Melt butter over med-high heat in a large soup pot.

Add onion and mixed veggies, saute just until onion is tender.

Stir in flour, curry powder, salt, hot pepper sauce and cloves. Add water, soup, apple (and chicken if using).

Bring to a boil; reduce heat to low and simmer, covered, for 20 min or until slightly thickened. Serve with additional pepper sauce if desired.

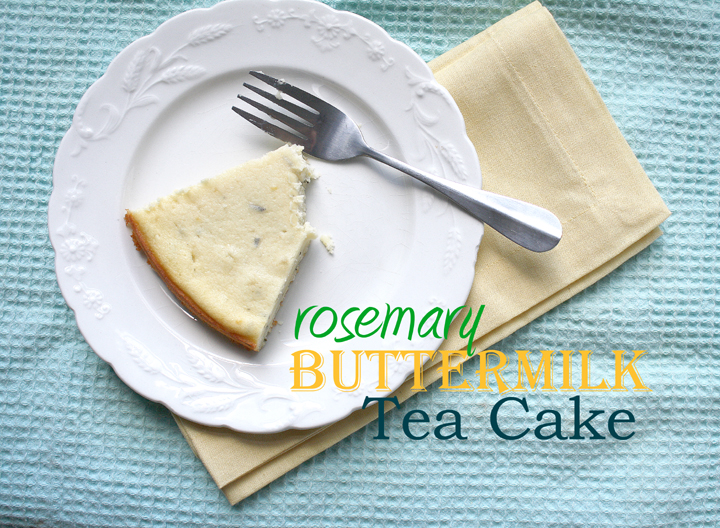
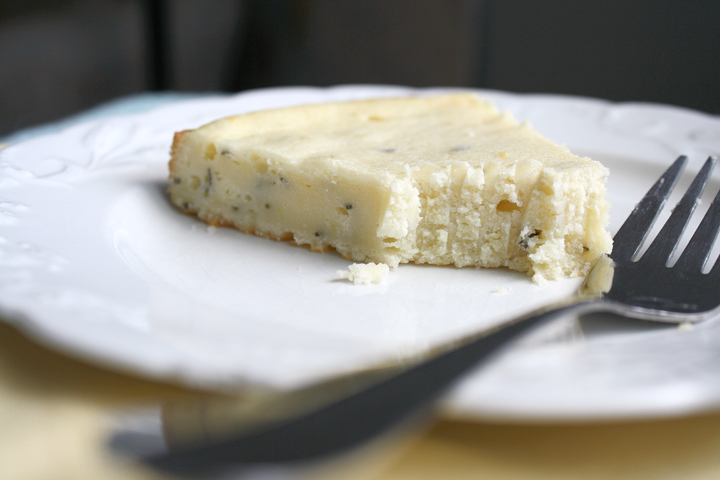
Rosemary Buttermilk Tea Cake

I hate wasting food.

Before I met Nate I would try to serve myself small portions of food, but with my eyes being bigger than my stomach, there would always still be too much for me on the plate. Since I hated wasting food, I would force myself to eat the last few mouthfuls rather than wasting it. (Don’t ask me how I developed this behavior since my mom never enforced the “clean plate” rule!)

Luckily Nate’s active lifestyle gives him an endless appetite. Now, rather than forcing myself to eat something, I just put it on his plate :) This solves the problem of having little bits of meal leftover, but it still doesn’t solve the problem of leftover ingredients.

Obviously if a recipe calls for buttermilk, or fresh rosemary, you will have copious amounts left. I had both ingredients sitting in my fridge (courtesy of some baked buttermilk rosemary chicken) for over a week because I refused to get rid of them.

I knew those two ingredients happened to be a perfect combo for something sweet and so I finally got myself to mix them together into a lovely cake.

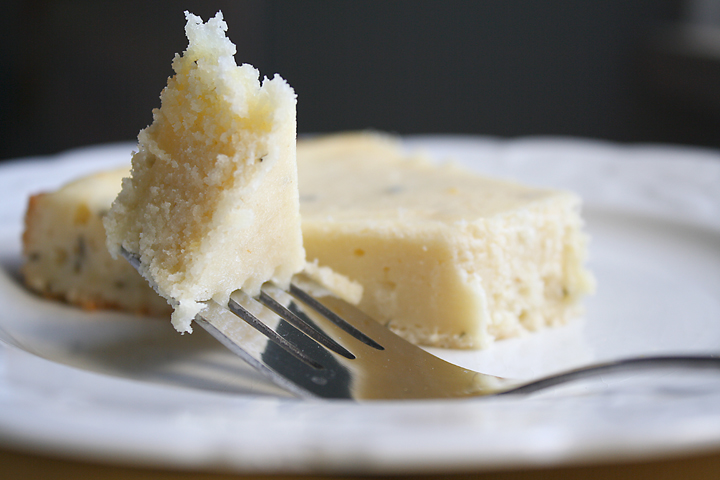
This cake is light (in texture, not in calories), not overly sweet, and perfect for brunch with a cup of tea! The rosemary flavor is strong, but I love it that way. If you’re not as big a fan of rosemary, feel free to cut back.

I couldn’t stop myself from eating this. It’s so buttery, soft and flavorful.  I honestly don’t know what a tea cake is, but this is what I’d imagine :) The perfect thing to go with your Mother’s Day brunch!

And with your leftover buttermilk and rosemary, you can perhaps invent something even better!

Happy Mother’s Day to all the moms out there!!!

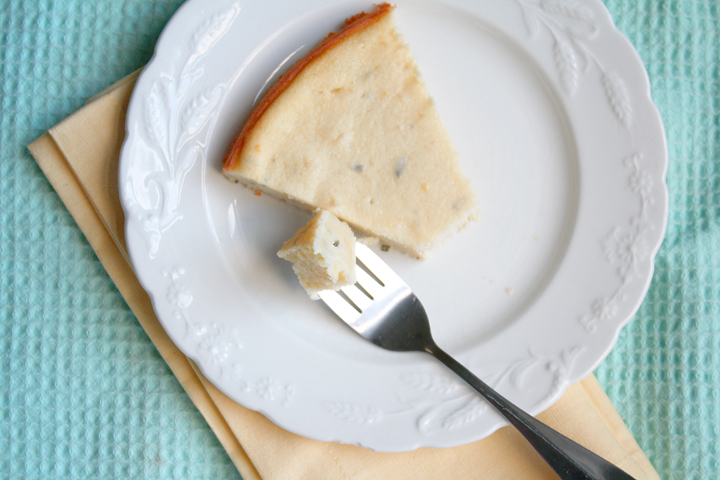
Rosemary Buttermilk Tea Cake

This photo doesn’t have an accurate portrayal of the cake’s texture. I took pics of it straight from the fridge, but out of the oven or at room temp it is fluffy and light and wouldn’t show fork marks!

Rosemary Buttermilk Tea Cake

Print this recipe!

Serves 8

1 1/2 cups all-purpose flour
3/4 cup sugar
1 stick unsalted butter, softened
1 tsp lemon juice
zest of 1/2 lemon
1 Tbsp fresh rosemary, chopped (you can use less if you’re not a huge rosemary fan)
1 tsp baking powder
1/2 tsp salt
1 cup buttermilk
2 eggs

Preheat oven to 350 degrees. Coat a 9 or 10″ pan with cooking spray. (*Note, the 9 inch will be taller than mine. I should have used a 9″. A springform would be perfect but a regular cake pan is fine)

Cream together the butter and sugar until very light and fluffy, then add the eggs one at a time, beating well after each addition. Add the lemon  juice, zest, and rosemary and continue beating until batter is smooth and combined.

Whisk together flour, baking powder, and salt in another bowl and add alternately with the buttermilk to the butter and sugar mixture.

Beat until smooth, then pour batter into your greased pan, smoothing out the top with a rubber spatula.

Bake cake for 40 minutes until edges are golden and begin to pull away from the sides of the pan. Let cool and serve room temperature or slightly warm.

You could make a glaze for this cake if you wanted by mixing some milk with powdered sugar, but I thought it was sweet enough as is, especially to be served with brunch.

*Note, if you must make this the day before and refrigerate, make sure it comes to room temp or warm it up before serving. It’s not the right texture when cold (although weirdo Nate likes it better cold and dry).

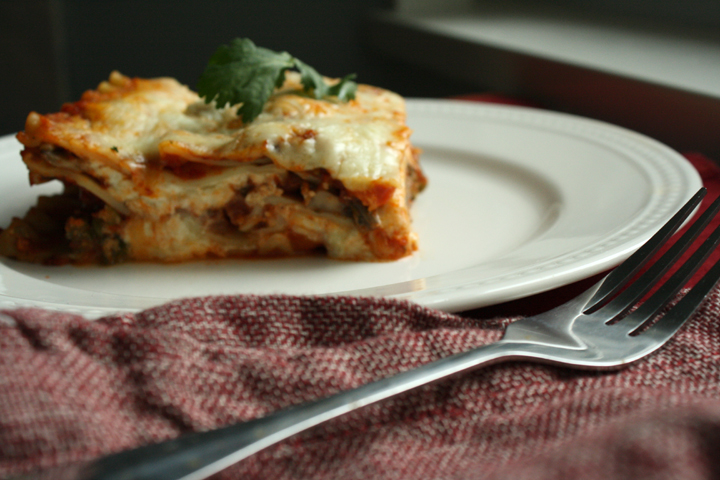
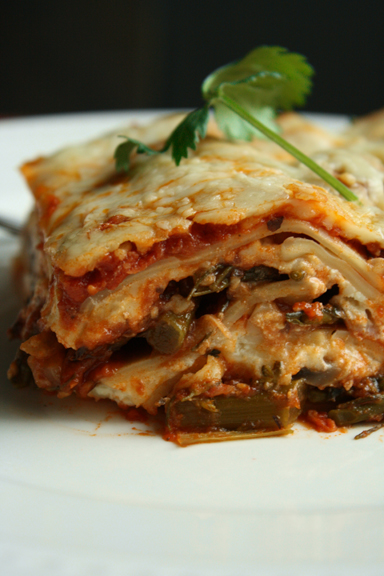
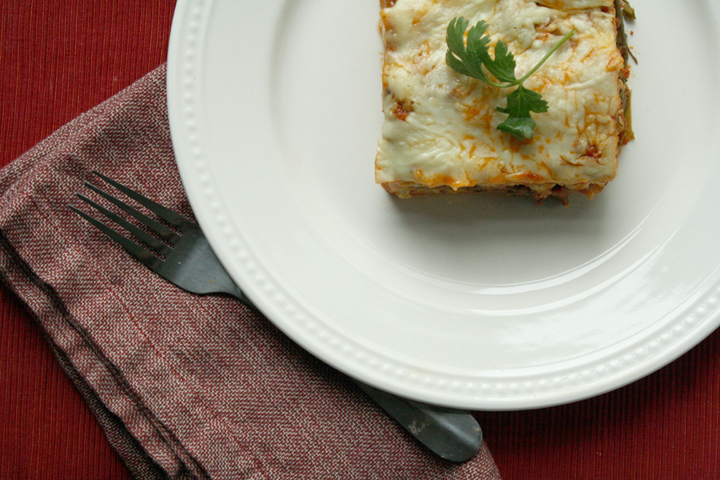
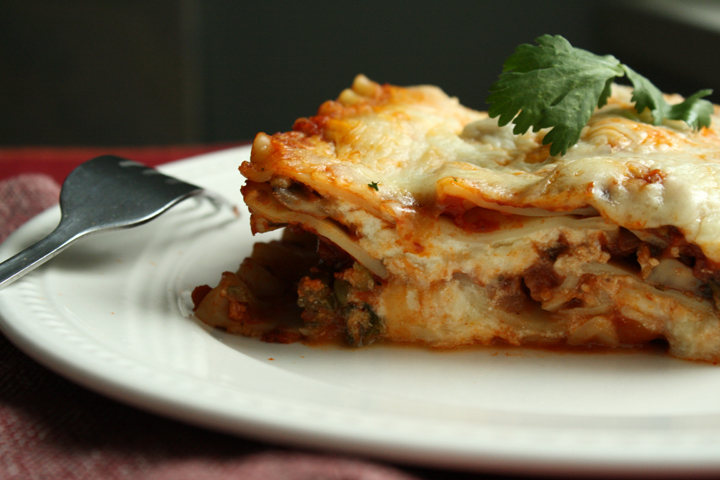
Vegetable Lasagna

Since my grandpa passed away a couple months ago, my mom and aunt decided to help my grandmother go through her house to clean it up. Both my grandma and grandpa love(ed) to save things…I unfortunately inherited this packrat tendency.

This cleanup was necessary both because their house contains all sorts of crap, but also because my grandma will be downsizing to an apartment.

Vegetable Lasagna

During the cleanup my mom found and bequeathed to me a collection of recipes my grandfather had saved.

The ironic thing is that my grandfather didn’t cook (though he loved to watch the Food Network), and my grandmother also doesn’t cook…which makes you wonder what exactly he was saving these recipes for.

I think I also inherited his recipe clipping addiction.

Vegetable Lasagna

When my mom mentioned giving me this collection, my grandmother got upset, saying that maybe she would make some of these recipes now…even though she hadn’t made any of them for the last 50 years.

A lot of his recipe clippings came from newspapers and the back of food cartons, and some were hand written ones scribbled while watching cooking shows on tv.

Vegetable Lasagna

The recipes were super organized. He had different envelopes on each of which he wrote a category: Dessert, Salad/Vegetables, Side Dishes, Meat and Poultry, etc. There must have been 10 different categories.

Going through each category I was able to learn a little something about my grandpa- his favorite foods. There were about 20 recipes for the practically the same dish in each category, though the sources varied.

Apparently his favorite dessert was apple crisp/pie, he loved any type of chili, and in the pasta category, he preferred Lasagna.

Vegetable Lasagna

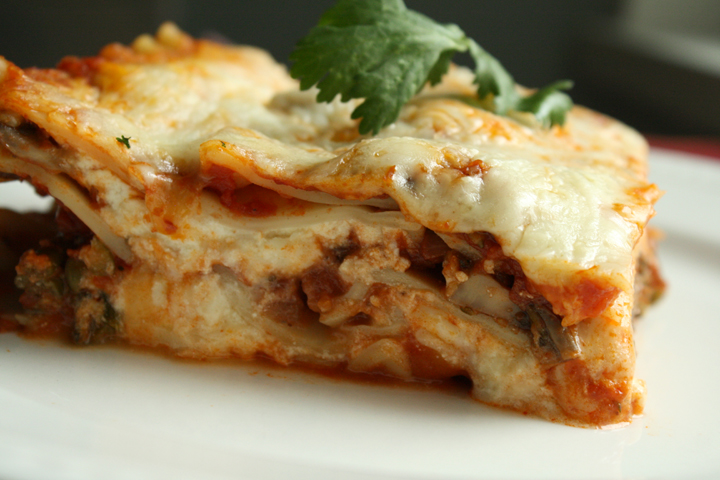
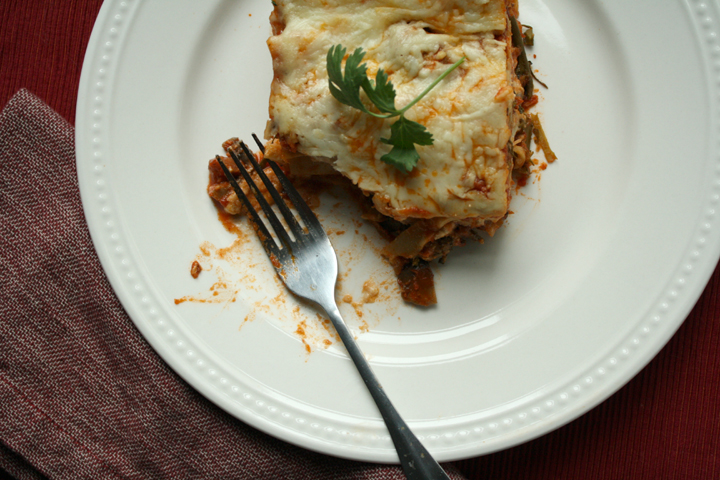
The recipe in this post came about from adapting one of “his” recipes. I think it must have come from the back of some lasagna noodle box, and I have to say that it turned out delicious! I’ll be sharing more of his recipes in the coming weeks.

When my mother gave me my grandpa’s recipe clippings, I knew exactly what I had to do- finally cook the dishes my grandpa had been saving for someone to make.

I guess maybe he was saving it for me :)

Vegetable Lasagna

Hearty Vegetable Lasagna

Print this recipe!

Serves 8-10

1 lb lasagna noodles, not the “no boil” ones
1 lb sliced mushrooms
1 bunch broccolini, chopped in 1/2 inch pieces
3 cloves garlic, chopped
2 Tbsp vegetable oil
2- 26oz jars pasta sauce
1.5 tsp dried italian seasoning
15 oz Ricotta cheese
16 oz (4 cups) shredded mozzarella cheese
2 eggs
1/2 cup grated parmesan cheese

Preheat oven to 350.

Cook pasta 8 min or until just tender. Drain and rinse with cold water. Spread noodles onto a sheet pan coated with cooking spray so noodles don’t stick together.

While pasta is cooking, heat a large saucepan over med-hi heat. Heat oil and add onion. (**You could easily add ground beef here and skip the broccolini if you wanted it to be non-vegetarian). Cook onion 2 minutes then add mushrooms, broccolini and garlic and cook until tender.

Stir in 4 cups (1 1/3 jars) pasta sauce and italian seasoning. Bring to a boil, then reduce heat and simmer 15 minutes.

Mix ricotta, 2 cups mozzarella and eggs.

Spread 1 cup remaining sauce in greased 9×13 casserole dish.

Layer 5 noodles on top of sauce, slightly overlapping noodles to fit. Spread 2 cups of the veggie sauce over the noodles. Dollop with 1/2 of the ricotta mixture, spreading evenly in pan. Sprinkly with 2 Tbsp parmesan cheese.

Repeat above step, layering noodles, veggie sauce, ricotta, parmesan.

Top with 5 more noodles and top with rest of sauce.

Sprinkle with 2 cups mozzarella cheese. Bake uncovered 40 minutes or until bubbly. Put a sheet pan covered with foil underneath to catch any drips.

Let stand 15 minutes. Refrigerate leftovers.

*Note: I found this recipe much better the next day. Some of the sauce gets absorbed into the noodles and it’s not watery.