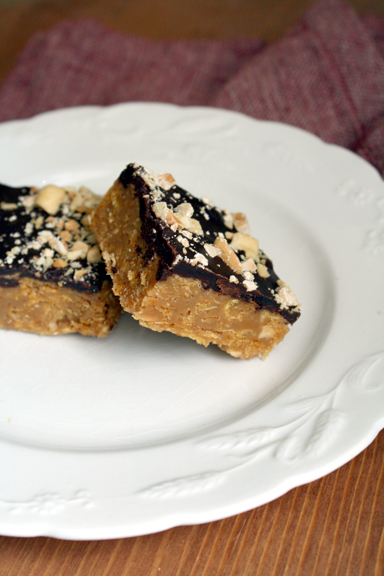
Crispy Peanut Butter Bars

Yep, I’m back with another oven-free recipe. You do need to turn on the stove but only for all of 10 minutes max.

I found this recipe at one of my favorite sites: Serious Eats. Their recipes are, from my experience, well-tested and reproducible.

Crispy Peanut Butter Bars

I made these for a little impromptu dinner party I had. One of my friends came over because she is contributing to the little video Nate is making to show at the wedding. I can’t wait to see the finished product…it’s going to be amazing :)

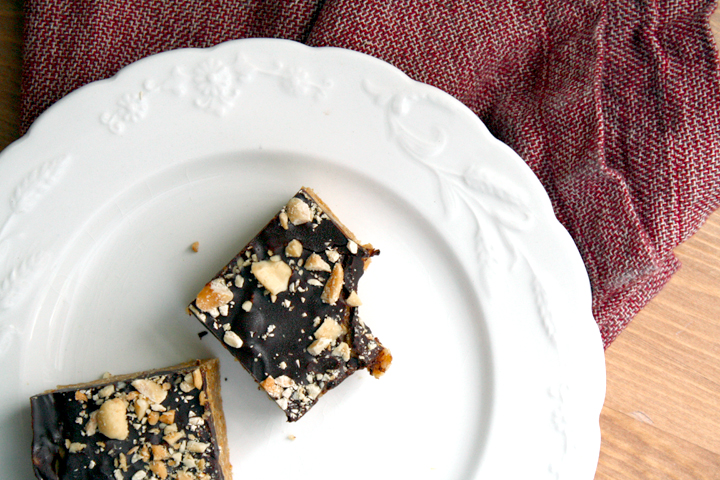
Anyway, these are seriously awesome, and incredibly rich. I sent my friend and her husband home with extras to take to their 4th of July party and they were thrilled. Mostly because we were too full from dinner to really enjoy them that night.

Crispy Peanut Butter Bars

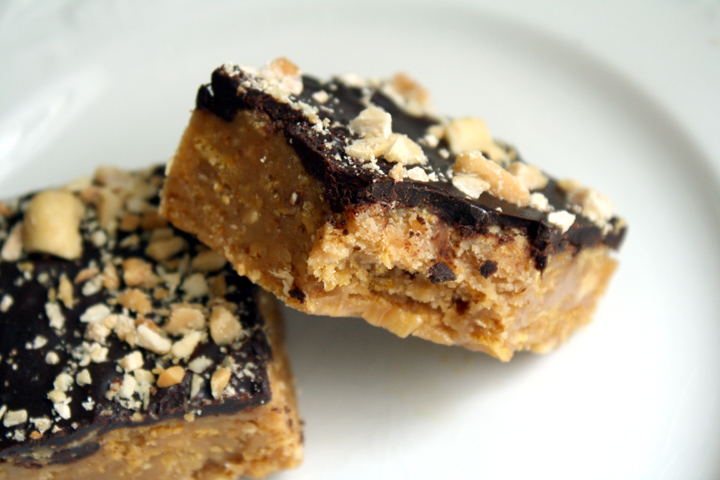
They’re kind of somewhere in between a rice krispie treat and a buckeye ball. You have to keep them refrigerated but they stay soft straight out of the fridge and they stick together really well.

Speaking of sticking together, here’s a little something my soon to be mother-in-law shared with me. I knew I liked elephants for a reason! You have to watch til the very end…sooooo cute!!!: http://www.youtube.com/embed/f_gBWPs4r3U

Crispy Peanut Butter Bars

No-Bake Crispy Corn Flake Chocolate Peanut Butter Bars

From Serious Eats

Print this recipe!

makes 16 (2 inch)squares

4 tablespoons (1/2 stick) unsalted butter
1 cup creamy peanut butter
1/2 cup light corn syrup
1/3 cup light brown sugar
Pinch salt
4 cups corn flakes, lightly crushed
1/3 cup salted peanuts, chopped and divided
1 teaspoon pure vanilla extract
4 ounces bittersweet chocolate, finely chopped

Line 8- by 8-inch baking pan with foil. In medium saucepan over medium heat, melt butter. Add peanut butter, corn syrup, brown sugar, and salt and continue to cook, stirring, until melted and smooth.

Stir in corn flakes, 1/4 cup peanuts, and vanilla until just combined. Spoon into prepared pan and smooth top.

In heatproof bowl over pan of barely simmering water (or in microwave), heat chocolate until just melted. Spread over top. Sprinkle with remaining chopped peanuts.

Chill until firm, about 2 hours. Remove from pan and cut into 2-inch squares.

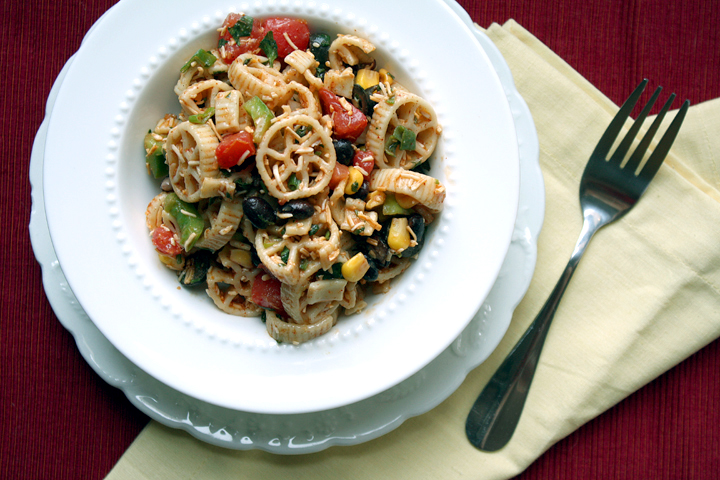
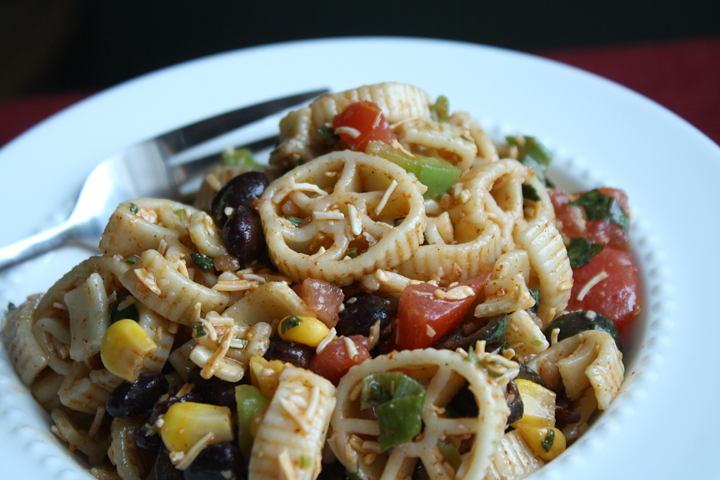
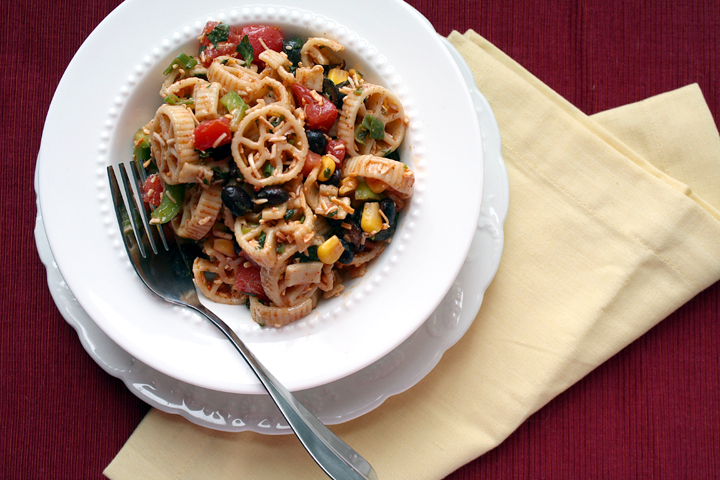
Tex mex pasta salad

Here’s another no-cook recipe coming your way! Ok, well I guess you technically have to boil the pasta, but you don’t have to turn on your oven.

This is a nice twist on the traditional pasta salad. The vinegar-based one, I mean.

I don’t really understand the mayo-based pasta salad. Maybe because I didn’t grow up eating it? I always take a bite thinking I’m going to like it and then I don’t. I guess maybe I think it’s going to be like an alfredo sauce or something but it’s actually kind of tangy. I think maybe I don’t mind the taste so much but I just get thrown off because it’s not what I’m expecting.

Tex mex pasta salad

Anyway, non-mayo pasta salads are much healthier…AND they’re good for picnics! I don’t want you to go making something and getting people sick because the mayo sat in the sun too long. And I especially don’t want you to blame it on me.

I suppose I’m a bit late for you to make this for 4th of July, but I’m sure you have plenty of upcoming summer bbq’s that you could bring this to….or you may eat a little too much while doing “quality control” taste-testing and not have any left to bring so you just have to keep it for yourself.

Oh well, these things happen.

Tex mex pasta salad

On another note, Saturday is my birthday!!! My parents are coming into the city and we’re going to see a concert by the singer/songwriter who will be playing at our wedding, David Berkeley, so I’m pretty excited.

Also, Nate ordered me a birthday cake from this little bakery near us called Two Little Red Hens. I got to choose exactly what I wanted and so I decided to go with an orange cake with chocolate pudding filling and orange buttercream frosting. Um, yeah, I know. A.M.A.Z.I.N.G. I’ll be sure to take pics and tell you how it was since there won’t be enough to go around ;)

Vegetarian Tex-Mex Pasta Salad

adapted from Cooking Light

Print this recipe!

Serves 10-12

1 pound uncooked pasta- i like wagon wheels :)
1 1/2-2 cups preshredded Mexican blend cheese
2 cups chopped seeded tomato
1 cup chopped bell pepper
1/2 cup chopped fresh cilantro
1/2 cup chopped green onions
1/2 cup sliced ripe olives
1 (15.5-ounce) can black beans, rinsed and drained
1 cup corn kernels, fresh or frozen
2 Tbsp water
1 (1.25-ounce) package 40%-less-sodium taco seasoning (such as Old El Paso)
2 tablespoons red wine vinegar
1/4 cup extra-virgin olive oil
juice of 1 lime

for next day:
2 Tbsp olive oil
2 Tbsp red wine vinegar
salt to taste

Cook pasta according to package directions, omitting salt and fat. Drain and rinse with cold water. Drain; set aside.

Combine pasta, cheese, and next 7 ingredients (through corn) in a large bowl.

Combine water, taco seasoning, vinegar, oil and lime juice. Whisk well. Pour over pasta mixture; toss gently to coat. 

If you make a day ahead, stir in 2 Tbsp oil, 2 Tbsp vinegar and salt to taste.

*This is best made a day ahead of time.

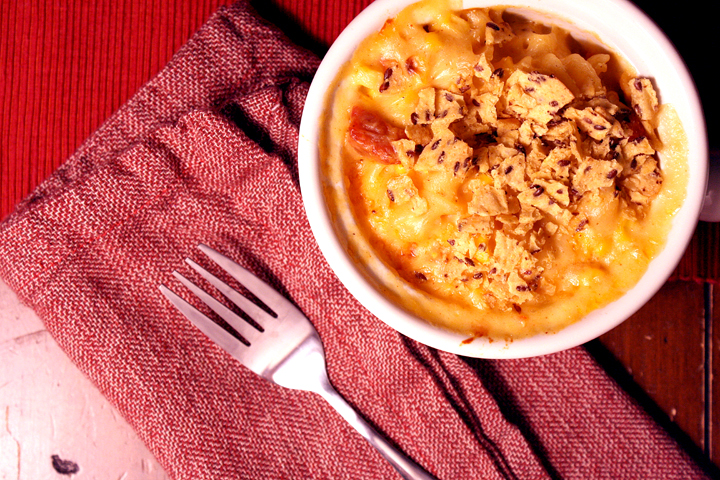
Tex Mex Mac n Cheese

Sorry for the lack of posts lately. As you may or may not know, I’m getting married in 4 months and I decided to take on quite a bit of DIY projects for the wedding. Any free time I have has been spent cutting, painting, gluing, and sewing.

Here’s just a peek of one of the projects I have going on…wedding signage!

wedding signage

The white parts are an old picket fence I picked up off the street. The directional signs I made use the pointed parts of the fence, but this one doesnt since it doesn’t need to be pointing anywhere. Painting on the letters was quite time-intensive, but I’m so pleased with how it came out! The rest you’ll have to wait and see when I post wedding pics ;)

Anyway, on to the food. I think this must be my third or fourth mac and cheese recipe on the blog, but honestly I don’t think there can ever be too much mac and cheese! (I totally just typed man and cheese by mistake…there can’t be too much of that either!)

Tex Mex Mac n Cheese

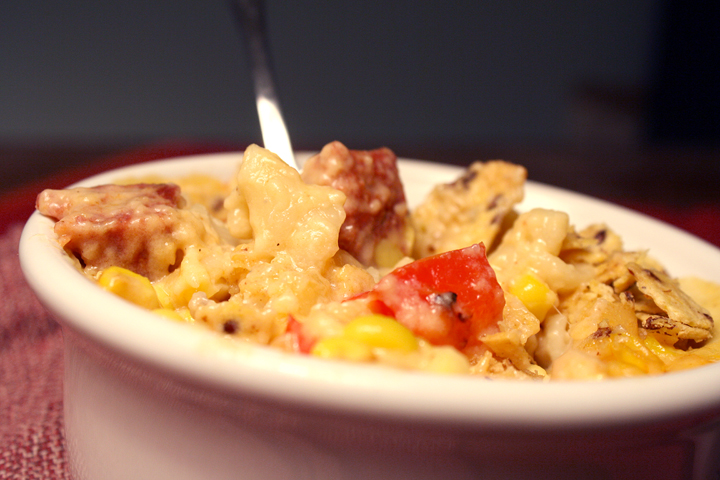
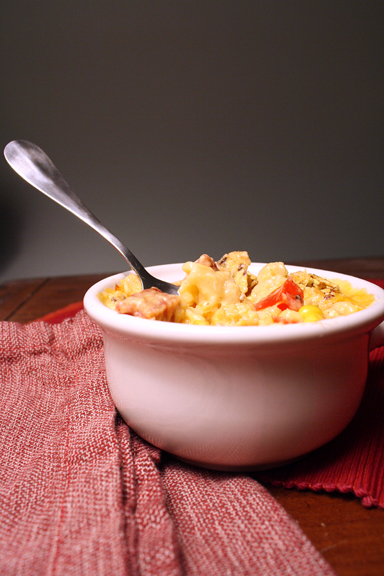
This one takes advantage of the fresh corn in season now. It was kind of annoying to roast the corn and peppers but at least it could be done while the pasta was cooking. The chorizo and mexican blend cheese take it to a whole other level!

All in all it came together pretty quickly, which was good because I didn’t have much time.

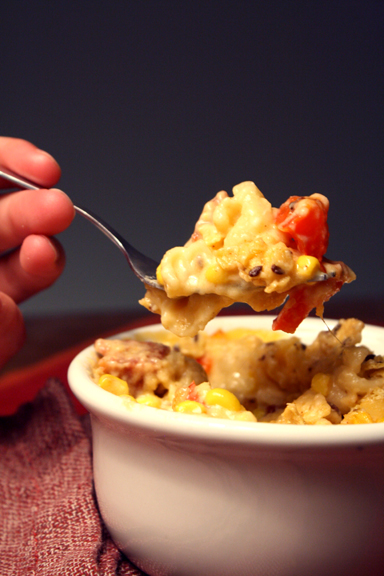
Tex Mex Mac n Cheese

Since I had plans to meet friends after work later in the week, I knew this would be a perfect meal to start the week off with since it would last for several days. Nate could just portion some out and reheat it in the microwave.

The chorizo totally made this! It added so much flavor to the meal. I also topped my portion with buffalo sauce :)

 Tex Mex Mac n Cheese

I doubled the recipe, but think perhaps I didn’t need to double the sauce. There was a LOT there, but i just left a little out when mixing it up.

Overall, I’d give this two thumbs up for when you’re looking for something a little different than your regular old macaroni and cheese.

Tex Mex Mac and Cheese

Slightly adapted from Southern Living

Print this recipe!

Serves 8-10

1 cup cherry tomatoes
2 red peppers, diced
4 ears fresh corn, husks removed, kernels stripped from cob
16 ounces uncooked rotini or fusilli pasta
1 cup chopped cooked Mexican-style chorizo (the hard, cured kind…not raw)
5 tablespoons butter
1/3 cup all-purpose flour
6 cups milk
6 cups shredded pepper Jack cheese
2 teaspoon salt
1/2 teaspoon freshly ground pepper
1.5 cup crushed tortilla chips

Preheat broiler with oven rack 5 1/2 inches from heat. Broil peppers, tomatoes and corn at the same time on an aluminum foil-lined jelly-roll pan. Broil 20 minutes or until charred, turning every 5 minutes. Reduce oven temperature to 400°.

Cook pasta in boiling salted water to cover 8 to 10 minutes or until al dente. Drain.

Melt 5 Tbsp. butter in a large heavy saucepan over medium heat; whisk in flour until smooth, and cook, whisking constantly, 2 minutes or until golden brown. Slowly whisk in milk, and cook, whisking often, 10 to 12 minutes or until thickened. Remove from heat, and gradually add cheese, stirring until smooth. Stir in chopped peppers, corn kernels, chorizo, salt, and pepper. Gently stir together cheese mixture and pasta in a large bowl. Spoon into a 9×13 baking pan.

Sprinkle with crushed tortilla chips. Bake at 400° for 12 to 15 minutes or until golden and bubbly. Let stand 5 minutes before serving.

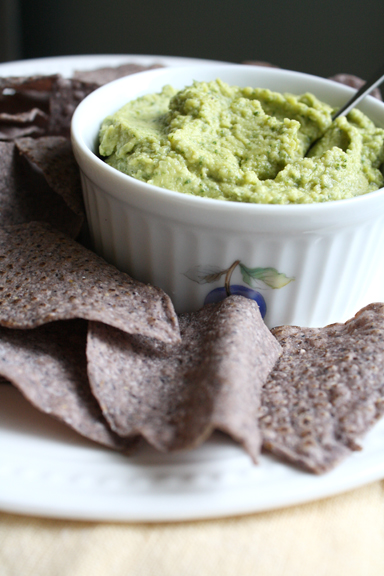
Cilantro Lime Hummus

This weekend we had a couple of Nate’s friends over to dinner. One of them might cat-sit for us over our honeymoon, so we wanted a chance for him to come over and meet L.C. We also thought we’d sweeten the deal by cooking for him…i.e. Nate suggested that I cook for him.

Cilantro Lime Hummus

In case L.C.’s flirtation wasn’t enough to make him agree, I first liquored him up with some AMAZING Mojito Slushies (recipe to come soon) to decrease his inhibitions…and ability to say no.

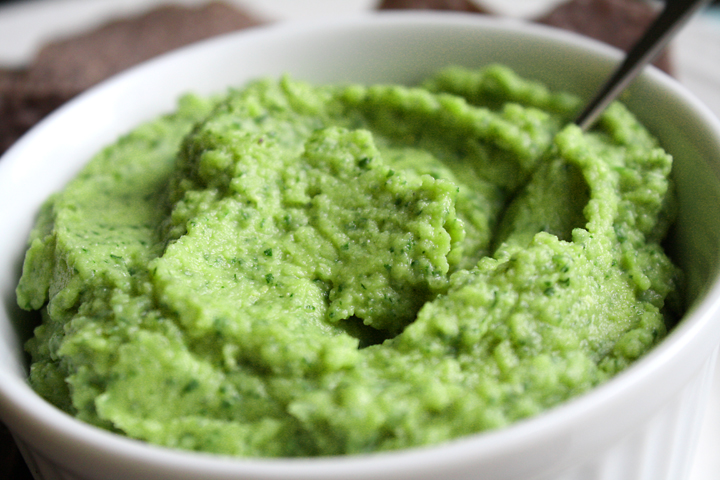
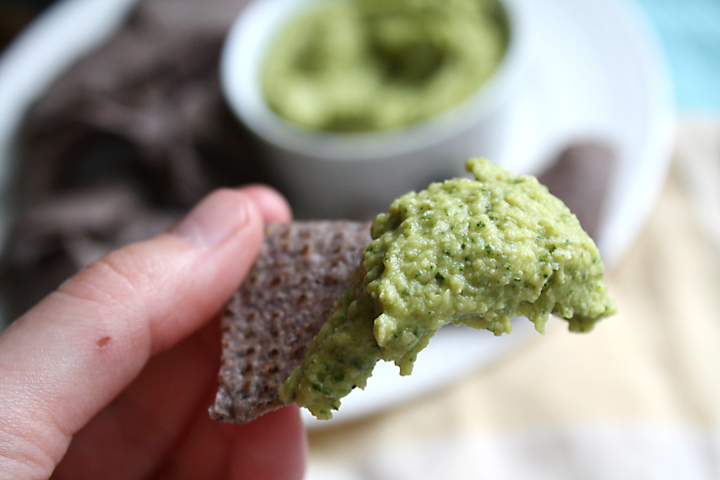
After waiting for the alcohol to go into effect, I put a plate of Cilantro Lime Hummus in front of him with some chips. I would never say hummus is particularly refreshing, but this version totally is. The cilantro and lime make it reminiscent of guacamole, but with much less fat.

Cilantro Lime Hummus

Everyone, myself included, was raving about it.

I made a few other things that I will most likely be sharing on the blog in the near future: Pasta Puttanesca and a Cold Lemon Mousse.

Cilantro Lime Hummus

He’s checking on the dates to make sure he can catsit, but I’m pretty sure he’ll say yes.

I’d like to think it will have everything to do with the meal, and nothing to do with this adorable face:

Cilantro Lime Hummus

Slightly adapted from How Sweet It is

Print this recipe!

makes about 2-2.5 cups

2 15-ounce can of chickpeas, drained and rinsed
3 cloves of garlic, minced (more or less, depending on your tastes)
3/4 cup cilantro
zest and juice of 1 lime
2/3 cup olive oil
salt and pepper to taste

Combine beans, cilantro, lime zest, juice and garlic in the food processor and blend until mixed. With the processor on, stream in olive oil until desired consistency is reached. 3-4 minutes to make it super creamy. Season with salt and pepper to taste. Serve with pita chips or tortilla chips.

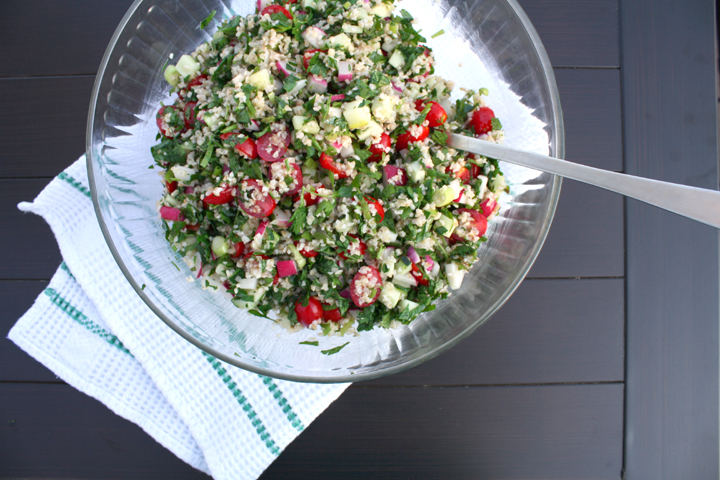
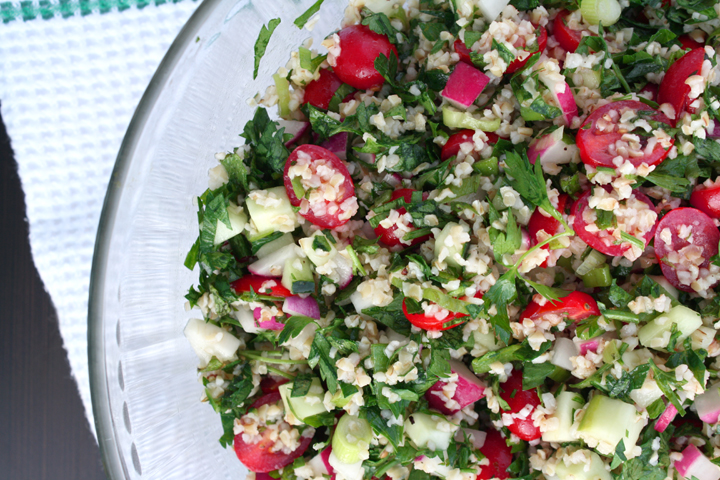
Tabouli

If you like chopping vegetables, then this recipe is for you.

Nate and I headed down to his mom’s for Memorial Day weekend, and as always I took advantage of her giant kitchen with ample counter space to make lots of recipes.

I love having room to spread out! I literally had every square inch of the counter covered with ingredients for three different recipes I was making at once. It’s such a nice change from our little apartment kitchen where I have to clean as I go (something I’m horrible at) if I want any hope of keeping some semblance of order in the kitchen.

Tabouli

I will be SO happy when we move to a house with *hopefully a nice big kitchen! Unfortunately, we just signed our lease for another year, so it’ll be at least a year til my dream comes true.

Anyway, this salad isn’t quick to make. There are a lot of vegetables to chop…and not just any vegetables, but small vegetables. I wish there was an easy way to chop small things.

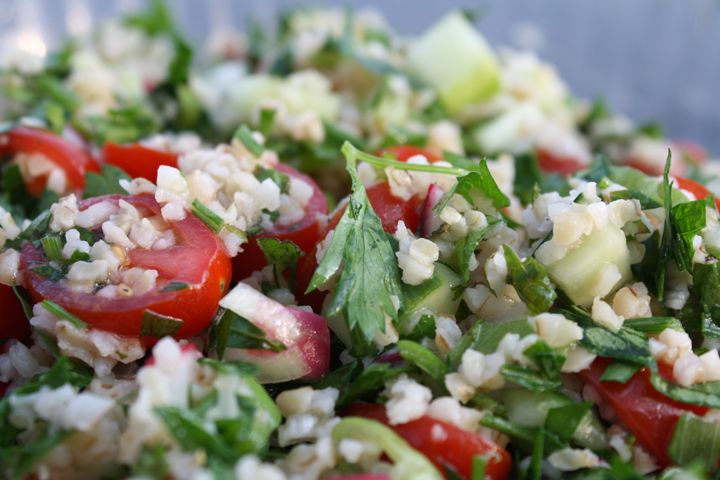
I did use Rachel Ray’s tip for cutting cherry tomatoes. She kind of annoys me sometimes, but in this case, she’s a freaking genius. This is hands-down the best time-saver EVER.

Tabouli

Speaking of Rachel Ray, did I ever tell you guys I was in the audience of the Rachel Ray show, and they kept panning the camera to me. It was my 15 minutes (okay, seconds) of fame :) You can see it here…if you go to minute 1:50, you can see me!

Try to ignore the fact that I look directly at one of the cameras. I’m not an actress, folks. I was beckoning to the camera man. I’m also in the other segments from show that day, which you can find here. They loved me!

Ok, so back to the recipe. This may be time-consuming, but when all is said and done, it’s so colorful, fresh and delicious!

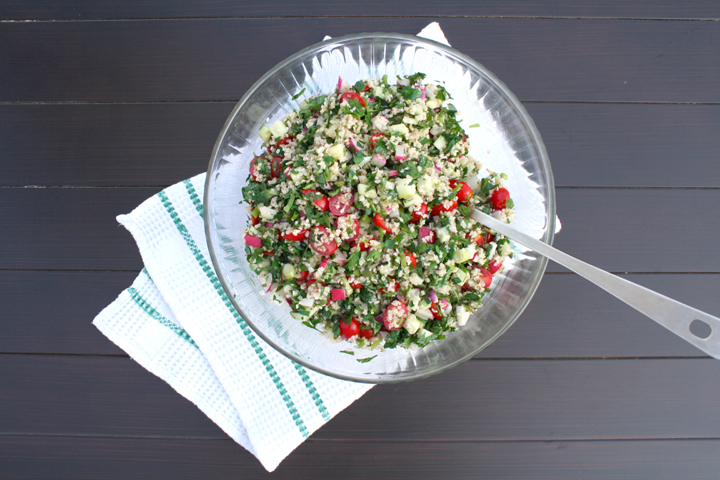
Be aware that this makes a lot of Taboulli. Perfect alongside your summer barbecues or for a light lunch!

Tabouli


Tabouli

From Mom’s recipe box (i.e. source unknown)

Print this recipe!

Serves 8-10

1 cup bulgur, uncooked
1 cucumber, diced
2 tomatoes, diced (or 2 handfuls cherry tomatoes, cut in half)
1 bunch radishes, chopped in 1/4 dice
3/4 cups scallion, sliced
1/2 cup fresh mint, minced
1/2 cup fresh parsley, minced
1/2 cup olive oil
1/2 cup lemon juice
salt and pepper to taste

Wash bulgur in cold water til water runs clear. Place in bowl, cover with 4 cups boiling water. Mix and let stand 30-40 min.

Drain bulgur and squeeze out excess moisture. Place in clean bowl

Add rest of ingredients. Adjust seasonings.