One of my dearest friends, Erica (and the one I’ve known the longest!), celebrated a special bday this past weekend- the big 3-0. Because I wasn’t able to make it to her bowling bday bash, I did what I always do and baked her a cake :)

It’s so nice to love cooking and baking, because it makes giving presents so easy, enjoyable and special (I also sometimes paint/draw/crochet my gifts). I mean who doesn’t love some homemade treats? Plus, it’s so nice to put some thought and effort into a present and give it that handmade touch rather than just picking up a random gift from the store because you’re “supposed to” give presents on bdays.

And I have to say, I think my gifts tend to be much more appreciated! So when it came time to get thinking about what type of cake Erica wanted, I went straight to the source. I like to be creative, but Erica wanted the basics: yellow cake with chocolate frosting. I suppose that IS the traditional bday cake combo.

Of course, I had to add my touch and make it a little different and more gourmet- adding white chocolate chips to the batter and making a sour cream chocolate frosting. But I also have been so busy  that I took a few shortcuts- using a boxed cake mix that I jazzed up.

Yes, Erica is wearing scrubs in those pics. She works in tv and is currently filming a show and is in the hospital all day long. I wish I could wear such comfy clothes to work!

Anyways, the cake result was nothing short of amazing…a birthday tradition from now on, to be sure.

Happy 30th Birthday, Erica!!!

I’m so happy to have you as my friend and I can’t wait to celebrate many more birthdays with you :)


Yellow Birthday Cake with White Chocolate Chips and Chocolate Sour Cream Frosting

Cake recipe by me, Frosting recipe taken from Smitten Kitchen adapted from The Dessert Bible

Print this recipe!

# of Servings-who cares, it’s your birthday! (Makes one 2 layer bday cake)

Cake:

1 box Classic Yellow Cake mix
1 cup water
1/3 cup oil
1 cup sour cream
1 tsp vanilla
3 eggs
1/2-1 cup white chocolate chips
1 recipe Chocolate Sour Cream Frosting, recipe below

Preheat oven to 350°F.

Butter two 9-inch round cake pans (or two 8-inch, depending on how high you want the cake to be) and line with circles of parchment paper, then butter parchment.

Place cake mix, water, oil, eggs, and vanilla in a bowl. Beat well. Add eggs and beat to incorporate, 2 min. Stir in 1/2-1 cup of white chocolate chips, depending on how much you like.

Spread batter evenly in cake pan, then rap pan on counter several times to eliminate air bubbles. Bake until golden and a wooden pick inserted in center of cake comes out clean, 30 min. Cool in pan on a rack 15 minutes. Invert onto rack and discard parchment, then cool completely, about 1 hour (put in fridge if you want them to cool faster. Sometimes they’re easier to frost when cold). Do not frost until cakes are completely cool.

Chocolate Sour Cream Frosting

15 ounces semisweet or bittersweet chocolate, chopped
1 1/4 teaspoons instant espresso (optional, but can be used to pick up the flavor of average chocolate)
2 1/4 cups sour cream, at room temperature
1/4 to 1/2 cup light corn syrup
3/4 teaspoon vanilla extract

Combine the chocolate and espresso powder, if using, in the top of a double-boiler or in a heatproof bowl over simmering water. Stir until the chocolate is melted. (Alternately, you can melt the chocolate in a microwave for 30 seconds, stirring well, and then heating in 15 second increments, stirring between each, until the chocolate is melted.) Remove from heat and let chocolate cool until tepid.

Whisk together the sour cream, 1/4 cup of the corn syrup and vanilla extract until combined. Add the tepid chocolate slowly and stir quickly until the mixture is uniform. Taste for sweetness, and if needed, add additional corn syrup in one tablespoon increments until desired level of sweetness is achieved.

Let cool in the refrigerator until the frosting is a spreadable consistency. This should not take more than 30 minutes. Should the frosting become too thick or stiff, just leave it out until it softens again.

As I’ve mentioned before, not only is Nate a loyal Trader Joes (TJs) customer, but a creature of habit who eats the same exact items for breakfast and lunch every day of the week. I’ve tried to take him with me to the supermarket that’s nearby (TJs is a 40 min walk), but he just won’t go.

So you can imagine his distress when he discovered that TJs discontinued his beloved Lemon Ginger Scones that he used to eat each morning along with his cereal, yogurt, and giant glass of grapefruit juice (yes, this boy eats a humongous breakfast). This, of course, gave me a challenge to reproduce these delicacies that he couldn’t do without.

I had only tried my hand at making scones on a few occasions, but I figured it couldn’t be too difficult. Over the course of a couple of months I tried several recipes, but only one got the thumb’s up from Nate.

The recipe came from a cookbook I’d requested at Christmas: A Homemade Life: Stories and Recipes from My Kitchen Table, by Molly Wizenberg (the creator of the blog Orangette). I had stumbled across its title in several other blogs, touting its greatness.

I read through the whole book in a matter of days. It weaves her life story from childhood to present day, alternating with the recipes that defined those memorable times in her life. I loved every word of it and highly recommend it both for the recipes and the tales.

So you can imagine my delight when I came across her recipe for Lemon Ginger Scones! I had thought I’d have to just find a regular scone recipe and alter it for the correct flavor that Nate desired, but I didn’t have to. I followed her recipe except doubled it so the scones would last Nate a while. They had a bit too much liquid when doubling, so I added more flour. The next time I made them I added only enough liquid for one batch. although still doubling the rest of the ingredients, and it was just right.

They’re flaky, moist and delicious. These are now a staple in my kitchen…and on Nate’s breakfast plate :)

On an unrelated front…

Nicole from HeatOvento350 has nominated me, among others, for the Versatile Blogger Award! Thank you so much, Nicole :)

The rules of the award stipulate that you share seven random facts about yourself and pass the award on to 15 new found bloggers. So here we go:

1) Almost every movie makes me cry (and even commercials sometimes!)

2) My most favorite fruit is the mango, and I’m sadly allergic to them (did you know they’re in the same family as poison oak??)

3) When I was 10, I had 7 teeth pulled at once without being knocked out, but I never had to wear braces.

4) I will never sit alone in a restaurant, but go to the movies by myself all the time.

5) Much to Nate’s amusement, I trained for the Mr. & Mrs. Penn amateur bodybuilding competition when I was in college, and then couldn’t compete because I got mono a few weeks before (I wouldn’t have won anyway).

6) I completed a year of Architectural grad school, and have a Masters in Marriage and Family Therapy, have worked as a Civil Engineer, but currently work in IT in the financial field.

7) Despite #6, I really just want to be a housewife.

Ok, there ya go! I now nominate the following 15 bloggers to play along. If you’ve already done this before or just don’t feel like it, that’s perfectly ok, but here you go:

EspressoAndCream

SugarPlum

SweetPeasKitchen

Mis Pensamientos

KissMyBroccoli

MakeItNaked

Tri2cook

TheCulinaryChronicles

BackToTheCuttingBoard

SweetAsSugarCookies

AFoodLoversJourney

RufusFoodAndSpiritsGuide

InGoodTaste

GetOffYourTushAndCook

LaCaseDeSweets


Lemon Ginger Scones

Adapted from
A Homemade Life

Print this recipe!

makes 16*

4 cups all-purpose flour
4 tsp baking powder
1 tsp salt
8 Tbsp (1 stick) cold unsalted butter, cut into 1/2 inch cubes
6 Tbsp sugar
4 tsp grated lemon zest
1/2 cup finely chopped crystallized ginger
1/2 cup half-and-half (plus more if dough is too dry), and more for glazing
2 large eggs

Preheat oven to 425.

In large bowl, whisk together flour, baking powder, and salt. Using your hands or a pastry cutter, rub the butter into the flour mixture, squeezing and pinching with your fingertips until the mixture resembles a coarse meal and there are no butter lumps bigger than a pea. Add the sugar, lemon zest, and ginger and whisk to incorporate.

Pour 1/2 cup half-and-half into small bowl or measuring cup and add the eggs. Beat with a fork to mix well. Pour wet ingredients into the flour mixture,and stir gently to just combine. The dough will be dry and shaggy, and there may be some unincorporated flour at the bottom of the bowl. If the dough seems too dry, add more half-and-half, 1 Tbsp at a time.

Using your hands, squeeze and press the dough into a rough mass. Turn the dough, and any excess flour out onto a board or countertop, and press and gather and knead until it just comes together (sometimes I knead in the bowl so I don’t have to dirty my counter). Don’t overwork the dough. As soon as the dough holds together, divide it in two and pat each portion into a rough circle about 1 inch thick.** Cut into 8 wedges.

Place wedges on a baking sheet lined with parchment paper or a silicone baking mat. Pour a splash of half-and-half into a small bowl. Using a pastry brush, gently brush the tops of the cones with a thin coat to glaze. Bake for 10-14 in, or until pale golden. Transfer to wire rack to cool slightly, and serve warm.

 *If you want to halve the recipe, halve all ingredient amounts, EXCEPT the half-and-half.
**If halving the recipe, pat dough into 1 circle instead of two.


A lot of people dread the week-long holiday of Passover because of its slightly restrictive dietary rules. In all honesty, it’s really not all that bad. Sure, if you eat a lot of matzo all week long, you may end up being so bloated you resemble a matzo ball. But in reality there are many foods that you’re still able to eat during the holiday, not involving the dreaded matzo.

The key is to find recipes that you make during the year that happen to involve all ingredients allowed on Passover. The fewer Passover substitutions, the better. For example, potatoes are fine, as are eggs, meat, fruits and veggies..or your favorite flourless chocolate cake recipe ;) If you have a recipe that involves a scant amount of flour, replacing it with matzo flour (see below for description) or potato starch is fine. Obviously trying to bake a regular cake wouldn’t work, as flour is a primary ingredient. Catch my drift?

For those of you who are unfamiliar with the holiday, Passover commemorates the story of the Exodus, in which the ancient Israelites were freed from slavery in Egypt.  When Pharaoh freed the Israelites, it is said that they left in such a hurry that they could not wait for bread to rise. In commemoration, for the duration of Passover no leavened bread is eaten. Matzo (flat unleavened bread) is the primary symbol of the holiday.

Thus, many passover foods revolve around this dry (and not very tasty) cracker. Although you can’t use flour during the holiday, the way of getting around this is to use something called Matzo Flour/Matzo Meal which is simply ground-up matzo in a powdered/coarsely ground form. Again, this is only recommended in recipes in which there is not a HUGE amount of flour, but for the most part, it should work.

Which brings me to one of my favorite recipes ever: Apricot Chocolate Torte. This recipe actually calls for regular flour and is not a passover recipe at all, but when the simple matzo flour substitution is made, it tastes identical to real thing. This is one of my all time favorite desserts and I often find myself making it at Thanksgiving as well. My mom has been making this for years and I had no idea where it came from (and I’m not sure if she did either) but when I googled the title, it turns out she must have found it on the back of the apricot box :)


Apricot Chocolate Torte

Recipe adapted from the back of the apricot box!

Print this recipe!

Ingredients:

Filling

11 oz. dried apricots, chopped
1-1/2 cups sugar
3/4 cup water
3 Tablespoons matzo CAKE meal-not matzo meal (or regular flour)*
Juice from ½ fresh lemon

Crust
3 oz. Unsweetened chocolate
2 cups whole walnuts
1.5 cups matzo CAKE meal (or regular flour)
3/4 cup firmly packed light brown sugar
1/2 teaspoon salt
1/2 cup (1 stick) unsalted margarine, chilled, cut into pieces **
2 tablespoons cold water
2 teaspoon vanilla
1 oz. shaved semi-sweet chocolate for garnish

Directions:

Filling
Combine all ingredients in heavy saucepan. Bring slowly to a boil over low heat. Reduce heat & simmer, stirring frequently and mashing any large pieces of apricot, until mixture resembles thick jam – about 25 minutes.

Crust
Preheat oven 350°F

Place chocolate in bowl of processor and chop roughly. Add nut and chop coarsely. Add flour, sugar & salt then blend. (Bits of chocolate and walnut should be clearly visible). Add butter & process to blend. Add water and vanilla then mix, pulsing the on/off button of your food process until mixture is crumbly.

In an 8 or 9 inch Springform pan, pat 2/3 of dough into the bottom and 1 inch up the sides. Add filling. Crumble additional dough over the top to cover. Bake 40 minutes. Let cool.

Decorate top with shaved chocolate if desired.

*Feel free to use regular flour in place of the matzo flour and use this recipe all year long!
**Use butter in place of margarine when not making for Passover.

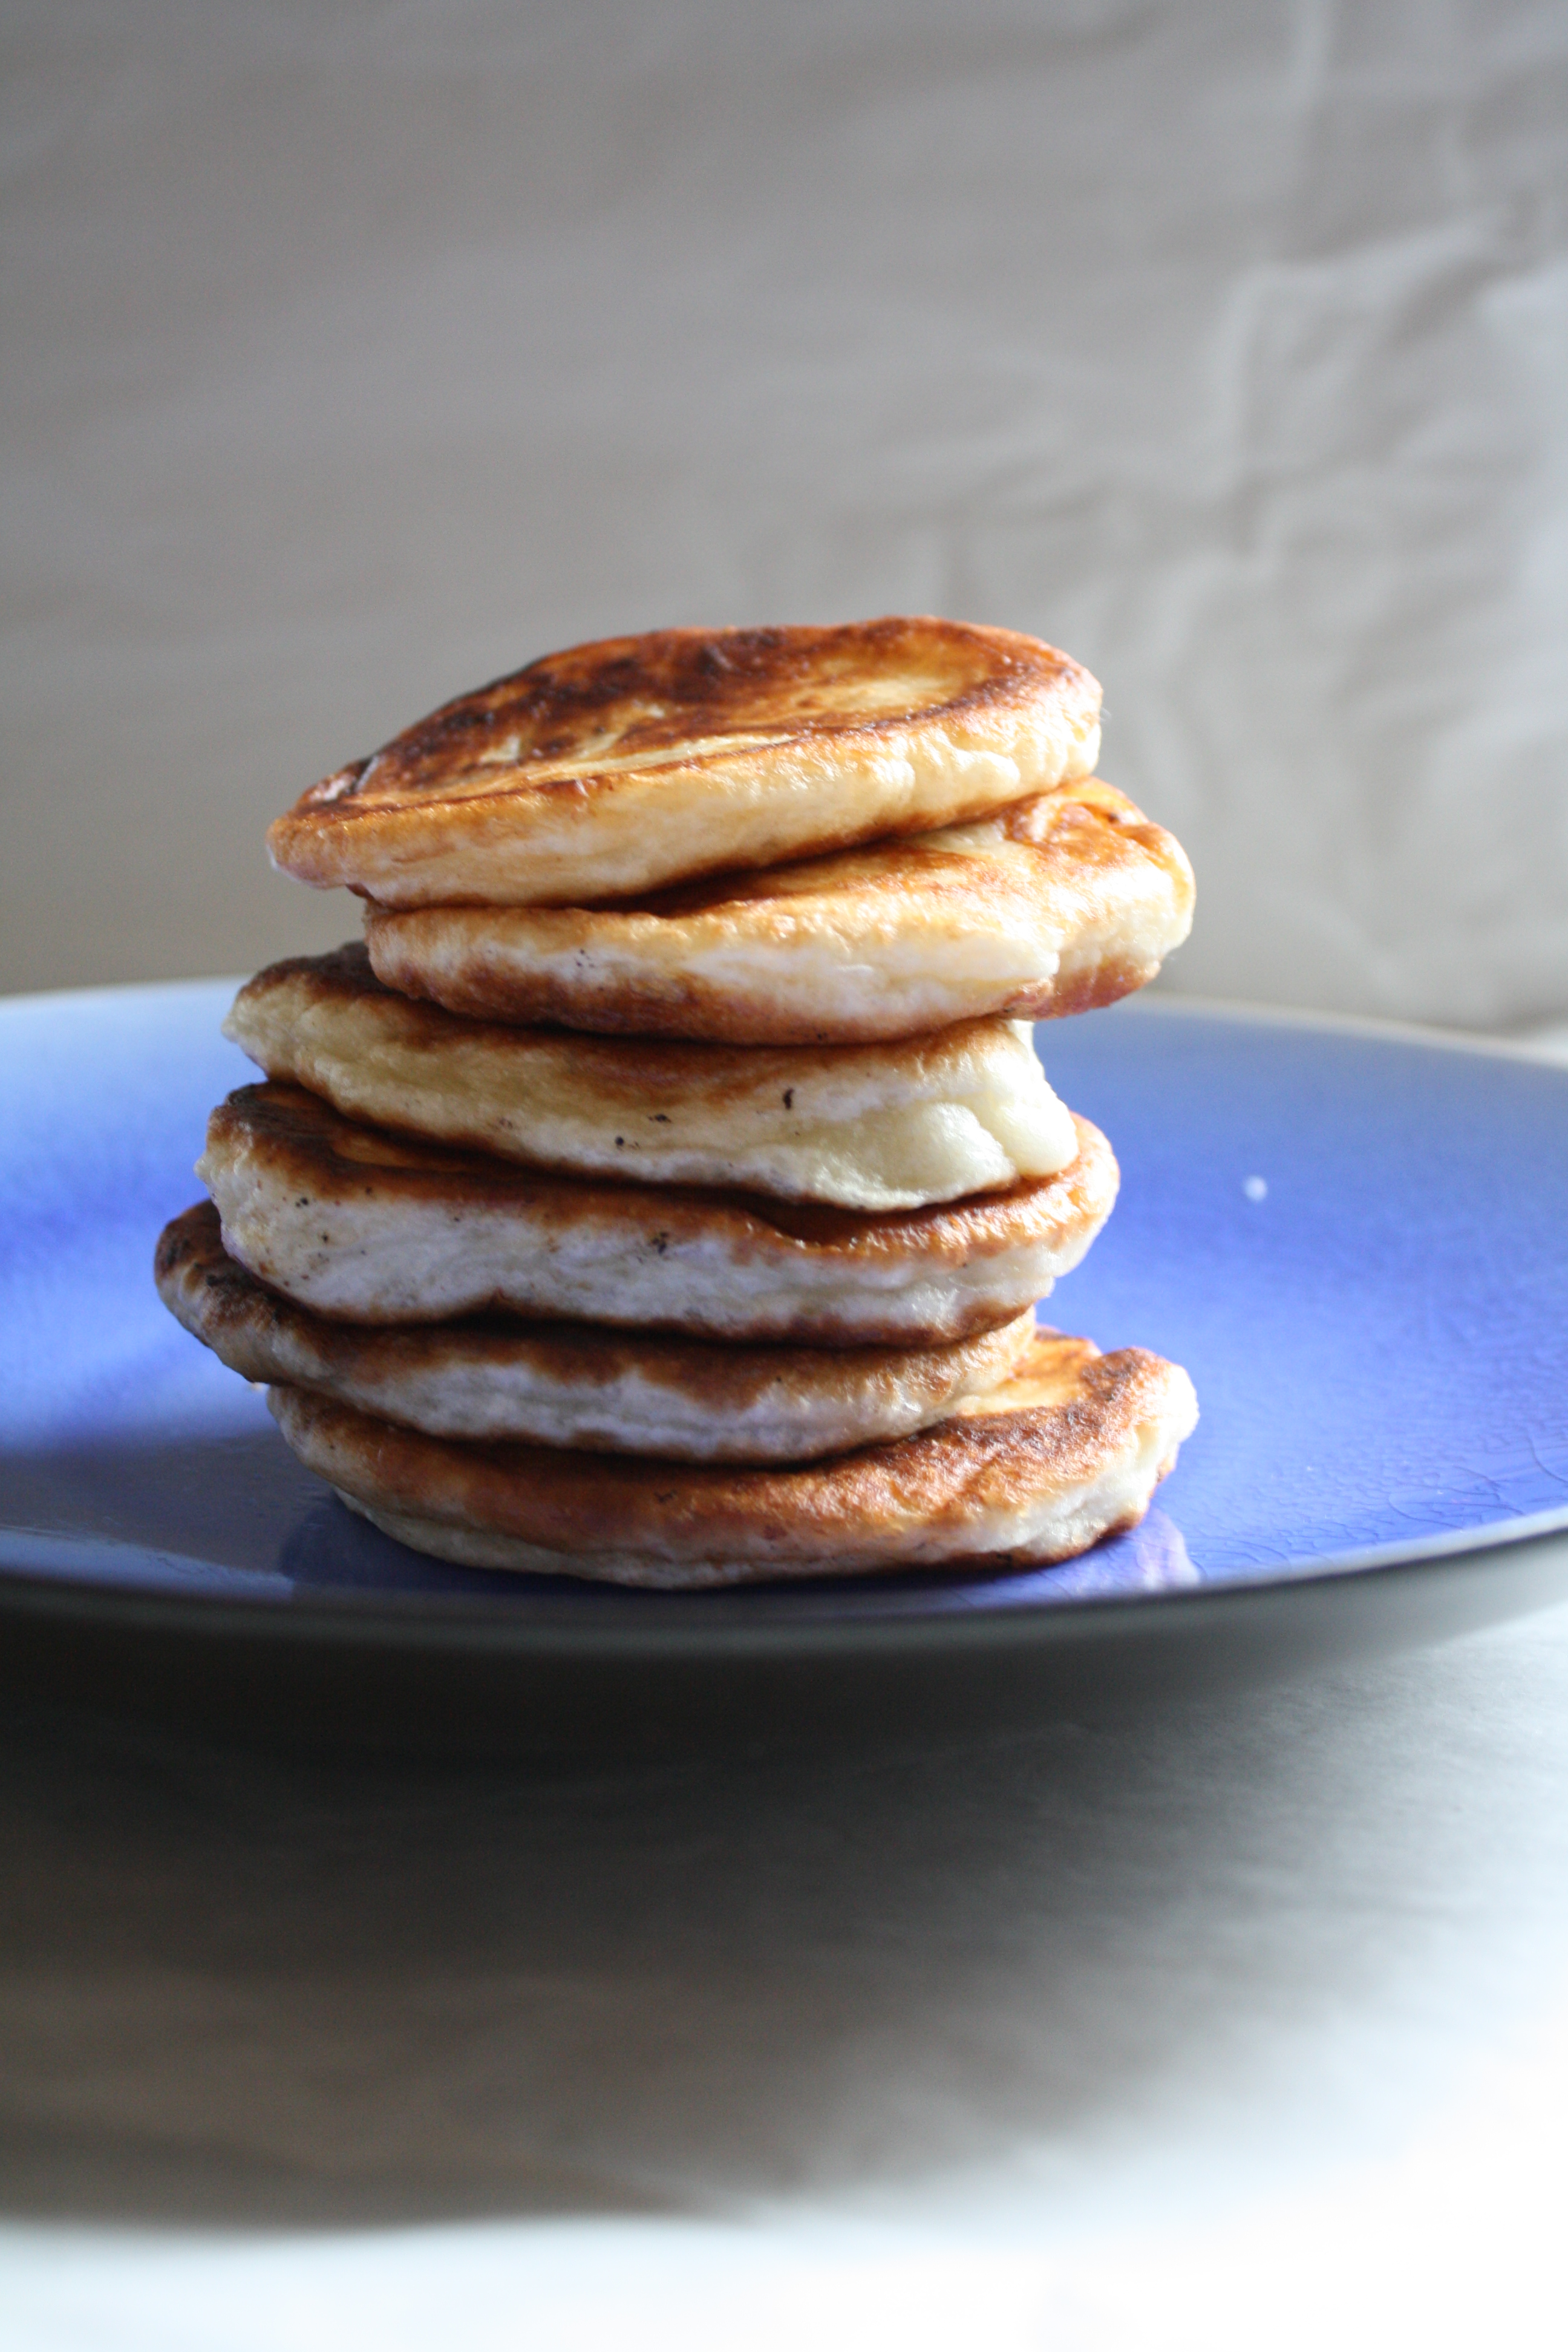
Ho-tteok is a variety of filled Korean pancake, and is a popular street food of South Korea. According to Wikipedia, it is usually eaten during the winter season, which works out well for this blog post :)

It is believed that hotteok originated from Chinese merchants who immigrated to Korea after the late 19th century. Unlike many Chinese pancakes, which often contain savory meat fillings, hotteok are stuffed with sweet fillings, to suit Koreans’ tastes. They traditionally contain a filling of brown sugar, chopped walnuts or peanuts and cinnamon, that melt when the cake is fried.

I think I first had Hotteok at a Korean supermarket I went to while briefly living in Texas. It was being made right there in front of me, and it came out so fresh and hot that I burned my mouth on the sweet, sugary filling inside because I couldn’t wait for it to cool. Needless to say, it was delicious. You’d think I would have learned my lesson but I always burn my mouth on hot foods due to my impatience.

The main reason I chose to make this (other than going along with the Asian theme of my last post) is because, out of curiosity, I bought some glutinous rice flour (also called sweet rice flour) the last time I was at the Asian supermarket. I don’t know what I was thinking, really. I thought you could just use it in place of white flour in any recipe. I believe you can  with regular rice flour, but the glutinous type is mainly used in Asian desserts. It’s chewy, from the gluten I suppose, which makes it workable and good for stretching around fillings.

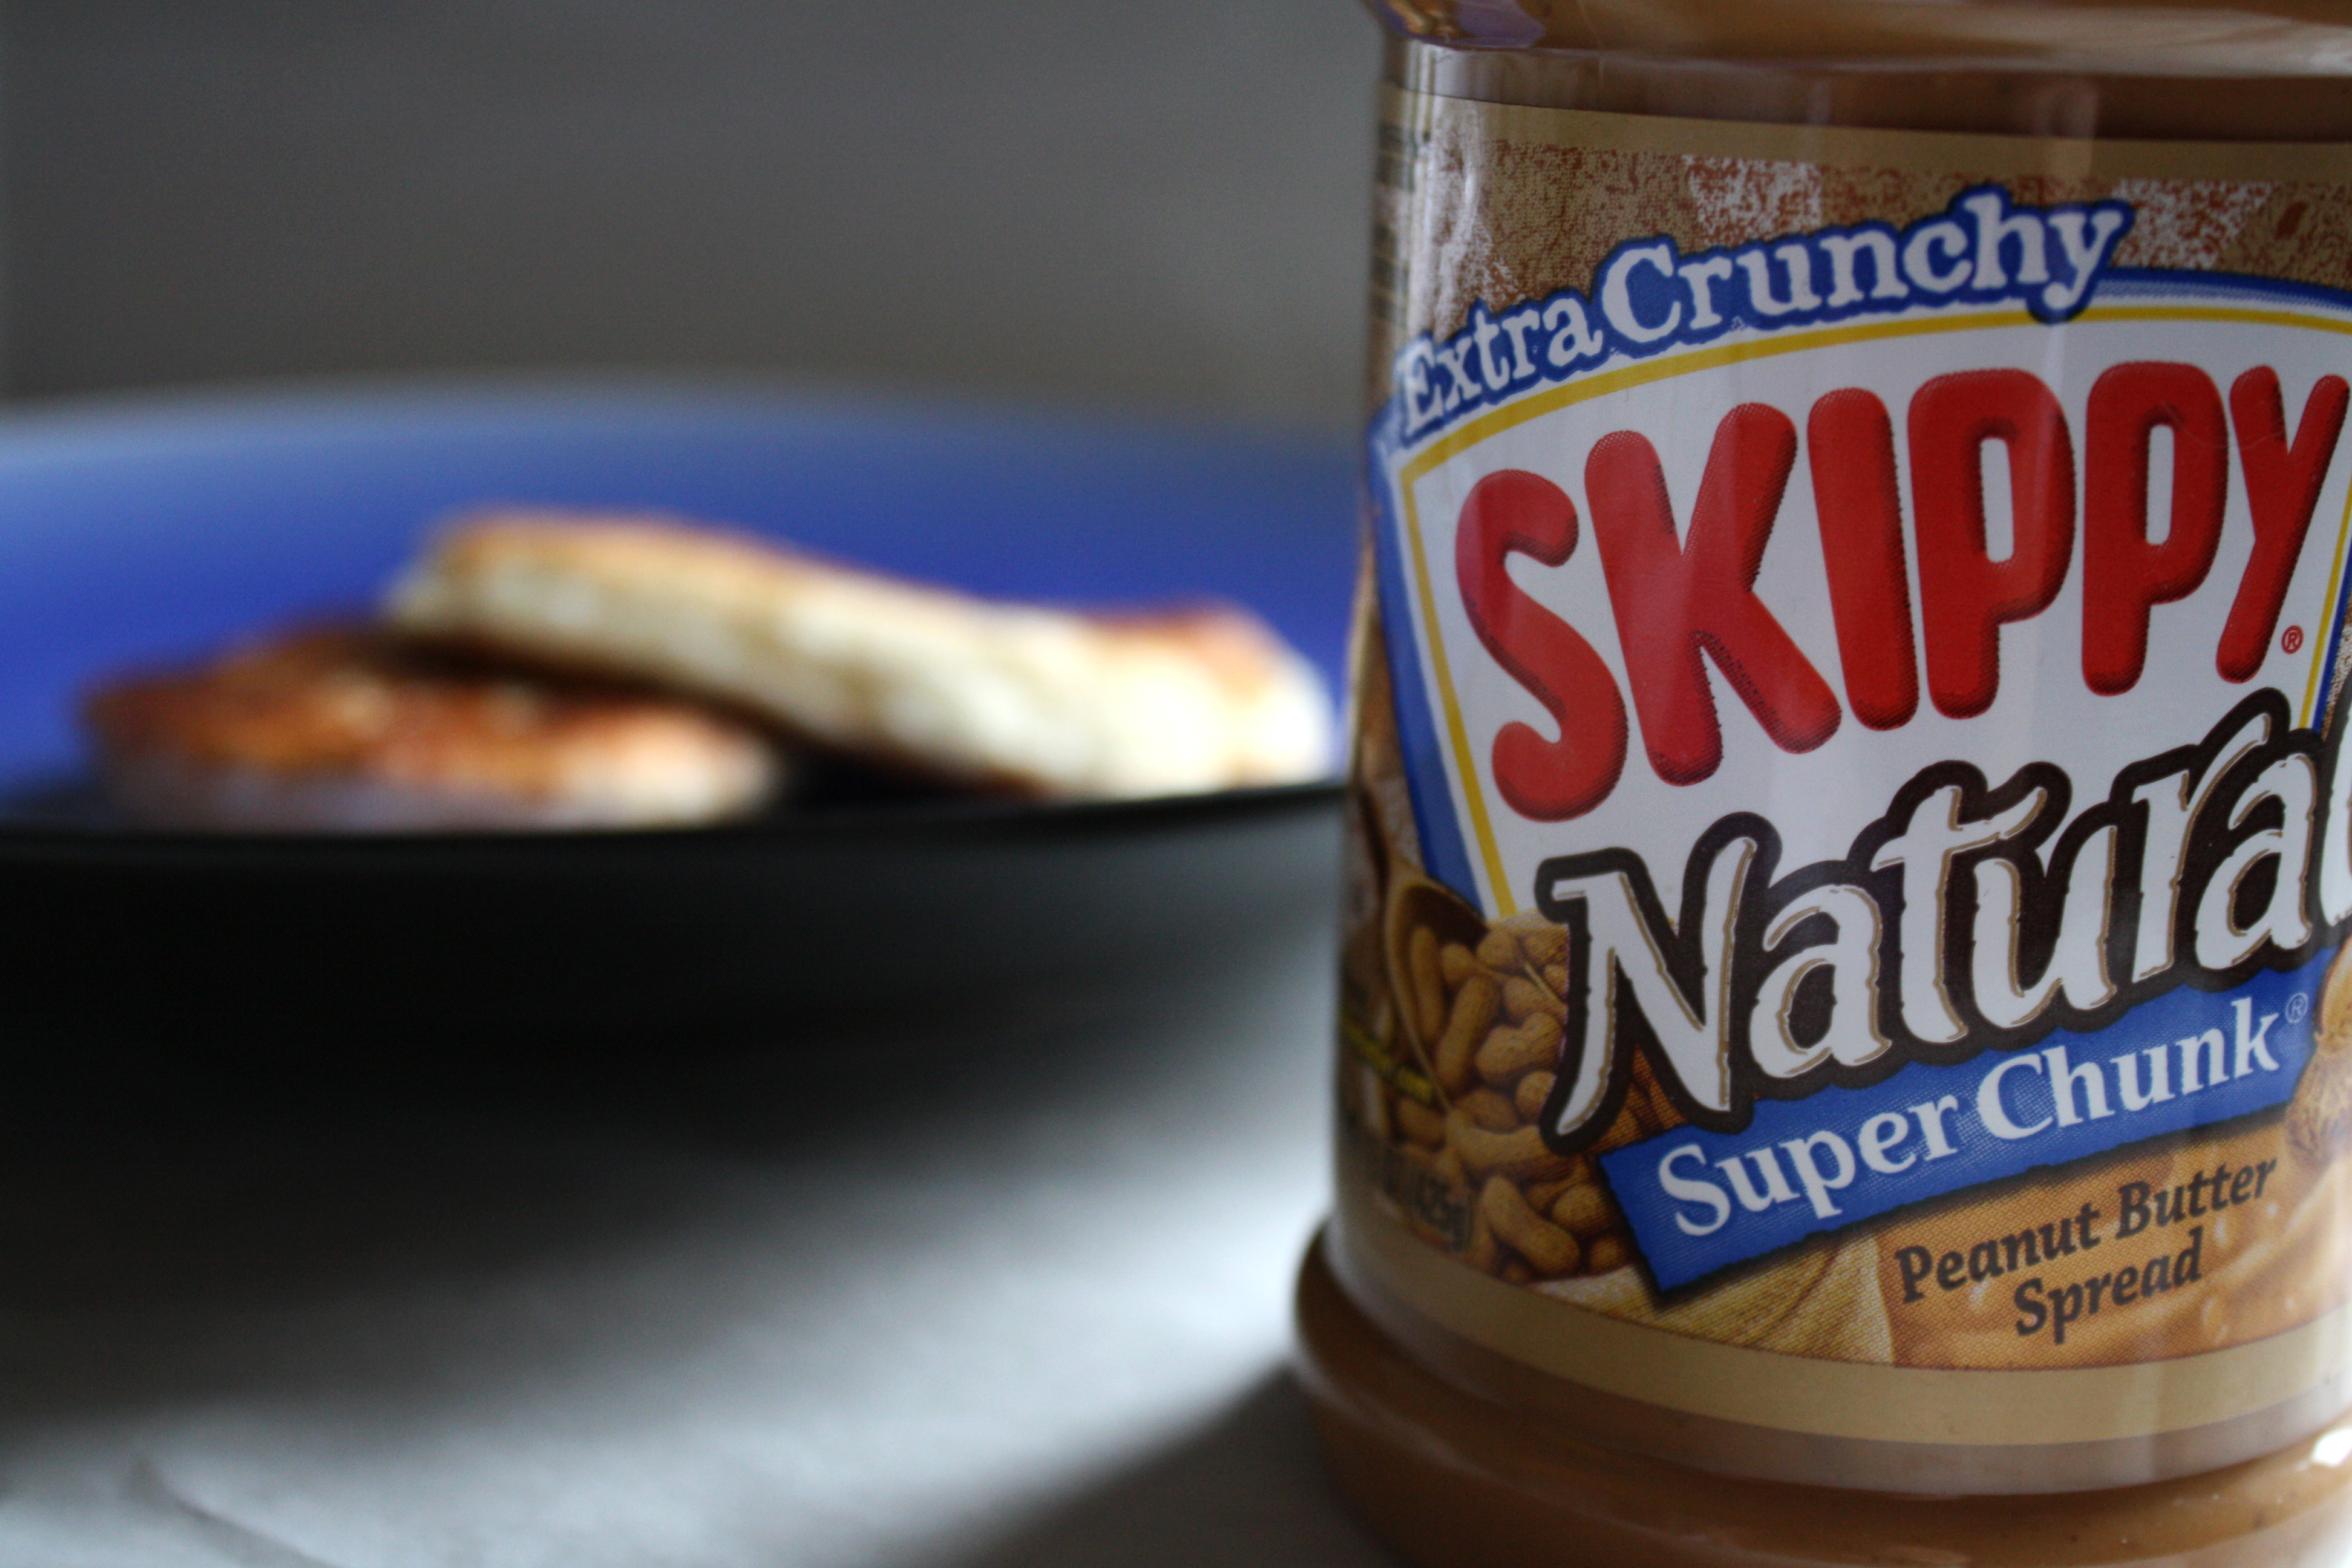
These days, the types of hotteok have been changing continuously. Many variations have developed since the early 21st century, such as green tea, pink bokbunja, corn, and more. In my case, I decided to alter the traditional filling by using crunchy peanut butter in place of the nuts and adding some banana because…well because you can’t have peanut butter without banana (or chocolate) ;)

Though the glutinous rice flour can’t be found in a standard supermarket, you can find it in most large Asian grocery stores, or you can order it online. I highly recommend trying it. And with the leftover, you can make mochi ice cream!

The batter was so delicious that I may try thinning it out and making waffles with it. Whether you choose to make this for breakfast, dessert, or as a snack, I can guarantee you won’t be able to wait to eat it either…and when you burn your mouth, don’t say I didn’t warn you ;)

I submitted my recipe to Yeast Spotting!


Hotteok (Sweet Korean Pancake) stuffed with Brown Sugar, Peanut Butter and Banana

Adapted from One Fork, One Spoon
makes 8-10 small pancakes

¼ cup lukewarm water
2 tablespoons sugar
1 teaspoon active-dry yeast
1 cup flour
¾ cup glutinous rice flour
½ teaspoon salt
½ cup milk
3 tablespoons canola or vegetable oil

filling:
¼ cup brown sugar
1/4 cup crunchy peanut butter
1 ½ teaspoon ground cinnamon
1/3 banana, diced

Stir together the lukewarm water, one tablespoon of sugar, and active-dry yeast in a small bowl until the sugar and yeast dissolve.  Let it sit for 10 minutes, during which time it will start to bubble and foam.

Combine the flour, glutinous rice flour, salt and remaining tablespoon of sugar in a large bowl.  Add the yeast-sugar mixture and the milk.

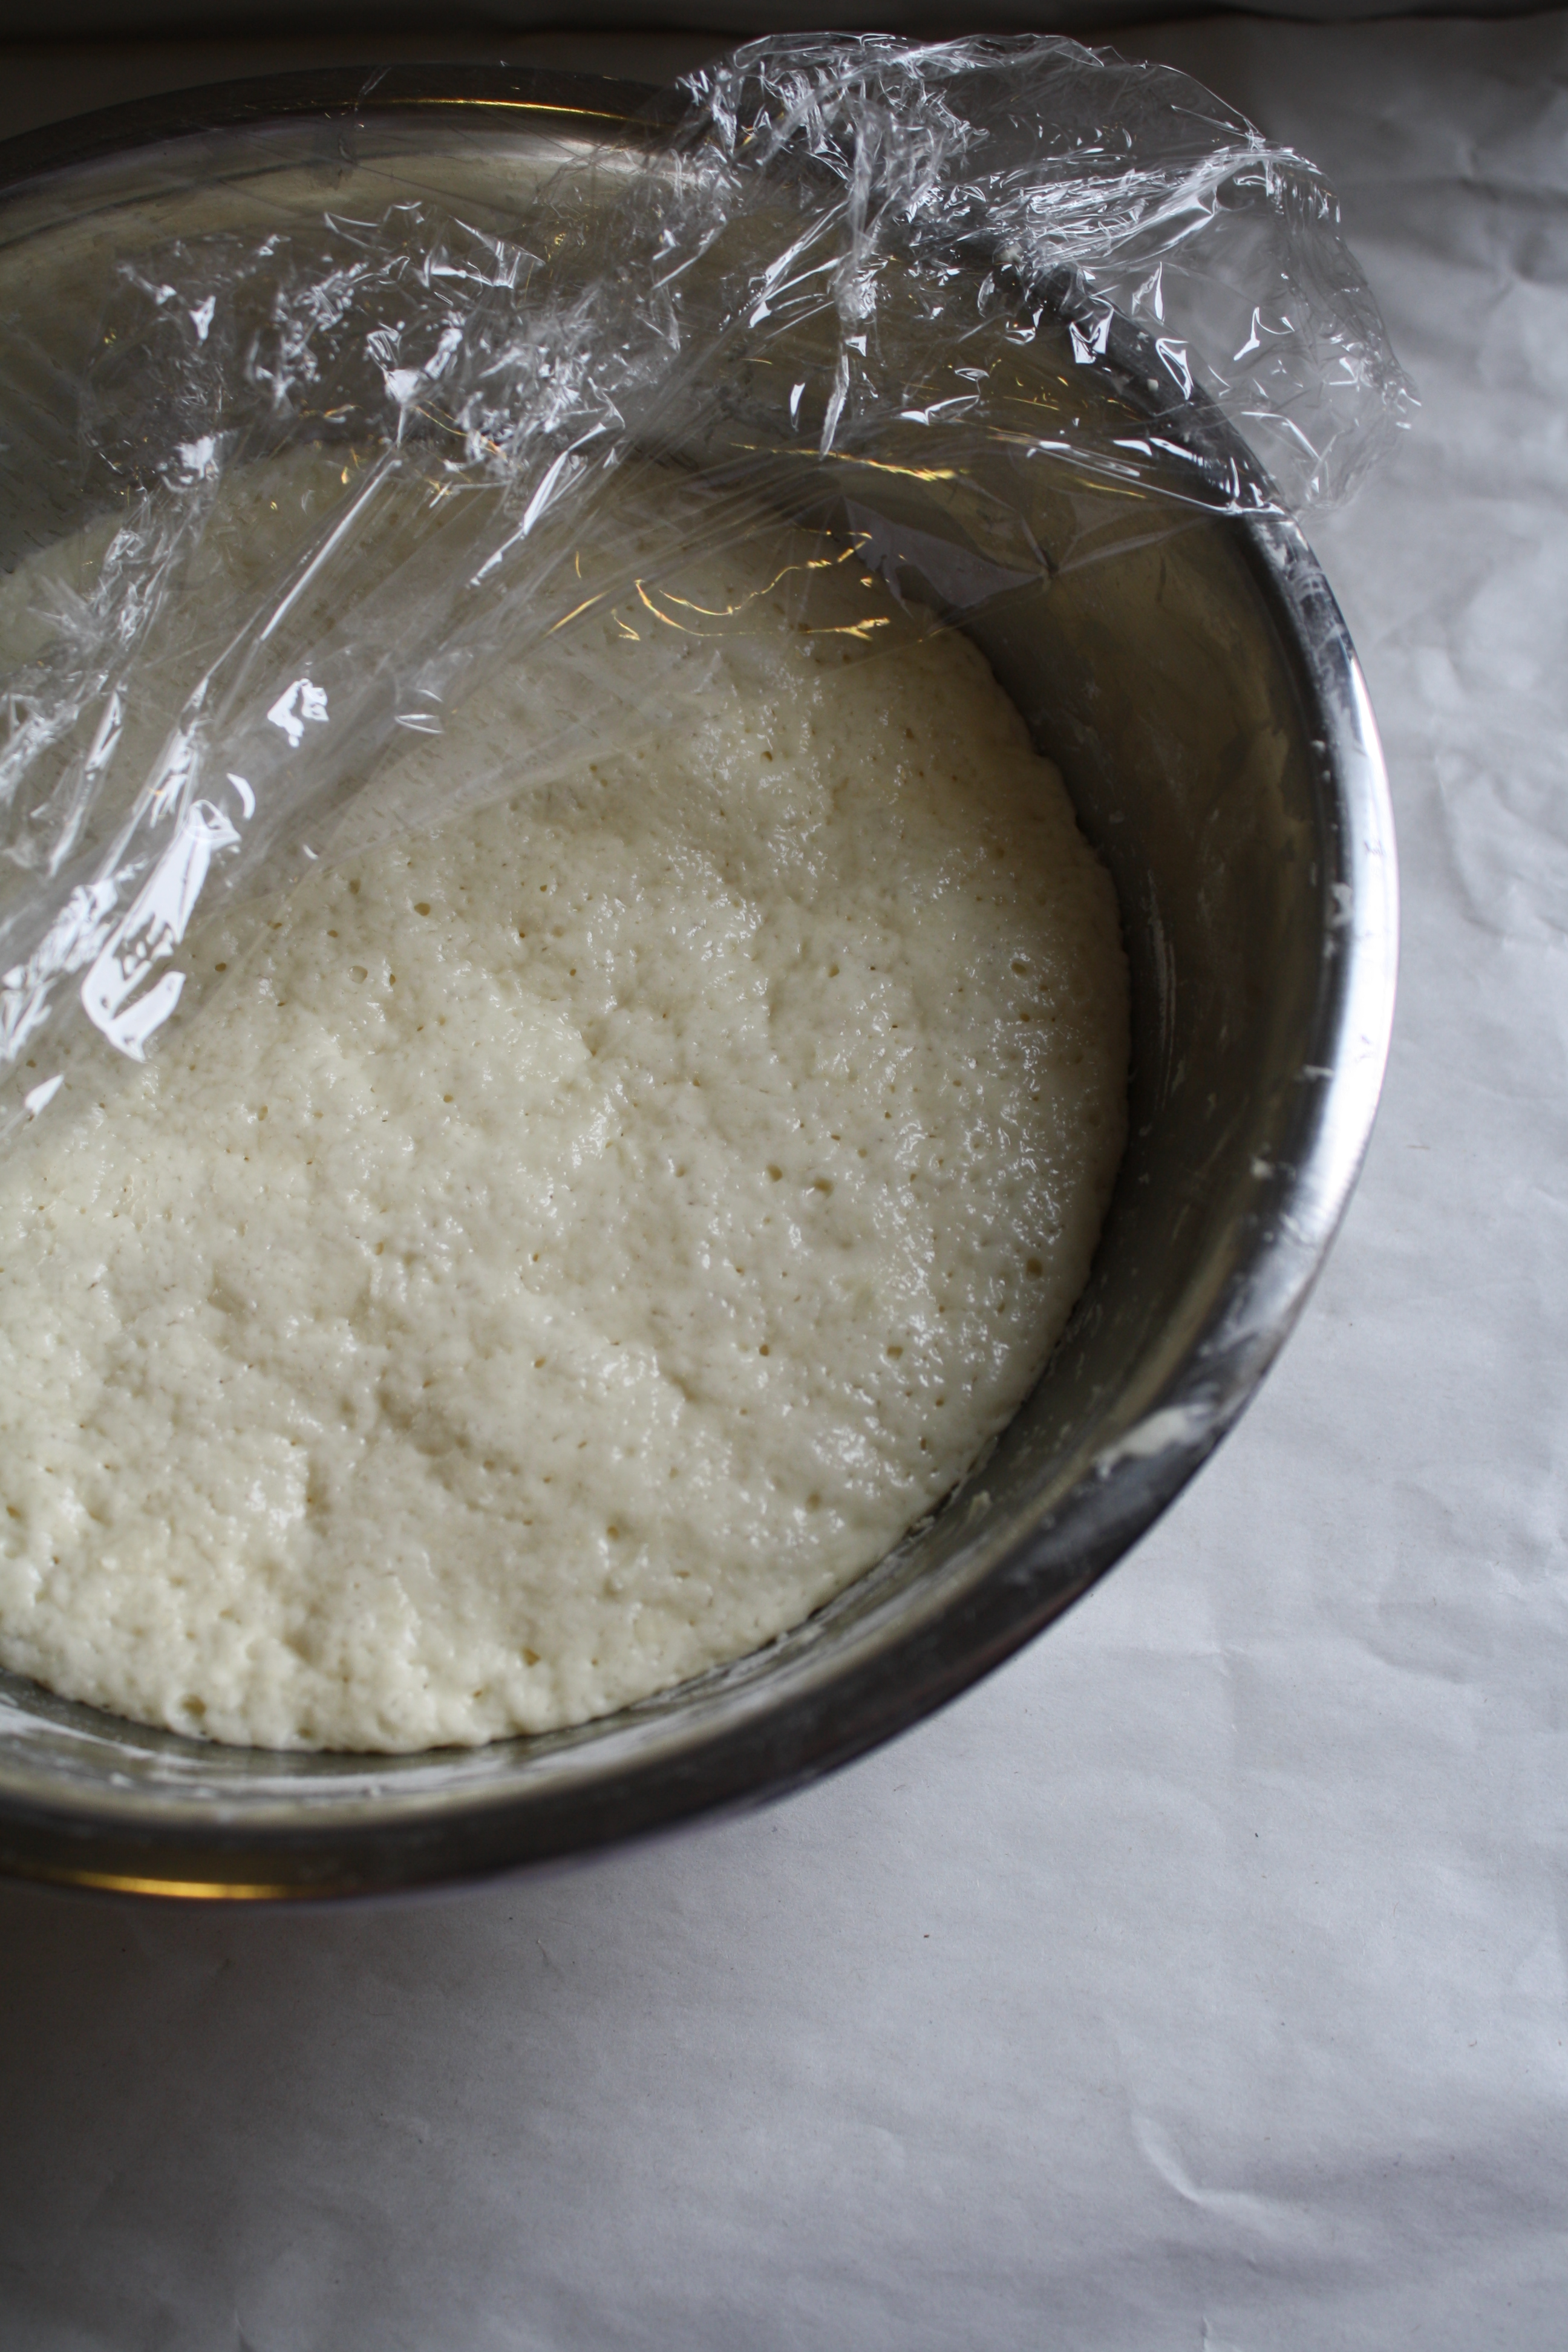
Using your hands, bring the dough together into a sticky ball.  Knead it a couple of times, for about two or three minutes.  The dough will be sticky, but it should still come off your hands and stay together.  Cover with plastic and place in a warm spot for 3 hours.  (I put my oven on 200 for 30-40 seconds then turned it off and put dough in and turned on oven light)

After 3 hours, the dough will have doubled in size.  It will look pretty puffy.  Knead the dough a couple times until it becomes more elastic, but keep in mind that it will never become a smooth, elastic ball of dough.

Combine the brown sugar, peanut butter and cinnamon in a small bowl. Chop banana into small pieces and put to side.

Heat the oil in a large pan on medium-high heat.  Make sure your pan is hot before you start — your pancake should sizzle when it hits the pan or it won’t form a good crisp crust.  Oil your hands and pinch off a piece of dough, about 2-3 tablespoons.  Knead it into a smooth ball and then stretch it out into a loose circle, creating a depression in the middle.  Fill the depression with the sugar mixture, about a tablespoon worth.  Stretch and seal the dough around the sugar mixture and flatten it between the palms of your hands.

Drop the flattened ball of dough into the pan.  The oil should be hot enough to sizzle.  Smooth some oil on your spatula and press down on the ball of dough, flattening it further.  Continue making balls of dough until the pan has 3 or 4 pancakes in it. Be careful not to crowd the pan.

Fry the pancakes until golden-brown, about 3 minutes on each side.  Remove from the pan and let them drain on a paper towels or a wire rack.  Serve warm.


I love baking for no reason. But I really love having an actual event to bake for…particularly because then I know the goods won’t be sitting in my kitchen, calling my name at all hours of the night. I only wish I was kidding about my abilities to communicate with cake.

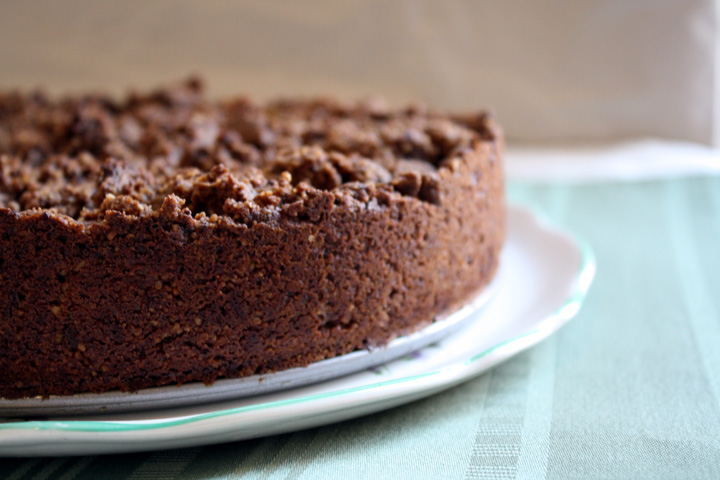
Birthdays are the perfect reason to bake up something good. So I took this opportunity for Nate’s friend’s birthday to make a Chocolate Fudge Cheesecake I’ve been wanting to try.

The recipe said it made 2 cakes. Even with a celebration like a birthday, I’m not sure why anyone would want to make 2 cakes…or at least 2 of the same cake. Ridiculous. Plus, I didn’t have 2 springform pans. So I halved the recipe and hoped for the best.

It turned out beautifully, and delicious. And the birthday boy seemed to enjoy it, which is the real result you hope for on any birthday baking endeavor :)

cheesecake, pre-glazing


Now if you’ll excuse me, I think I hear something calling my name from the refrigerator.


Chocolate Fudge Cheesecake

Adapted from Southern Living
makes one 9-inch cheesecake

Cake

1/4 cup toasted, chopped pecans
2 (1-ounce) bittersweet chocolate baking squares
1/2 cup butter, softened
1 cup sugar
2 large eggs
1/2 cup all-purpose flour
1/2 teaspoon vanilla extract
1/2 cup semisweet chocolate morsels
2 (8-ounce) packages cream cheese, softened
3/4 cup sugar
3 large eggs
1 teaspoons vanilla

Sprinkle 1/4 cup pecans evenly over the bottom of each of 1 greased and floured 9-inch springform pan.

Microwave chocolate squares in a microwave-safe bowl at MEDIUM (50% power) 1 1/2 minutes, stirring at 30-second intervals until melted. Stir until smooth.

Beat butter and 1 cup sugar at medium speed with an electric mixer until light and fluffy. Add 2 eggs, 1 at a time, beating just until blended after each addition. Add melted chocolate, beating just until blended.

Add flour, beating at low speed just until blended. Stir in 1/2 teaspoon vanilla and chocolate morsels. Divide batter evenly between pans, spreading over chopped pecans.

Beat cream cheese at medium speed with an electric mixer until smooth; add 3/4 cups sugar, beating until blended. Add 3 eggs, 1 at a time, beating just until blended after each addition. Stir in 1/2 teaspoons vanilla. Divide cream cheese mixture evenly between each pan, spreading over brownie batter.

Bake at 325° for 1 hour and 15 minutes or until set. Remove from oven; cool completely on wire rack.

Spread top of cooled cheesecake with 1 recipe Chocolate Glaze (see below); cover and chill 8 hours. Remove sides of pans before serving. Garnish, if desired.

Chocolate Glaze

1 (12-ounce) package semisweet chocolate morsels
1/2 cup whipping cream

Melt 1 (12-ounce) package semisweet chocolate morsels and 1/2 cup whipping cream in a 2-quart microwave-safe bowl at MEDIUM (50% power) 2 1/2 to 3 minutes or until chocolate begins to melt. Whisk until chocolate melts and mixture is smooth.

*Note: The top glaze layer came out extremely thick and rich. I think if I were to make it again, I’d halve the amount.