I’m the most indecisive person you’ve ever met. My family and Nate can certainly vouch for that.

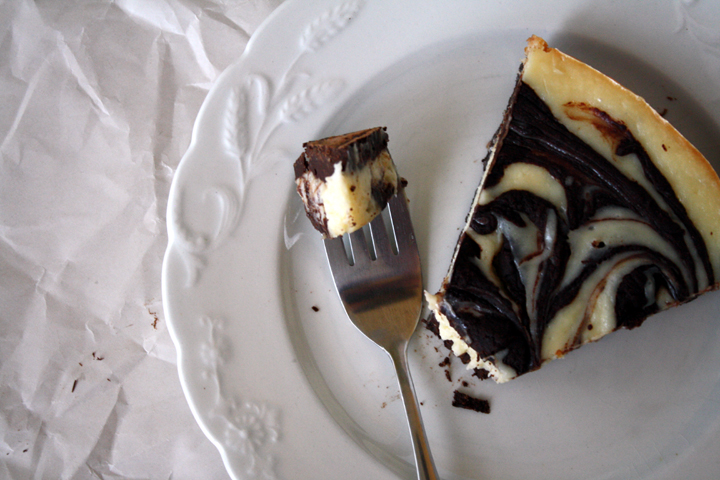
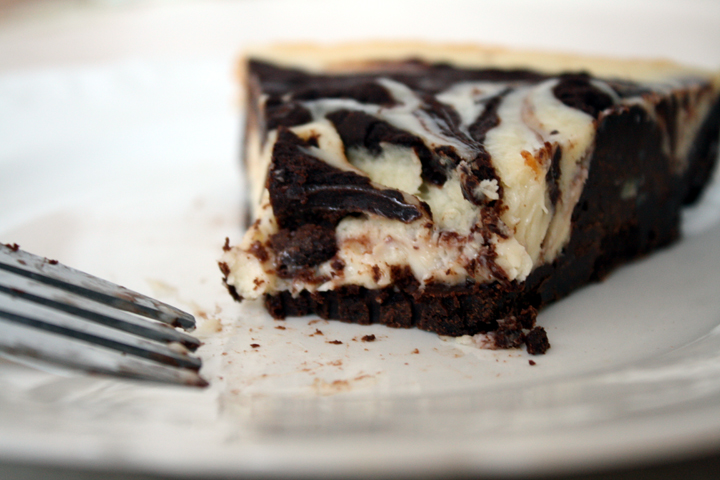
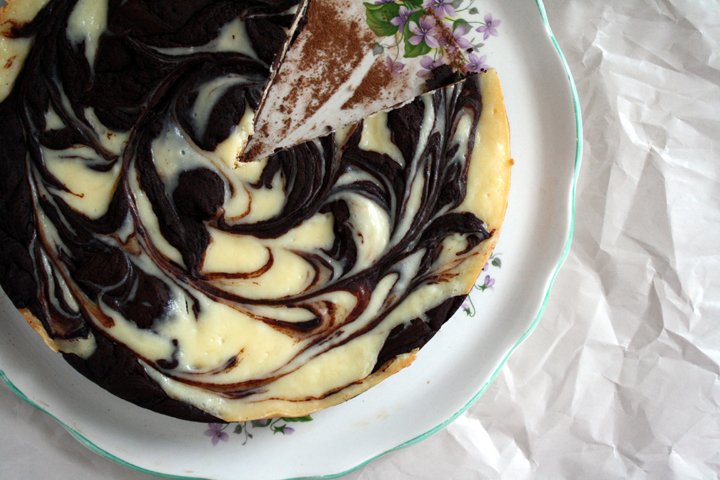
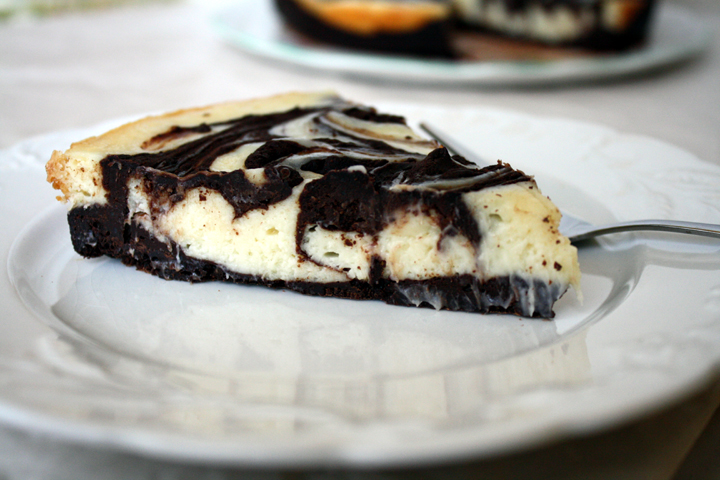
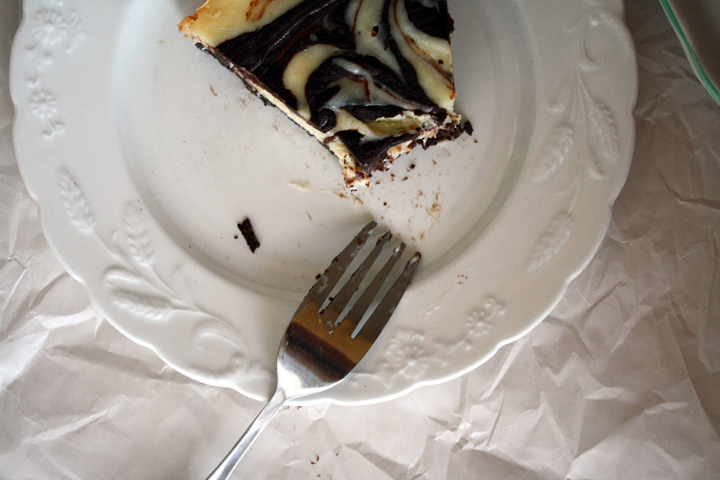
Chocolate Fudge Cheesecake

I rarely buy things for myself, so when I do you can imagine how long I spend deciding exactly what item I want. I will literally stand in a department store with a blue shirt and a red shirt in each hand, looking back and forth for a good 30 minutes to figure out which one I really want.

I’m not exaggerating.

At restaurants I will agonize over what to order because everything sounds so good and I know I can only get one thing. I usually make the waiter go to everyone else and take my order last just so I have that extra 1 minute to finalize my choice.

It’s like making decisions paralyzes me.

How do you choose what to have??! Well with this recipe you don’t have to. There’s a super dense chocolate layer for the chocoholic in all of us, and then there’s the tangy cheesecake marbeled throughout for those of us cheesecake lovers!

This is not for the faint of heart. If you like serious chocolate desserts than this is for you. Nate could barely finish his slice…although it could be because it was a large slice and we had just had a giant mac and cheese dinner. Man, I wish I had his metabolism…

Marbled Chocolate Fudge Cheesecake

slightly adapted from Baker Street

Print this recipe!

makes one 9″ round cake

For the vanilla batter:
8 oz. cream cheese, softened to room temperature
2/3 cup granulated sugar
1 large egg
1 tsp. pure vanilla extract

For the chocolate batter:
8 oz. bittersweet chocolate, finely chopped
1 stick (8 Tbsp) unsalted butter, cut into pieces
3 large eggs
1/3 cup granulated sugar
1 Tbs. dark rum or espresso
1 tsp. pure vanilla extract
1 Tbsp flour
Pinch table salt
Cocoa powder for dusting

Preheat the oven to 300°F.

Lightly grease a 9 inch round cake pan and /or line the bottom with parchment.

Make the vanilla batter:
In a medium bowl, beat the softened cream cheese with an electric mixer until smooth.

Add the sugar and continue beating until well blended and no lumps remain. Add the egg and vanilla and beat just until blended. Set aside.

Make the chocolate batter:
In a medium bowl, melt the chocolate and butter in a large metal bowl over a pan of simmering water or in the microwave.

Whisk until smooth and set aside to cool slightly. With a stand mixer fitted with the whip attachment (or with a hand mixer), beat the eggs, sugar, rum or espresso, vanilla, and salt on medium high until the mixture is pale and thick, 3 to 4 min.

With the mixer on low, gradually pour in the chocolate mixture and continue beating until well blended. Beat in the flour.

Spread about half of the chocolate batter in the bottom of the pan. Alternately add large scoopfuls of each of the remaining batters to the cake pan.

Using a knife or the tip of a rubber spatula or a toothpick gently swirl the two batters together so they’re mixed but not completely blended.

Tap the pan against the countertop several times to settle the batters.

Bake until a pick inserted about 2 inches from the edge comes out gooey but not liquid, 40 to 42 min.; don’t over bake.

The top will be puffed and slightly cracked, especially around the edges. It will sink down as it cools. Let cool on a rack until just slightly warm, about 1-1/2 hours. Let cool completely. Cover and refrigerate until very cold, at least 4 hours or overnight, or freeze.

Remove cake from fridge one hour before serving. Loosen the cake from the pan by holding the pan almost perpendicular to the counter; tap the pan on the counter while rotating it clockwise. Invert onto a large flat plate or board. Remove the pan and carefully peel off the parchment. Sift some cocoa powder over the cake (this will make it easier to remove the slices when serving).

Let sit until cake warms to room temperature before serving. (or eat it cold if you like that!)

Invert again onto a similar plate so that the top side is up.

Sorry I haven’t posted in a while. My grandpa passed away last week and I’ve been spending time down in Florida with my family. As sad as it is that he wasn’t there with us, it was really nice to see everyone all in one place. It doesn’t happen often that we’re all together.

My grandpa had been wanting our whole family (aunts, uncles, cousins) to get together for his and my grandma’s 60th anniversary and earlier last year we had been planning to take a trip somewhere together. After he got sick he knew that trip would never happen and really was just hoping he could at least make it to my wedding in October. It’s sad that we were all finally able to be together and my grandpa couldn’t join us. And my wedding will definitely feel like there’s something missing.

This month’s bloghop ingredient is berries. I really wanted to bake up something that my grandpa would have loved.

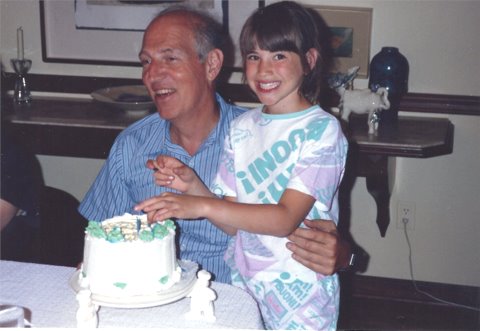
His and my birthday were only 2 days apart so either my mom or I would bake a cake every year and the two of use would celebrate together, blowing out the candles on our cake.

birthday with grandpa

Birthday with Grandpa- 8 yrs old

I contemplated baking a carrot cake because I remember how much he loved when we made a carrot layer cake for his birthday, complete with cream cheese frosting. I also remember a time we made a white cake with lemon curd filling and blueberries- the only berry he would eat because he hated seeds getting in his teeth.

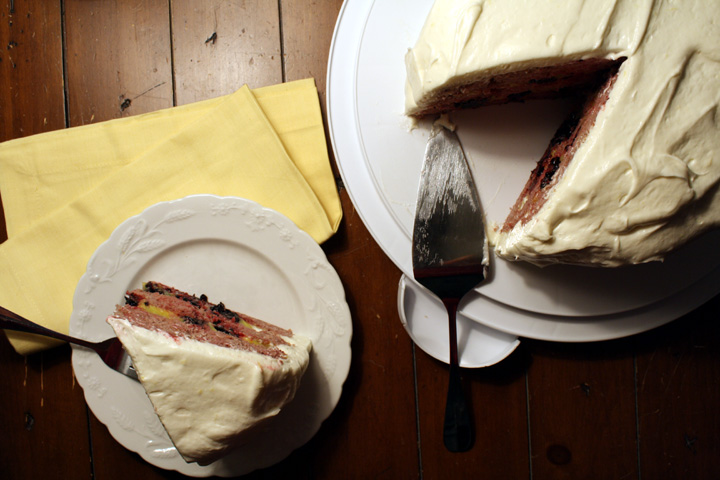
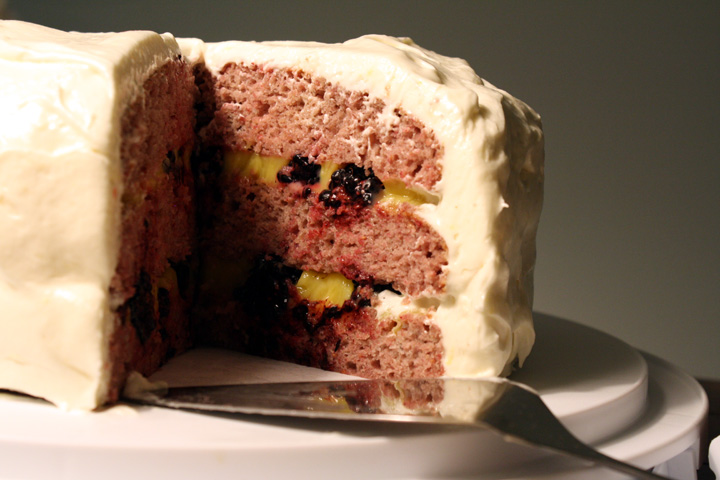
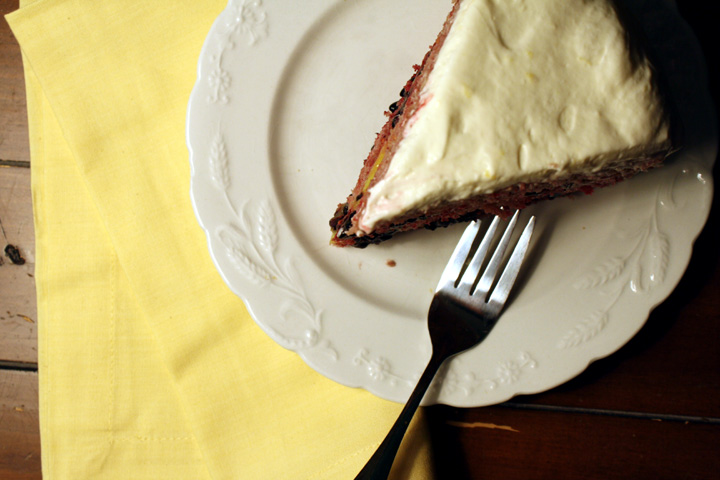
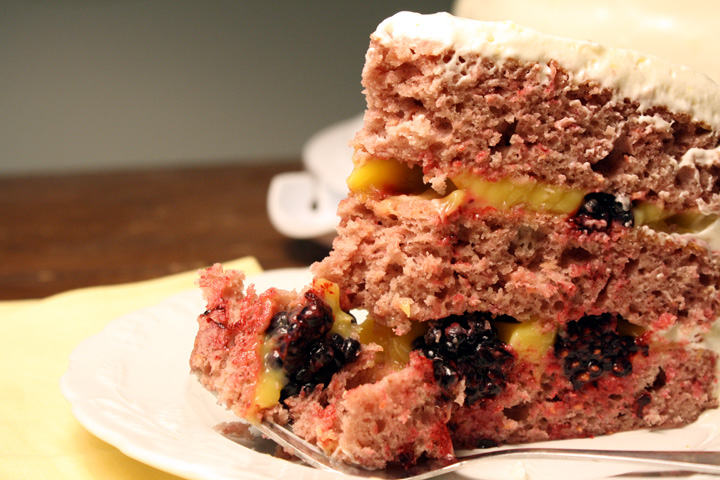
I kind of combined the two and made a raspberry cake (I think he wouldn’t have minded the seeds are baked in but you could easily strain them out), with lemon curd filling and a cream cheese frosting. There were no good blueberries so I used blackberries in this filling.

I think my grandpa would have loved this cake. I miss him already.

I’m posting this as part of the #berryove April bloghop. I’m co-hosting with the following:
A little bit of everythingBaker StreetBaking and Cooking, A Tale of Two LovesBigFatBakerBon à croquerCake DuchessEasily Good EatsGeorgie Cakes, Hobby And MoreJava CupcakeMis PensamientosNo One Likes Crumbley CookiesOh CakeQueen’s NotebookRico sin AzúcarSimply ReemSoni’s Food for ThoughtTeaspoon of SpiceThat Skinny Chick Can Bake!!!The Art of Cooking Real FoodThe Wimpy VegetarianVegan Yack AttackVegetarian Mamma

Please join in on the #berrylove fun by linking up any berry recipe from the month of April 2012. Don’t forget to link back to this post, so that your readers know to come stop by the #berrylove event! The twitter hashtag is #berrylove :). See below recipe for linkup!

Raspberry Cake with Lemon Filling and Cream Cheese Frosting

Cake adapted from DixieMockingbird, frosting from my Valentine’s Day Cake

Print this recipe!

Makes one 9 inch 3-layer cake

Cake Ingredients:
parchement paper:
butter and flour – for the cake pans

3 cups all purpose flour
2 cups granulated sugar
1 Tbsp + 1 tsp baking powder
1/2 tsp salt
3/4 cup vegetable oil
1 1/2 cup raspberry puree* (I used about 1.5 12 oz bags of frozen berries, thawed)
1 teaspoon vanilla extract
4 large eggs, beaten

2 pints fresh raspberries (i used blackberries because raspberries were ridiculously expensive)
8 oz lemon curd ( I bought some but you could easily make it)

*For raspberry puree – simple run two to three cups of raspberries through the blender or food processor until very smooth. You can strain the puree to remove seeds if you wish, but I didn’t

Frosting Ingredients:
8 oz. of 1/3 less fat cream cheese, room temperature
4 oz. butter, room temperature
1 tsp vanilla
zest of 1 lemon
2 cups confectioners sugar
8 oz. containter of non-dairy whipped topping (I used Cool Whip Free)

Preparation:

Preheat oven to 325F. Butter and flour three 8 inch cake pans, and set aside.

In a medium bowl, combine flour, baking powder and salt.

In a large mixing bowl, whisk together sugar, vegetable oil, raspberry puree, vanilla, and eggs.

Gently whisk in the flour mixture until just combined.

Evenly divide the batter evenly among the prepared cake pans. Bake in preheated oven for 20 minutes or so. The tops of the cakes should be springy to the touch, and a cake tester (aka wooden toothpick or skewer) inserted into the center of each cake should come out clean.

Allow cakes to cool in their pans for 10 minutes, then turn cakes out onto wire cooling racks to cool completley. You can frost them once they reach room temperature, but it is better to chill the cakes for at least an hour before assembling and frosting.

While cake is cooling, beat cream cheese, butter, vanilla and lemon zest with an electric mixer. Beat in confectioners sugar. Fold in cool whip.

Place one cake layer on a plate. Spread half of lemon curd on cake. Place enough raspberries to cover.

Place next cake layer on top and press down, smushing raspberries. Spread rest of lemon curd on cake and place raspberries on top.

Place top cake layer on top and press down again. Dump frosting on top of cake and spread evenly over sides. You may not need all the frosting. Refrigerate cake before cutting to firm up the frosting.


The weekend that Nate and I went up to beautiful Mohonk Mountain to rock scramble, we also attempted to pick some apples.

Unfortunately neither of us realized that apple season is September til early October and that the apples are pretty much gone by late October (at least in NY). Although it wasn’t quite as fun, they had barrels of apples for purchase. Since I already had my heart set on making some tasty apple treats, we grabbed a huge bag that probably had 2-3 dozen apples.

We also grabbed some hot cider and cider donuts while we were there, so it wasn’t a total bust.

Anyway, I’m not exactly sure what I thought I’d be making with all those apples, but this recipe is one that I made last year and it was so good I knew I wanted to make it again.

The cake is super moist and not too sweet. It could seriously be one of my favorite desserts. So if you still have some apples left from your apple picking, or you just want to make this since it’s so good, head on over to Smitten Kitchen’s website where I got the recipe.

For those of you who don’t know, later in this week is Rosh Hashannah, the Jewish New Year.

The traditional food that one eats at Rosh Hashannah is honey, for a “sweet” New Year. So in honor of the holiday, I made this honey cake that my mom recommended.

Honey cakes are very often  made on Rosh Hashannah so there are a lot of recipes going around out there, but most of them are pretty average. I have to say that all the spices in this one made it really flavorful.

I can’t write too much more because this has been a long day…I got engaged!!!! What a sweet way to start off the new year!

So this short post will have to do. I hope you enjoy this, while I go admire my ring :)

Levana Kirschenbaum’s Honey Cake

Taken from Levana

Print this recipe!

Makes one 10-inch tube/bundt pan

Ingredients:

2 teaspoons baking powder
2 teaspoons baking soda
pinch of salt
1 tablespoon ground cardamom
1 tablespoon ground ginger
1/4 teaspoon nutmeg
2 teaspoons cinnamon
4 eggs
1 cup dark brown sugar, packed
1 cup honey (see note)
1 cup vegetable oil
1 cup very strong warm tea (2 tea bags steeped in 1 cup hot water)
1/2 cup ground almonds, optional
3 tablespoons sliced almonds (add only if using the ground almonds)

In a bowl, mix together the flour, baking powder, baking soda, salt, cardamom, ginger, nutmeg, and cinnamon an set aside.

In a food processor, process the eggs with the sugar, honey, and oil, just until combined. Beginning and ending with the dry ingredients, add the flour mixture in thirds, alternating with the tea. Pulse 2 to 3 times after each addition, just to incorporate. Add the ground almonds, if desired.

Pour the batter into a greased 10-inch springform pan or tube pan. Top with the sliced almonds, if using. Bake for 1 hour or until a knife inserted in the center of the cake comes out clean. Invert the cake onto a rack to cool. Turn right side up to serve.

Note: If you measure the oil for the recipe first, then use the same measuring cup to measure the honey, the honey will slide out easily.

As you may have figured out, the challenge this month was all about candy! How very exciting.

The August 2011 Daring Bakers’ Challenge was hosted by Lisa of Parsley, Sage, Desserts and Line Drive and Mandy of What the Fruitcake?!. These two sugar mavens challenged us to make sinfully delicious candies! This was a special challenge for the Daring Bakers because the good folks athttp://www.chocoley.com offered an amazing prize for the winner of the most creative and delicious candy!

Candy is one of those things I’ve always wanted to try making but have been too scared. Having a reason to make it was the perfect motivator to give it the old college try.

And you know what? It wasn’t all that hard.

I did have a couple issues with the recipes. First, while I followed the recipe to a T, I think the Honeycomb candy had a bit too much baking soda (or maybe I didn’t mix it well enough?). In certain pieces of the finished product, it had a baking soda aftertaste that was not pleasant.

My main issue, however, was with melting the chocolate to the appropriate dipping consistency. I didn’t temper it, but tried the microwave method that many people had recommended. I think maybe I overcooked it? All I know is that it was more gloppy than silky smooth. This didn’t in any way affect the taste (they were amazing!), but it did make the process a whole lot messier and more frustrating.

By the time I finished, there was chocolate smeared on the refrigerator door handles, the microwave, all over the counter, on my face where I wiped my brow in frustration, and dripped all over the floor. I think I may have even seen a few drops on LC the cat. It’ll be a nice surprise for her the next time she decides to groom herself ;)

Filled Chocolates (made with molds)

Makes about 25 small chocolates

Ingredients:

Dark or milk chocolate melted, preferably tempered, about 14 oz
Powdered food coloring (lustre dust mixed with extract) for decoration (optional)

Other Equipment:
A small brush
Chocolate molds
A Ladle
Bench or plastic scraper
OR
A small brush or spoon

Preparation:

1. When coating the molds with the tempered chocolate, I like to do it how the chocolate pro’s do it (much faster and a lot less tedious). While holding mold over bowl of tempered chocolate, take a nice ladle of the chocolate and pour over the mold, making sure it cover and fills every well. Knock the mold a few times against a flat surface to get rid of air bubbles, then turn the mold upside down over the bowl of chocolate, and knock out the excess chocolate. Turn right side up and drag a bench or plastic scraper across so all the chocolate in between the wells is scraped off cleanly, leaving you with only chocolate filled wells. Put in the fridge to set, about 5 to 10 minutes.

Alternatively, if you’d like (or if your chocolate wasn’t tempered correctly and didin’t allow for pouring!) you could take a small brush and paint the tempered chocolate into each mold, or spoon it in if you’d like.

3. Remove from refrigerator and fill each well with the filling of your choice. With the mint filling I used, I rolled each into a small ball, put it in the chocolate filled mold, and flattened it.

4. Again take a ladle of chocolate and pour it on top of the filled chocolate wells, knocking against a flat surface to settle it in. Scrape excess chocolate off the mold with the bench scraper then refrigerate until set.

4. When set, pop your beautiful filled chocolates out of each well.

5. If decorating with lustre dust, put a small amount in a little bowl mixed with a drop or two of extract of choice. Mix well and paint in desired pattern on top of chocolates!

Sponge Candy (also called Honeycomb or Sea Foam candy)

Adapted from Christine Cushing’s Sponge Toffee Recipe

Full photo tutorial Here

Ingredients:

2½ cups (20oz/560gm) Granulated White Sugar
2/3 cup (160 ml) Light corn syrup
6 tablespoons (90 ml) Water
1 tablespoon (0.5 oz/ 15g) Baking Soda
2 teaspoons (10 ml) Vanilla extract
Vegetable oil for greasing pan

Preparation:

1. Liberally grease a 10-inch round spring form cake pan with vegetable oil. Trace the bottom of the pan on a piece of parchment paper. Line the bottom of the pan with the parchment paper circle. Line the sides of the pan with a parchment paper so that the parchment paper creates a collar that sits 1 to 2-inches above the pan. Liberally grease the parchment paper.
2. In a deep medium saucepan add sugar, corn syrup, water, and vanilla. Over medium-high heat bring the mixture to a boil (without stirring) and cook until hard crack stage, i.e. until temperature reads 285°F / 140°C on a candy thermometer (if using light corn syrup, it will be light amber, if using dark corn syrup it will be the color of maple syrup). This should take about 10 minutes. If sugar crystals form on the sides of the pan during the cooking process, brush the sides of the pan with a clean pastry brush dipped in water.
3. Remove from heat. Working quickly, add the baking soda and quickly blend to incorporate the soda into the sugar mixture, about 5 seconds. The mixture will bubble up when you add the baking soda. Be very careful not to touch the hot mixture.
4. Immediately pour the hot toffee into the prepared pan. Let set completely before touching. Cut into pieces. It makes a huge mess. But the messy little crumbs can be saved to top ice cream. Leave candy as is and enjoy, or dip pieces in tempered chocolate and let set.