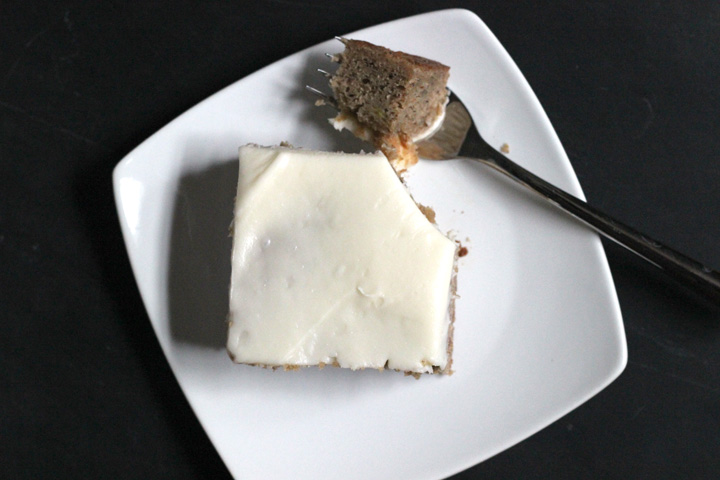
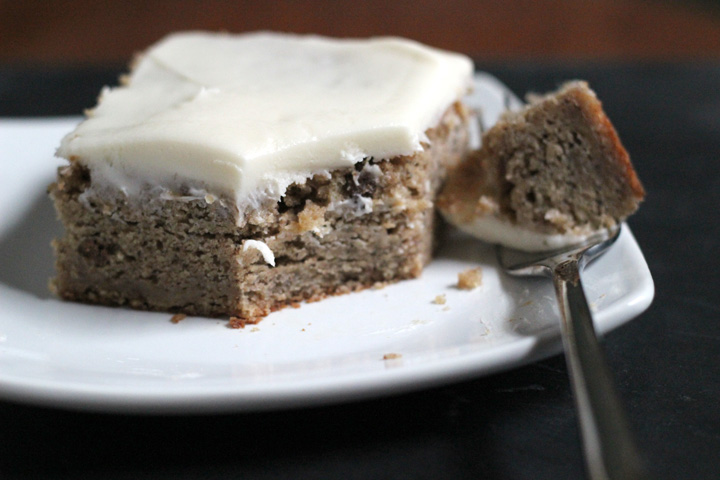
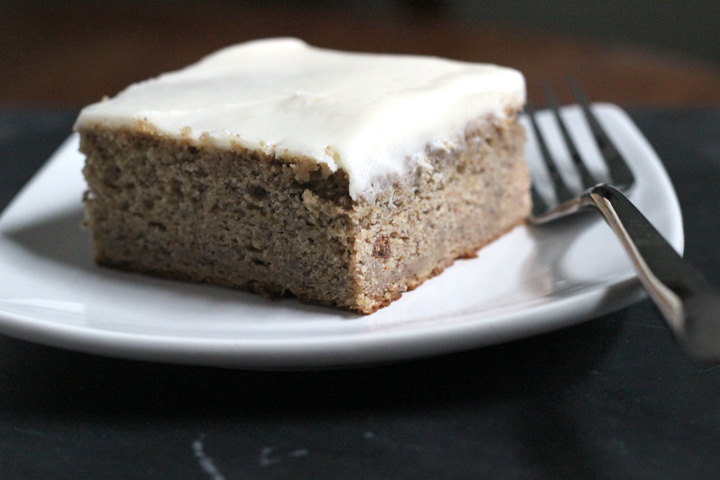
I’m actually posting a recipe!!!

Banana Snack Cake ~ ElephantEats.com

Apparently leg cramps are a common symptom of pregnancy. I’ve been getting so many of them that I wake up in the middle of the night in agony. Any time I flex my foot or calf in the slightest it cramps up.

I’ve long known that potassium can help with leg cramps, so I figured it couldn’t hurt to start eating a banana every day. Now whenever I go to the market, I buy a big bunch, figuring that the ones that don’t get eaten can get turned into something delicious- it helps that I’m loving cooking in my new kitchen :)

Banana Snack Cake ~ ElephantEats.com

The first week I had leftovers, I made our favorite chocolate chip banana bread recipe (which I totally need to share with you guys some time). Then last week I decided a banana snack cake would be a tasty treat. 

In addition to trying a new recipe, I decided to experiment with White Whole Wheat flour. Monica had first told me about this flour and has been touting it as awesome, especially if you want the whole grains from whole wheat flour but don’t love the dry and gritty texture it adds.

I had never heard of white whole wheat flour so I decided to research it a bit and give it a try. The Whole Grains Council explains it as the following:

“White wheat is a different type of wheat that has no major genes for bran color (unlike traditional “red” wheat which has one to three bran color genes). An easy way to think of it is as a sort of albino wheat. The bran of white wheat is not only lighter in color but it’s also milder in flavor, making whole white wheat more appealing to many people accustomed to the taste of refined flour.

The term “white flour” has often been used to mean “refined flour,” so “whole white wheat flour” sounds like a contradiction in terms. But it is simply WHOLE flour – including the bran, germ and endosperm – made from WHITE wheat.”

Banana Snack Cake ~ ElephantEats.com

The one thing I was skeptical about was how it compares nutritionally to regular whole wheat flour, but the council goes on to say that experts consider these two kinds of whole wheat to be the same, nutritionally. I was sold!

I bought King Arthur Flour brand. Usually, if subbing whole wheat for all-purpose flour in a recipe, you would only substitue part of the all-purpose for whole wheat, lest you dry out your baked goods. Since I was using a lighter whole wheat flour and had the moisture from the bananas, I decided to use 100% of the white whole wheat flour.

Honestly, the result was amazing! It definitely helped that the bananas already added moisture, plus I upped the sour cream amount from the original recipe. And it never hurts to have a creamy cream cheese frosting on top.

I could feel the texture of the whole wheat in the cake, but I thought it went perfectly with the bananas and made even a small piece extremely filling! It also totally made this cake ok to eat for breakfast ;)

Banana Snack Cake ~ ElephantEats.com 

Whole Wheat Banana Spice Snack Cake with Cream Cheese Frosting
Serves 12
A really moist, spiced snack cake made healthier with the addition of white whole wheat flour!
Write a review
Print
Cake
  1. 2 cups White Whole Wheat flour
  2. 1 teaspoon baking soda
  3. 1/2 teaspoon baking powder
  4. 1/2 teaspoon salt
  5. 2 teaspoons cinnamon
  6. 1 teaspoon allspice
  7. 1/2 teaspoon nutmeg
  8. Pinch cloves
  9. 1/2 cup (1 stick) unsalted butter, room temperature
  10. 1 1/2 cups granulated sugar
  11. 1 1/2 cups mashed ripe bananas (about 3 large)
  12. 1 1/4 cup sour cream
  13. 2 large eggs
Cream Cheese Frosting
  1. 1 8 ounce block light or regular cream cheese, room temperature
  2. 3 tablespoons unsalted butter, room temperature
  3. 2 cups powdered (confectioner's) sugar
  4. 1/2 teaspoon vanilla
  5. Pinch salt
  6. Milk (only if needed for thinning the icing to a spreading consistency)
Instructions
  1. Preheat the oven to 350 degrees Fahrenheit. Butter and flour a 13-inch x 9-inch baking pan.
  2. In a medium bowl, stir together the flour, baking soda, baking powder, salt, cinnamon, nutmeg, allspice, and cloves. Set aside.
  3. In the bowl of a stand mixer fitted with the beater blade attachment or in a large bowl using an electric mixer, beat together the butter and sugar on medium speed until pale and fluffy, about 1 - 2 minutes. Add the eggs one at a time and mix until well incorporated. Mix in the sour cream and the bananas.
  4. Pour in the flour mixture, a little bit at a time, beating continuously until well-incorporated.
  5. Spread batter into the prepared pan.
  6. Bake for about 40-45 minutes, or until the top of the cake is golden and a toothpick or tester inserted into the center comes out clean. Remove the cake from the oven and place on a wire rack to cool completely.
  7. To make the frosting, fit a stand mixer with the beater attachment or use a large bowl and an electric hand mixer. On medium speed, beat together the cream cheese and butter until smooth. Turn the mixer to low and gradually add the powdered sugar. Once all the powdered sugar has been added, increase the speed to medium and beat for another 30 seconds. Add the vanilla and pinch salt; beat for another minute or so until smooth. Add a little milk (a couple of teaspoons at a time) if the frosting seems too stiff to spread.
  8. Spread frosting onto completely cooled cake. Cut into 12 pieces and serve. Cover and store leftover cake in the refrigerator. The cake stays moist even straight out of the fridge!
Adapted from Kitchen Treaty
https://elephanteats.com/

Blackberry Clafoutis ~ ElephantEats.com

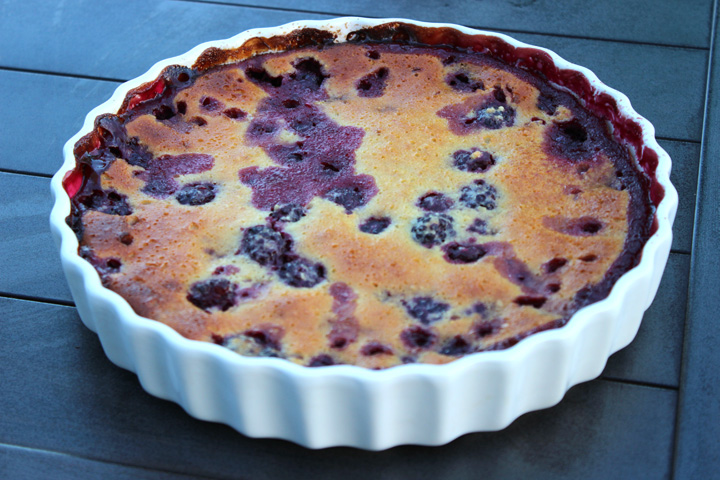
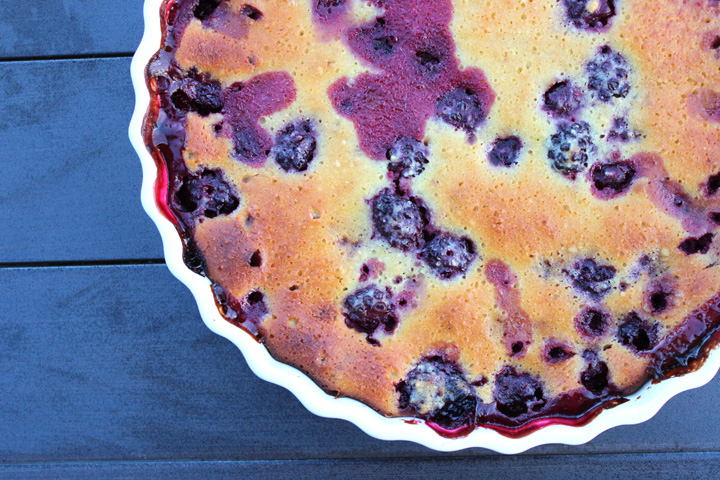
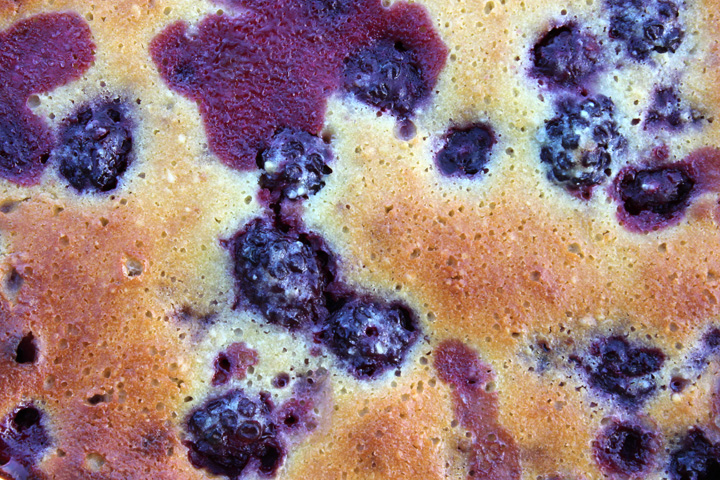
While down at Nate’s mom’s for Memorial Day, I managed to find the energy to make us a dessert in addition to that yummy pasta salad. Nate has been sending me a lot of NYTimes recipes and this one for a berry clafoutis sounded pretty tasty.  

It ended up being really easy and delicious. It was low on the sweetness scale, making the leftovers perfect for breakfast. I’d definitely make it again and maybe try switching up the type of fruit inside. I also think it could have been tasty with some vanilla ice cream on top…but then what isn’t? ;)

Blackberry Clafoutis ~ ElephantEats.com

I’ve been doing some cooking in our new kitchen. Our house is now preeeeetty much done (pics to come when we finish unpacking boxes). The kitchen island has been installed, finally, which gives me another cooking surface (and another area to make a mess on). LC has decided that this is her newest lookout point. I think she’s the kitchen supervisor. 

Blackberry Clafoutis ~ ElephantEats.com

For a Pregnancy Update:

I’m now 26 1/2 weeks. Baby boy is kicking a ton! It’s the weirdest feeling when you feel him actually kick your hand while it’s on your stomach. Sometime I feel his foot (or maybe his fist) swirl around. It’s so surreal and it makes me smile every time :)

26 weeks ~ ElephantEats.com

I had Nate put his hand on my belly to feel the kicking a few times. Now when I ask him to feel it, he says that if he’s felt it a few times, he’s felt it enough. Can you believe him?! I guess it’s different when you’re not the one with a living thing inside your abdomen. 

26 week collage ~ ElephantEats.com

I haven’t been great about keeping up with the weekly photos, mainly because they’d been sanding and then painting the outside of the house and had all our windows covered with a plastic film. Not great for photo lighting, as you might imagine. But painting is almost done and I’ve decided the new belly photo location is the nursery! So you get to see a green background now since the walls in there are a light sage green. 

When I find time in the next month or so, I’m going to be painting some birch trees on the wall, as I want a Woodland nursery theme. 

And just for fun, here’s a couple pics Nate took over the last couple weeks.

Memorial Day Belly ~ ElephantEats.com

 Walk in the Park 26 wks ~ ElephantEats.com 

Blackberry Clafoutis
Serves 8
A not-too-sweet treat, perfect for dessert or brunch!
Write a review
Print
Ingredients
  1. 3 cups blackberries, rinsed and drained on paper towels
  2. 2 tablespoons kirsch, eau de vie de myrtille, or crème de cassis (optional)
  3. 7 Tbsp sugar
  4. 1/3 cup unbleached all-purpose flour
  5. 1/3 cup almond flour
  6. 3 eggs
  7. 1 teaspoon vanilla extract
  8. Pinch of salt
  9. 2/3 cup low-fat plain yogurt (not greek style)
Instructions
  1. Toss berries in a medium bowl with the kirsch, eau de vie or crème de cassis and 2 tablespoons of the sugar, and let sit for 30 minutes. Meanwhile, mix together all-purpose flour and almond flour.
  2. Preheat oven to 375 degrees. Butter a 9- or 10-inch ceramic tart pan or clafoutis dish.
  3. In a medium bowl, beat eggs with remaining sugar, vanilla, and salt. Place a strainer over the bowl and drain berries, allowing the liquid from the berries to run into the egg and sugar mixture. Whisk to combine. Arrange drained berries in the buttered baking dish.
  4. Beat the flours into the egg mixture and whisk until smooth. Add yogurt and combine well. Pour over fruit, scraping out all of the batter with a rubber spatula.
  5. Bake in the preheated oven for 35 minutes, or until the top is browned and the clafoutis is firm and puffed. Press gently on the top in the middle to see if it’s firm. If it isn’t, return to the oven for 5 minutes. Remove from the oven and cool on a rack. Serve warm or at room temperature.
Adapted from NY Times
https://elephanteats.com/

Gingerbread Layer Cake with Cream Cheese Frosting ~ ElephantEats.com

I mentioned that amongst our changes from our usual Christmas feast, this year I made dessert. I had seen a recipe for a gingerbread layer cake with cream cheese frosting online some weeks before Christmas. 

Of course when I went to actually find said recipe, I hadn’t marked it down anywhere. Does that ever happen to you? So frustrating!

Gingerbread Layer Cake with Cream Cheese Frosting ~ ElephantEats.com

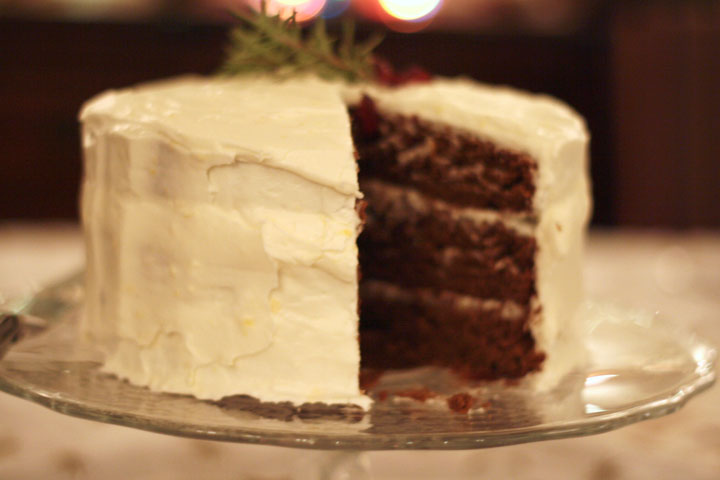
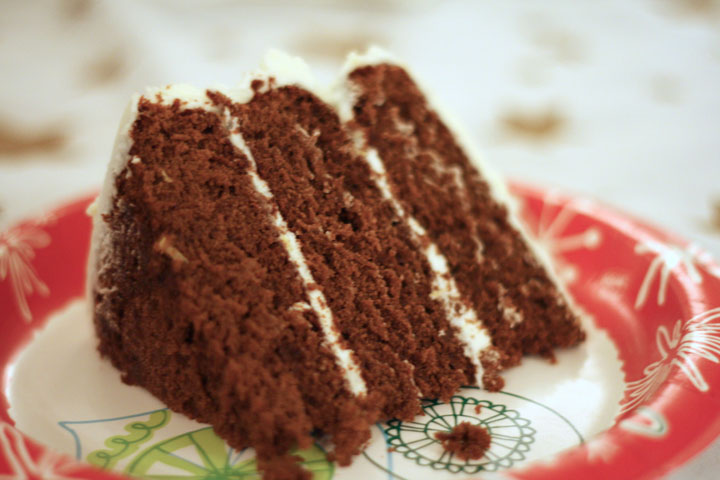
Well, I commenced a new search and was pleased to find this recipe from Good Housekeeping that seemed to be exactly like the original. The result was the most delicious, moist gingerbread cake, with a lemony cream cheese frosting that was a perfect complement. I had to even out the tops of the cake layers so they would lay flat and I couldn’t stop myself from eating the pieces I cut off- they were so good I made myself sick. 

Gingerbread Layer Cake with Cream Cheese Frosting ~ ElephantEats.com

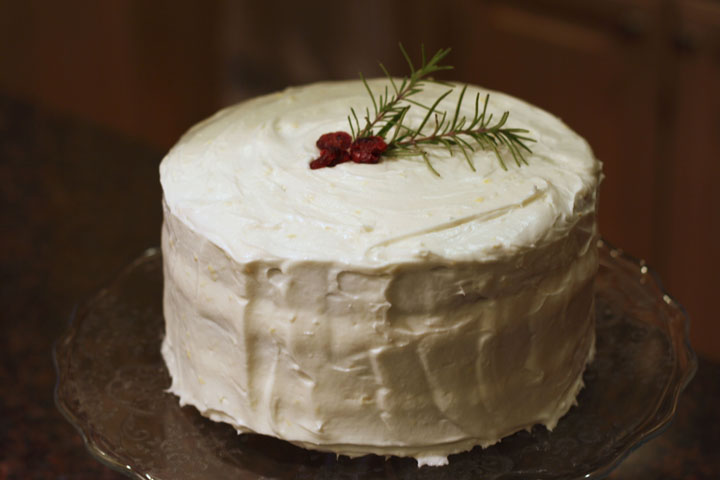
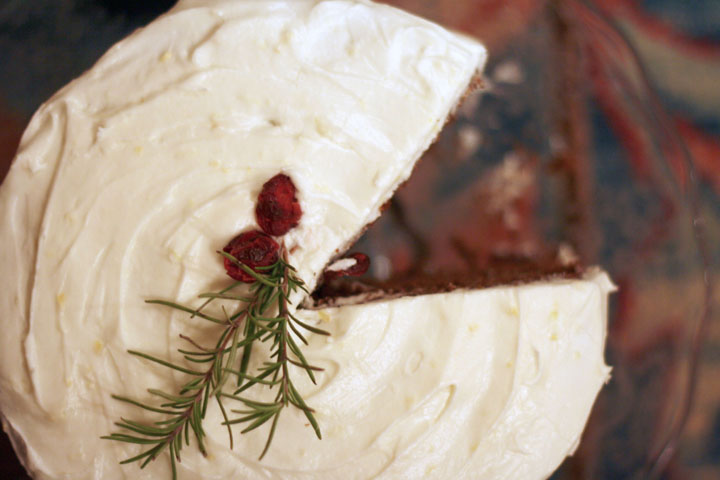
I wanted a wintry garnish, but wasn’t sure if a holly branch was toxic or something, so I put a sprig of rosemary and some dried cranberries :)

Gingerbread Layer Cake with Cream Cheese Frosting ~ ElephantEats.com

I just realized that this picture kind of looks like a Christmas Pac-Man.

My mom made this a couple days ago and she said she used orange instead of lemon zest and she said that it was yummy as well!

Gingerbread Layer Cake with Cream Cheese Frosting
Serves 10
Write a review
Print
Gingerbread Cake
  1. 3 cup(s) all-purpose flour
  2. 1 tablespoon(s) ground ginger
  3. 1 1/2 teaspoon(s) ground cinnamon
  4. 3/4 teaspoon(s) baking soda
  5. 3/4 teaspoon(s) salt
  6. 1 jar(s) (12 ounces) light (mild) molasses, 1 1/2 cups
  7. 3/4 cup(s) (1 1/2 sticks) margarine, softened, substitute butter
  8. 3/4 cup(s) granulated sugar
  9. 2 large eggs
Cream Cheese Frosting
  1. 1 package(s) (16 ounces) confectioners' sugar
  2. 1 package(s) (8 ounces) cream cheese, softened
  3. 4 tablespoon(s) margarine, softened, substitute butter
  4. 2 teaspoon(s) freshly grated lemon peel
Gingerbread Cake
  1. Preheat oven to 350 degrees F. Grease three 8-inch round cake pans. Line bottoms with waxed paper; grease paper. Dust pans with flour.
  2. In medium bowl, mix flour, ginger, cinnamon, baking soda, and salt. In 4-cup glass measuring cup, whisk molasses with 1 cup water.
  3. In large bowl, with mixer at low speed, beat margarine with granulated sugar until blended. Increase speed to high; beat until creamy, about 2 minutes, scraping bowl often with rubber spatula.
  4. Reduce speed to medium-low; add eggs, 1 at a time, beating well after each addition. At low speed, alternately add flour mixture and molasses mixture, beginning and ending with flour mixture; beat until blended.
  5. Pour batter into pans and spread evenly. Stagger pans on 2 oven racks, so layers are not directly above one another. Bake 25 to 30 minutes, until toothpick inserted in center of each layer comes out clean.
  6. Cool layers in pans on wire racks 10 minutes. Run small knife around sides of pans to loosen layers. Invert layers onto wire racks to cool completely; discard waxed paper.
Cream-Cheese Frosting
  1. In large bowl, with mixer at low speed, beat frosting ingredients just until blended. Increase speed to medium; beat until frosting is smooth and fluffy, about 2 minutes, constantly scraping bowl with rubber spatula. Makes about 2 1/2 cups frosting.
To assemble cake
  1. Place 1 cake layer, rounded side down, on cake plate; spread with 1/3 cup frosting. Top with second layer; spread with another 1/3 cup frosting, then top with remaining layer. Frost top and side of cake with remaining frosting. Refrigerate if not serving right away.
Notes
  1. -I find that it's best to shave off the top of the cake layers to make them flatter on top if they're too domed.
  2. -It's easiest to frost the cake layers if they've been chilled in the fridge or freezer.
https://elephanteats.com/

 Pumpkin Spice Bread ~ ElephantEats.com

Well, I’m back from my Italian vacation. I’ll have to tell you more about it in another post, but the highlight was definitely a private cooking class my parents and I had in Chianti with this awesome chef. He was a chemist before becoming a chef and he explained cooking very scientifically (Shannon, you would have loved it ;) ).

I ended up learning a ton! We cooked up grilled fresh porcini mushrooms on toast with truffles and truffle oil, homemade gnocci with an amazing bolognese sauce that didn’t have to simmer for hours, white beans with fresh sausage, and the creamiest tiramisu for dessert. 

But anyway, I’m SO excited it’s October!!! Autumn is my absolute favorite season (I can’t belive I got married last October!). Unfortunately it’s still a bit warm here in NYC, but hopefully soon the weather will cool down enough for me to pull out my sweaters and curl up with some tea. I just love when the air is crisp and it smells like dry leaves outside. Not to mention, autumn has my two most favorite holidays- Halloween and Thanksgiving. I can’t wait! :)

Storm King Sculpture Park ~ ElephantEats.com

Storm King Sculpture Park- not sure what I’m doing…

Nate and I headed upstate this weekend for a day of fun. First we went to Storm King, a really cool, huge sculpture park. The leaves are starting to change up there and they were so pretty :) The weather was overcast and sprinkly but we made the best of it.

Storm King Sculpture Park 2 ~ ElephantEats.com

Nate, finally doing some heavy lifting

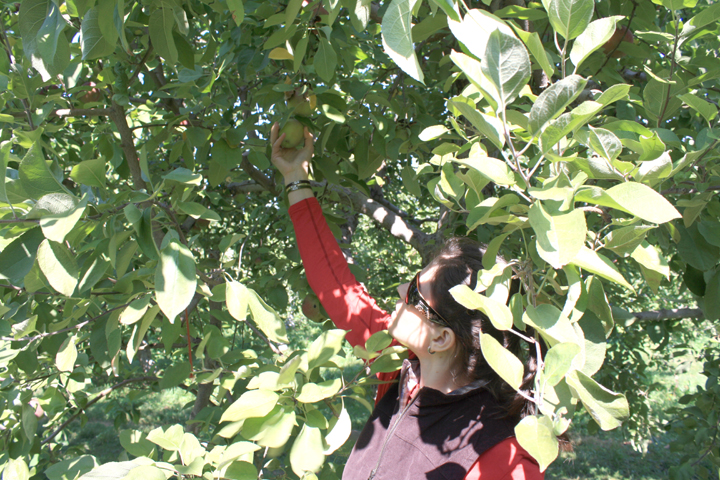
Next we went to Fishkill Farms for some apple picking! Hopefully I’ll make an apple recipe soon that I can post.

Fishkill Farms Apple Picking ~ ElephantEats.com

I love apple picking but it was super crowded at this place and I’m not a fan of crowds. We still managed to take home a good haul, in addition to getting to enjoy some cider donuts and apple cider.

Fishkill Farms ~ ElephantEats.com

Nate hard at work again! I wish he helped that much at home ;)

After apple-picking we met up with our friends who live nearby for dinner, and then finally we headed over to The Blaze, which was the reason for our whole trip upstate. The Blaze is an elaborate walk-through experience of 5,000 individually hand-carved, illuminated jack o’ lanterns.

The Blaze, Hudson Valley ~ ElephantEats.com

My favorite pumpkins- piled into sunflowers!

I had heard great things about it from multiple people, so Nate and I thought we should do it at least once. It was definitely cool to see so many pumpkins lit up, but I wasn’t particularly impressed by any of them.

The Blaze, Hudson Valley ~ ElephantEats.com

I think it was the sheer magnitude of them all together that impressed me the most. We tried to take pictures but most of them came out blurry since it was so dark. 

The Blaze, Hudson Valley ~ ElephantEats.com

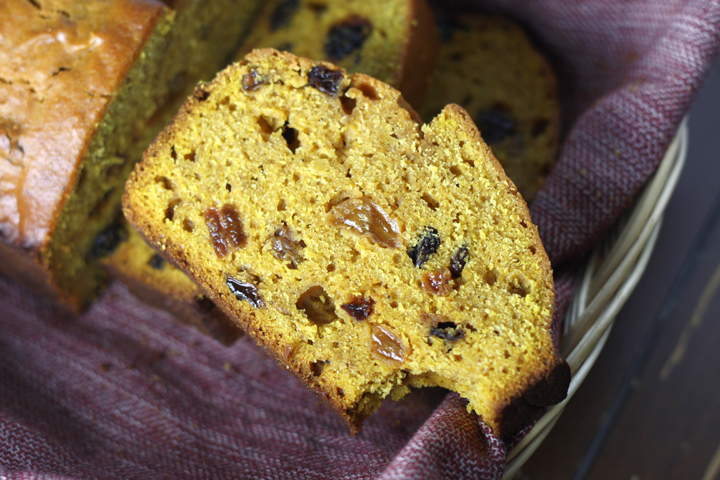
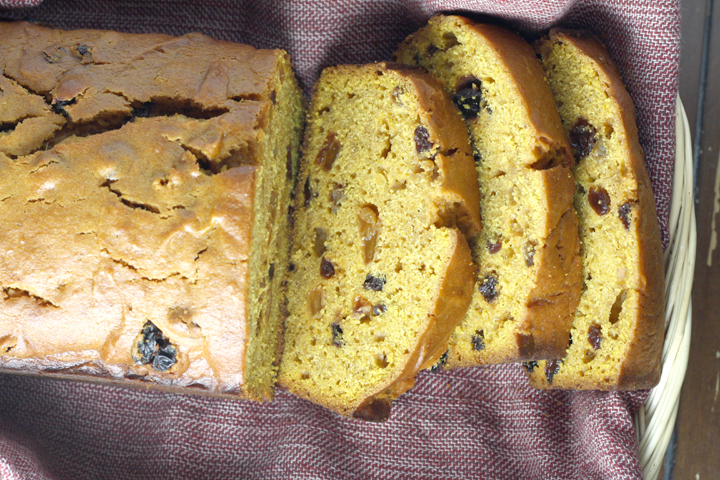
But back to the baking… Now that it’s officially October, I can post another pumpkin recipe. This recipe is the one my mom baked for us growing up, but I’m not sure what the original source is. 

Pumpkin Spice Bread ~ ElephantEats.com

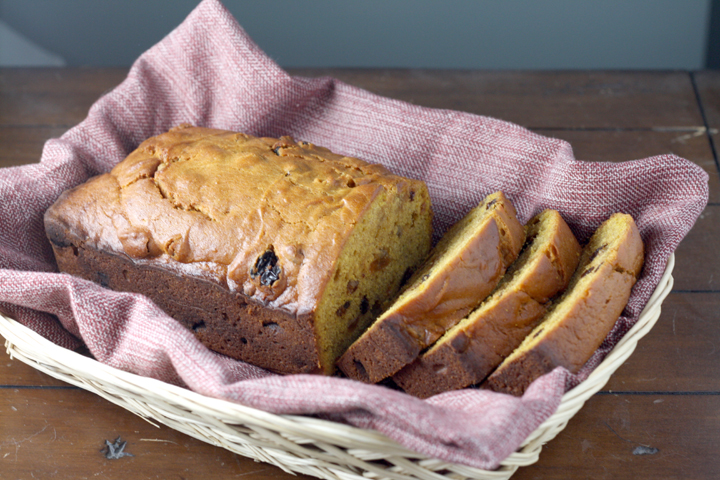
Since I already know I love the recipe, I decided to give it a try subbing in the butter-flavored Olive Oil that I got from Star Fine Foods. I figured a little butter taste certainly wouldn’t hurt! It added an awesome flavor, but obviously you could definitely use regular oil as I’ve always done before now. 

This bread calls for both raisins and pecans, but since Nate is a nuts-in-baked-goods hater, I omitted the pecans. I personally think they add a great crunch. This recipe makes two loaves- one for you and one to give to a friend :)

Pumpkin Spice Bread 3 ~ ElephantEats.com

I’ll be back later in the week with a little feline Halloween fun ;)

Here’s a preview of LC with a cat-proportioned pumpkin we picked up for her at the farm.

LC and a pumpkin ~ ElephantEats.com

If you’re wondering why the pumpkin is shiny, it’s because LC licked it all over.

Spiced Pumpkin Loaves
An autumn spiced pumpkin bread chock full of raisins and nuts!

Yields: 2 loaves
Write a review
Print
Cook Time
1 hr 20 min
Cook Time
1 hr 20 min
Ingredients
  1. 4 cups flour
  2. 2 tsp baking soda
  3. 2 tsp cinnamon
  4. 1 tsp nutmeg
  5. 1 tsp ginger
  6. 1 tsp salt
  7. 2 cups solid packed pumpkin puree (NOT pumpkin pie mix)
  8. 2 cups packed brown sugar
  9. 1 cup white sugar
  10. 1 cup oil
  11. 4 eggs
  12. 2 cups raisins
  13. 1 cup pecans, chopped
Instructions
  1. Preheat oven to 350.
  2. Butter two 9 1/4 x 5 1/4 loaf pans and dust with flour.
  3. Sift first 6 ingredients into a medium bowl.
  4. Using mixer (or whisk), beat pumpkin, sugars, oil and eggs in a large bowl. Beat in the dry ingredients until just blended.
  5. Stir in raisins and nuts.
  6. Bake until test comes out clean or with a few crumbs attached- about 1 hr 20 min.
  7. Cool 15 min in pan, then remove and cool completely on wire rack before wrapping in foil.
Notes
  1. This gets better in time. The cooked loaves can also be frozen and defrosted at a later time. Wrap them well in foil and then put in a ziploc freezer bag.
https://elephanteats.com/

Nate's Birthday 2013

Beardo is how I affectionately refer to my husband, Nate. I think you can figure out why. 

As I mentioned in my last post, we had a little get-together, where I cooked up dinner for 6 of Nate’s closest friends. 

Having vegetarians to dinner always makes it hard for me to plan a menu. It’s easy to leave out any animal protein, but then there’s only so much you can do with legumes as your protein…and I never have the courage to serve soy products, for fear the non-vegetarians in the group would hate me forever.

Butterscotch Cake ~  ElephantEats.com

I decided to try not to think about how balanced the meal was and went with a slow-roasted tomato pasta dish, beets with mint, homemade marinated mushrooms, some asparagus with chopped tomatoes and a vinaigrette, and some good crusty bread. I’ll try to share some of the recipes with you soon.

I also had some cheese and crackers, and nuts for an appetizer, plus there was cheese in the pasta, so I figured that was plenty of protein for the vegetarians. I served some turkey sausage on the side so the meat eaters wouldn’t feel too deprived.

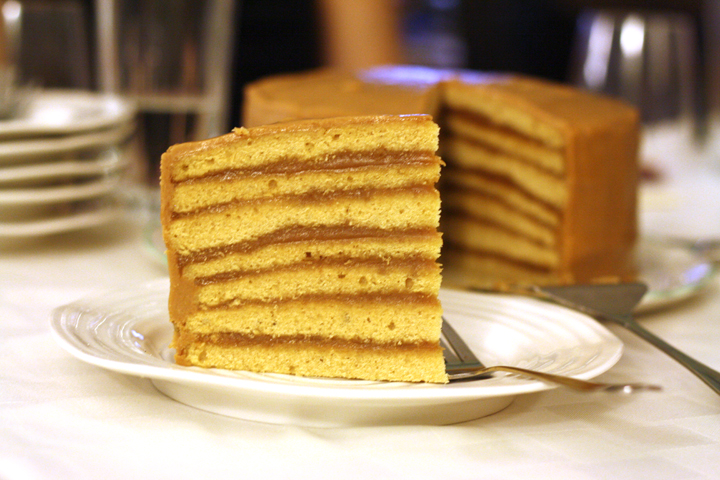
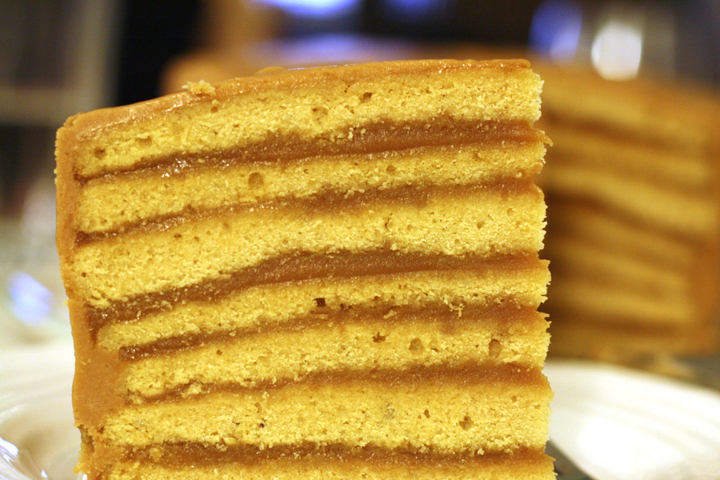
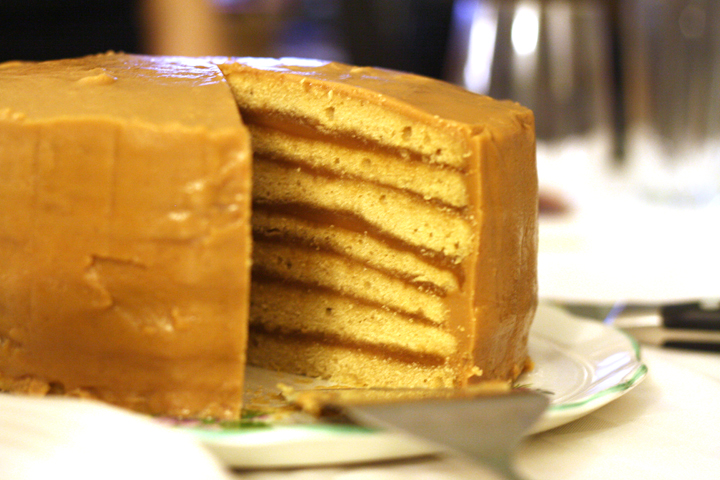
But the real star of the show was this 9-layer butterscotch cake.

Butterscotch Cake ~  ElephantEats.com

If you noticed my cake only has 7 layers, well you’re very perceptive. That’s because I generously scooped the batter into the prepared pans, thinking it was only supposed to be six layers. When I got to layer 4, I realized my error but by that point I had already baked 3 layers. There was still time to correct it to 7 layers but I couldn’t get 9 out of the remaining batter, and figured it would still look impressive and no one would know the difference. Thankfully I was right.  

All of the comments of this cake on the site I got it from raved about it’s amazingness. It was definitely good but was SO rich. I cut Nate a huge piece not knowing, and he proceeded to eat the whole thing, though I’m not sure how. I think, being the sweet husband that he is, he didn’t want to offend me by not finishing what I served him. I cut myself a small piece and made myself nauseous finishing it.

The cake was definitely impressive-looking, tasted good, and I was proud of myself for making a homemade butterscotch… but aside from that I think it wasn’t worth the effort to attempt it more than once in a lifetime.

Butterscotch Cake ~  ElephantEats.com

*Helpful notes if you try this yourself:

When you go to reheat the butterscotch for the top and sides of the cake, make sure you use a heavy-bottomed saucepan over EXTREMELY low heat.

I think my pan wasn’t “heavy” enough and the butterscotch completely separated. I was ready to cry since it took me about 45 minutes of stirring over a hot pot to make that damn butterscotch, but I was thankfully able to salvage it. The butter basically separated out so I poured it off and had a butterscotch that was more spread-able than pourable, but still tasted exactly the same. So it worked out…phew! If it hadn’t worked, I probably would have thrown my brand new pot out the window, along with the cake and anything else nearby. Hopefully my cat would know well enough to run into the bedroom to hide. 

Also, since there was so little batter that you had to spread it as evenly as possible in the pan, the layers were all slightly uneven/lumpy. When I stacked them I noticed they were sagging on the sides since the middles were so much higher. So i took each cake layer and very carefully shaved off the top of the middle section to make them as flat and even as possible. It wasn’t too hard to do with a good, sharp serrated knife.

I didn’t change a thing, so you can find the recipe here at Leite’s Culinaria