I’m actually posting a recipe!!!

Banana Snack Cake ~ ElephantEats.com

Apparently leg cramps are a common symptom of pregnancy. I’ve been getting so many of them that I wake up in the middle of the night in agony. Any time I flex my foot or calf in the slightest it cramps up.

I’ve long known that potassium can help with leg cramps, so I figured it couldn’t hurt to start eating a banana every day. Now whenever I go to the market, I buy a big bunch, figuring that the ones that don’t get eaten can get turned into something delicious- it helps that I’m loving cooking in my new kitchen :)

Banana Snack Cake ~ ElephantEats.com

The first week I had leftovers, I made our favorite chocolate chip banana bread recipe (which I totally need to share with you guys some time). Then last week I decided a banana snack cake would be a tasty treat. 

In addition to trying a new recipe, I decided to experiment with White Whole Wheat flour. Monica had first told me about this flour and has been touting it as awesome, especially if you want the whole grains from whole wheat flour but don’t love the dry and gritty texture it adds.

I had never heard of white whole wheat flour so I decided to research it a bit and give it a try. The Whole Grains Council explains it as the following:

“White wheat is a different type of wheat that has no major genes for bran color (unlike traditional “red” wheat which has one to three bran color genes). An easy way to think of it is as a sort of albino wheat. The bran of white wheat is not only lighter in color but it’s also milder in flavor, making whole white wheat more appealing to many people accustomed to the taste of refined flour.

The term “white flour” has often been used to mean “refined flour,” so “whole white wheat flour” sounds like a contradiction in terms. But it is simply WHOLE flour – including the bran, germ and endosperm – made from WHITE wheat.”

Banana Snack Cake ~ ElephantEats.com

The one thing I was skeptical about was how it compares nutritionally to regular whole wheat flour, but the council goes on to say that experts consider these two kinds of whole wheat to be the same, nutritionally. I was sold!

I bought King Arthur Flour brand. Usually, if subbing whole wheat for all-purpose flour in a recipe, you would only substitue part of the all-purpose for whole wheat, lest you dry out your baked goods. Since I was using a lighter whole wheat flour and had the moisture from the bananas, I decided to use 100% of the white whole wheat flour.

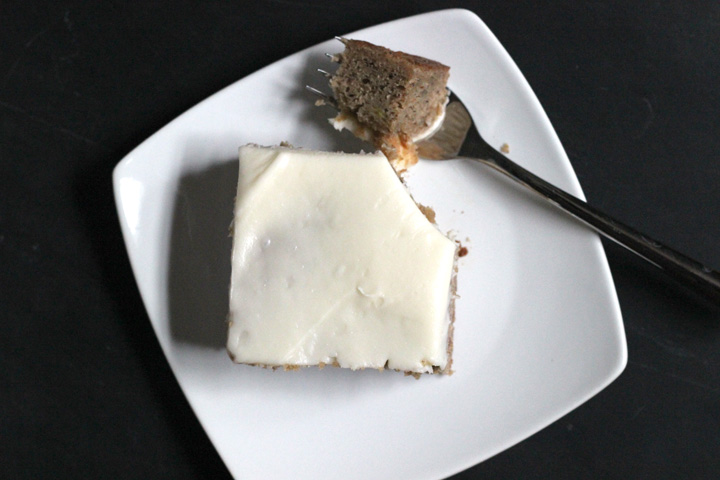
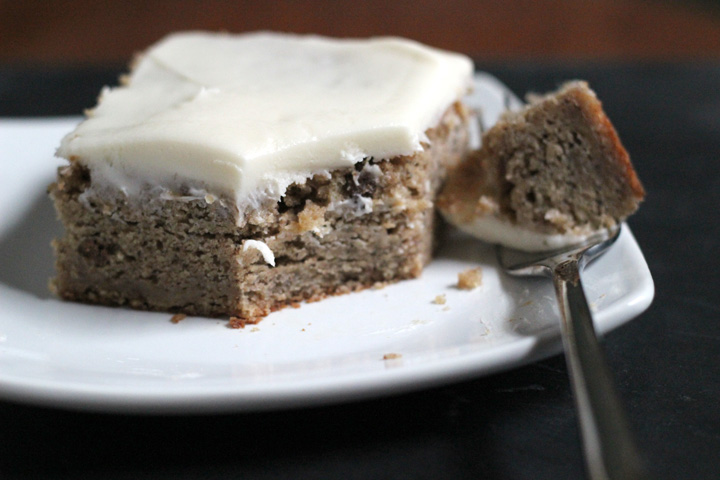
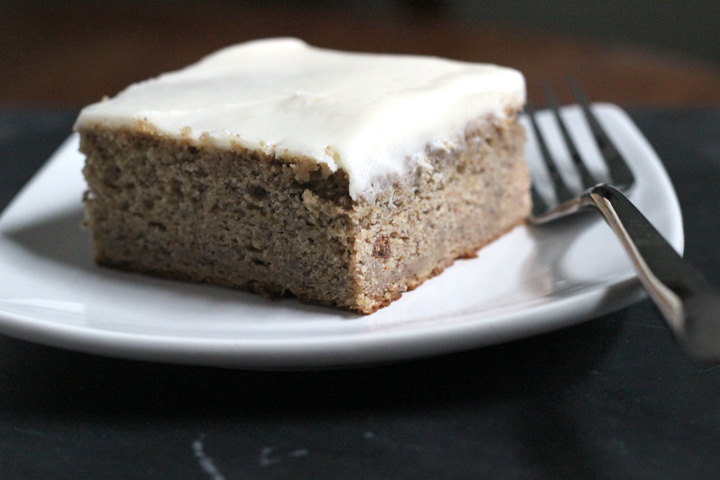
Honestly, the result was amazing! It definitely helped that the bananas already added moisture, plus I upped the sour cream amount from the original recipe. And it never hurts to have a creamy cream cheese frosting on top.

I could feel the texture of the whole wheat in the cake, but I thought it went perfectly with the bananas and made even a small piece extremely filling! It also totally made this cake ok to eat for breakfast ;)

Banana Snack Cake ~ ElephantEats.com 

Whole Wheat Banana Spice Snack Cake with Cream Cheese Frosting
Serves 12
A really moist, spiced snack cake made healthier with the addition of white whole wheat flour!
Write a review
Print
Cake
  1. 2 cups White Whole Wheat flour
  2. 1 teaspoon baking soda
  3. 1/2 teaspoon baking powder
  4. 1/2 teaspoon salt
  5. 2 teaspoons cinnamon
  6. 1 teaspoon allspice
  7. 1/2 teaspoon nutmeg
  8. Pinch cloves
  9. 1/2 cup (1 stick) unsalted butter, room temperature
  10. 1 1/2 cups granulated sugar
  11. 1 1/2 cups mashed ripe bananas (about 3 large)
  12. 1 1/4 cup sour cream
  13. 2 large eggs
Cream Cheese Frosting
  1. 1 8 ounce block light or regular cream cheese, room temperature
  2. 3 tablespoons unsalted butter, room temperature
  3. 2 cups powdered (confectioner's) sugar
  4. 1/2 teaspoon vanilla
  5. Pinch salt
  6. Milk (only if needed for thinning the icing to a spreading consistency)
Instructions
  1. Preheat the oven to 350 degrees Fahrenheit. Butter and flour a 13-inch x 9-inch baking pan.
  2. In a medium bowl, stir together the flour, baking soda, baking powder, salt, cinnamon, nutmeg, allspice, and cloves. Set aside.
  3. In the bowl of a stand mixer fitted with the beater blade attachment or in a large bowl using an electric mixer, beat together the butter and sugar on medium speed until pale and fluffy, about 1 - 2 minutes. Add the eggs one at a time and mix until well incorporated. Mix in the sour cream and the bananas.
  4. Pour in the flour mixture, a little bit at a time, beating continuously until well-incorporated.
  5. Spread batter into the prepared pan.
  6. Bake for about 40-45 minutes, or until the top of the cake is golden and a toothpick or tester inserted into the center comes out clean. Remove the cake from the oven and place on a wire rack to cool completely.
  7. To make the frosting, fit a stand mixer with the beater attachment or use a large bowl and an electric hand mixer. On medium speed, beat together the cream cheese and butter until smooth. Turn the mixer to low and gradually add the powdered sugar. Once all the powdered sugar has been added, increase the speed to medium and beat for another 30 seconds. Add the vanilla and pinch salt; beat for another minute or so until smooth. Add a little milk (a couple of teaspoons at a time) if the frosting seems too stiff to spread.
  8. Spread frosting onto completely cooled cake. Cut into 12 pieces and serve. Cover and store leftover cake in the refrigerator. The cake stays moist even straight out of the fridge!
Adapted from Kitchen Treaty
https://elephanteats.com/

Blackberry Clafoutis ~ ElephantEats.com

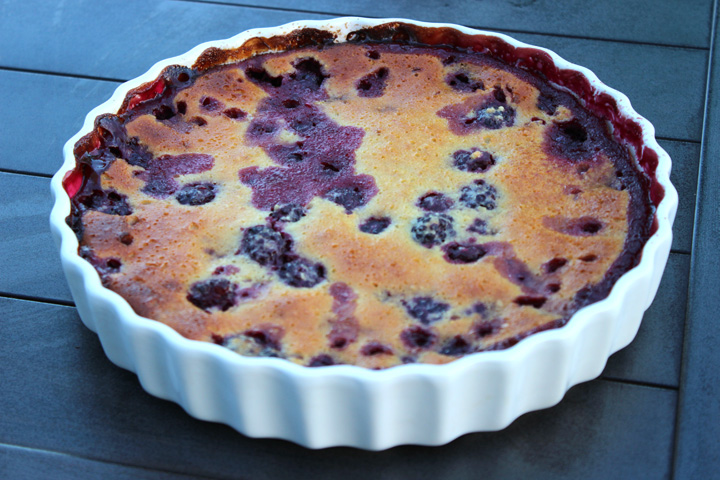
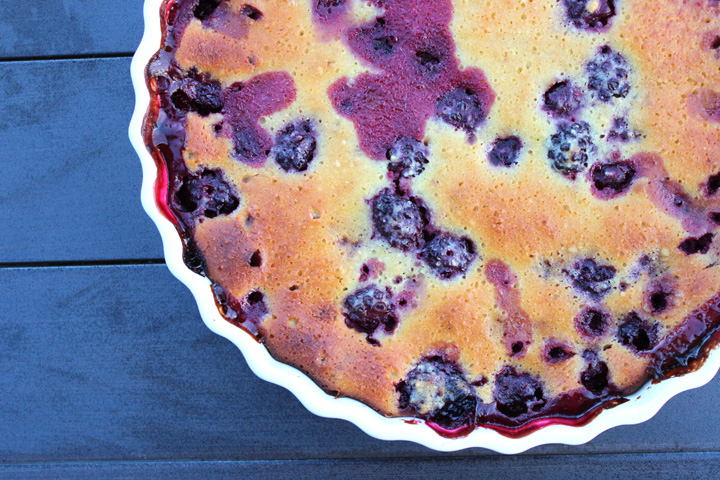
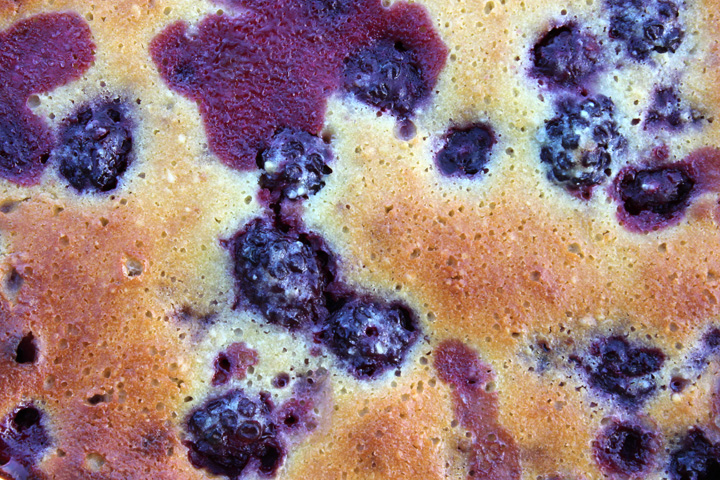
While down at Nate’s mom’s for Memorial Day, I managed to find the energy to make us a dessert in addition to that yummy pasta salad. Nate has been sending me a lot of NYTimes recipes and this one for a berry clafoutis sounded pretty tasty.  

It ended up being really easy and delicious. It was low on the sweetness scale, making the leftovers perfect for breakfast. I’d definitely make it again and maybe try switching up the type of fruit inside. I also think it could have been tasty with some vanilla ice cream on top…but then what isn’t? ;)

Blackberry Clafoutis ~ ElephantEats.com

I’ve been doing some cooking in our new kitchen. Our house is now preeeeetty much done (pics to come when we finish unpacking boxes). The kitchen island has been installed, finally, which gives me another cooking surface (and another area to make a mess on). LC has decided that this is her newest lookout point. I think she’s the kitchen supervisor. 

Blackberry Clafoutis ~ ElephantEats.com

For a Pregnancy Update:

I’m now 26 1/2 weeks. Baby boy is kicking a ton! It’s the weirdest feeling when you feel him actually kick your hand while it’s on your stomach. Sometime I feel his foot (or maybe his fist) swirl around. It’s so surreal and it makes me smile every time :)

26 weeks ~ ElephantEats.com

I had Nate put his hand on my belly to feel the kicking a few times. Now when I ask him to feel it, he says that if he’s felt it a few times, he’s felt it enough. Can you believe him?! I guess it’s different when you’re not the one with a living thing inside your abdomen. 

26 week collage ~ ElephantEats.com

I haven’t been great about keeping up with the weekly photos, mainly because they’d been sanding and then painting the outside of the house and had all our windows covered with a plastic film. Not great for photo lighting, as you might imagine. But painting is almost done and I’ve decided the new belly photo location is the nursery! So you get to see a green background now since the walls in there are a light sage green. 

When I find time in the next month or so, I’m going to be painting some birch trees on the wall, as I want a Woodland nursery theme. 

And just for fun, here’s a couple pics Nate took over the last couple weeks.

Memorial Day Belly ~ ElephantEats.com

 Walk in the Park 26 wks ~ ElephantEats.com 

Blackberry Clafoutis
Serves 8
A not-too-sweet treat, perfect for dessert or brunch!
Write a review
Print
Ingredients
  1. 3 cups blackberries, rinsed and drained on paper towels
  2. 2 tablespoons kirsch, eau de vie de myrtille, or crème de cassis (optional)
  3. 7 Tbsp sugar
  4. 1/3 cup unbleached all-purpose flour
  5. 1/3 cup almond flour
  6. 3 eggs
  7. 1 teaspoon vanilla extract
  8. Pinch of salt
  9. 2/3 cup low-fat plain yogurt (not greek style)
Instructions
  1. Toss berries in a medium bowl with the kirsch, eau de vie or crème de cassis and 2 tablespoons of the sugar, and let sit for 30 minutes. Meanwhile, mix together all-purpose flour and almond flour.
  2. Preheat oven to 375 degrees. Butter a 9- or 10-inch ceramic tart pan or clafoutis dish.
  3. In a medium bowl, beat eggs with remaining sugar, vanilla, and salt. Place a strainer over the bowl and drain berries, allowing the liquid from the berries to run into the egg and sugar mixture. Whisk to combine. Arrange drained berries in the buttered baking dish.
  4. Beat the flours into the egg mixture and whisk until smooth. Add yogurt and combine well. Pour over fruit, scraping out all of the batter with a rubber spatula.
  5. Bake in the preheated oven for 35 minutes, or until the top is browned and the clafoutis is firm and puffed. Press gently on the top in the middle to see if it’s firm. If it isn’t, return to the oven for 5 minutes. Remove from the oven and cool on a rack. Serve warm or at room temperature.
Adapted from NY Times
https://elephanteats.com/

Chocolate Almond Waffles ~ ElephantEats.com

I’m not always the easiest person to live with.

I know you all probably find that very hard to believe ;)

Chocolate Almond Waffles ~ ElephantEats.com

Although Nate often purposefully annoys me (though he’ll deny it), he also does a lot of sweet things on a regular basis. He’s extremely thoughtful and emotionally expressive. He will randomly buy me little “tasty treats” if he sees a dessert or something that he thinks I might like. He definitely knows the way to my heart!

While I do cook dinner for Nate weekly, I think that it’s not so special anymore since I do it all the time. To mix things up and show him that I appreciate him, I decided to make him a special breakfast. 

Chocolate Almond Waffles ~ ElephantEats.com

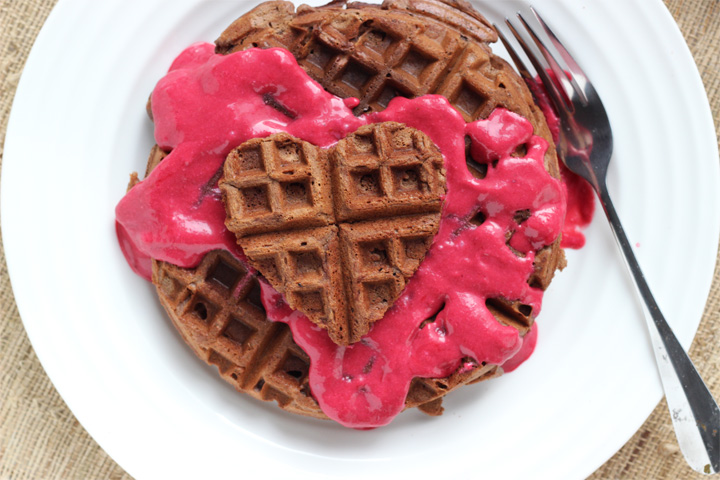
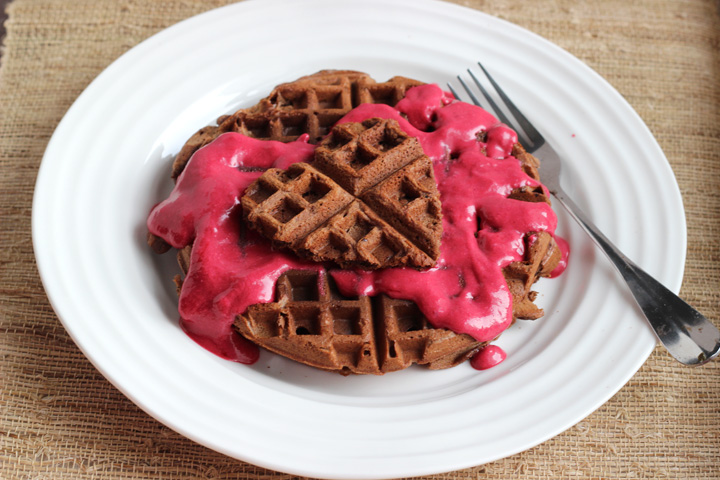
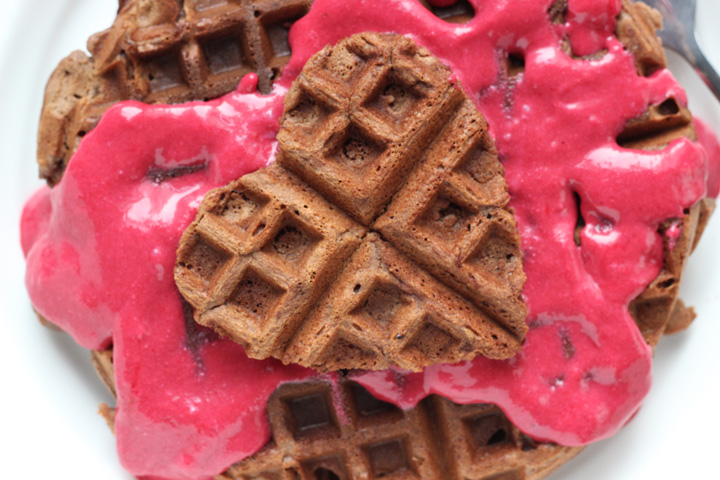
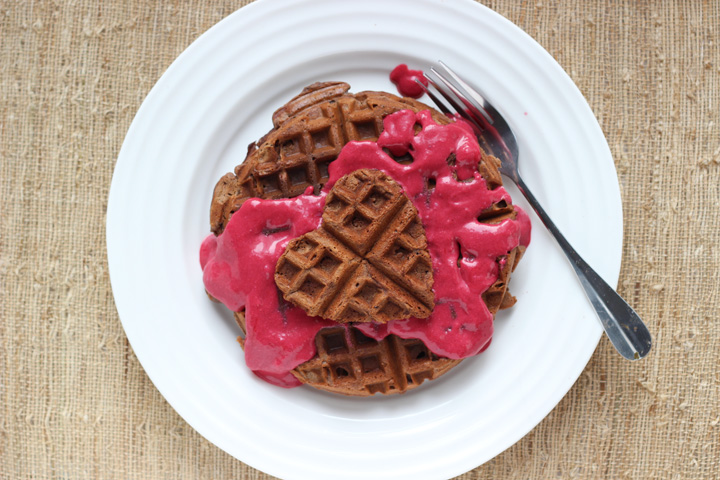
These waffles are chocolatey, but they’re not overly sweet. They’re totally appropriate for breakfast as opposed to dessert. The tart and sweet raspberry sauce is the perfect accompaniment and both have a subtle hint of almond flavor. 

This is the perfect breakfast to surprise your special someone with on Valentine’s Day!

Chocolate Almond Waffles ~ ElephantEats.com

In other news, LC and my painting of her made it onto a buzzfeed list (she’s #10)! That sadly is probably the coolest thing that has ever happened, and probably every will happen, to me (and her). 

Buzzfeed 21 Signs You’re A Cat Lady In Training ~ ElephantEats.com


Chocolate Almond Waffles with Raspberry Sauce
A not too sweet chocolate waffle with a sweet and tart raspberry sauce that's perfect for a special breakfast!
Write a review
Print
Waffles
  1. 1 cup all purpose flour
  2. 1/4 cup unsweetened cocoa powder
  3. 1 1/4 teaspoons baking powder
  4. 1/4 teaspoon baking soda
  5. 1/8 teaspoon salt
  6. 1/4 cup sugar
  7. 1/4 cup almond paste
  8. 2 1/4 ounces semisweet chocolate chips
  9. 3 tablespoons butter
  10. 2 large eggs
  11. 1 cup 2% milk
  12. 1/2 teaspoon almond extract
Raspberry Sauce
  1. 2 cups frozen raspberries, thawed
  2. 2 Tbsp almond paste
  3. 2-3 Tbsp water.
Waffles
  1. Preheat oven to 300.
  2. Mix first 5 ingredients into large bowl.
  3. In a small food processor or blender, blend sugar and almond paste. Add to flour mixture.
  4. Heat chocolate and butter in a small microwave-safe dish in the microwave at 30 second intervals, stirring in between, until completely melted.
  5. Pour chocolate into medium bowl. Whisk in eggs, then milk, and almond extract. Gradually whisk milk mixture into dry ingredients.
  6. Following manufacturer's instructions, make waffles with batter (waffles will be somewhat soft when removed from pan).
  7. Place finished waffles on baking sheet in oven as you make the rest to keep them hot and crispy.
Raspberry Sauce
  1. Blend raspberries and 1 Tbsp water in a food processor. Strain raspberry mixture through a fine sieve into a bowl, running a spoon back and forth over inside of sieve until all that's left in the sieve is seeds. Frequently scrape bottom of sieve, where strained pulp is coming out, into the bowl. Discard seeds.
  2. Add raspberry puree back into food processor. Add almond paste and 1-2 Tbsp water and blend until sauce is to your liking. Serve over waffles.
Adapted from Bon Appetit
https://elephanteats.com/

Chunky Pumpkin Spice Granola ~ ElephantEats.com

I had a wonderful couple weeks off of work. I still haven’t caught up on my blog reading and at this point it seems seriously overwhelming….I think I may follow a few too many blogs on feedly but it’s just so hard to eliminate some when there are so many good ones!

For Christmas we went down to Nate’s moms, as I told you guys last week, and I got some great Christmas presents that can be used in the kitchen! I got a scone pan (I’ll let you know how it works), a donut pan (expect a recipe using this when I break it in!), an Alice Waters cookbook and the Flavor Bible. The Flavor Bible is something I read about on another blog and it tells you all kinds of awesome flavor combos to help develop recipes. I can’t wait to get into it. 

Chunky Pumpkin Spice Granola ~ ElephantEats.com

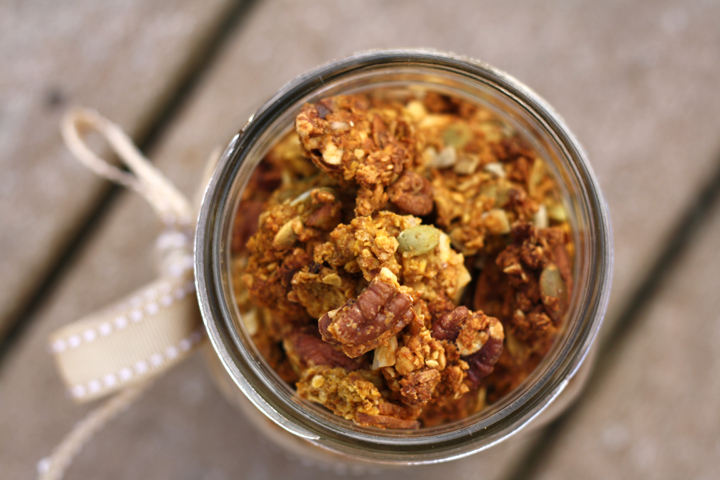
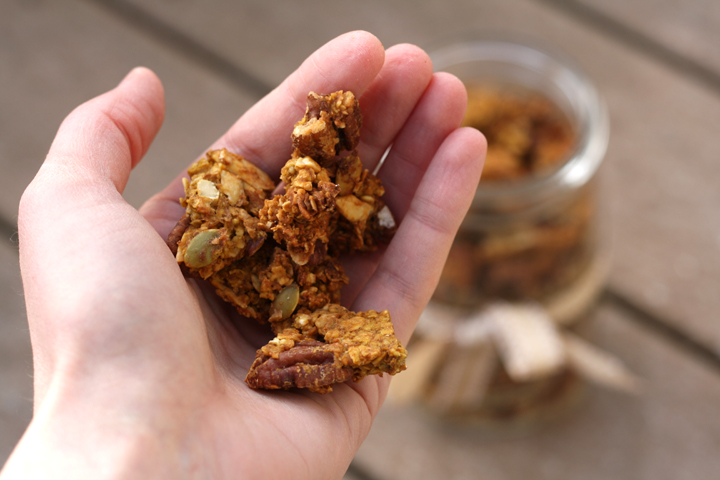
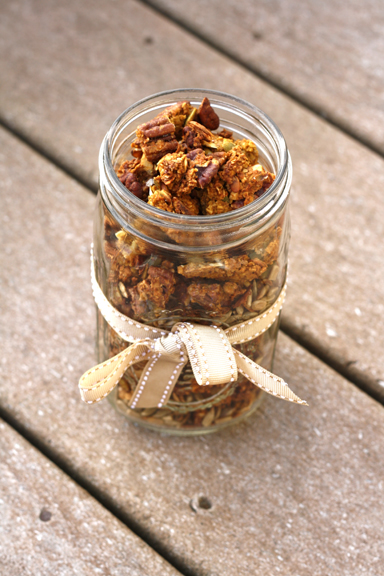
Nice big chunks!

A present that I gave rather than received, however, is this Pumpkin Spice Granola. My mother-in-law eats granola for breakfast every single day (you can see where Nate gets his routine eating habits from) and she told me that she specifically likes nuts and seeds in her granola but no dried fruit, and that she likes the kind that has big clumps. According to her, this combo is quite hard to find, so I thought making her some would be the perfect Christmas present. 

I also gave her one of the awesome paperweights we made when we went glass-blowing for Nate’s bday present. I forgot to tell  you guys about that! 

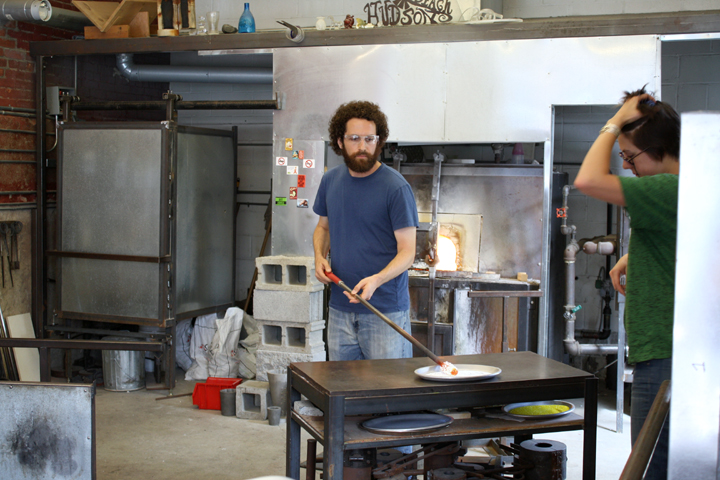
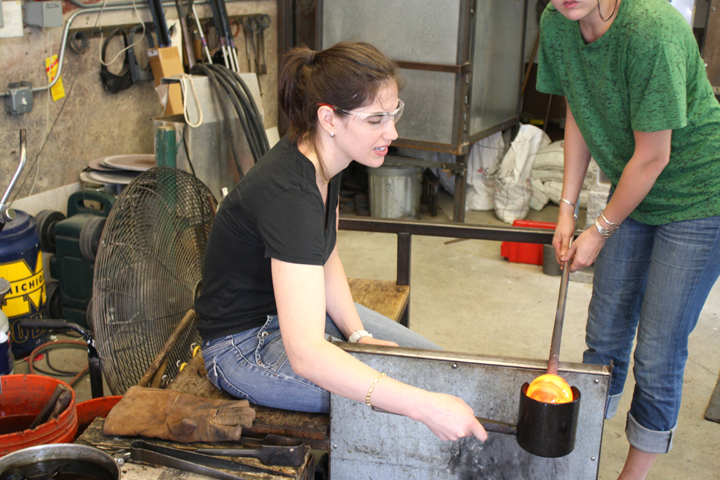
We went up to Beacon, NY to this awesome little shop call Hudson Beach Glass. For Nate’s bday I got us a lesson to do together, which really involved each of us separately making a paperweight while the other person watched.

Hudson Beach Glass glassblowing lesson ~ ElephantEats.com

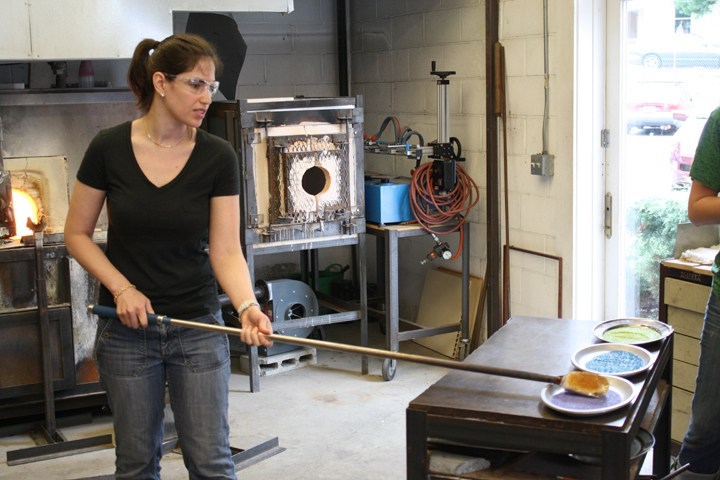
Nate went first. We were allowed to chose the style of paperweight we wanted, and we both chose the kind that has that swirl inside.We got to choose 2-3 colors to swirl. Nate chose red and gold, while i chose purple, blue and green. The pic of him above is putting the first color on his glass. Because he only chose two colors, he had to put a white background color so those colors would stand out better.

And here’s me with my three colors.

Hudson Beach Glass glassblowing lesson ~ ElephantEats.com

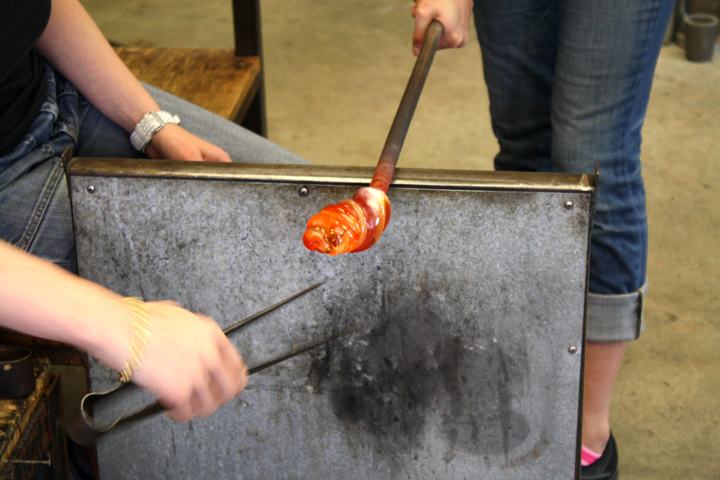
After the colors go on and you melt them in the hot furnace, you twist them together:

Hudson Beach Glass glassblowing lesson ~ ElephantEats.com

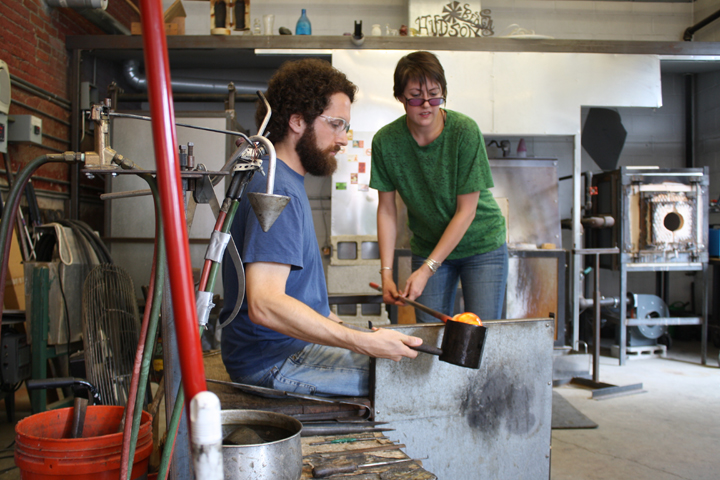
After twisting the colors together, you smooth the glass out using this wooden cup so it ends up round.

Hudson Beach Glass glassblowing lesson ~ ElephantEats.com


Hudson Beach Glass glassblowing lesson ~ ElephantEats.com

And here’s Nate’s finished piece right before it went in the oven to slowly “cool” from the super hot temp it was to, eventually, room temp. You can’t see the true colors until it has cooled. The red you see now is mainly the hot glass that would eventually become clear.

Hudson Beach Glass glassblowing lesson ~ ElephantEats.com

So pretty, right?!

It was super fun and our teacher, Kathleen, was so knowledgeable and cool. I highly recommend it! Sorry I didn’t take a pic of the finished paperweights but they looked kind of like this but multicolored in the colors we chose.

But back to my granola! I read that the trick for clumpy granola is to add an egg white before baking and not to stir it! Halfway through I gave the giant clumps a flip and then just left it alone. Obviously you can alter the ingredients you put in this (dried fruit, more or less sugar, etc). 

Chunky Pumpkin Spice Granola ~ ElephantEats.com

 It’s great served with yogurt or milk! 

Chunky Pumpkin Spice Granola
Yields 6
A chunky seed and nut granola with spiced pumpkin flavor!
Write a review
Print
Ingredients
  1. 3 cups quick oats
  2. 2 tsp pumpkin pie spice
  3. 3/4 tsp salt
  4. 3/4 cup brown sugar
  5. 3/4-1 cup pumpkin
  6. 2 Tbsp oil
  7. 1/2 cup maple syrup
  8. 1 tsp vanilla extract
  9. 3/4 cup chopped pecans (not toasted)
  10. 2/3 cup sliced almonds
  11. 1 egg white, lightly whisked
  12. 3/4 cup sunflower seeds, roasted (if you can find unroasted then add them along with the nuts)
Instructions
  1. Preheat oven to 325 and line a large baking sheet with parchment paper.
  2. In a large bowl combine everything except nuts, egg white and seeds.
  3. When thoroughly mixed, add in nuts and egg white and mix well. You can add the seeds now too if you managed to find raw/unroasted seeds.
  4. Spread everything out onto the prepared baking skeet in an even layer.
  5. Bake for 30 minutes then flip the granola over, taking care not to break it into pieces more than necessary.
  6. Sprinkle seeds onto granola and bake an additional 20-25 min or until crisp and golden. Remove the outer crispy pieces as necessary to prevent them from burning. The largest pieces may still seem slightly chewy inside but they will crisp up when they dry.
  7. Remove pieces to a wire rack over a baking pan to catch the smaller pieces. Once cooled, break granola up as desired into smaller pieces. Store in an airtight container.
Notes
  1. Great topped with yogurt or milk!
https://elephanteats.com/

Butternut Squash Pesto Grilled Cheese ~ ElephantEats.com

Guys, I’m so far behind! I have so many things I still need to share with you but just haven’t either made the recipes or assembled the posts- the recipes from my cooking class in Italy, and also the finished coffee table ottoman I made!

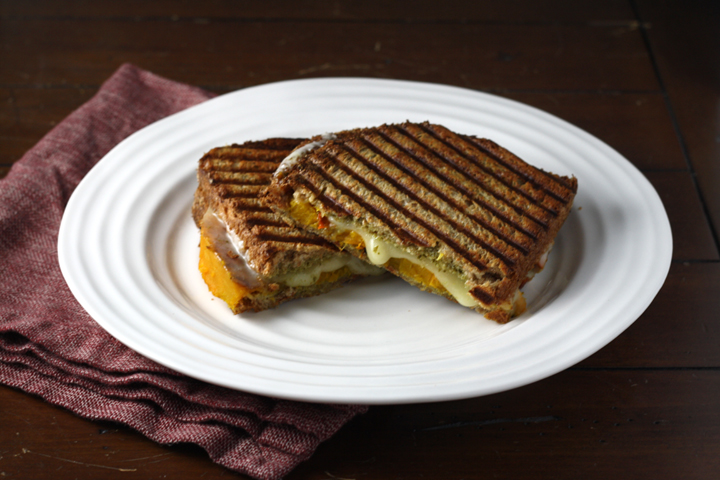
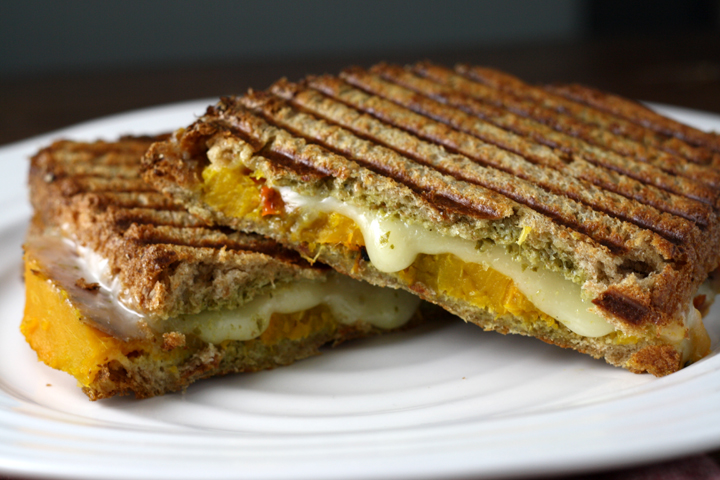
But in the meantime, you’ll have to settle for this grilled cheese, which is pretty darn delicious. I mentioned this very early on in my blog, but Nate is a creature of habit. He literally eats the same breakfast and lunch EVERY day of the week. So occassionally, on the weekend, he’ll request grilled cheese instead of his daily turkey sandwich. 

Butternut Squash Pesto Grilled Cheese ~ ElephantEats.com

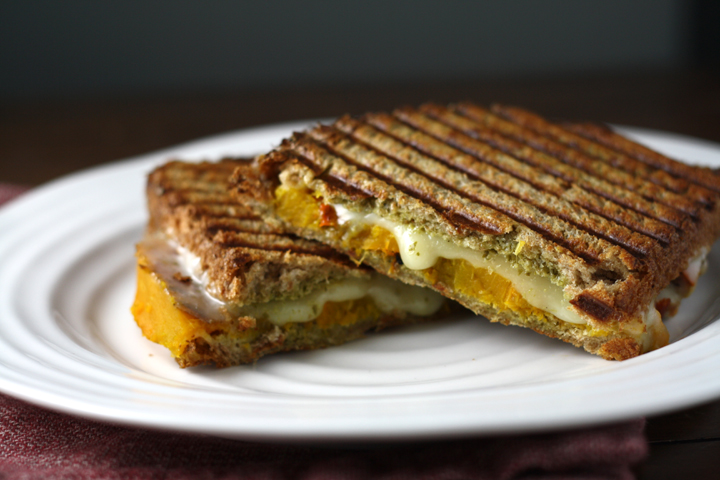
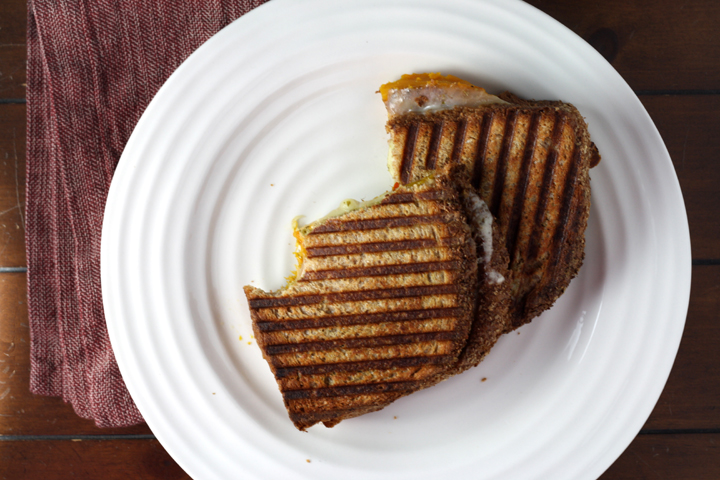
I usually just use up whatever is in the fridge on these days, sometimes coming up with really good combos. That’s how this sandwich came about. I do often add pesto to his grilled cheese, but on this particular occassion there was some leftover roasted butternut squash.

The combo of the squash, the pesto and the melty cheese was just too good not to share. I think you could also use some thanksgiving leftovers for a very tasty grilled cheese combo- maybe with some sweet potatoes? some cranberry sauce? Oh man, the combinations are endless!

Butternut Squash Pesto Grilled Cheese ~ ElephantEats.com

On other fronts, I’m scrambling to make decisions on my house because it’s going much faster than I thought. The demo is complete and framing will apparently be pretty much done by the end of next week. Because of this, my contractor informed me that I need to pick out my roof color by this Friday (!). And then I need to pick out all my bathroom fixtures and cabinetry by the end of next week so that the plumber will know where to put the plumbing. I didn’t realize that the cabinet itself made a difference, but they need to know how high any shelves inside it are, etc, that would obstruct the pipes so they can plan accordingly.

Needless to say, for a decision-making-a-phobe like me, I’m getting quite stressed out :( I really thought I’d have more than 2 wks to decide everything!

Butternut Squash Pesto Grilled Cheese ~ ElephantEats.com

Also, this weekend we went down to Nate’s moms and I had him videotape me preparing a dish so I could enter The Great American Cookbook Competition. It’s some contest Rachel Ray is having that my aunt told me about. I highly doubt I’ll win, but I figured it couldn’t hurt to try :) Hopefully Nate can make me look better on the video through editing than I actually came across on tape, because I most certainly could never be an actress. 

I hope that you all have a very Happy Thanksgiving, and Happy Chanukkah to those that celebrate!!!

Butternut Squash Pesto Grilled Cheese ~ ElephantEats.com

Butternut Squash Pesto Grilled Cheese
This isn't really much of a recipe, but more of an idea
Write a review
Print
Ingredients
  1. Bread slices
  2. Cheese slices
  3. Leftover roasted butternut squash, cut into slices
  4. Pesto
  5. Butter
Instructions
  1. Spread the insides of the bread slices with pesto. Top with a couple slices of cheese and then then enough squash to cover. Using a knife, spread/flatten the squash as much as possible.
  2. Close sandwich and spread butter over the outsides of the bread. Cook in a pan or in a panini press (my favorite way to make grilled cheese) until cheese is melted.
  3. Enjoy!
Notes
  1. The possibilities of fillings inside grilled cheese are endless!
https://elephanteats.com/