Whole Wheat Cookie CakeSo I’ve still been busy taking care of a bunch of stuff for the wedding. The invitations arrived last weekend and I spent about 6 hours assembling and stuffing them. I’d like to say Nate helped. In his defense, he was working on his wedding video…and I’m a bit of a control freak so I probably would have ended up yelling at him anyway :)

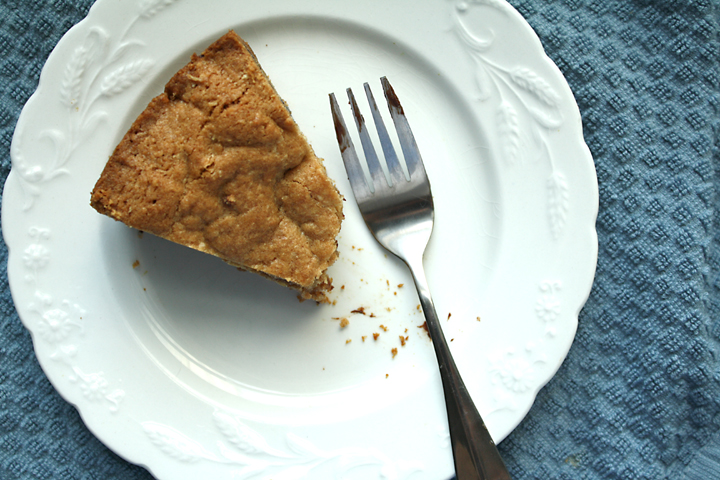
Whole Wheat Cookie Cake2

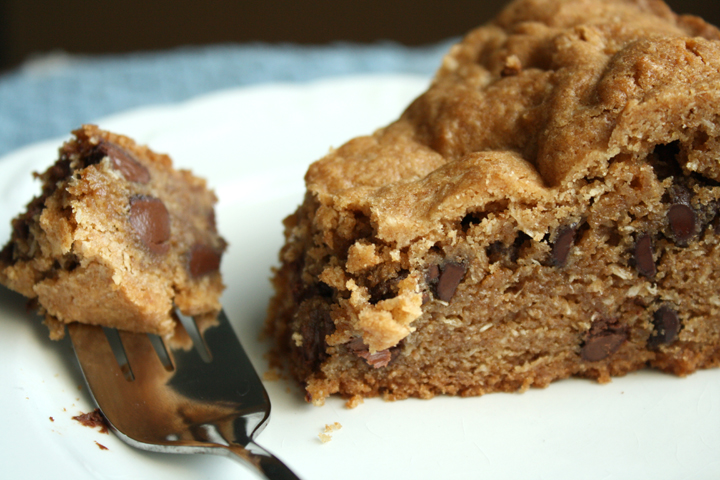
After my last few healthy posts, I figured you guys might be itching for something a little bad. While this recipe may fool you with “whole wheat” in the name, It has a decent amount of butter and chocolate.

That’s not to say that it doesn’t have its benefits. The whole wheat flour and coconut add a little fiber. And really, you should indulge now and then anyway.

Whole Wheat Cookie Cake3

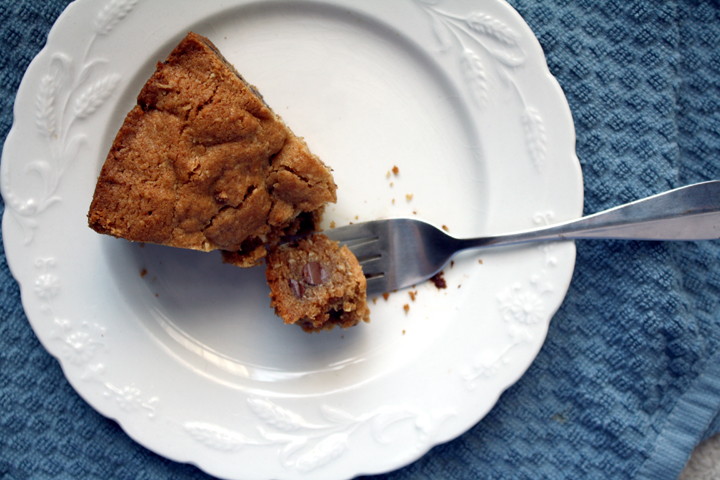
Nate was lacking on desserts in the apartment so I thought I’d do something nice. This is a cinch to mix up and will bake up in no time.

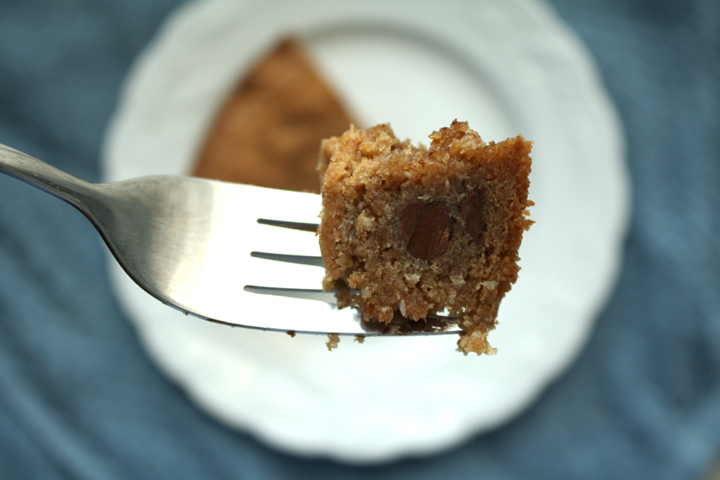
I was extremely sad that I didn’t have a little vanilla ice cream to eat with this when it was warm from the oven. But even so, it was outstanding- dense, gooey, everything you’d want in a giant cookie cake!

Whole Wheat Cookie Cake4

I can’t take credit for this recipe. I got it off the site Bran Appetit. The recipe below makes a couple very small changes.

Whole Wheat Chocolate Chip Cookie Cake

Print this recipe!

VERY slightly adapted from Bran Appetit

Serves 16 (if you can stand to only eat a small piece)

8 oz. butter, softened, plus 2 Tbsp for buttering your pan
1 and 1/4 cups brown sugar
3/4 cup sugar
2 tsp vanilla extract
2 eggs
3 cups whole wheat flour
1 and 1/2 tsp baking powder
3/4 tsp baking soda
1 tsp salt
2 cups semi-sweet chocolate chips
1 cup shredded unsweetened coconut

Preheat oven to 350 degrees. Grease a 9 inch springform pan.

Dump the 8 oz. of butter into a large bowl (stand mixer or other big bowl) and pour in the brown sugar and sugar. Beat together for 3-5 minutes until the mixture is light and fluffy.

Beat in the vanilla, then add the eggs, one at a time, to the butter and sugar mixture.

Pour the flour, baking powder, baking soda, and salt into the bowl and mix into the butter.

Once the dough has come together, add the chocolate chips and coconut and beat the mixture for another minute until the chips are mixed into the dough.

Dump your dough into your pan and press into an even layer.

Bake at 350 degrees for 35-40 minutes until the top is golden and a toothpick comes out clean (or a little wet).

Let the cookie rest for at least 10 minutes before serving.


I don’t want our wedding to look like anyone else’s. Is that so much to ask? I don’t think so.

I really want to make a statement on the tables and so I decided a while back that I wanted the napkin to have a pretty print on it. Do you know how hard it is to find printed rental napkins in my color scheme that are exactly what I want? Harder than it should. Actually, impossible.

Anyway, I finally convinced my mom that I could find a fabric cheap enough that we could get napkins made for the same price as renting would be…AND we could keep some and sell the rest after.

This way I got a gorgeous fabric that was exactly what I wanted, and no one else could  possible have it!

But in my fruitless search for the perfect napkin and tablecloth, I came across this one and showed it to Nate:

source

Have I mentioned that Nate LOVES dinosaurs?

This was the IM conversation that ensued:

Nate:  oh my god
MAKE THOSE THE TABLE CLOTHS
me:  we could do it just for our table
tell you what
we’ll make our first child’s bday a dino theme
Nate:  obviously
im gonna groom them
to become a paleontologist
me:  haha
Nate:  and then they will create the first real jurassic park
me:  as long as they make enough money to support their folks
Nate: well if my son/daughter creates the first real jurassic park that will be our family business
i’ll work there
and with any luck, at a ripe old age, be eaten by a dinosaur
by far the way i want to go

So there you have it. Nate’s chosen way to go is death by dinosaur. Probably not a bad way, in fact, assuming there isn’t too much chewing involved.

That also solves the mystery of who on earth would rent dinosaur tablecloths. But luckily Nate is not involved in making wedding-related decor decisions, or it would be a dino-themed wedding…and he’d probably serve these ribs.

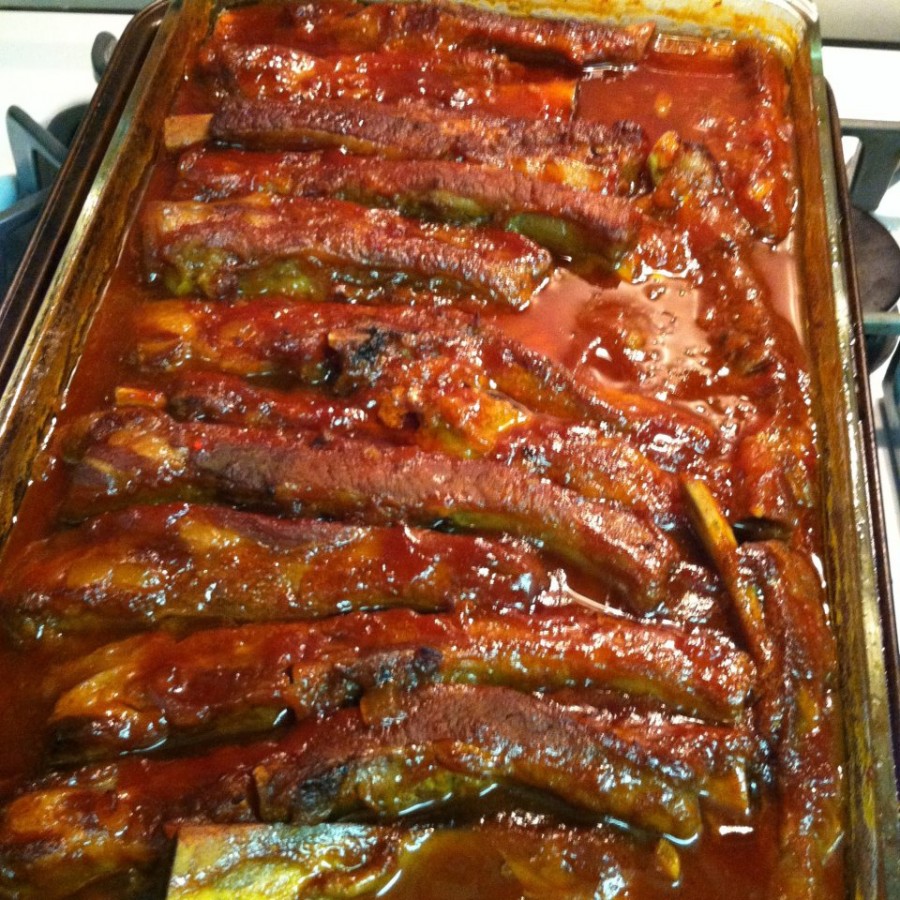
These aren’t dinosaur ribs, but they’d certainly go with a paleontology-themed event. And I can’t say I’d be upset if someone served them to me.

Unfortunately, the only photo I have to prove I made these ribs is one from my iphone, since Nate somehow deleted the others before I got them off the camera.

We, unfortunately, don’t have a grill, but this is better than ribs you could ever make on a grill. Yeah, take that, grill!

You give them a quick boil beforehand and then shove them in the oven for an hour and a half.

I’m a fan of saucy, succulent meat. I know this is definitely possible on the grill, but I hate dry things. These ribs get braised in the oven, mixing with the homemade tangy bbq sauce you add, creating their own, absolutely delicious sauce. I could eat it with a spoon.

Even if you have a grill, you NEED to make these this summer.

I served it up with some baked beans and corn on the cob. Felt like summer for sure!

Too bad the caterer doesn’t offer them….

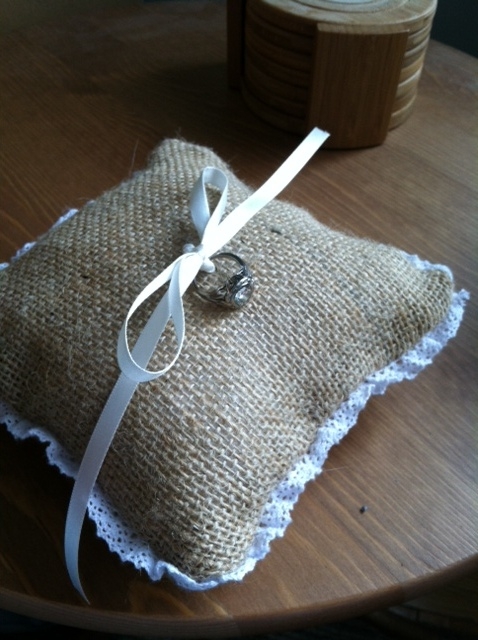
Oh and here’s another photo for you since I don’t have any more of the ribs. Here’s the ring bearer pillow I made for the wedding :)

burlap ring pillow


Saucy Country-Style Oven Ribs

from Gourmet 

Print this recipe!

serves 6-8

4 lb boneless country-style pork ribs
1 large onion, finely chopped (2 cups)
4 garlic cloves, minced (2 tablespoons)
2 tablespoons vegetable oil
1 1/2 cups ketchup (12 oz)
2/3 cup honey
1/2 cup cider vinegar
1/2 cup Worcestershire sauce
6 tablespoons fresh lemon juice (from 2 lemons)
2 tablespoons plus 1 teaspoon dry mustard
2 teaspoons drained bottled horseradish
1 teaspoon black pepper
Put oven rack in middle position and preheat oven to 350°F.

Put ribs in a 6- to 8-quart pot and cover with water by two inches. Bring to a boil, reduce heat and simmer, uncovered, skimming froth, 30 minutes (I only cook for 15 and it’s completely fine).

Meanwhile, cook onion and garlic in oil in a 3- to 4-quart heavy saucepan over moderate heat, stirring occasionally, until onion is tender, about 15 minutes.

Stir in remaining ingredients and simmer, stirring occasionally, 15 minutes.

Drain pork in a colander and pat dry, then arrange in 1 layer using tongs in a 13- by 9-inch baking dish. Pour sauce over pork to coat evenly, then cover dish tightly with foil.

Bake 1 hour, then remove foil and carefully turn pork over with tongs and cook, uncovered, until very tender, about 30 minutes. Skim fat from sauce if desired.

(**note that I don’t normally cut the ribs apart before cooking as in the above pic, but that’s how this particular batch came. Usually I put the whole rack in the pan in one long piece, only cutting off the ribs that don’t fit the length and putting them along the side)

Tex Mex Mac n Cheese

Sorry for the lack of posts lately. As you may or may not know, I’m getting married in 4 months and I decided to take on quite a bit of DIY projects for the wedding. Any free time I have has been spent cutting, painting, gluing, and sewing.

Here’s just a peek of one of the projects I have going on…wedding signage!

wedding signage

The white parts are an old picket fence I picked up off the street. The directional signs I made use the pointed parts of the fence, but this one doesnt since it doesn’t need to be pointing anywhere. Painting on the letters was quite time-intensive, but I’m so pleased with how it came out! The rest you’ll have to wait and see when I post wedding pics ;)

Anyway, on to the food. I think this must be my third or fourth mac and cheese recipe on the blog, but honestly I don’t think there can ever be too much mac and cheese! (I totally just typed man and cheese by mistake…there can’t be too much of that either!)

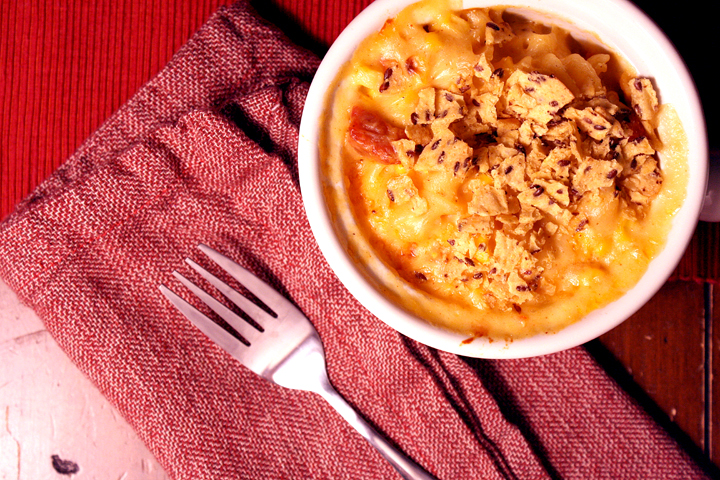
Tex Mex Mac n Cheese

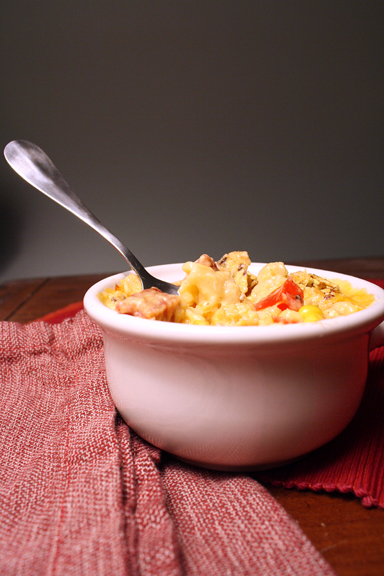
This one takes advantage of the fresh corn in season now. It was kind of annoying to roast the corn and peppers but at least it could be done while the pasta was cooking. The chorizo and mexican blend cheese take it to a whole other level!

All in all it came together pretty quickly, which was good because I didn’t have much time.

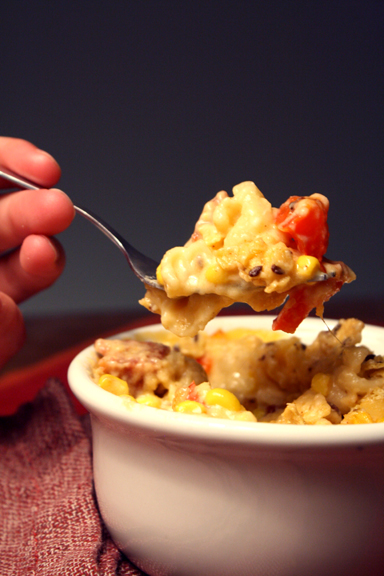
Tex Mex Mac n Cheese

Since I had plans to meet friends after work later in the week, I knew this would be a perfect meal to start the week off with since it would last for several days. Nate could just portion some out and reheat it in the microwave.

The chorizo totally made this! It added so much flavor to the meal. I also topped my portion with buffalo sauce :)

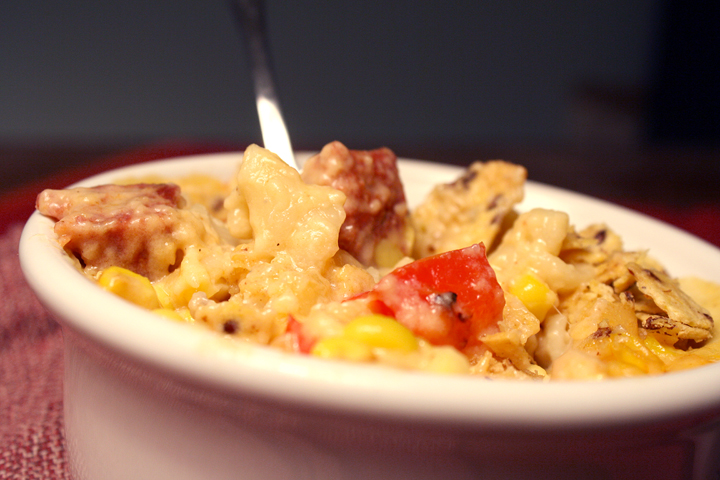
 Tex Mex Mac n Cheese

I doubled the recipe, but think perhaps I didn’t need to double the sauce. There was a LOT there, but i just left a little out when mixing it up.

Overall, I’d give this two thumbs up for when you’re looking for something a little different than your regular old macaroni and cheese.

Tex Mex Mac and Cheese

Slightly adapted from Southern Living

Print this recipe!

Serves 8-10

1 cup cherry tomatoes
2 red peppers, diced
4 ears fresh corn, husks removed, kernels stripped from cob
16 ounces uncooked rotini or fusilli pasta
1 cup chopped cooked Mexican-style chorizo (the hard, cured kind…not raw)
5 tablespoons butter
1/3 cup all-purpose flour
6 cups milk
6 cups shredded pepper Jack cheese
2 teaspoon salt
1/2 teaspoon freshly ground pepper
1.5 cup crushed tortilla chips

Preheat broiler with oven rack 5 1/2 inches from heat. Broil peppers, tomatoes and corn at the same time on an aluminum foil-lined jelly-roll pan. Broil 20 minutes or until charred, turning every 5 minutes. Reduce oven temperature to 400°.

Cook pasta in boiling salted water to cover 8 to 10 minutes or until al dente. Drain.

Melt 5 Tbsp. butter in a large heavy saucepan over medium heat; whisk in flour until smooth, and cook, whisking constantly, 2 minutes or until golden brown. Slowly whisk in milk, and cook, whisking often, 10 to 12 minutes or until thickened. Remove from heat, and gradually add cheese, stirring until smooth. Stir in chopped peppers, corn kernels, chorizo, salt, and pepper. Gently stir together cheese mixture and pasta in a large bowl. Spoon into a 9×13 baking pan.

Sprinkle with crushed tortilla chips. Bake at 400° for 12 to 15 minutes or until golden and bubbly. Let stand 5 minutes before serving.
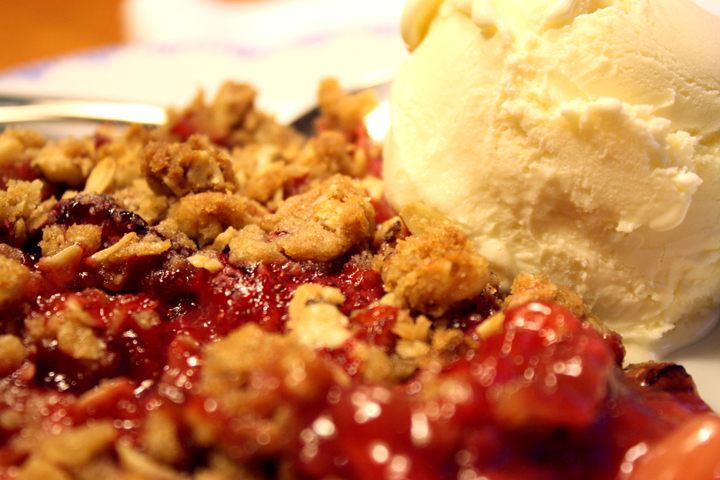
Rhubarb Strawberry Crisp

There are so many senses that bring back memories: sights, smells, tastes. Seasons bring back memories for me too. When the weather gets warm I immeditately think back to the summers of my childhood on Martha’s Vineyard.

Unfortunately, I have to work during the summer now and I don’t have long sunny days filled with going to the beach, running around outside, and farmer’s markets. But even so, as soon as I walk out of the office and the warm breeze hits my face, it brings me that feeling of calm and happiness that I used to feel back in my carefree Vineyard days.

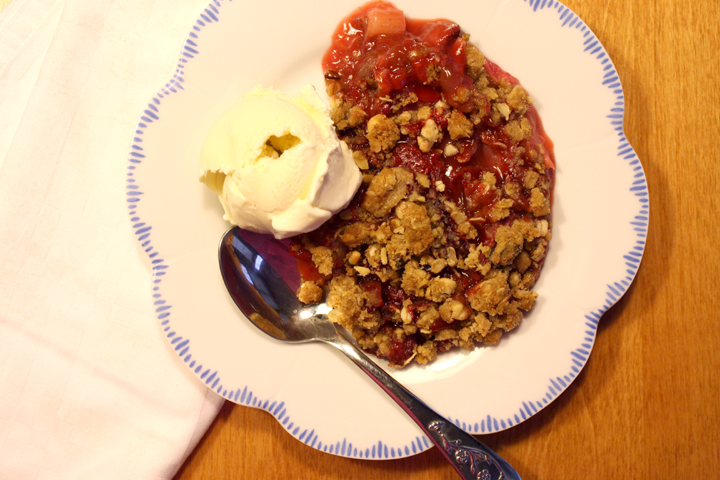
Rhubarb Strawberry Crisp

There were certain recipes that, for some reason, we only made during these summers. Maybe it’s because they’re warm weather foods, but maybe it’s because we wanted them to be forever associated with our wonderful summers.

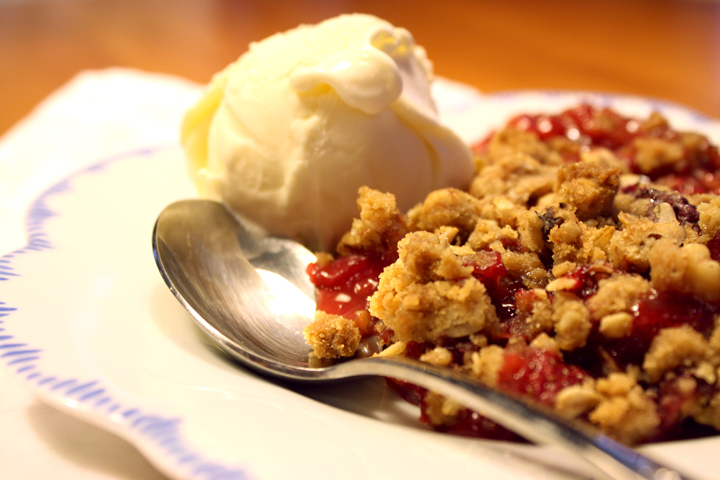
Rhubarb Strawberry Crisp

So as soon as the temperatures reach the 70s and the air gets sticky and hot, I bring out my mom’s recipe boxes and pull out our usual summer rotation of recipes: Brad’s Salsa, Michigan Blueberry Pie (I’ll have to make that soon and post it!), and especially her Rhubarb Strawberry Crisp- the epitome of a summer dessert.

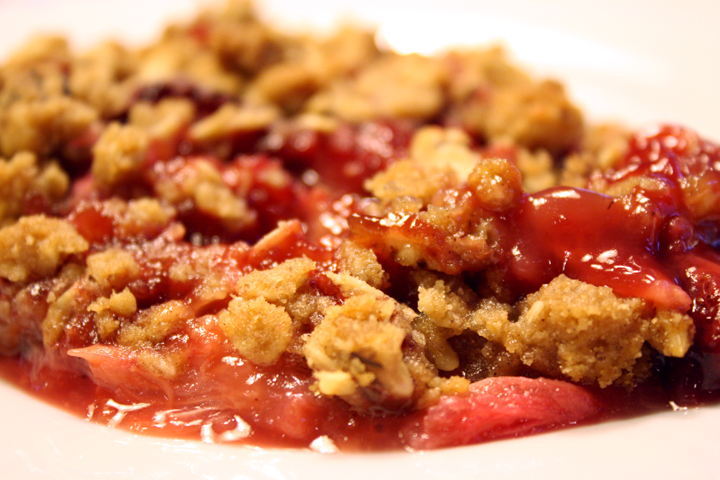
Rhubarb Strawberry Crisp

This dessert is best served with a hefty scoop of vanilla ice cream that melts into it. There’s really no better way to end a warm weather meal! When I take a bit of this and close my eyes, I’m instantly transported to our deck in Martha’s Vineyard, bathing suit still damp, covered in sand, sleepy from a long day in the sun and a belly full my mom’s best summer recipes.

Rhubarb Strawberry Crisp

Print this recipe!

Serves 6-8

Ingredients:

4 cups sliced rhubarb
4 cups whole, stemmed strawberries
1 cup sugar
1 1/3 cups flour, separated
1/2 tsp cinnamon
1 cup packed brown sugar
1/2 cup regular oats
3/4 cup chopped nuts (any kind)
8 Tbsp unsalted butter, cold, in small pieces

Preheat oven to 275. Butter a baking/casserole dish (9×13 is fine).

Combine fruits, sugar, 1/3 cup flour, cinnamon. Put in dish.

Combine 1 cup flour and rest of ingredients with fingers until crumbs form. Sprinkle over fruit.

Bake 35-45 minutes.

Honey White Challah

I’ve been so busy lately that the Daring Bakers completely slipped my mind and I hadn’t done it for a couple months. I finally remembered to check on this month’s challenge and was super excited when i saw it was challah!

The braided challah, which is made with eggs, is the Jewish Sabbath‑and‑holiday bread. It is surrounded by folklore and tradition and loaded with symbolism. On festive occasions a blessing is said over two loaves, symbolizing the two portions of the manna that was distributed on Fridays to the children of Israel during their Exodus from Egypt.

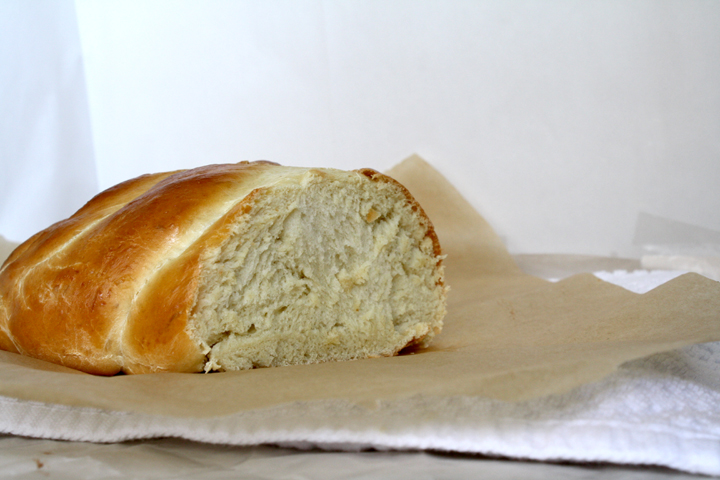
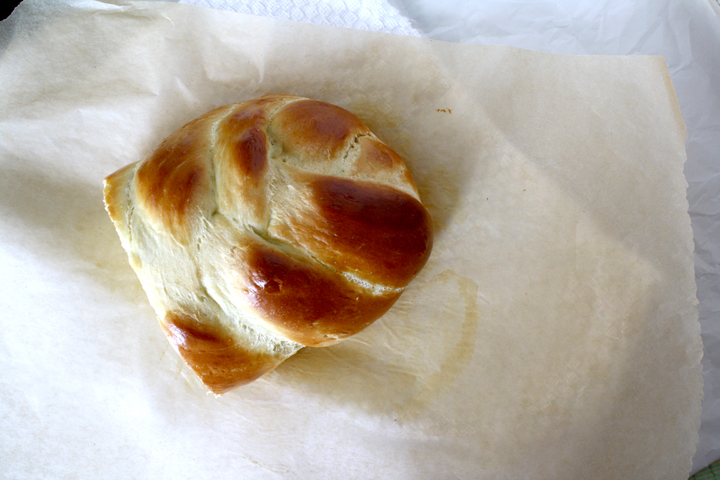
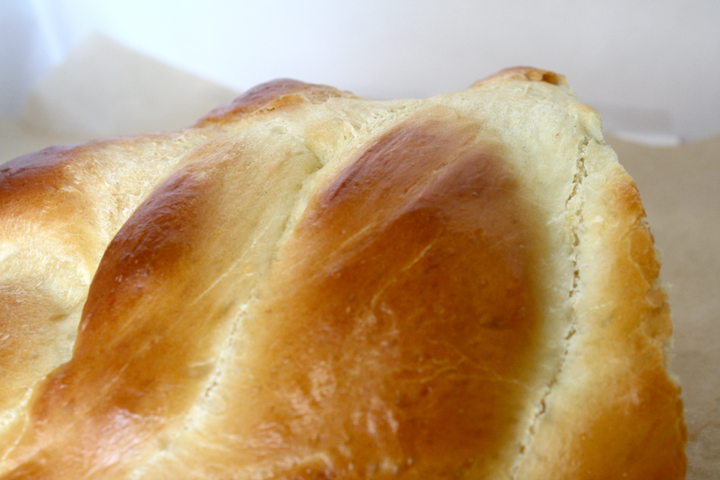
Honey White Challah

Challah is made in various sizes and shapes, all of which have a meaning. Braided ones, which may have three, four, or six strands, are the most common, and because they look like arms intertwined, symbolize love. Three braids symbolize truth, peace, and justice. Twelve humps from two small or one large braided bread recall the miracle of the 12 loaves for the 12 tribes of Israel. Round loaves, “where there is no beginning and no end,” are baked for Rosh Hashanah to symbolize continuity. Sweet challahs with honey or raisins are baked during the festive season to bring joy and happiness.

The name “challah” is derived from the Hebrew word used for “portion” in the Biblical commandment “of the first of your dough you shall give unto the Lord a portion for a gift throughout your generations.” Jews were biblically commanded to separate from their doughs one twenty‑fourth and give it to the kohanim (priests) every Sabbath. (source)

 Honey White Challah

Honestly, I didn’t really know (or remember) the significance of challah although I’m sure I was taught it in Hebrew School.

I’ve actually made Challah before but was really excited to give it another shot. Since Nate likes bread with his dinner on a daily basis, I knew it wouldn’t go to waste.

While Nate was in California last weekend, I whipped up some of the dough and let it rise in between my wedding crafts (i made our cake topper!). It was super easy, and having the first rise in the fridge overnight was a huge time saver.

Honey White Challah

The Challah recipe I used was a honey white version and it came out just slightly sweet and as doughy and delicious as my favorite grocery store version. If you live near Shoprite supermarkets, they happen to have the absolute best challah. Anyway, this was pretty darn close!

I should have added raisins but couldn’t be bothered at the time. Luckily it wasn’t dry at all and was able to hold up on its own.

Blog-checking lines: May’s Daring Bakers’ Challenge was pretty twisted – Ruth from The Crafts of Mommyhood challenged us to make challah! Using recipes from all over, and tips from “A Taste of Challah,” by Tamar Ansh, she encouraged us to bake beautifully braided breads.

Honey White Challah

Honey White Challah

From Tammy’s Recipes

Print this recipe!

makes 2 gigantic loaves

Ingredients:

1 ½ cups (360 ml) warm water, separated
1 Tbsp. (15 ml) (15 gm/½ oz sugar
2 Tbsp. (2-2/3 packets) (30 ml) (18 gm) (2/3 oz) dry active yeast
½ cup (120 ml) honey
1 Tbsp. (15 ml) oil (light colored vegetable oil, or olive oil if you prefer)
4 large eggs
1 ½ tsp. 7½ ml) (9 gm) (1/3 oz) salt
5 cups (1200 ml) (700 gm/25 oz) all-purpose (plain) flour, plus more as needed (up to 8 or 9 cups total)
1 egg beaten with 1 tsp. water

In mixer bowl/large mixing bowl combine ½ cup warm water, 1 Tbsp. sugar and 2 Tbsp. yeast. Allow to proof approximately 5 minutes until foamy.

To the yeast mixture add the remaining water, honey, oil, eggs, salt and 5 cups of flour. Knead (by hand or with your mixer’s dough hook) until smooth, adding flour as needed. Knead for approximately 10 minutes.

Transfer dough to a clean, oiled bowl, turn to coat or add a bit more oil on top. Cover bowl with a kitchen/tea towel. Leave to rise in a warm place until doubled, about 1 ½ hours (**optionally you can have the first rise in the fridge overnight, which is what I did to save time. The next morning, remove from fridge and allow to come to room temp then move on to next step).

Punch down the dough, divide it into two sections. Use one half to make each loaf (shaped or braided as desired).

Place loaves on parchment lined or greased baking sheets, cover with a towel, allow to rise 30 minutes.

Preheat oven to 325 degrees.

Brush tops loaves with egg wash. (Sprinkle with seeds or toppings here if wanted.)

Bake loaves 30-40 minutes until done.

Cool on wire racks.

Storage & Freezing Instructions/Tips:
Once cooled, challah loaves which will not be eaten right away (or in the next couple of days) should be bagged in heavy duty freezer bags. Remove excess air from the bag before securing it tightly (tying a knot or using tape). Put the bagged loaf/loaves into the freezer as soon as possible to ensure fresh taste; frozen challah will keep approximately three months.