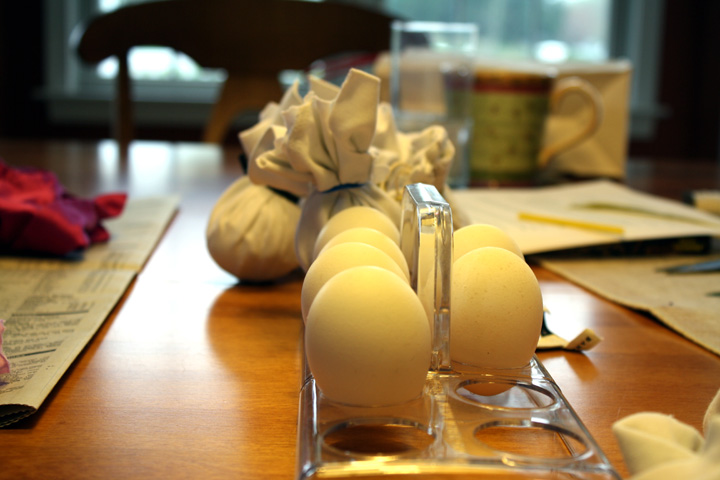
This post isn’t food related, but I promise my next one will be. Here and there I will be inserting crafty posts since art/crafts are another love of mine.

As usual, Nate and I headed down to PA for the long Easter weekend. His family isn’t religious and I’m Jewish, but ever since I was little, my mom dyed Easter eggs with us. To rekindle memories of childhood and combine my love of crafts, I knew I wanted to dye some eggs this weekend. Neither Nate nor I had done in it probably 15-20 years.
Somewhere amongst my blog reading this year I had come across an awesome technique for dyeing eggs that involves ripping up old silk ties, scarves, or whatever brightly patterned silk fabric you can find at a thrift store. In this case, the uglier the better! Definitely do not use new stuff since you’ll be tearing it into pieces. (I discovered the technique on this site , but I think that this other site’s technique looks even better, and I think I’ll try that one next year).
To perform this awesome egg dyeing method, you first rip the silk fabric into small squares, large enough to cover the egg. You then wrap it in string/dental floss to hold the fabric tightly against the egg. Anywhere fabric isn’t touching the egg will end up white, but having a little white can actually add to the pattern.
Once the egg is wrapped up, you put it in a small square of dye-free cotton fabric (an old tshirt, pillowcase or sheet will work fine) and tie the top with a twisty tie, rubber band, or twine. After all the eggs have been wrapped up, you put them in a big pot and fill with water to cover. Add 1/4 cup of vinegar and bring to a boil. Once the water has come to a boil, continue boiling for 20-30 minutes.
If you’re impatient like me, and want to see the results immediately, you can remove the eggs to a waiting bowl of ice water once they’re done cooking. Otherwise, you can drain them and let them cool.
Unwrap the eggs and behold the magnificence! Being that this was the first time doing this, we discovered that fabrics that are pastel to begin with will not impart much, if any color to the egg. As I said, dark fabrics are best.
There was one fabric that was a solid dark purple which I thought would be plain…but with the parts of fabric that didn’t touch the egg, it ended up a really cool white and purple design.
Finally (and this step is obviously optional), we painted the eggs with a gold glaze that we bought from an egg dyeing kit in the supermarket. You couldn’t really see the gold, but it definitely added a nice sheen. With or without the glaze, the eggs turned out awesome. I can’t wait to repeat it next year and get some really cool fabrics! I hope you’ll give it a try :)


