
My blogger friend Alyssa alerted me to Love and Olive Oil’s bagel challenge and encouraged me to try it along with her, and I’m so glad she did! Bagels were one of the foods on my list of things to attempt in my kitchen at some point in my lifetime (along with pretzels, marshmallows, graham crackers, and a few others).
I followed Peter Reinhart’s recipe from his book Peter Reinhart’s Artisan Breads Every Day. They were so much easier to make than i was expecting. Most yeast recipes I have followed require so much rising, but this one (I’m assuming because of the “instant” yeast used) only had one 1-hr rise and then time overnight spent in the fridge.
I don’t have the dough hook for my Kitchen Aid mixer and it’s the mixer is such a pain to get out anyway that I rarely use it. I made this recipe by stirring with a wooden spoon and then kneading. I must be seriously out of shape because after 3 minutes of kneading, my abs were seriously sore the next day.
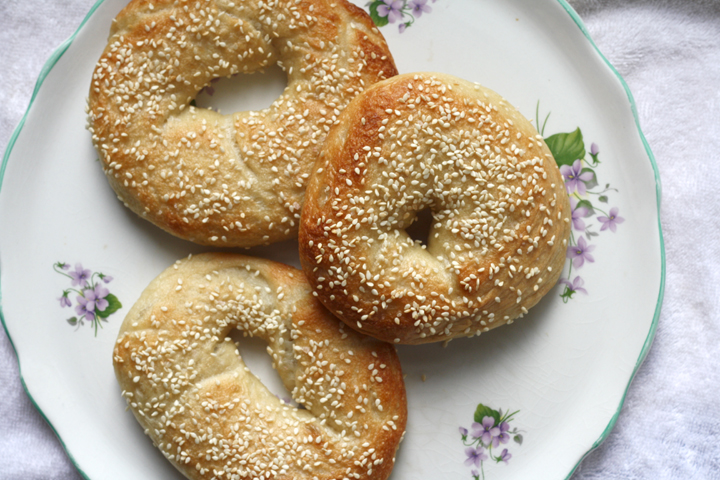
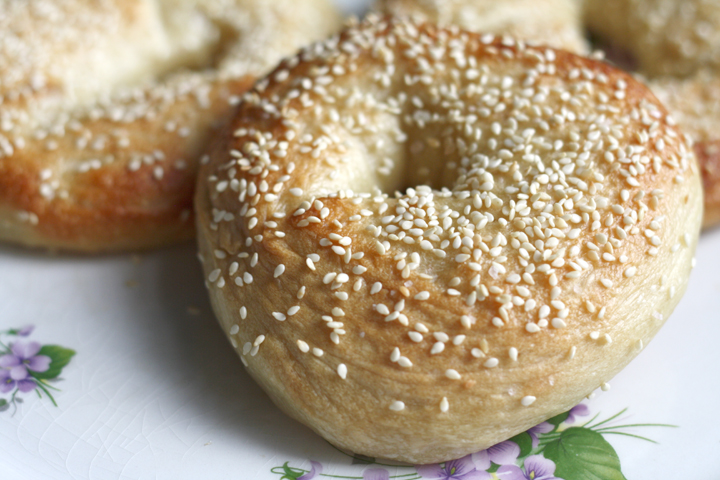
My bagels came out a little flatter than I was expecting but they were still totally delicious. I think it might be because I rolled the dough out into too thin of a “rope.” The recipe says to have a 2.5 inch hole but making it smaller may have kept the bagels puffier.
I also was reading up on flat bagels online and it seems that not refrigerating and simply baking after the first rise might solve the problem, but it could sacrifice the texture.
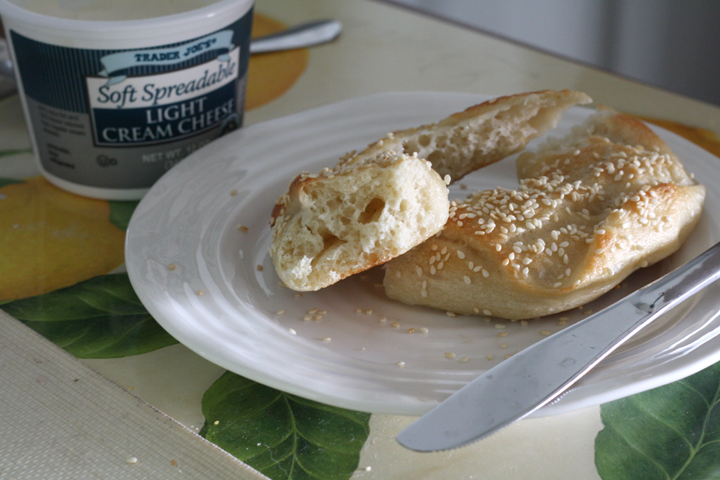
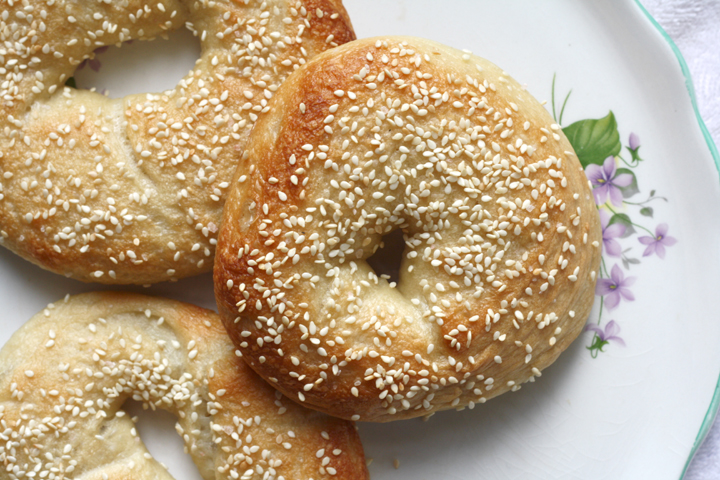
Personally, I was ok with their shape because their texture was SOOO good. They were everything a good bagel is supposed to be- crispy on the outside, airy but chewy on the inside. I don’t know about you, but I’m a bread person and I’m salivating just thinking about it. They smelled amazing too!
Some things I learned that you might find helpful:
- If you use the second technique in the recipe to form the bagels, do not roll the “ropes” too thin and long.
- Keep the bagel hole on the small side, especially if you make smaller bagels. If you divide into 8 pieces, keep each hole around 1″ wide
- If using method two to shape the bagels, don’t overwet the ends or they won’t stick together.
- Don’t overcrowd your pot when you boil the bagels.
- If you line your pan with parchment, be sure to snip off any overhang, or it will majorly burn in the very hot 500° oven.
- The “domed” side of the bagel the recipe is talking about is the side that ends on the bottom.
- The recipe included here calls for instant yeast, not active dry yeast, but it still needs to be fully dissolved in lukewarm water before being used. If you only have active dry yeast, use 25 percent more (1 1/4 teaspoons instead of 1 teaspoon). Instant yeast is widely available and can also be ordered from King Arthur Flour or Amazon. If frozen, in an airtight container, it will keep up to two years.
- I saw malt syrup in the market but it was so expensive and only came in a huge bottle so I just used honey in the recipe and it was totally fine.
That’s about it. Other than that, the recipe was super easy to follow. Enjoy!
This post is also being submitted to Yeastspotting!
Homemade Bagels
From Peter Reinhart’s Artisan Breads Every Day via Epicurious
makes 6-8 bagels
Dough
1 tablespoon (0.75 oz / 21 g) barley malt syrup, honey, or rice syrup, or 1 teaspoon (0.25 oz / 7 g) diastatic malt powder
1 teaspoon (0.11 oz / 3 g) instant yeast
1 1/2 teaspoons (0.37 oz / 10.5 g) salt, or 2 1/2 teaspoons coarse kosher salt
1 cup plus 2 tablespoons (9 oz / 255 g) lukewarm water (about 95°F or 35°C)
3 1/2 cups (16 oz / 454 g) unbleached bread flour
Poaching liquid
2 to 3 quarts (64 to 96 oz / 181 to 272 g) water
1 1/2 tablespoons (1 oz / 28.5 g) barley malt syrup or honey (optional)
1 tablespoon (0.5 oz / 14 g) baking soda
1 teaspoon (0.25 oz / 7 g) salt, or 1 1/2 teaspoons coarse kosher salt
preparation
Do Ahead:
To make the dough, stir the malt syrup, yeast, and salt into the lukewarm water. Place the flour into a mixing bowl and pour in the malt syrup mixture. If using a mixer, use the dough hook and mix on the lowest speed for 3 minutes. If mixing by hand, use a large, sturdy spoon and stir for about 3 minutes, until well blended.
The dough should form a stiff, coarse ball, and the flour should be fully hydrated; if it isn’t, stir in a little more water. I had to add some more water. Let the dough rest for 5 minutes.
Resume mixing with the dough hook on the lowest speed for another 3 minutes or transfer to a very lightly floured work surface and knead by hand for about 3 minutes to smooth out the dough and develop the gluten. The dough should be stiff yet supple, with a satiny, barely tacky feel. If the dough seems too soft or overly tacky, mix or knead in a little more flour.
Place the dough in a clean, lightly oiled bowl, cover the bowl tightly with plastic wrap, and let the dough rise at room temperature for 1 hour.
When you’re ready to shape the bagels, prepare a sheet pan by lining it with parchment paper or a silicone mat, then misting it with spray oil or lightly coating it with oil. Divide the dough into 6 to 8 equal pieces. (A typical bagel is about 4 ounces or 113 grams before baking, but you can make them smaller. If you make more than 6 bagels, you may need to prepare 2 sheet pans.) Form each piece into a loose ball by rolling it on a clean, dry work surface with a cupped hand. (Don’t use any flour on the work surface. If the dough slides around and won’t ball up, wipe the surface with a damp paper towel and try again; the slight bit of moisture will provide enough traction for the dough to form into a ball.)
There are two methods to shape the balls into bagels:
The first method is to poke a hole through the center of the ball to create a donut shape. Holding the dough with both thumbs in the hole, rotate the dough with your hands, gradually stretching it to create a hole about 2 inches in diameter.
The second method, preferred by professional bagel makers, is to use both hands (and a fair amount of pressure) to roll the ball into a rope about 8 inches long on a clean, dry work surface. (Again, wipe the surface with a damp towel, if necessary, to create sufficient friction on the work surface.) Taper the rope slightly at each end and moisten the last inch or so of the ends. Place one end of the dough in the palm of your hand and wrap the rope around your hand to complete the circle, going between your thumb and forefinger and then all the way around. The ends should overlap by about 2 inches. Squeeze the overlapping ends together by closing your hand, then press the seam into the work surface, rolling it back and forth a few times to seal. Remove the dough from your hand, squeezing it to even out the thickness if need be and creating a hole of about 2 inches in diameter. (I think you should make a smaller hole)
Place each shaped bagel on the prepared sheet pan, then mist with spray oil or brush with a light coating of oil. Cover the entire pan with plastic wrap and refrigerate overnight or for up to 2 days. (You can also proof the full piece of dough in the oiled bowl overnight and then shape the bagels on baking day, 60 to 90 minutes before boiling and baking them, or as soon as they pass the float test.)
On baking day:
Remove the bagels from the refrigerator 60 to 90 minutes before you plan to bake them, and if you plan to top them with dried onion or garlic, rehydrate those ingredients (see the variations).
Immediately check whether the bagels are ready for baking using the “float test”: Place one of the bagels in a small bowl of cold water. If it sinks and doesn’t float back to the surface, shake it off, return it to the pan, and wait for another 15 to 20 minutes, then test it again. When one bagel passes the float test, they’re all ready to be boiled.
If they pass the float test before you are ready to boil and bake them, return them to the refrigerator so they don’t overproof. About 30 minutes before baking, preheat the oven to 500°F (260°C) and gather and prepare your garnishes (seeds, onions, garlic, and so on).
To make the poaching liquid, fill a pot with 2 to 3 quarts (64 to 96 oz / 181 to 272 g) of water, making sure the water is at least 4 inches deep. Cover, bring to a boil, then lower the heat to maintain at a simmer. Stir in the malt syrup, baking soda, and salt.
Gently lower each bagel into the simmering poaching liquid, adding as many as will comfortably fit in the pot. They should all float to the surface within 15 seconds. After 1 minute, use a slotted spoon to turn each bagel over. Poach for another 30 to 60 seconds, then use the slotted spoon to transfer it back to the pan, domed side up (the part that’s now on the bottom). (It’s important that the parchment paper be lightly oiled, or the paper will glue itself to the dough as the bagels bake.) Sprinkle on a generous amount of whatever toppings you like as soon as the bagels come out of the water (except cinnamon sugar; see the variation for details).
Transfer the pan of bagels to the oven, then lower the oven heat to 450°F (232°C).
Bake for 8 minutes, then rotate the pan and check the underside of the bagels. If they’re getting too dark, place another pan under the baking sheet. (Doubling the pan will insulate the first baking sheet.) Bake for another 8 to 12 minutes, until the bagels are a golden brown.
Cool on a wire rack for at least 30 minutes before slicing or serving.
Variations
You can replace any amount of the bread flour with an equal amount of whole grain flour (by weight), such as wheat or rye. If you do so, increase the water in the dough by 1 tablespoon (0.5 oz / 14 g) for every 2 ounces (56.5 g) of whole grain flour you substitute.
Top your bagels with any combination of the following garnishes: poppy seeds, sesame seeds, coarse salt, or rehydrated dried onions or garlic. (Soak dried onions or garlic in water to cover for at least 1 hour before applying.) The toppings will stick even better if you first brush the top of each bagel with an egg white wash made by whisking 1 egg white with 1 tablespoon (0.5 oz / 14 g) of water. If using coarse salt as a garnish, remember that a little goes a long way.
For raisin bagels, mix in 1 1/3 cups (8 oz / 227 g) of raisins during the final 2 minutes of mixing and, if you like cinnamon, stir 1/2 teaspoon (0.14 oz / 4 g) of ground cinnamon into the flour before you start mixing. When the bagels come out of the oven, brush the tops with melted butter and dip the top into a bed of cinnamon sugar to give it a very tasty cinnamon crust. You can make cinnamon sugar by whisking 2 tablespoons (1.6 oz / 44 g) of ground cinnamon into 1/2 cup (4 oz / 113 g) of granulated sugar.


