I’m the most indecisive person you’ve ever met. My family and Nate can certainly vouch for that.

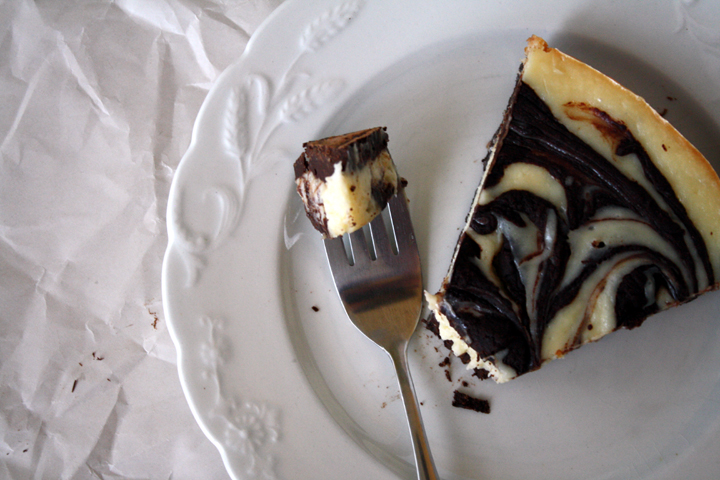
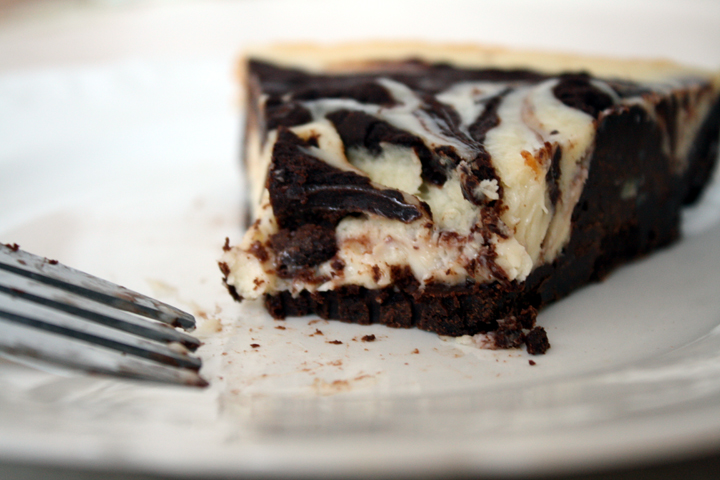
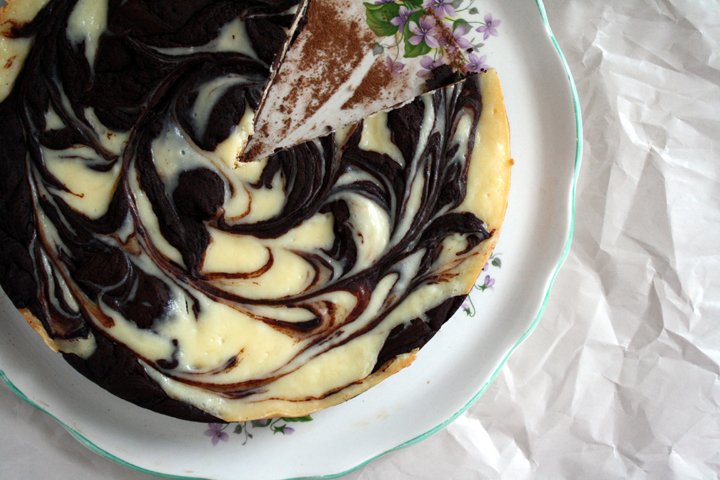
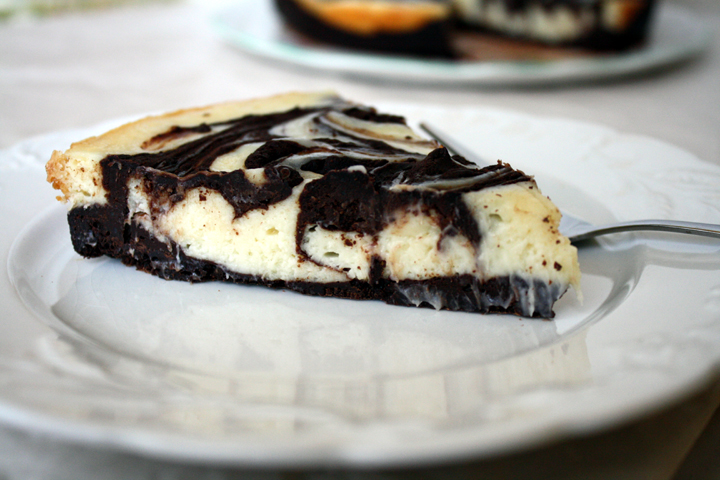
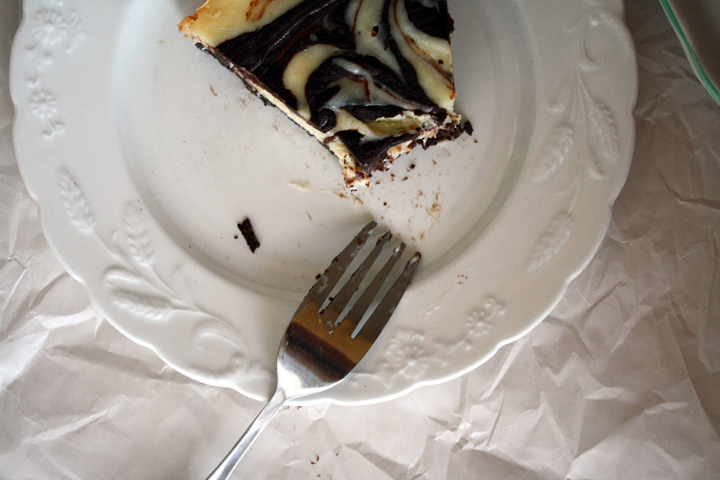
Chocolate Fudge Cheesecake

I rarely buy things for myself, so when I do you can imagine how long I spend deciding exactly what item I want. I will literally stand in a department store with a blue shirt and a red shirt in each hand, looking back and forth for a good 30 minutes to figure out which one I really want.

I’m not exaggerating.

At restaurants I will agonize over what to order because everything sounds so good and I know I can only get one thing. I usually make the waiter go to everyone else and take my order last just so I have that extra 1 minute to finalize my choice.

It’s like making decisions paralyzes me.

How do you choose what to have??! Well with this recipe you don’t have to. There’s a super dense chocolate layer for the chocoholic in all of us, and then there’s the tangy cheesecake marbeled throughout for those of us cheesecake lovers!

This is not for the faint of heart. If you like serious chocolate desserts than this is for you. Nate could barely finish his slice…although it could be because it was a large slice and we had just had a giant mac and cheese dinner. Man, I wish I had his metabolism…

Marbled Chocolate Fudge Cheesecake

slightly adapted from Baker Street

Print this recipe!

makes one 9″ round cake

For the vanilla batter:
8 oz. cream cheese, softened to room temperature
2/3 cup granulated sugar
1 large egg
1 tsp. pure vanilla extract

For the chocolate batter:
8 oz. bittersweet chocolate, finely chopped
1 stick (8 Tbsp) unsalted butter, cut into pieces
3 large eggs
1/3 cup granulated sugar
1 Tbs. dark rum or espresso
1 tsp. pure vanilla extract
1 Tbsp flour
Pinch table salt
Cocoa powder for dusting

Preheat the oven to 300°F.

Lightly grease a 9 inch round cake pan and /or line the bottom with parchment.

Make the vanilla batter:
In a medium bowl, beat the softened cream cheese with an electric mixer until smooth.

Add the sugar and continue beating until well blended and no lumps remain. Add the egg and vanilla and beat just until blended. Set aside.

Make the chocolate batter:
In a medium bowl, melt the chocolate and butter in a large metal bowl over a pan of simmering water or in the microwave.

Whisk until smooth and set aside to cool slightly. With a stand mixer fitted with the whip attachment (or with a hand mixer), beat the eggs, sugar, rum or espresso, vanilla, and salt on medium high until the mixture is pale and thick, 3 to 4 min.

With the mixer on low, gradually pour in the chocolate mixture and continue beating until well blended. Beat in the flour.

Spread about half of the chocolate batter in the bottom of the pan. Alternately add large scoopfuls of each of the remaining batters to the cake pan.

Using a knife or the tip of a rubber spatula or a toothpick gently swirl the two batters together so they’re mixed but not completely blended.

Tap the pan against the countertop several times to settle the batters.

Bake until a pick inserted about 2 inches from the edge comes out gooey but not liquid, 40 to 42 min.; don’t over bake.

The top will be puffed and slightly cracked, especially around the edges. It will sink down as it cools. Let cool on a rack until just slightly warm, about 1-1/2 hours. Let cool completely. Cover and refrigerate until very cold, at least 4 hours or overnight, or freeze.

Remove cake from fridge one hour before serving. Loosen the cake from the pan by holding the pan almost perpendicular to the counter; tap the pan on the counter while rotating it clockwise. Invert onto a large flat plate or board. Remove the pan and carefully peel off the parchment. Sift some cocoa powder over the cake (this will make it easier to remove the slices when serving).

Let sit until cake warms to room temperature before serving. (or eat it cold if you like that!)

Invert again onto a similar plate so that the top side is up.

My laundry usually sits on my bed for the whole day after I wash it in the morning. Sometimes I don’t even put it away when it’s time for bed…I just put it in a little pile on the floor until I feel inspired to clean up.

After trips, my suitcase full of clothes sits in the corner of my bedroom for at least a week or two before I manage to empty it and put it away.

I haven’t worked out in months, even though there’s a gym downstairs in my building.

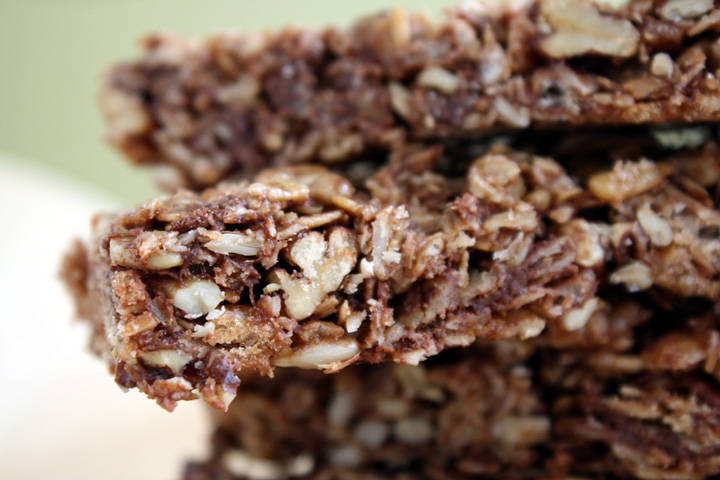
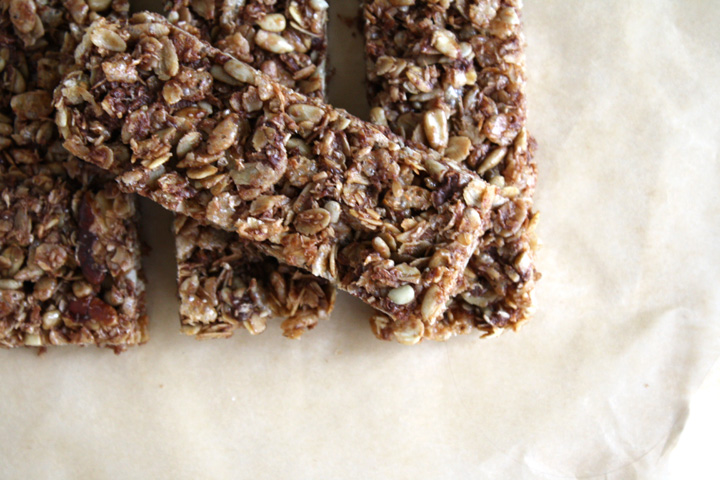
But As lazy as I am, I decided that I wanted to try my hand at making homemade granola bars rather than paying the exhoribitant nyc prices for a box of packaged ones. See, I’m also extremely cheap frugal, and in this case, that won out over laziness.

Sometimes it’s nice to have convenience foods, but they never taste as good as homemade. I also wanted Nate to have an easy-to-grab, nutrious and calorie dense fuel for his morning runs. I guess these granola bars are technically still a convenience food for him, since he didnt have to make them ;)

But in all honesty, these are super easy and, if you have all the ingredients, will take you less time than it takes to get to the store and back.

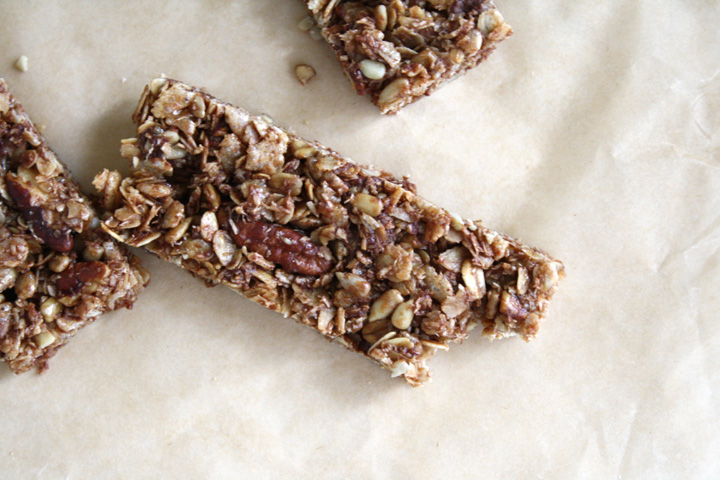
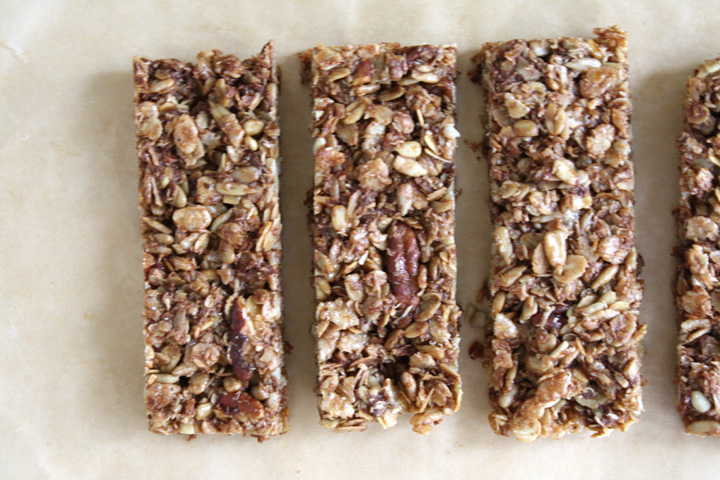
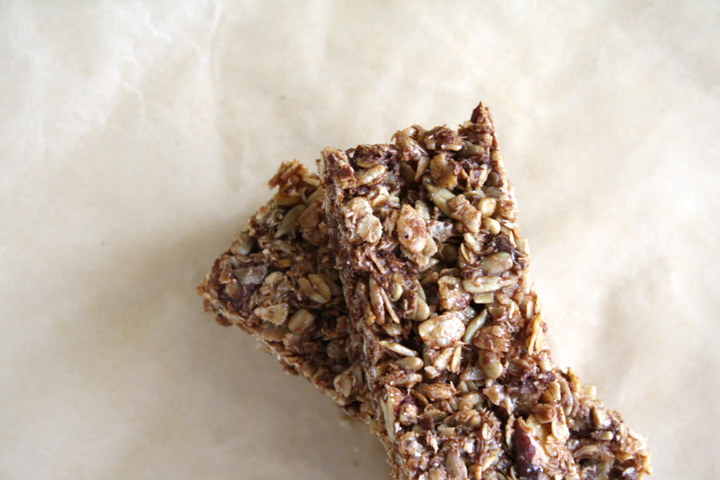
Crispy-Chewy Chocolate Granola Bars

Very slightly adapted from Once Upon a Chef

Print this recipe!

makes 12-16 bars, depending on how big you like them

1 + 1/2  cups old fashioned rolled oats
1/2 cup chopped pecans
2/3 cup shredded unsweetened coconut (available at Whole Foods or natural food markets)
1/2 cup honey
3 tablespoons light brown sugar
2 tablespoons unsalted butter
1 + 1/2  teaspoons vanilla extract
1/4 teaspoon salt
3/4 cup roasted, salted sunflower seeds (not the kind in the hull)
1 cup crisp rice cereal, such as Rice Krispies
3/4 cup mini chocolate chips

Preheat the oven to 350 degrees. Line a baking sheet with heavy duty aluminum foil.

Spread the oats and pecans onto prepared baking sheet. Place in the oven and toast for 7 minutes. Add coconut and toss well, then place back in the oven to cook about 6-8 minutes more. Keep an eye on it towards the end; you want the coconut to turn golden but not burn.

In the meantime, combine the honey, brown sugar, butter, vanilla extract and salt in a small saucepan and place over medium heat. Stir with a whisk until the brown sugar is completely dissolved. Turn off heat and set aside.

Once the oat mixture is done, remove it from the oven and reduce heat to 300 degrees. Combine the the oat mixture, honey mixture, rice cereal, and mini choco chips in a large bowl and toss well.

Use the foil to line a 9 x 13-inch baking dish, then spray foil with nonstick cooking spray. Turn granola bar mixture out into the prepared baking dish and spread evenly, being careful not to press down too hard. Bake for 20 minutes (be sure heat is reduced to 300 degrees). Remove from the oven and cool completely, about 1-1½ hours. Use the foil overhang to tranfer bars to cutting board, then use a large knife to cut into rectangles. Store in a single layer in an airtight container for up to a week (do not stack the bars or they will stick together and fall apart).

*I think next time I make these I’ll add peanut butter into the wet ingredients…give it a try!

February is a month for love….and chocolate.

Or maybe for loving chocolate (sorry, Nate, I’ll go back to loving you in March).

Whether you celebrate Valentine’s Day with someone or alone, it’s appropriate to treat yourself to some extra chocolately goodness.

Ever since I went with Nate and his family to The City Bakery, near Union Square, I’ve been dreaming of their rich and thick hot chocolate.

They’re really well known for their amazing hot chocolate. In fact, every day in the month of February they have a different flavor of hot chocolate as part of their Annual Hot Chocolate Festival.

But honestly, you really don’t need anything but their original flavor. It tastes like you’re drinking liquid chocolate. It’s seriously amazing.

Anyway, after drinking it I searched online for thick hot chocolate recipes. It’s not the watery consistency of hot chocolate you make from a packet. It’s so thick that you could eat it with a spoon. Consitency-wise, it’s kind of like in between instant hot chocolate and chocolate pudding.

I found this one recipe from Southern Living and finally got around to making it for Nate (and me). It was totally as awesome as City Bakery’s!…which is good to know since they charge $5 a pop.

This month’s #chocolatelove is brought to you by the following lovely hosts:

ASTIG Vegan ~ Richgail ~  @astigvegan
Bon a croquer ~ Valerie ~ @Valouth
Easily Good Eats ~ Three Cookies
Oh Cake ~ Jessica ~ @jesshose

Click here to enter your recipe and view the rest of the bloghop ones!

(Powered by Linky Tools)

Rich and Thick Hot Chocolate
Slighlt adapted from Southern Living

Print this recipe!

serves 4

2 teaspoons cornstarch
4 cups milk, divided
2 (3-oz.) dark chocolate bars (at least 70% cacao), chopped
1/3 cup honey (or more depending on how sweet you like things)
1 teaspoon vanilla extract
Pinch of salt

Whisk together cornstarch and 1/2 cup milk until smooth.

Cook remaining 3 1/2 cups milk in a large, nonaluminum saucepan over medium heat until bubbles appear around edge of saucepan (about 4 minutes; do not boil). Whisk in chocolate, honey, vanilla extract, and salt until blended and smooth. Whisk in cornstarch mixture.

Bring milk mixture to a light boil, whisking frequently (about 4 minutes). Remove from heat. Let cool slightly. (Mixture will thicken as it cools.) Serve immediately.

This month’s challenge was to make sourdough bread! I had heard terms thrown around in the past about sourdough “starters” but had no idea what this actually involved. It’s pretty gross, actually. You basically mix water and flour together and let it sit in a warm place for a while, while “feeding” it every day to keep it alive and well. It ferments and bubbles, and eventually becomes so aerated and bubbly that it takes the place of yeast in the bread recipe!

It’s pretty amazing, actually, that you can create something that’s alive from just flour and water. My starter became my little pet for the week, as I had to take good care of it, make sure it didn’t starve and wasn’t too cold or hot. It was my baby.

Unfortunately I didn’t plan it very well. You were supposed to grow your starter for 4 days and then make the bread on day 5. I knew I wasn’t going to have time to make it til I got down to Nate’s mom’s house for Christmas…so I stuck my starter in the fridge. I checked with the Daring Baker’s forum to make sure this step was ok and they assured me it was fine. I was just told to “freshen” the starter the day before I’d be using it.

On Friday I carefully packed up my starter to take to work with me, as I was going to be leaving on the train to Delaware directly after work. I knew it would be fine since it was meant to be at room temperature. The next night, in preparation for making the bread on Sunday, I freshened the starter. I think I must have added the wrong proportion of flour to water, though, as it seemed thinner than it was before. This was mistake #1 I think.

The next day I followed the directions, making the leaven and letting it sit for 4 hours to bubble. I think something happened in this step because 4 hours later I looked at it and there was no bubbling going on. I should have just given up here but I wanted to keep going.

I made the dough, but added 1/2 cup more water than I was supposed to. Oops! I tried to cover it up by adding more flour but knew this was the beginning of the end.

I left the dough to rest but it didn’t really bubble or increase in size. Because sourdough bread doesn’t use yeast, the doubling in size and aerating is kind of important. However, I knew I needed to finish what I started so I could at least get pictures of my sad attempt at sourdough…so I persevered.

When I went to put the dough on the sheet pan, I realized that it was waaay too thin and would never hold a loaf shape on a pan. I knew the bread wasn’t going to come out correctly at this point, but I put it in a cake pan instead and hoped for the best.

The bread did rise in the oven a bit, but for the most part it remained dense. When I took it out of the oven it felt like a brick.

In the end, the bread tasted a bit like sourdough but had a dense, doughy consistency rather than being light and airy. I kind of enjoyed it as I like doughy bread, but since it was most certainly not correct, I threw the rest out.

I thought about saving the rest of the starter to attempt it again in the future, but I really don’t think I have the patience. Hopefully the next challenge will go a little better!

Blog-checking lines: Our Daring Bakers Host for December 2011 was Jessica of My Recipe Project and she showed us how fun it is to create Sour Dough bread in our own kitchens! She provided us with Sour Dough recipes from Bread Matters by AndrewWhitley as well as delicious recipes to use our Sour Dough bread in from Tonia George’s Things on Toast and Canteen’s Great British Food!

This recipe is long and involved. Rather than type it all out here, I will link you to the Daring Bakers site when it’s up.

Sorry I’m a little late with these cookie recipes. I realize Hannukah is today and Christmas is this weekend, but maybe you’re a baking procrastinator? I hope so. But you see, I’ve been a busy girl. I found my perfect wedding dress this weekend! And I think bridesmaid dresses too…and I picked a florist. I feel very productive :)

Anyway, whenever I’m creating my list of cookies/candy that I will be making for my annual holiday cookie-baking, I try to get a good assortment of flavors.

I feel that it’s necessary to have at least one “seasonal” item, like a spice cookie, something fruity, something nutty, and most definitely something chocolate.

I’m a creature of habit when it comes to my cookie-making. Although I love trying new recipes, when it comes to baking the cookies, I don’t usually have the time or energy to try a new recipe and risk it turning out awful.  Because the cookies I’m making this year are mainly just for Nate and a few lucky friends, I figured what the heck!

For the chocolate cookie, I usually default to a recipe my mom discovered a few years back called Chocolate Truffle Cookies. They are even more delicious than their name implies. But since I wanted to branch out a little bit this year, I went with a different cookie I found in my mom’s recipe box called Chocolate Crinkle Cookies.

I wasn’t sure what they’d taste like, but the picture on the notecard indicated a pretty presentation. I think I must have made the cookies a bit bigger than intended, because they took longer to cook, but the result was like a crispy, chewy brownie! It’s going to be a tough call deciding whether I should make these again next year or go back to my old favorites. Luckily, I have 365+ days to decide :)

Chocolate Crinkle Cookies
From my mom’s recipe box

Print this recipe!

makes 4 dozen

2 cups flour
2 1/2 cups confectioners sugar
1/2 cup unsweetened cocoa
2 1/2 tsp baking powder
1/4 tsp salt
3 1/2 oz. unsweetened chocolate, coarsely chopped
3 1/2 Tbsp vegetable oil
1 1/2 cup brown sugar
1/3 cup corn syrup
1 1/2 Tbsp vanilla
4 egg whites

Sift flour, 1 1/2 cups sugar, cocoa, baking powder and salt in a large bowl

In med sized saucepan, combine chocolate and oil on low heat, stirring frequently until just melted. Remove from heat, let cool slightly.

Stir in brown sugar, corn syrup, vanilla til well blended. Using whisk, beat in egg whites until no lumps of brown sugar remain.

With spoon, gently stir chocolate into dry ingredients just until smooth. Cover and refrigerate 2 1/2-8 hours until firm.

Preheat oven to 350. Lightly grease pans.

Put remaining confectioner’s sugar in bowl. Dusting hands with additional sugar, roll dough into 1″ balls. Dredge in conf. sugar til heavily coated. Arrange on sheets 1 1/2″ apart. Bake 8-10 min til almost firm when tapped. Let stand 2 min. Transfer to wire rack with spatula.