Honey White Challah

I’ve been so busy lately that the Daring Bakers completely slipped my mind and I hadn’t done it for a couple months. I finally remembered to check on this month’s challenge and was super excited when i saw it was challah!

The braided challah, which is made with eggs, is the Jewish Sabbath‑and‑holiday bread. It is surrounded by folklore and tradition and loaded with symbolism. On festive occasions a blessing is said over two loaves, symbolizing the two portions of the manna that was distributed on Fridays to the children of Israel during their Exodus from Egypt.

Honey White Challah

Challah is made in various sizes and shapes, all of which have a meaning. Braided ones, which may have three, four, or six strands, are the most common, and because they look like arms intertwined, symbolize love. Three braids symbolize truth, peace, and justice. Twelve humps from two small or one large braided bread recall the miracle of the 12 loaves for the 12 tribes of Israel. Round loaves, “where there is no beginning and no end,” are baked for Rosh Hashanah to symbolize continuity. Sweet challahs with honey or raisins are baked during the festive season to bring joy and happiness.

The name “challah” is derived from the Hebrew word used for “portion” in the Biblical commandment “of the first of your dough you shall give unto the Lord a portion for a gift throughout your generations.” Jews were biblically commanded to separate from their doughs one twenty‑fourth and give it to the kohanim (priests) every Sabbath. (source)

 Honey White Challah

Honestly, I didn’t really know (or remember) the significance of challah although I’m sure I was taught it in Hebrew School.

I’ve actually made Challah before but was really excited to give it another shot. Since Nate likes bread with his dinner on a daily basis, I knew it wouldn’t go to waste.

While Nate was in California last weekend, I whipped up some of the dough and let it rise in between my wedding crafts (i made our cake topper!). It was super easy, and having the first rise in the fridge overnight was a huge time saver.

Honey White Challah

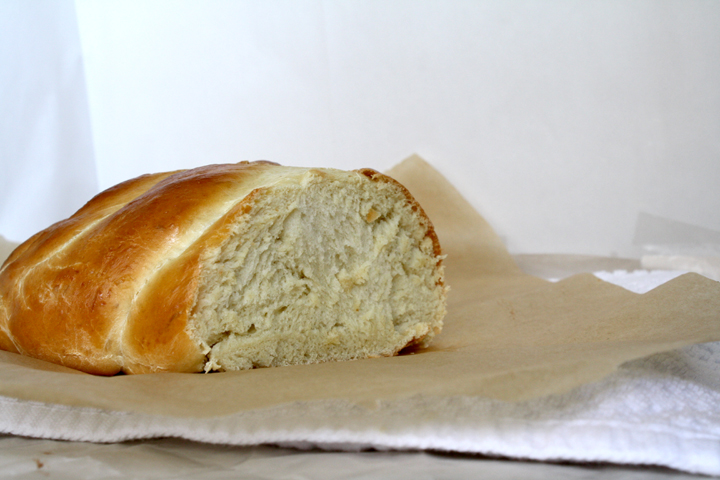
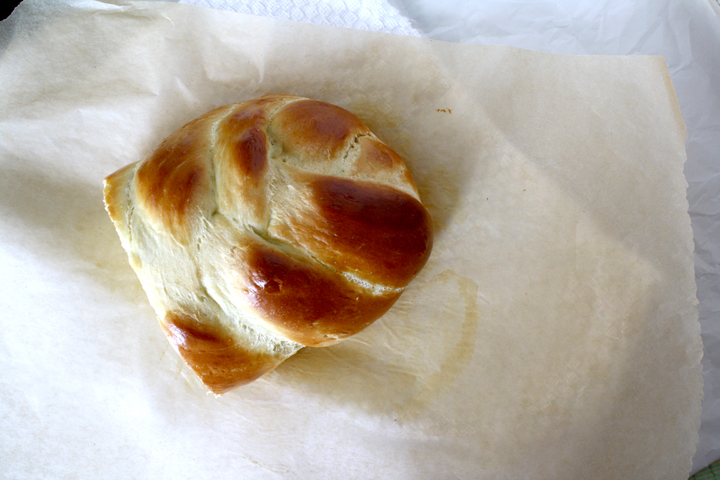
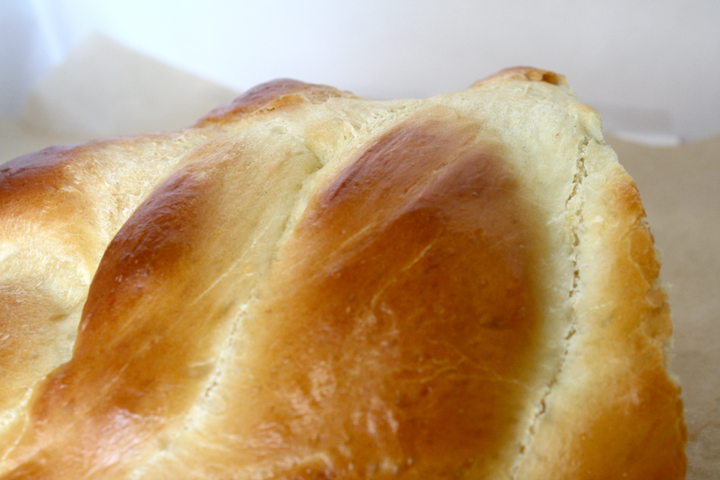
The Challah recipe I used was a honey white version and it came out just slightly sweet and as doughy and delicious as my favorite grocery store version. If you live near Shoprite supermarkets, they happen to have the absolute best challah. Anyway, this was pretty darn close!

I should have added raisins but couldn’t be bothered at the time. Luckily it wasn’t dry at all and was able to hold up on its own.

Blog-checking lines: May’s Daring Bakers’ Challenge was pretty twisted – Ruth from The Crafts of Mommyhood challenged us to make challah! Using recipes from all over, and tips from “A Taste of Challah,” by Tamar Ansh, she encouraged us to bake beautifully braided breads.

Honey White Challah

Honey White Challah

From Tammy’s Recipes

Print this recipe!

makes 2 gigantic loaves

Ingredients:

1 ½ cups (360 ml) warm water, separated
1 Tbsp. (15 ml) (15 gm/½ oz sugar
2 Tbsp. (2-2/3 packets) (30 ml) (18 gm) (2/3 oz) dry active yeast
½ cup (120 ml) honey
1 Tbsp. (15 ml) oil (light colored vegetable oil, or olive oil if you prefer)
4 large eggs
1 ½ tsp. 7½ ml) (9 gm) (1/3 oz) salt
5 cups (1200 ml) (700 gm/25 oz) all-purpose (plain) flour, plus more as needed (up to 8 or 9 cups total)
1 egg beaten with 1 tsp. water

In mixer bowl/large mixing bowl combine ½ cup warm water, 1 Tbsp. sugar and 2 Tbsp. yeast. Allow to proof approximately 5 minutes until foamy.

To the yeast mixture add the remaining water, honey, oil, eggs, salt and 5 cups of flour. Knead (by hand or with your mixer’s dough hook) until smooth, adding flour as needed. Knead for approximately 10 minutes.

Transfer dough to a clean, oiled bowl, turn to coat or add a bit more oil on top. Cover bowl with a kitchen/tea towel. Leave to rise in a warm place until doubled, about 1 ½ hours (**optionally you can have the first rise in the fridge overnight, which is what I did to save time. The next morning, remove from fridge and allow to come to room temp then move on to next step).

Punch down the dough, divide it into two sections. Use one half to make each loaf (shaped or braided as desired).

Place loaves on parchment lined or greased baking sheets, cover with a towel, allow to rise 30 minutes.

Preheat oven to 325 degrees.

Brush tops loaves with egg wash. (Sprinkle with seeds or toppings here if wanted.)

Bake loaves 30-40 minutes until done.

Cool on wire racks.

Storage & Freezing Instructions/Tips:
Once cooled, challah loaves which will not be eaten right away (or in the next couple of days) should be bagged in heavy duty freezer bags. Remove excess air from the bag before securing it tightly (tying a knot or using tape). Put the bagged loaf/loaves into the freezer as soon as possible to ensure fresh taste; frozen challah will keep approximately three months.

Rosemary Buttermilk Tea Cake

I hate wasting food.

Before I met Nate I would try to serve myself small portions of food, but with my eyes being bigger than my stomach, there would always still be too much for me on the plate. Since I hated wasting food, I would force myself to eat the last few mouthfuls rather than wasting it. (Don’t ask me how I developed this behavior since my mom never enforced the “clean plate” rule!)

Luckily Nate’s active lifestyle gives him an endless appetite. Now, rather than forcing myself to eat something, I just put it on his plate :) This solves the problem of having little bits of meal leftover, but it still doesn’t solve the problem of leftover ingredients.

Obviously if a recipe calls for buttermilk, or fresh rosemary, you will have copious amounts left. I had both ingredients sitting in my fridge (courtesy of some baked buttermilk rosemary chicken) for over a week because I refused to get rid of them.

I knew those two ingredients happened to be a perfect combo for something sweet and so I finally got myself to mix them together into a lovely cake.

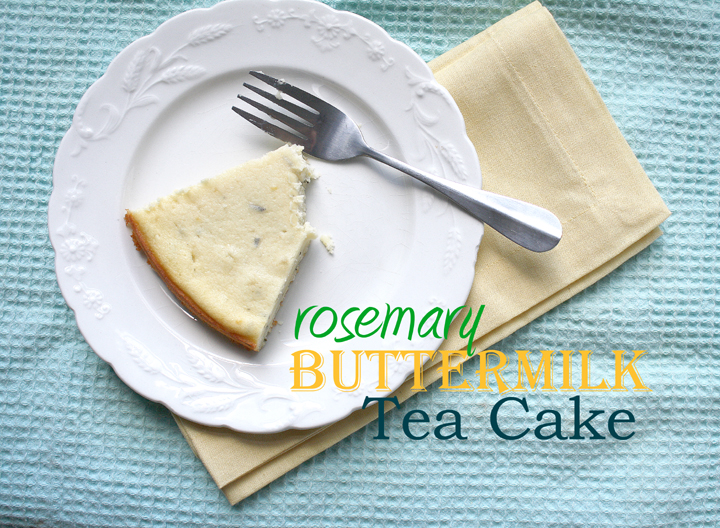
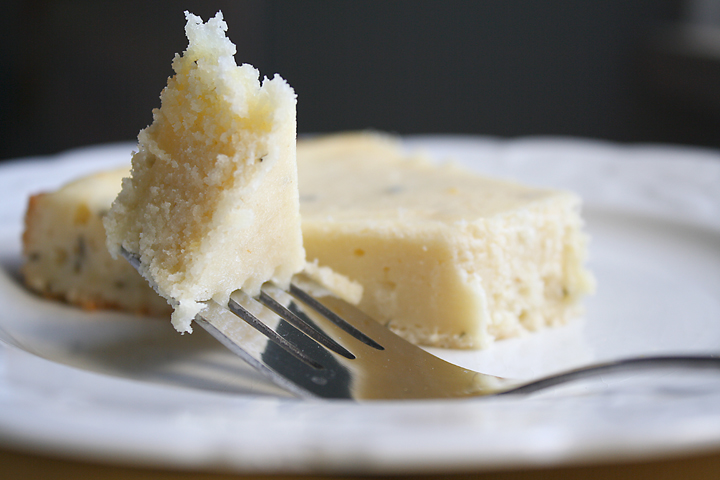
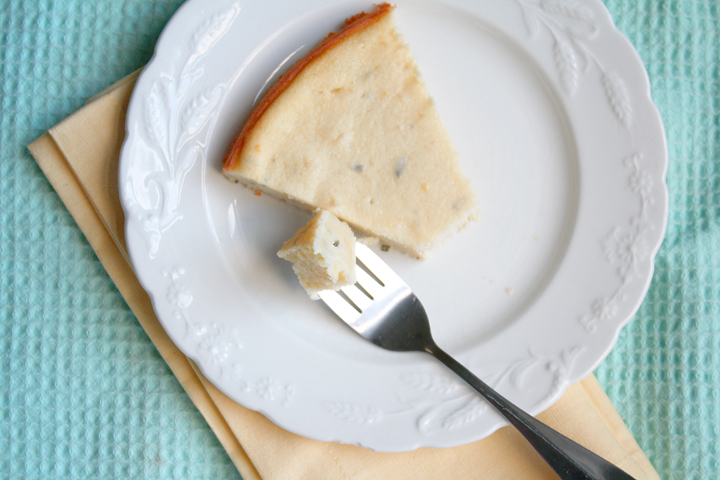
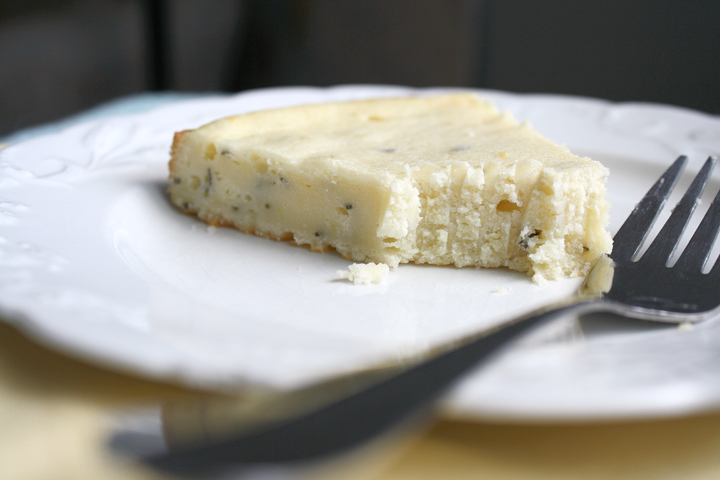
This cake is light (in texture, not in calories), not overly sweet, and perfect for brunch with a cup of tea! The rosemary flavor is strong, but I love it that way. If you’re not as big a fan of rosemary, feel free to cut back.

I couldn’t stop myself from eating this. It’s so buttery, soft and flavorful.  I honestly don’t know what a tea cake is, but this is what I’d imagine :) The perfect thing to go with your Mother’s Day brunch!

And with your leftover buttermilk and rosemary, you can perhaps invent something even better!

Happy Mother’s Day to all the moms out there!!!

Rosemary Buttermilk Tea Cake

This photo doesn’t have an accurate portrayal of the cake’s texture. I took pics of it straight from the fridge, but out of the oven or at room temp it is fluffy and light and wouldn’t show fork marks!

Rosemary Buttermilk Tea Cake

Print this recipe!

Serves 8

1 1/2 cups all-purpose flour
3/4 cup sugar
1 stick unsalted butter, softened
1 tsp lemon juice
zest of 1/2 lemon
1 Tbsp fresh rosemary, chopped (you can use less if you’re not a huge rosemary fan)
1 tsp baking powder
1/2 tsp salt
1 cup buttermilk
2 eggs

Preheat oven to 350 degrees. Coat a 9 or 10″ pan with cooking spray. (*Note, the 9 inch will be taller than mine. I should have used a 9″. A springform would be perfect but a regular cake pan is fine)

Cream together the butter and sugar until very light and fluffy, then add the eggs one at a time, beating well after each addition. Add the lemon  juice, zest, and rosemary and continue beating until batter is smooth and combined.

Whisk together flour, baking powder, and salt in another bowl and add alternately with the buttermilk to the butter and sugar mixture.

Beat until smooth, then pour batter into your greased pan, smoothing out the top with a rubber spatula.

Bake cake for 40 minutes until edges are golden and begin to pull away from the sides of the pan. Let cool and serve room temperature or slightly warm.

You could make a glaze for this cake if you wanted by mixing some milk with powdered sugar, but I thought it was sweet enough as is, especially to be served with brunch.

*Note, if you must make this the day before and refrigerate, make sure it comes to room temp or warm it up before serving. It’s not the right texture when cold (although weirdo Nate likes it better cold and dry).

**Before getting into today’s post, if you’re a WordPress,com blogger, please read my last post! I made some changes to my blog and if you were “following” me before, you won’t be anymore until you make the changes in that post!**

I don’t know the last time I ate a donut (I’m not counting the two bites I snuck at work on Friday when I was being tortured by the smell of Krispy Kreme’s someone brought in.)

I mean we all know donuts aren’t good for you, although Dunkin Donuts might say differently.

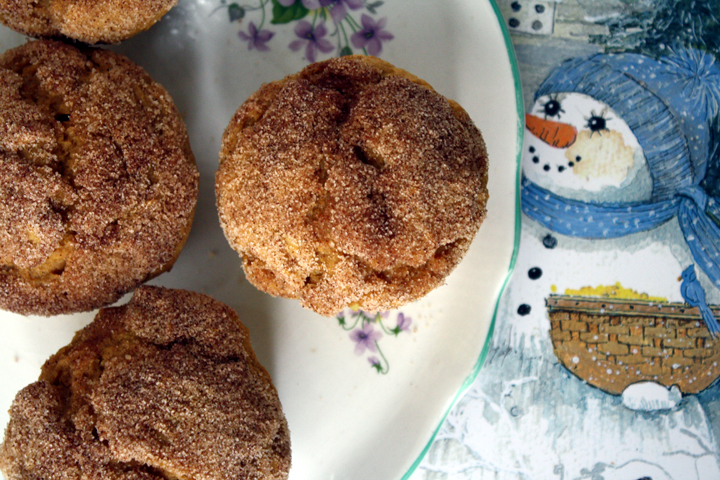
There are tons of those baked donuts going around the food blogs lately. Honestly though, I don’t think you can pretend a baked donut tastes like a fried one…so why bother. That’s where this recipe comes in.

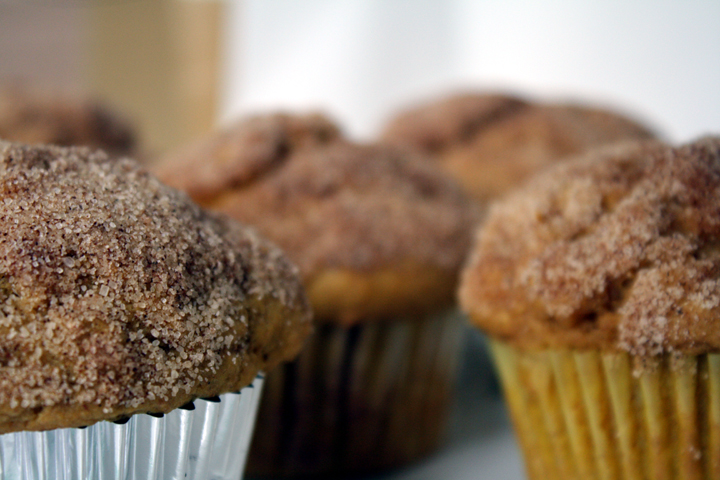
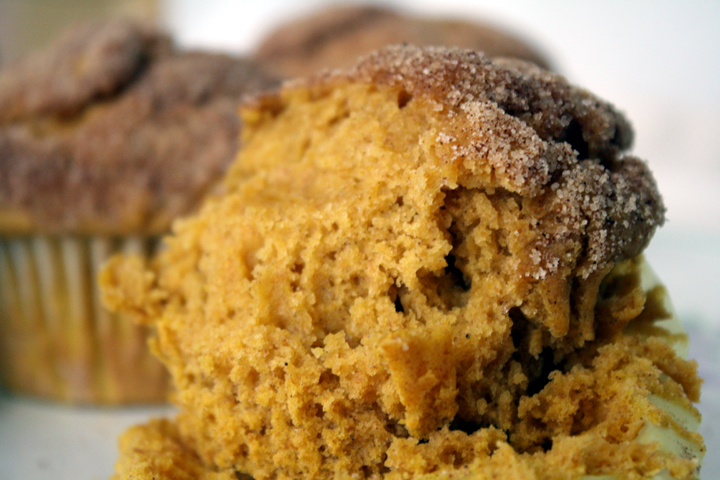
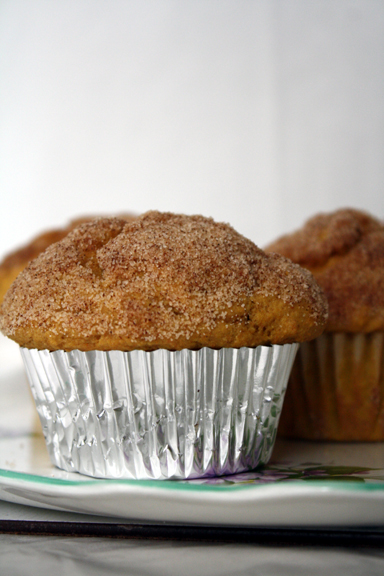
I’m not pretending these are donuts. Nope. These are muffins through and through. But if you love the taste of a cinnamon sugar donut then you *might just like these too.

Blog-checking lines: The Daring Bakers’ February 2012 host was – Lis! Lisa stepped in last minute and challenged us to create a quick bread we could call our own. She supplied us with a base recipe and shared some recipes she loves from various websites and encouraged us to build upon them and create new flavor profiles.

Quick bread is an American term used to denote a type of bread which is leavened with leavening agents other than yeast. Quick breads includes many cakes, brownies and cookies, as well as banana bread, beer bread, cornbread, biscuits, pancakes, scones, soda bread, and in this instance: muffins.

Pumpkin Donut Muffins

Very slightly adapted from Cait’s Plate

Print this recipe!

makes 12 muffins

10 tablespoons (1 1/4 sticks) unsalted butter, room temperature
2 cups white flour
1 cup whole wheat flour (or omit whole wheat flour and add an additional cup of white flour)
2 1/2 teaspoons baking powder
1/4 teaspoon baking soda
1 teaspoon salt
3/4 teaspoon pumpkin pie spice
1/3 cup milk
1 1/4 cups pumpkin puree
3/4 cup light brown sugar
2 large eggs

Topping:
3/4 cup granulated sugar
2 1/2 teaspoons ground cinnamon
1/4 cup (1/2 stick) unsalted butter, melted

Preheat oven to 350 degrees. Line muffin pan with paper cups.

In a medium bowl, whisk together flour, baking powder, baking soda, salt and pumpkin pie spice.

In a small bowl, whisk together soymilk and pumpkin puree.

In a large bowl, using an electric mixer, beat butter and brown sugar until light and fluffy. Beat in eggs, one at a time, scraping down bowl as needed.

With mixer on low, add flour mixture in three additions, alternating with two additions pumpkin mixture, and beat to combine.

Using an ice cream scoop, fill each muffin cup with batter and bake until a toothpick inserted in center of a muffin comes out clean (about 25- 30 minutes).

Meanwhile, in a medium bowl, combine granulated sugar and cinnamon. Let muffins cool 10 minutes in pan on a wire rack.

Working with one at a time, remove muffins from pan, brush all over with butter, then toss to coat in sugar mixture.
Let muffins cool completely on a wire rack.

It was about time for a Daring Bakers Challenge that was more fun and less annoying/frustrating/want-to-throw-all-my-baking-supples-out-the-window.

For January we were put to the scone making test! Although in this case, “scone” meant the European scone, which is actually called a biscuit in America. And biscuits in America are scones in Europe.

Backwards, right?

Anyway, we were allowed to put whatever fixins’ we wanted into the mix and I went with dill and cheddar, since I had both in my fridge. They suggested to use chives and cheddar but i’m glad I went with dill.

I served it alongside the veggie soup from the other night and they were just perfect…flaky, fluffy, flavorful, cheesy. Make these tonight!

Blog-checking lines: Audax Artifex was our January 2012 Daring Bakers’ host. Aud worked tirelessly to master light and fluffy scones (a/k/a biscuits) to help us create delicious and perfect batches in our own kitchens!


Cheddar Dill Biscuits

Print this recipe!

Makes 5-8 depending on biscuit size

Recipe can be doubled

Ingredients:
1 cup (240 ml) (140 gm/5 oz) plain (all-purpose) flour
2 teaspoons (10 ml) (10 gm) (⅓ oz) fresh baking powder
¼ teaspoon (1¼ ml) (1½ gm) salt
1/4 tsp baking soda
1/2 tsp mustard powder
2 tablespoons (30 gm/1 oz) frozen grated butter (or a combination of lard and butter)
approximately ½ cup (120 ml) cold milk
1/2 cup grated cheese
2 Tbsp chopped fresh dill
optional 1 tablespoon milk, for glazing the tops of the scones

Preheat oven to very hot 475°F/240°C/gas mark 9.

Triple sift the dry ingredients into a large bowl. (If your room temperature is very hot refrigerate the sifted ingredients until cold.)

Rub the frozen grated butter (or combination of fats) into the dry ingredients until it resembles very coarse bread crumbs with some pea-sized pieces if you want flaky scones or until it resembles coarse beach sand if you want tender scones.

Add nearly all of the liquid at once into the rubbed-in flour/fat mixture and mix until it just forms a sticky dough (add the remaining liquid if needed). The wetter the dough the lighter the scones (biscuits) will be! Mix in cheese and dill.

Turn the dough out onto a lightly floured board, lightly flour the top of the dough. To achieve an even homogeneous crumb to your scones knead very gently about 4 or 5 times (do not press too firmly) the dough until it is smooth. To achieve a layered effect in your scones knead very gently once (do not press too firmly) then fold and turn the kneaded dough about 3 or 4 times until the dough has formed a smooth texture. (Use a floured plastic scraper to help you knead and/or fold and turn the dough if you wish.)

Pat or roll out the dough into a 6 inch by 4 inch rectangle by about ¾ inch thick (15¼ cm by 10 cm by 2 cm thick). Using a well-floured 2-inch (5 cm) scone cutter (biscuit cutter), stamp out without twisting six 2-inch (5 cm) rounds, gently reform the scraps into another ¾ inch (2 cm) layer and cut two more scones (these two scones will not raise as well as the others since the extra handling will slightly toughen the dough). Or use a well-floured sharp knife to form squares or wedges as you desire.

Place the rounds spaced widely apart on the baking dish. Glaze the tops with milk if you want a golden colour on your scones or lightly flour if you want a more traditional look to your scones.

Bake in the preheated very hot oven for about 10 minutes (check at 8 minutes since home ovens at these high temperatures are very unreliable) until the scones are well risen and are lightly coloured on the tops. The scones are ready when the sides are set.

Immediately place onto cooling rack to stop the cooking process, serve while still warm.

Ok, no more pasta recipes for now.

In fact, I’m switching to an entirely different food category. No more dinner…on to snacks! Everyone likes snacks.

I made these little beauties as a appetizer before our New Year’s Dinner.

These taste exactly like Cheez-its. I know they don’t look the same but I promise they taste identical.

I adapted this recipe from Food52– The original recipe called for smoked paprika but I didn’t have any and didn’t feel like buying any so I used regular old paprika. I’m sure the smoked one would have added a different taste but then they would have tasted like smoked Cheez-its and that’s not quite the same.

I added quite a bit of cayenne as well. I loved how spicy they were but Nate wasn’t such a fan of his mouth tingling, so go easy on it if you have a sensitive fiance.

My only issue with these adorable little things is that they’re so tiny that rolling the dough into like 40 little balls is kinda of time consuming…and annoying. But if you have them time, then it’s totally worth it.

**UPDATE! A reader suggested rolling the dough into a log and refrigerating it until firm and then slicing into rounds…way less time-consuming than the ball method. I’d prob recommend letting the rounds cook a little longer, though, if you put them into the oven while still cold.

I hope you’re having company over soon because you need to make these! Or maybe you just want a snack. Either is fine.


Cheese Crackers

Barely Adapted from Food52

Print this recipe!

Makes about 40

1 cup all purpose flour, sifted
1 stick unsalted butter, room temperature
1 cup sharp cheddar cheese, grated
1/4-1/2 teaspoon cayenne pepper (or more to taste)
1/2 teaspoon paprika (or more to taste)
1/4 teaspoon kosher salt (or more to taste)
1 cup Panko bread crumbs (I used whole wheat panko)-*note these are not regular breadcrumbs

Preheat oven to 350 and line cookie sheets with parchment.

Put flour, butter, cheese, cayenne, paprika and salt into food processor and pulse till completely blended and a ball forms. Taste for seasoning and adjust.

Add panko and process in small pulses (as few as possible) to incorporate panko into dough.

Scoop small balls of dough (about 1/2 teaspoon) and roll in the palm of your hand (**or use other method mentioned above!). Place on cookie sheet and flatten with fork or spatula. (You can also roll the dough out about 1/2 inch thick and use small cookie cutters.) Sprinkle the tops with smoked paprika and more salt if desired.

Bake at 350 for 15 minutes until the bottom is lightly browned and the crispettes are cooked through.

Remove from cookie sheet and cool on wire rack.